How To Space Wall Paneling
Introduction
How To Space Wall Paneling: Creating a well-spaced and aesthetically pleasing wall paneling arrangement can completely transform the look and feel of your interior spaces. Whether you’re aiming for a classic, contemporary, or rustic ambiance, the proper spacing of wall panels plays a pivotal role in achieving your desired design.
In our comprehensive guide on “How To Space Wall Paneling,” we will delve into the art and science of panel arrangement. This step-by-step tutorial will equip you with the knowledge and techniques needed to space wall paneling evenly, ensuring a harmonious and visually appealing result.
We’ll explore various paneling styles and materials, discuss the importance of accurate measurements, and guide you through the installation process. Whether you’re a seasoned DIY enthusiast or tackling your first paneling project, this guide will provide valuable insights and practical tips for achieving the perfect panel spacing.
By the end of this tutorial, you’ll have the expertise to create stunning wall panel arrangements that enhance the beauty and character of your living spaces, leaving you with a home that truly reflects your unique style.
What is the ideal width of panelling?
Panels should be spaced evenly apart, and the width will depend on the total length of the wall to create a uniform effect. Paul Gamble of The Wall Panelling Company says, “Aim for a benchmark width of 600mm.”
The ideal width of paneling largely depends on your design preferences and the dimensions of the space where you intend to install it. Paneling comes in various widths, and choosing the right width is crucial for achieving your desired aesthetic. Here are some considerations:
Standard Widths: Common widths for paneling range from 3 inches to 8 inches, but wider options are available. Standard widths often provide a classic or traditional look.
Room Size: Consider the size of the room. In smaller rooms, narrower paneling can create the illusion of more space. Conversely, wider paneling can make a larger room feel cozier.
Architectural Style:
The architectural style of your home can influence the ideal width. For example, in a farmhouse or rustic setting, wider paneling may be more suitable, while narrower paneling might complement a modern or minimalist design.
Visual Balance: Think about the balance between the width of the paneling and the overall design of the room. You want the paneling to enhance the space without overwhelming it.
Accent vs. Full Wall: If you’re using paneling as an accent, you might opt for wider widths to make it stand out. For full wall coverage, narrower widths can create a more subtle, textured look.
Personal Preference: Ultimately, your personal taste plays a significant role. Consider what appeals to you and aligns with your vision for the space.
To determine the ideal width for your paneling, you may want to obtain samples of different widths and temporarily place them in the room to visualize how they look in your specific environment. It’s also helpful to consult with an interior designer or decorator for expert guidance tailored to your home and style.
What is the joint space on panels?
Maximum Joint Spacing
Historically, the maximum recommended distance or spacing in feet between joints has been two to three times the slab thickness in inches. For a 6 in. thick slab, this recommendation yields a maximum joint spacing between 12 and 18 ft.
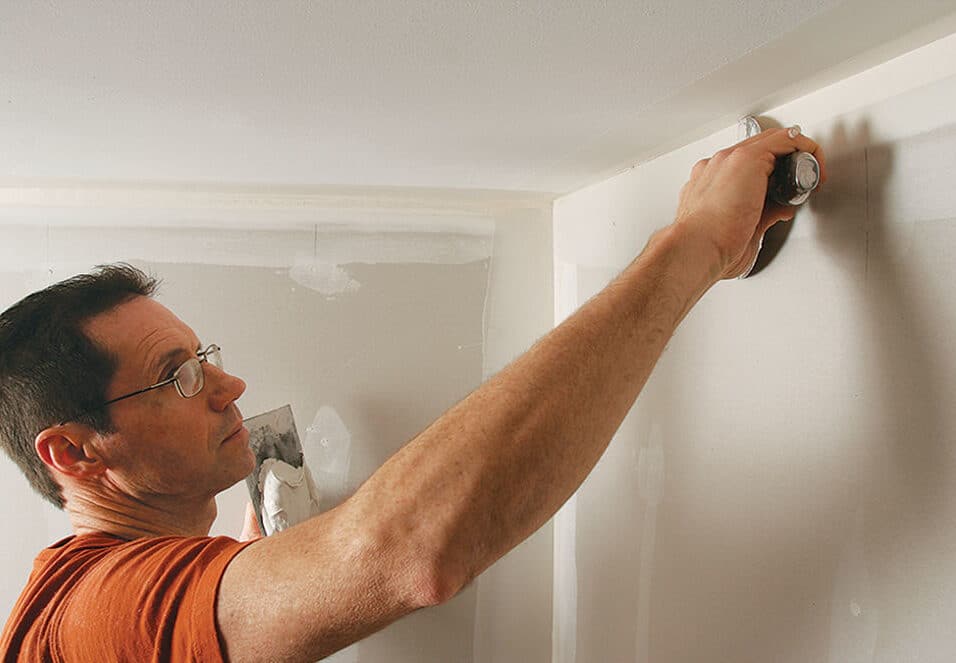
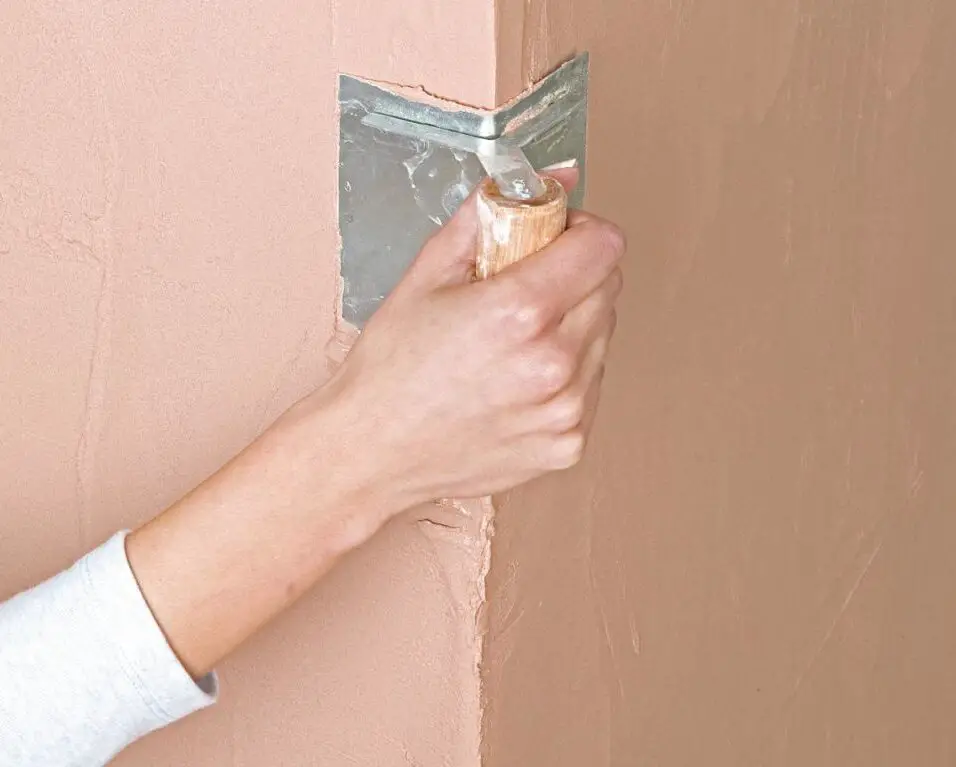
The joint space, also known as the gap or seam, between panels is an essential consideration when installing wall paneling. The size of the joint space can influence the appearance and stability of your paneling. Here’s what you need to know:
Typical Joint Size: The ideal joint space for most paneling installations typically ranges from 1/16 inch to 1/8 inch. This small gap allows for natural expansion and contraction of the panels due to temperature and humidity changes.
Expansion and Contraction: Wood and some other paneling materials can expand and contract with changes in environmental conditions. Providing a small gap between panels accommodates these movements and helps prevent warping, buckling, or cracking.
Aesthetic Considerations:
The size of the joint space also affects the visual appearance of the paneling. A narrower joint creates a more seamless and cohesive look, while a wider joint can add texture and definition to the wall.
Panel Thickness: The thickness of the panel can influence the joint size. Thicker panels may require a slightly wider joint to allow for movement.
Panel Material: Different materials, such as MDF, plywood, or solid wood, may have specific recommendations for joint spacing. Always refer to the manufacturer’s guidelines for your particular paneling material.
Installation Method: The method of installation can also impact joint spacing. Tongue-and-groove paneling, for example, may have tighter joints compared to other types.
In summary, the joint space on panels is a small gap that allows for natural expansion and contraction of the panels while maintaining a visually pleasing appearance. The ideal size of the joint space depends on the material, thickness, and design goals of your paneling project, as well as any manufacturer recommendations.
What is the formula for frame spacing?
Calculate Spacing Between Frames
For best results center the frames 60 inches (152 cm) from the ground. 170 – (3 x 30) / (3 + 1) = 20 units apart. Place your frames as follows: The edge of frame #1 should be 20 units and the center should be 35 units away from the wall.
The formula for frame spacing depends on the specific type of frame or grid you are creating and the measurements you want to achieve. There isn’t a single formula that applies to all framing situations since spacing can vary widely based on design goals. However, here’s a general approach to frame spacing:
Determine Panel or Frame Size:
First, decide on the size of the panels or frames you want to create. Measure the width and height of each panel or frame.
Decide on the Gap Size: Consider the desired gap or spacing between each panel or frame. This spacing can vary depending on your design preferences. Common gap sizes range from 1/8 inch to 1/4 inch, but it can be larger or smaller depending on the look you want to achieve.
Calculate Spacing: To calculate the spacing between frames or panels, use the following formula:
Spacing = (Total Wall Width – (Number of Frames or Panels – 1) * Gap Size) / Number of Frames or Panels
In this formula:
Total Wall Width is the width of the wall where you intend to install the frames or panels.
Number of Frames or Panels is the total number of frames or panels you want to install horizontally.
Gap Size is the desired spacing between each frame or panel.
By plugging in these values, you can calculate the precise spacing for your frames or panels. Adjust the formula as needed to achieve your desired layout.
Remember that framing and panel spacing can vary based on design preferences and the specific requirements of your project. Experiment with different measurements and layouts to find the spacing that best suits your aesthetic goals.
How many sheets of paneling?
Divide the wall length by the width of your panel sheets to get the number of sheets you’ll need. Tip: Add 10 percent to your total measurement to account for waste and match color.
Determining how many sheets of paneling you need for your project depends on several factors, including the size of the wall or area you plan to cover, the dimensions of the panels, and any waste or extra panels you want to account for. Here’s a step-by-step guide to calculate the number of sheets of paneling required:
Measure the Wall: Measure the height and width of the wall or area you intend to cover with paneling. Round up your measurements to the nearest foot or inch for simplicity.
Calculate Total Square Footage: Multiply the height by the width to calculate the total square footage of the wall.
Panel Size: Determine the size of the panels you plan to use. Panels come in various dimensions, so refer to the product specifications or packaging for the specific measurements.
Calculate Panel Coverage:
Divide the total square footage of the wall by the square footage covered by one panel to determine how many panels are needed.
Number of Panels = Total Square Footage / Square Footage per Panel
Consider Waste and Extra Panels: It’s a good idea to purchase a few extra panels to account for mistakes, future repairs, or any panels that may need to be cut to fit corners or obstacles.
Round Up: Round up the number of panels to the nearest whole number since you cannot purchase a fraction of a panel.
Account for Pattern or Design: If you are creating a specific pattern or design with the panels, account for this in your calculations. You may need more panels to achieve the desired pattern.
Remember that paneling may come in different package quantities (e.g., packs of 6, 8, or 10), so consider how these quantities align with your calculated needs. Always check the manufacturer’s recommendations for installation and purchase the appropriate quantity of panels to complete your project successfully.
How do you design paneling?
Here are our tips on how to plan and install paneling on your walls:
- Start by measuring your room.
- Draw a plan of your room.
- Design your panelling options.
- Now it’s time to start sketching.
- Have a look at your room.
- Start to prepare your detailed floor plan.
- Draw the elevations of your room.
- Draw the panelling.
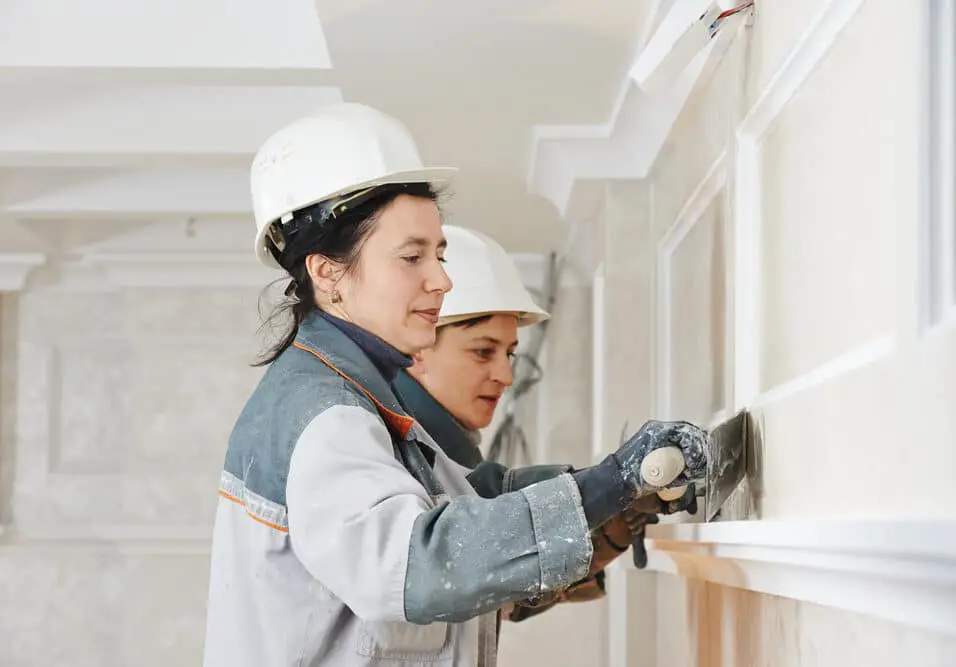
Designing paneling involves careful planning to achieve a look that enhances your space’s aesthetics. Here are steps to design wall paneling effectively:
Define Your Style:
Begin by determining your preferred interior design style. Whether it’s traditional, modern, rustic, or something else, your paneling should align with your overall decor scheme.
Select Paneling Material:
Choose the material for your paneling. Options include wood, MDF, beadboard, or even faux brick or stone panels. The material should harmonize with your design style and budget.
Plan Panel Placement:
Decide whether you want full wall coverage or paneling as an accent. Full wall paneling can create a cozy atmosphere, while accent paneling draws attention to specific areas.
Determine Panel Size:
Consider the size of the panels. You can use narrow strips for a more classic look or larger panels for a modern feel. Make sure the size complements the room’s scale.
Design Patterns:
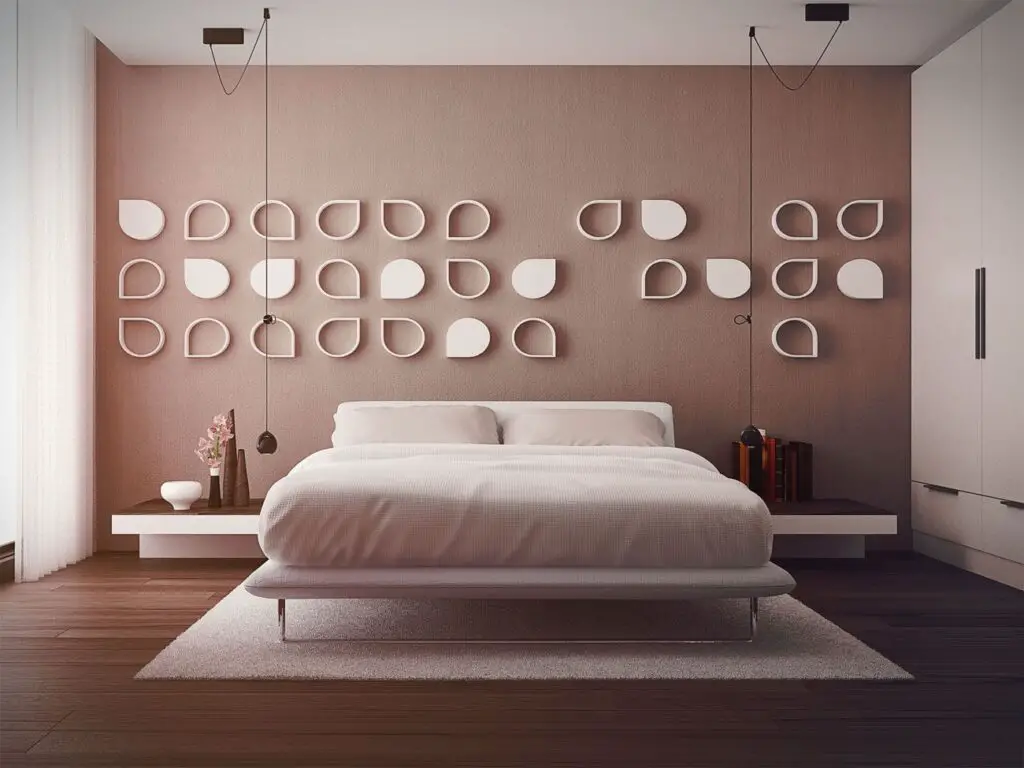
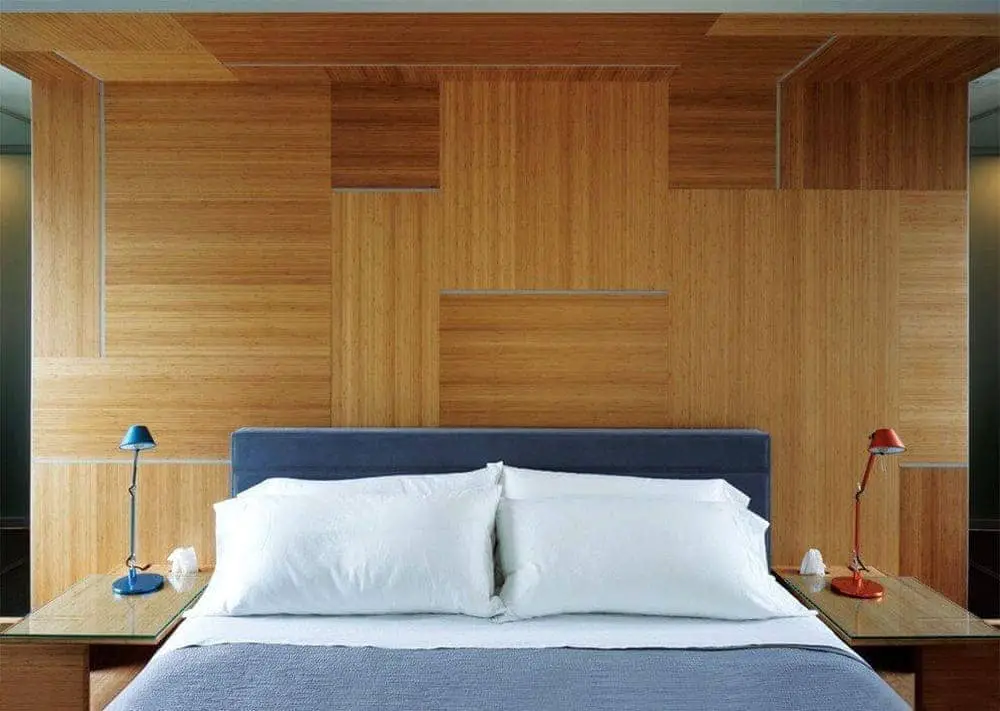
Experiment with different paneling patterns. Common choices include wainscoting, shiplap, board and batten, or a grid pattern. Sketch your ideas to visualize how they will look.
Measure and Mark:
Measure your walls precisely, taking into account any obstacles like doors or windows. Mark where the panels will start and end and how high they should go.
Calculate Quantities:
Determine the number of panels or paneling materials you’ll need based on your measurements and design. Always get a bit extra for mistakes or future repairs.
Color and Finish:
Choose the color and finish for your paneling. Consider paint, stain, or natural wood tones. Ensure it complements the room’s color scheme.
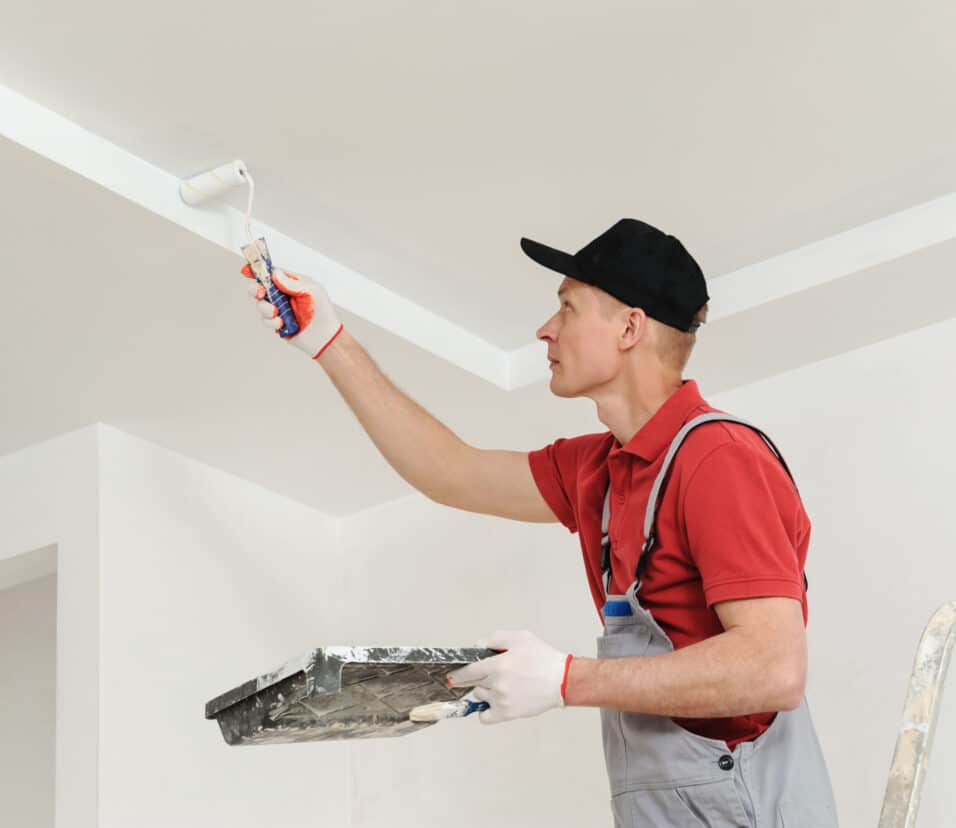
Installation Method:
Decide how you’ll attach the paneling to the wall. Options include adhesive, nails, screws, or a combination.
Review Safety and Building Codes:
Check local building codes and safety requirements. Paneling should adhere to fire safety standards and other regulations.
Budget:
Keep your budget in mind throughout the design process. Some materials and designs can be more cost-effective than others.
Consult Professionals:
If you’re unsure about design aspects or installation techniques, consult with an interior designer or contractor for expert guidance.
How high should wall panelling be?
The 900mm height works well in rooms that have a ceiling height of 2.6m or less, whilst the taller 1150mm kits work well in taller height rooms and in bathrooms, where the extra height prevents toilet cisterns and basins from sitting too closely to the capping rail.
The height of wall paneling, often referred to as wainscoting, is a design choice that depends on several factors, including your preferences and the room’s characteristics. Here are some general guidelines to help you determine the appropriate height for wall paneling:
Traditional Wainscoting: In traditional design, wainscoting typically extends approximately one-third to two-thirds up the wall. A common height is between 30 and 36 inches from the floor. This height provides both aesthetic appeal and practical protection for the lower part of the wall.
Room Proportions: Consider the proportions of the room. Taller wainscoting can visually lower a high ceiling, making the room feel cozier. Conversely, shorter wainscoting can make a small room appear taller.
Architectural Features:
Take into account any architectural features, such as windows, door frames, and baseboards. The wainscoting should complement these elements and maintain visual harmony.
Functional Considerations: Think about the function of the room. In areas prone to moisture or potential wall damage, like bathrooms and kitchens, higher wainscoting can offer better protection.
Aesthetic Balance: Ensure that the chosen wainscoting height creates a pleasing balance with other design elements in the room, including furniture and lighting fixtures.
Personal Preference: Ultimately, the ideal wainscoting height is a matter of personal preference. Visualize different heights in the space and choose the one that best suits your style and vision for the room.
It’s important to note that these guidelines are not strict rules, and there is room for creativity and flexibility in wainscoting design. Experiment with different heights and visually assess the impact on your space before making a final decision.
Is Wall Panelling a good idea?
Panelling can be a great hallway idea for solving this, especially when used halfway up the wall where the majority of the scuffs occur. Not only does it protect the walls, but panelling can be painted in a hardier finish such as an eggshell or satin, which will fair better and be easier to clean.
Wall paneling can be an excellent idea for various reasons, depending on your design goals and the characteristics of your space. Here are some considerations to help you decide if wall paneling is a good idea for your home:
Enhanced Aesthetics: Wall paneling can add depth, texture, and visual interest to your interior spaces. It provides an opportunity to create unique design elements that can significantly enhance the overall look and feel of a room.
Versatility: Wall paneling comes in various materials, styles, and finishes, making it a versatile design choice. Whether you want a classic, rustic, modern, or eclectic look, there’s a paneling option to suit your style.
Protection and Durability: Paneling can protect your walls from wear and tear, making it an excellent choice for high-traffic areas like hallways, dining rooms, or children’s rooms. It can also cover up imperfections in the existing wall surface.
Sound and Thermal Insulation:
Depending on the material used, wall paneling can provide some degree of sound insulation and thermal insulation, improving the comfort and acoustics of a room.
Increased Home Value: Well-designed and professionally installed wall paneling can increase the value of your home. It adds an upscale, custom touch that appeals to potential buyers.
Customization: Wall paneling allows for creativity and customization. You can experiment with different patterns, colors, and layouts to achieve a unique and personalized look.
Easy Maintenance: Many types of wall paneling are easy to clean and maintain, making them a practical choice for busy households.
Covering Flaws: If your walls have imperfections or old wallpaper that’s challenging to remove, wall paneling can provide a fresh, clean surface.
However, whether wall paneling is a good idea for your specific situation depends on your design preferences, budget, and the condition of your walls. It’s essential to plan carefully, choose the right materials, and consider factors like room size and layout before proceeding with wall paneling.
What is the standard size of wood paneling?
While common sizes are 48-inch widths and 96-inch lengths with thicknesses of 1/4 inch to 3/4 inch, both plywood and OSB can be manufactured in wider, longer and thicker sizes. Learn more about custom sizes and over-sized industrial wood panels.
The standard size of wood paneling can vary depending on the manufacturer, style, and intended use. However, some common dimensions for standard wood paneling are as follows:
- Width: Standard widths for wood paneling often range from 3 inches to 8 inches. Wider widths can be available for certain specialty paneling styles. The width you choose can impact the overall look of the paneling and should align with your design goals.
- Height: The height of wood paneling can vary significantly. Traditional wainscoting, for example, is typically installed at heights between 30 and 36 inches from the floor. However, full wall paneling can extend from the floor to the ceiling. The height you select should consider both aesthetics and practicality.
- Thickness: The thickness of wood paneling can also vary, with common options ranging from 1/4 inch to 3/4 inch. Thicker panels may be more substantial and durable but can also be heavier and more challenging to install.
- Length: Wood panels often come in standard lengths, such as 8 feet or 10 feet. However, some manufacturers offer custom lengths to accommodate specific design needs.
- Pattern and Style: The standard size of wood paneling can be influenced by the chosen pattern and style. Tongue-and-groove panels, for example, have specific dimensions to allow for seamless interlocking.
Conclusion
Mastering the art of spacing wall paneling has unlocked a world of interior design possibilities that allow you to transform your living spaces with elegance and precision. Throughout this comprehensive guide, we’ve delved into the techniques and considerations necessary to achieve a visually appealing and harmonious paneling arrangement.
Effective panel spacing is not merely a technical aspect of wall paneling; it’s a key element that can make or break the aesthetics of a room. By understanding the principles of spacing, you have the power to create a balanced, cohesive, and visually stunning environment.
As you embark on your journey to space install wall paneling effectively, you’ll find that attention to detail and careful planning are your greatest allies. Whether you’re working with classic wainscoting, contemporary geometric designs, or something entirely unique, the principles of spacing remain essential. Your chosen spacing pattern can accentuate the beauty of the panels, draw attention to architectural features, and set the overall tone of the room.
Moreover, this guide has equipped you with the tools and knowledge needed to strike the perfect balance between panels and the surrounding space. You’ve learned about the importance of measurements, layout planning, and the role of horizontal and vertical spacing.
So, go forth with confidence, let your creativity soar, and may your spaced wall paneling projects become testaments to your impeccable taste and design prowess. With each thoughtfully spaced panel, you’re one step closer to turning your house into a beautifully designed and harmonious home.