How To Finish A Drywall Edge
Introduction
How To Finish A Drywall Edge: Drywall is a popular choice for interior walls and ceilings due to its affordability, ease of installation, and versatility. However, one aspect that often poses a challenge for DIY enthusiasts and professionals alike is finishing the edges of drywall. A properly finished drywall edge not only enhances the overall appearance of a room but also ensures a seamless transition between walls or ceilings. In this article, we will provide you with step-by-step instructions on how to finish a drywall edge, ensuring a professional-looking result.
Before diving into the process, it is essential to understand why finishing the edges of drywall is crucial. By properly finishing these edges, you not only protect them from wear and tear but also create a smooth and polished look. Additionally, finishing the edges helps to prevent moisture penetration, which can lead to mold and mildew growth.
There are several methods and techniques available for finish drywall edges, each with its own advantages and considerations. The choice of method depends on factors such as the desired level of durability, the type of drywall joint, and personal preference. In the following sections, we will guide you through the most commonly used techniques, providing detailed instructions to help you achieve professional results.
Now that we have covered the importance of finishing drywall edges and the necessary tools and materials, let’s delve into the step-by-step instructions for different finishing techniques. Whether you are a seasoned DIYer or a beginner, these instructions will help you achieve a professional-looking finish for your drywall edges.
What are the edges of drywall called?
In short, the long edges of drywall sheets are tapered while the short edges are not. Where two short, non-tapered edges meet is called a butt joint. Butt joints are challenging to finish because they require that you build a slight, gradual mound to hide the joint.
Residential and commercial construction projects employ drywall. Gypsum plaster squeezed between two thick sheets of paper creates a smooth, durable wall and ceiling panel. Drywall edges are crucial to installation and finishing.
Drywall edges are tapered. Smooth and level surfaces are achieved by these edges, which seamlessly transition across panels. Thinning the gypsum core toward the margins creates tapered edges and a little depression along the panel. This dip allows joint compound to fill and conceal panel joints.
Drywall edges are tapered for numerous reasons. First, they hide joints, making them look better. The steady thinning of the gypsum core smooths panel transitions, minimizing sanding and leveling. This speeds up installation and gives it a more professional look.
Tapered edges improve drywall structural integrity and look good. The tapered edges create a depression for the joint compound to adhere securely to the panels. This strengthens joints and prevents cracking and separation. Tapered edges make joint tape easier to apply, reinforcing joints and creating a continuous surface.
Tapered drywall edges are crucial to installation and finishing. They smooth panel transitions, hide joints, and strengthen the drywall system.
What do you put on drywall edges?
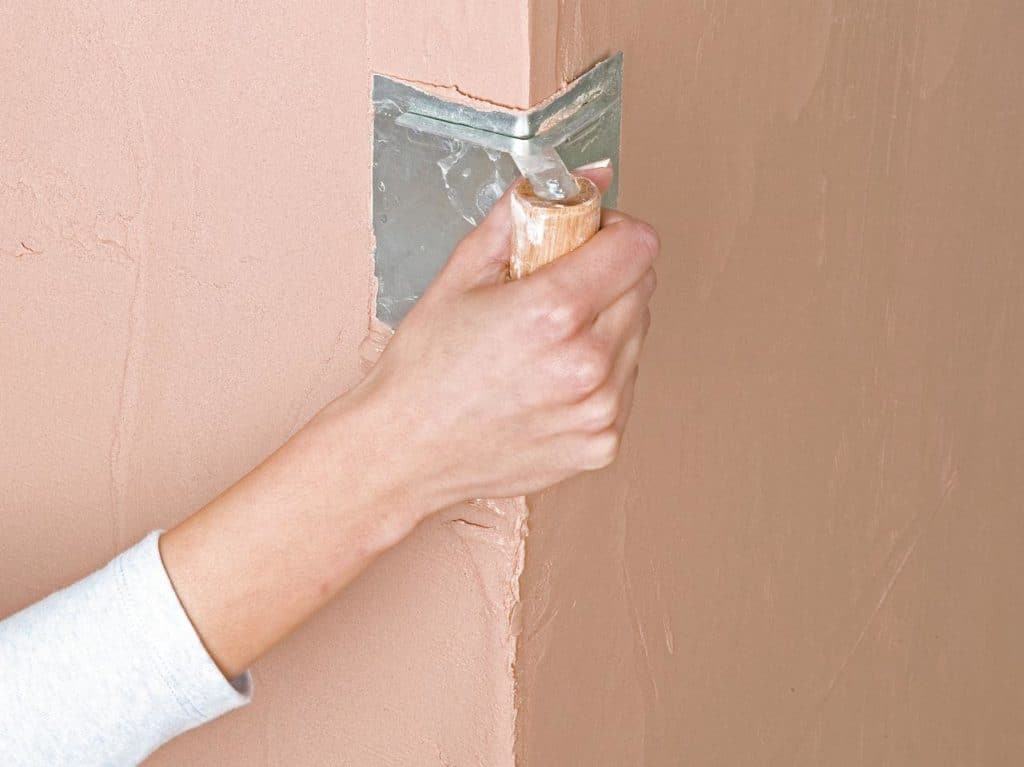
Add Drywall Compound to Corners
Take some drywall compound. Apply compound to the drywall corner with the knife wide side down. Mud one corner using sweeping strokes. Mud may be 1/8- to 1/4-inch thick.
Construction and renovation require drywall edges. Smooth, professional looks require finishing and protection. This article covers popular drywall edge finishes.
Tape, Joint Compound:
Popular drywall edge finishes are tape and joint compound. Joint compound and drywall tape are applied to the gap between two drywall sheets. Tape strengthens and prevents cracking; joint compound fills gaps. The compound can be sanded and painted to match the wall after curing.
Corner beads:
Corner beads are used around drywall corners on windows and doors. For neatness and durability, metal or plastic strips cover the borders. Secure them with nails or screws and joint compound. Each compound layer is dried and sanded before applying the next. This smooths the corner for painting or finishing.
Trim Molding:
Drywall edges can be finished with trim. It conceals borders and finishes the area, making it useful and attractive. Customize wood or PVC trim molding to complement the space’s dcor. It is frequently nailed or glued to the walls and painted or stained.
Other Options:
Other drywall edge polishing procedures exist. Some builders use custom edge trim or corner guards to protect edges.For creativity, some add wallpaper borders, stencils, or other embellishments to the edges.
Different drywall edge finishing procedures have perks and cons. Preserve and finish edges with tape and joint compound, corner beads, trim molding, or other means for a professional finish. Choosing the correct materials and processes may give your project a smooth, appealing finish that enhances the area.
What is the most common edge used for drywall?
A beveled or tapered edge is a tiny depression. The longer drywall sides are tapered, not the shorter ends. The beveled edge is only 1/8-inch narrower than the rest of the drywall, but it can disguise a seam between two tapered edges using tape and mud.
Tapered edges are the most frequent drywall edges, often known as “tapered edge drywall” or “tapered edge.” Tapered edge drywall is standard in home and commercial construction.
Features of the tapered edge include:
Tapered Edges: Long sides of tapered edge drywall sheets are beveled. Tapered edges are thinner than the sheet, making joint compound feathering easier and seam transitions smoother.
Square Edges: Drywall sheets’ short ends are square, not tapered. Square edges provide tight butt joins at wall corners.
Tapered edge drywall simplifies taping, mudding, and finishing seams. Tapered edges give a recessed area for joint compound, ensuring a smooth finish. Square-edged drywall is rare and utilized for specific applications like square, non-tapered corners or edge details.
In conclusion, the tapered edge is the most popular and adaptable drywall edge, providing easy installation and a flawless seam and joint finish.
What is the purpose of drywall tape?
Applying drywall tape helps bond together adjacent sheets of drywall. Doing this creates continuity and helps reduce any motion or cracking. The joint compound can turn into powder if you neglect to apply tape to shore it up.
Drywall tape serves a crucial purpose in the process of finishing and preparing drywall surfaces for painting or other wall finishes. Its primary function is to reinforce the seams and joints between adjacent drywall panels and prevent cracks or visible gaps from forming over time.
Here are the key purposes of drywall tape:
The joints between two drywall panels are reinforced with drywall tape. The natural expansion and contraction of building materials can cause cracks at these seams.
Joint Concealment: Drywall tape hides panel joints. It fills the panel gaps to create a seamless wall.
Drywall tape prevents obvious wall fractures by bridging panel gaps and spreading tension along the tape. Seam cracks could appear without tape.
Uniform Surface: Drywall tape creates a smooth surface. The tape blends into the wall when covered with joint compound (mud), smoothing the panel-to-panel transition.
Drywall tape offers strength and stability to the drywall system. It spreads loads and forces across seams, eliminating structural weaknesses.
Paper joint tape and fiberglass mesh tape are prominent drywall tapes for this. Both perform the same purpose, but project requirements and personal preference determine their qualities.
The drywall finishing process relies on drywall tape to create smooth, crack-resistant, and attractive wall surfaces. It ensures that drywall panel seams and joints are structurally sound and visually smooth after finishing.
What are the three steps for finishing drywall?
1. Joint compound: Also known as mud, joint compound is a crucial material for finishing drywall edges.
2. Putty knife: A putty knife is necessary for applying and spreading the joint compound onto the drywall edges. It helps to ensure an even and consistent application.
3. Sandpaper: Sandpaper is used to smooth out the joint compound after it has dried. It helps to create a seamless transition between the drywall and the joint compound, resulting in a professional finish.
4. Corner bead: It provides a straight and clean edge, making it easier to achieve a polished finish.
5. Taping knife: A taping knife is a wider and longer version of a putty knife. Remember to follow proper techniques and take your time to achieve the best results.
What tools and materials are needed to finish a drywall edge?
To finish a drywall edge, whether it’s a seam, an outside corner, or an inside corner, you’ll need a set of specific tools and materials to achieve a smooth and seamless finish. Here’s a list of the essential tools and materials you’ll need:
Materials:
Joint Compound (Drywall Mud):
You’ll need joint compound for embedding drywall tape, filling seams, and covering fastener heads. All-purpose joint compound is suitable for most drywall finishing tasks.
Drywall Tape:
Choose between paper joint tape or fiberglass mesh tape. Both types are suitable for finishing drywall seams.
Primer:
High-quality primer is essential to seal the drywall surface before painting. Primer improves paint adhesion and ensures a consistent finish.
Paint:
Select the appropriate paint for your project, considering the desired finish (e.g., flat, satin, semi-gloss). Have enough paint on hand for the final finish.
Tools:
Taping Knives:
Taping knives come in various sizes, including 4-inch, 6-inch, and 10-inch. You’ll need them for applying and smoothing joint compound.
A smaller knife (4-inch) is useful for taping seams, while larger knives (6-inch and 10-inch) are better for mudding and feathering seams and edges.
Utility Knife:
A utility knife with a sharp blade is essential for cutting drywall tape and trimming excess joint compound.
Sanding Materials:
Use fine-grit sandpaper (e.g., 120-150 grit) or a sanding block for sanding drywall seams and edges. Sanding smooths the surface and removes imperfections.
Safety Gear:
Safety goggles or safety glasses protect your eyes from dust and debris.
A dust mask helps filter out airborne particles while sanding.
Work gloves protect your hands during the finishing process.
Sanding Pole or Hand Sander:
For larger areas, a sanding pole or hand sander is useful for maintaining a flat and even surface when sanding drywall.
Painting Supplies:
If you’re planning to paint the finished drywall edge, you’ll need paintbrushes, rollers, paint trays, and drop cloths to protect surrounding surfaces from paint splatter.
Ladder or Step Stool:
Depending on the height of the drywall edge you’re finishing, you may need a ladder or step stool to reach high areas safely.
Trowel or Corner Tool (for Outside Corners):
Having these tools and materials on hand will ensure that you have everything you need to successfully finish a drywall edge and create a smooth, paint-ready surface.
Are there any specific techniques or tips for achieving a smooth and professional finish?
When it comes to achieving a smooth and professional finish on a drywall edge, there are several techniques and tips that can greatly improve the final result. One important technique is to properly prepare the drywall surface before applying any finishing materials. This includes ensuring that the edges are clean, smooth, and free from any debris or protrusions. Using a sanding block or sandpaper, gently sand the edges to create a slightly tapered surface, which will help to blend the joint compound seamlessly.
Another crucial tip is to apply multiple thin coats of joint compound rather than one thick coat. This allows for better control and reduces the risk of visible seams or ridges. Start by applying a thin layer of joint compound over the joint or edge using a taping knife, and then feather out the edges by applying less pressure towards the outer edges. Allow each coat to dry completely before applying the next one, and lightly sand between coats to achieve a smoother finish.
Additionally, using a high-quality taping knife and applying consistent pressure while feathering out the joint compound can make a significant difference in achieving a professional finish. It’s also important to pay attention to the direction of the strokes when applying the joint compound. To minimize visible lines or marks, try to keep the strokes in a consistent direction, either horizontally or vertically.
How long does it typically take to finish a drywall edge?
The time it takes to finish a drywall edge depends on several factors, including the complexity of the edge, your experience level, the drying times of joint compound, and the specific steps involved. Here’s a general timeline for finishing a drywall edge:
Taping and Mudding: Taping and mudding a single coat on a drywall edge typically takes a few hours to a day, depending on the length and complexity of the edge. This includes applying joint compound, embedding tape (if applicable), and smoothing the compound.
Drying Time: After each coat of joint compound, you’ll need to allow it to dry completely.
Drying times vary depending on factors like humidity and the type of joint compound used. Generally, each coat can take 24 to 48 hours to dry.
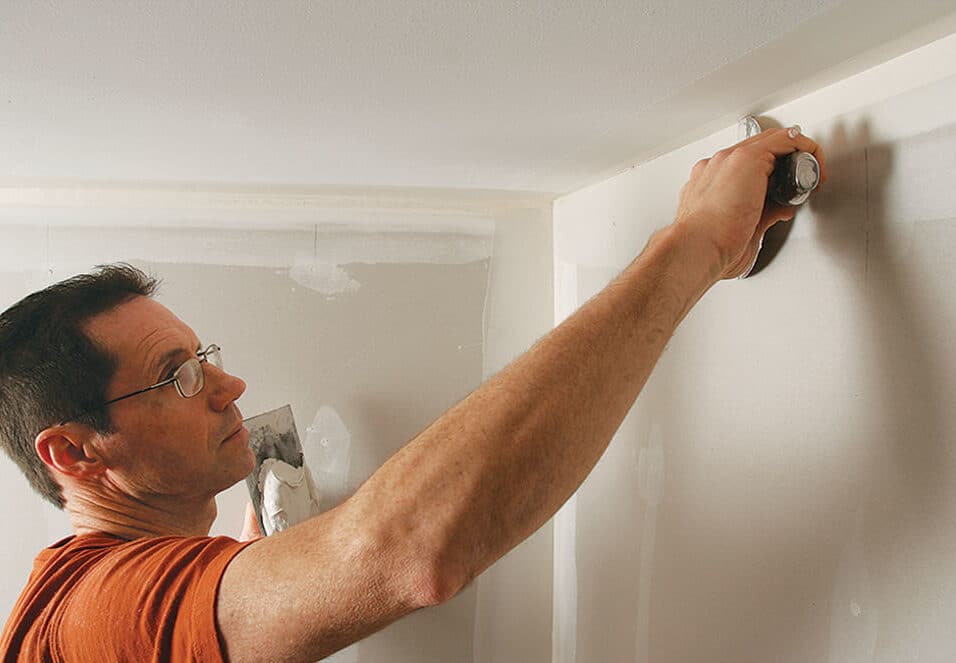
Sanding: Sanding the dried joint compound to achieve a smooth surface usually takes a few hours to half a day, depending on the size of the area and the thoroughness of the sanding.
Inspection and Touch-Up: Inspecting the sanded surface for imperfections and making any necessary touch-ups can add several hours to the timeline, depending on the extent of the touch-up work. This involves applying joint compound to the joint, embedding a drywall tape, and then applying additional layers of compound to create a smooth and seamless surface.
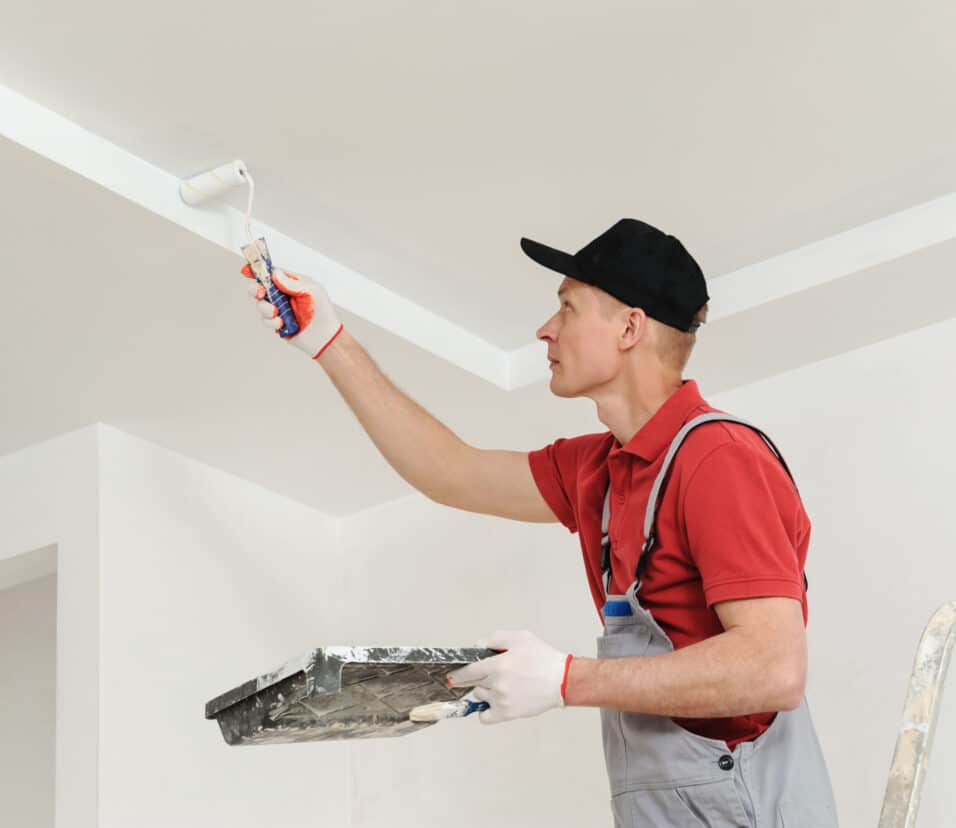
Priming: After completing the joint compound work and ensuring it’s smooth and ready for paint, you can apply a coat of primer. Primer typically dries within a few hours.
Painting: Once the primer is dry, you can apply the final paint finish.
The painting process can vary significantly in time, depending on factors like the number of coats, the size of the area, and drying times between coats.
Final Drying Time: It’s important to allow the primer and paint to dry fully before considering the project complete. Drying times for paint depend on the type of paint used and environmental conditions.
In total, finishing a drywall edge can take anywhere from a few days to a week or more, depending on the specific circumstances. Factors such as the number of coats, the extent of touch-up work, and the need for additional drying time between coats can impact the overall timeline. It’s essential not to rush the process to ensure a professional-quality finish.
Are there any common mistakes to avoid when finishing a drywall edge?
When it comes to finishing a drywall edge, there are several common mistakes that should be avoided in order to achieve a smooth and professional result. One of the most common mistakes is not properly preparing the surface before applying the joint compound. It is crucial to ensure that the drywall edge is clean, free from any dust or debris, and properly sanded. Failure to do so can result in an uneven finish and make it difficult for the joint compound to adhere properly.
Another mistake to avoid is applying too much joint compound at once. It is important to apply thin layers of joint compound and allow each layer to dry completely before applying the next one. Applying too much compound at once can lead to cracking and shrinking as it dries, resulting in an unsightly finish. Additionally, it is important to feather the edges of the joint compound to create a smooth transition between the compound and the surrounding drywall. Neglecting to feather the edges can result in visible lines and an uneven finish.
Furthermore, rushing the drying process is a common mistake that should be avoided. It is essential to allow each layer of joint compound to dry fully before sanding or applying the next layer. Rushing the drying process can lead to a poor finish and may require additional sanding and touch-ups. Lastly, using low-quality tools and materials can also result in subpar results. Investing in high-quality tools such as a taping knife and sanding block, as well as using a high-quality joint compound, can make a significant difference in achieving a smooth and professional finish.

Conclusion
Finishing a drywall edge is an essential step in achieving a professional and polished look for any wall or ceiling. By following the instructions provided, you can ensure that your drywall edges are smooth, seamless, and ready for painting or other finishing touches. Whether you are a DIY enthusiast or a professional contractor, these tips will help you achieve a flawless finish every time.
One of the key steps in finishing a drywall edge is properly taping and mudding the joint. This involves applying joint compound to the joint, embedding a drywall tape, and then applying additional layers of compound to create a smooth and seamless surface.
Another important aspect of finishing a drywall edge is sanding. Once the joint compound has dried, it is necessary to sand the surface to achieve a smooth and even finish. This step requires patience and attention to detail, as it is important to sand evenly and avoid over-sanding, which can result in damage to the drywall. By using a fine-grit sandpaper and taking your time, you can achieve a perfectly smooth surface that is ready for painting or other finishing treatments.
Finally, it is important to note that finishing a drywall corner is not a one-size-fits-all process. It is always a good idea to consult with a professional or reference reliable sources to ensure that you are using the most appropriate methods for your specific needs. With the right tools, materials, and techniques, you can achieve a flawless finish and transform any space into a beautifully finished room.