Mastering Level 4 Drywall Finish for Perfection
Introduction
What Is Level 4 Drywall Finish? Drywall finish determines the appearance and quality of walls in any building or restoration project. Level 4 drywall finish is a milestone in smooth, attractive surfaces. We will explain level 4 drywall finish and why it is essential for a professional and faultless wall finish in this article.
Surface preparation for level 4 drywall finish requires more skill and attention to detail than lower levels. It is advised for glossy or semi-glossy paint finishes in locations with important lighting. A level 4 finish involves many applications of joint compound and careful sanding to remove defects and create a smooth surface.
This finish is common in commercial, high-end residential, and wall-examined settings. A level 4 finish makes walls look continuous, like one material, boosting the space’s attractiveness.
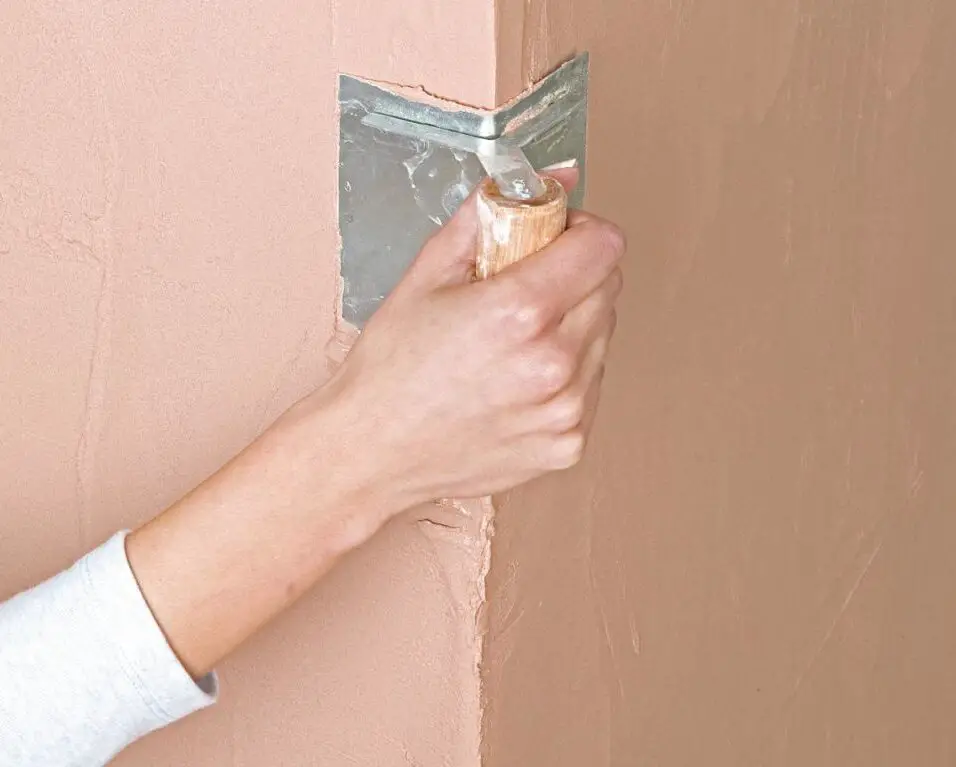
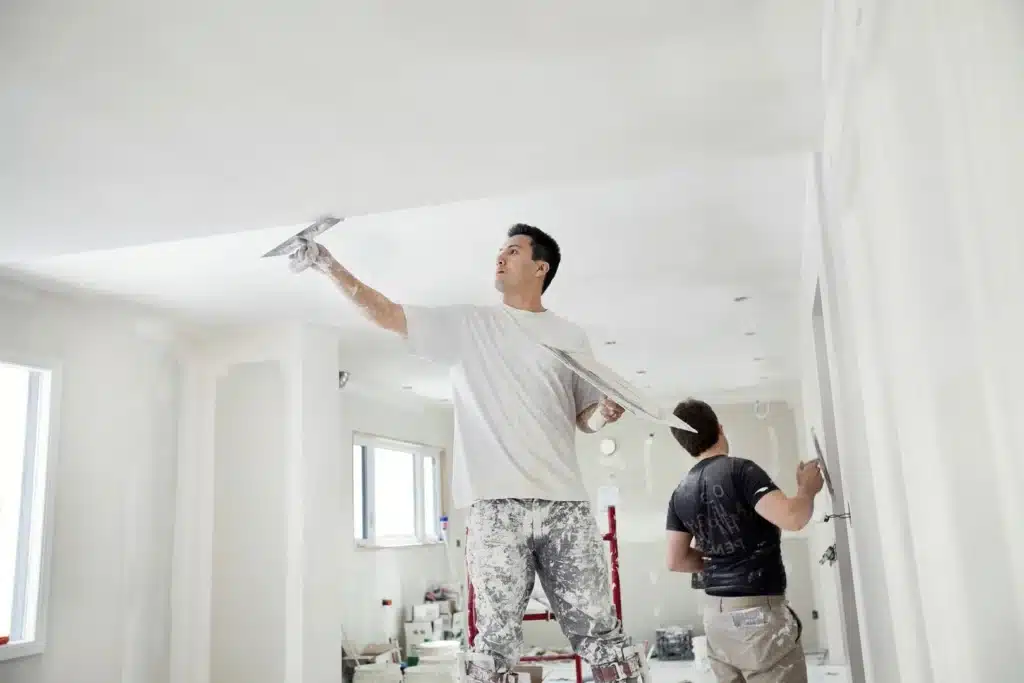
A level 4 drywall finish demands care. Join finish drywall panels with joint compound and paper or fiberglass tape. To feather edges and smooth the transition, wider coats are applied after the first coat dries. Sanding the surface after the last layer dries removes bumps and defects for a beautiful finish.
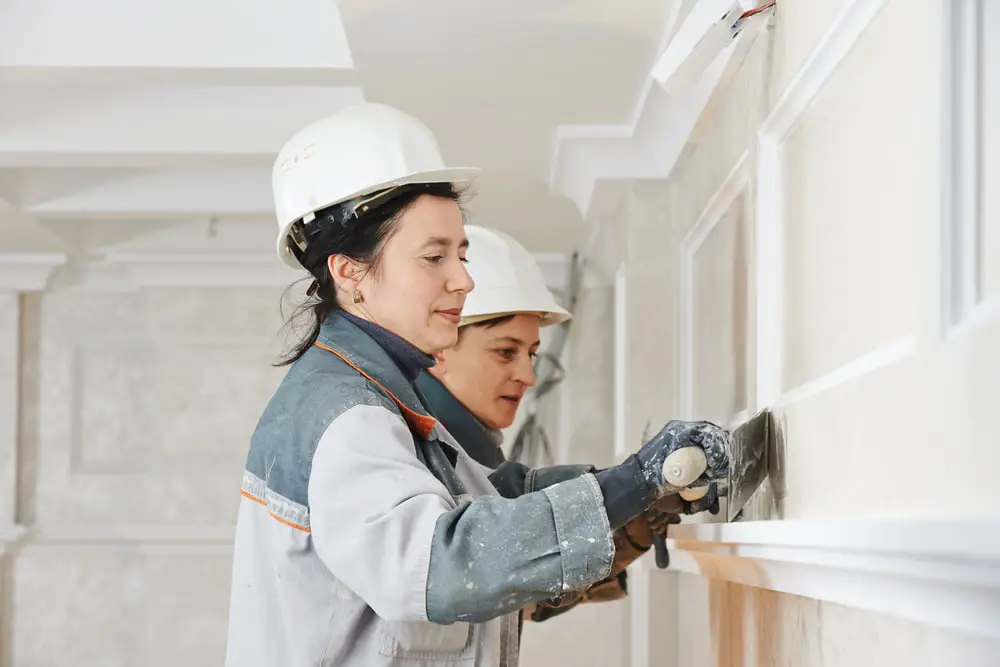
Skilled and experienced professional
Note that a level 4 drywall finish demands a qualified and experienced specialist who knows the procedure inside and out. Professionals ensure smoothness and perfection, fulfilling the highest quality standards. Whether it is for a commercial project or a residential renovation, opting for a level 4 drywall finish can significantly enhance the overall appearance and value of the space.
Construction and remodeling workers must understand level 4 drywall finish. By following the specific techniques and guidelines associated with this level of finish, one can achieve walls that are visually appealing, seamless, and free from imperfections. With the help of skilled professionals, level 4 drywall finish can transform any space into a work of art.
What is the difference between Level 4 and Level 5 drywall?
Level 4 drywall is perfect for walls specified for most flat or enamel paints, or some light texturing. If your job calls for a final paint with a high level of sheen or dark/deep tones, you’d be better off bumping up your finish to Level 5, as these will highlight any surface defects in severe lighting.
When it comes to drywall, there are various levels available to meet different requirements. Two commonly used levels are Level 4 and Level 5 drywall. Anyone working on building or remodeling projects must understand these two levels.. This article aims to provide a comprehensive explanation of the dissimilarities between Level 4 and Level 5 drywall.
Level 4 Drywall:
In residential and commercial construction, level 4 drywall is standard. It entails coating the drywall, joints, and screw heads with a thin layer of joint compound. Sanding smooths and evens the joint compound. The Level 4 drywall does not need a skim coat, a thin layer of joint compound applied to the entire surface for a glossy finish.
Level 5 Drywall:
Where a more detailed finish is needed, Level 5 drywall is used. A comprehensive skim coat and sanding give drywall a beautiful surface. High-end residential, business, and retail spaces with more flaws employ this finishing.
Differences between Level 4 and Level 5 Drywall:
A base coat is the main thing that sets Level 4 drywall apart from Level 5 drywall. Only joint cement and sanding are needed for Level 4 drywall. Level 5 drywall requires a skim coat. This extra joint compound layer smooths the finish and eliminates surface imperfections.Level 5 plaster is smoother and looks better overall.
The finish level is what makes Level 4 drywall different from Level 5 drywall. Standard level drywall is Level 4, which needs joint cement and sanding. Level 5 drywall, on the other hand, needs a skim coat for a smoother, more refined surface. You can choose between these two levels based on the needs of the job and the look you want to achieve.
What is a Level 5 drywall finish?
A Level 5 finish is a premium finish, and the highest degree of quality in drywall. It requires all aspects of a Level 4 finish and an additional skim coat of joint compound to cover the entire surface. A Level 5 finish provides a uniformly smooth surface that is obvious in the most severe lighting conditions.
A Level 5 drywall finish is the best finish that can be put on drywall. It is usually specified for places with bad lighting or surfaces that need to be perfectly smooth and even, like in high-end homes, businesses, or places with shiny paint finishes. A Level 5 finish goes above and beyond the normal levels of drywall finishing (Level 0 to Level 4) and needs careful attention to every detail. This is what a Level 5 drywall finish looks like:
Level 5 Base: Start with a Level 4 base, which involves taping and mudding the seams and corners, embedding joint tape, and applying multiple coats of joint compound.
Skim Coat: Apply a thin layer of joint compound (also known as skim coating) over the entire surface of the drywall. This coat is designed to eliminate any imperfections, such as ridges, tool marks, or visible seams.
Sand and Smooth: After the skim coat has dried, sand the entire surface thoroughly to create a smooth and even finish. Sanding removes any remaining imperfections and ensures a consistent surface.
Inspect and Repair: Carefully inspect the entire surface for any remaining imperfections, bumps, or depressions. Fix any imperfections with skim coating and sanding until the surface is smooth.
Dust Control: Dust control is critical during the Level 5 finishing process. TContainment and ventilation systems prevent airborne dust from settling back on the surface.
High-quality primer to seal the drywall
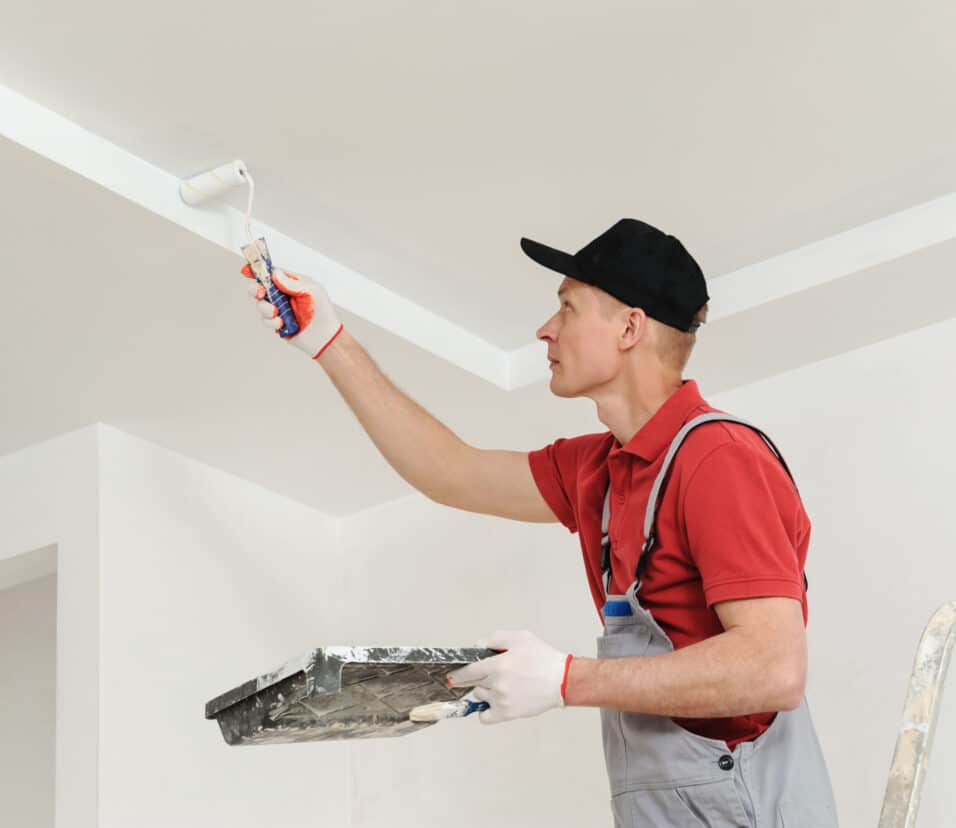
After the surface is clean and dust-free, use a high-quality primer to seal the drywall and produce an even surface for paint.
Painting: Finish painting after priming. In glossy paint regions, a Level 5 finish is optimal for reflecting light uniformly without defects.
Level 5 achievement is hard, takes a long time, and requires skill and knowledge. It’s only given for really good work, and you might not need it for every application. Level 4 and below are good for most paint finishes and lighting, so that’s where most home and business projects stop.
What is level 4 plaster finish?
Domestic construction typically finishes at level 4. Joints require a tape coat and two coatings over the tape coat and fastening heads. All joint compositions should be sanded smooth without tool marks or ridges.
The level 4 plaster finish prepares walls and ceilings for building and remodeling. A perfect surface requires numerous coats of joint compound and sanding. This finish is essential for high illumination or critical lighting in commercial spaces, workspaces, and sites with glossy or semi-glossy paint finishes.
A level 4 plaster finish removes apparent joints, tool marks, and other flaws. It gives the space a uniform look, improving its aesthetics. Several steps and careful attention are needed to reach this finish.
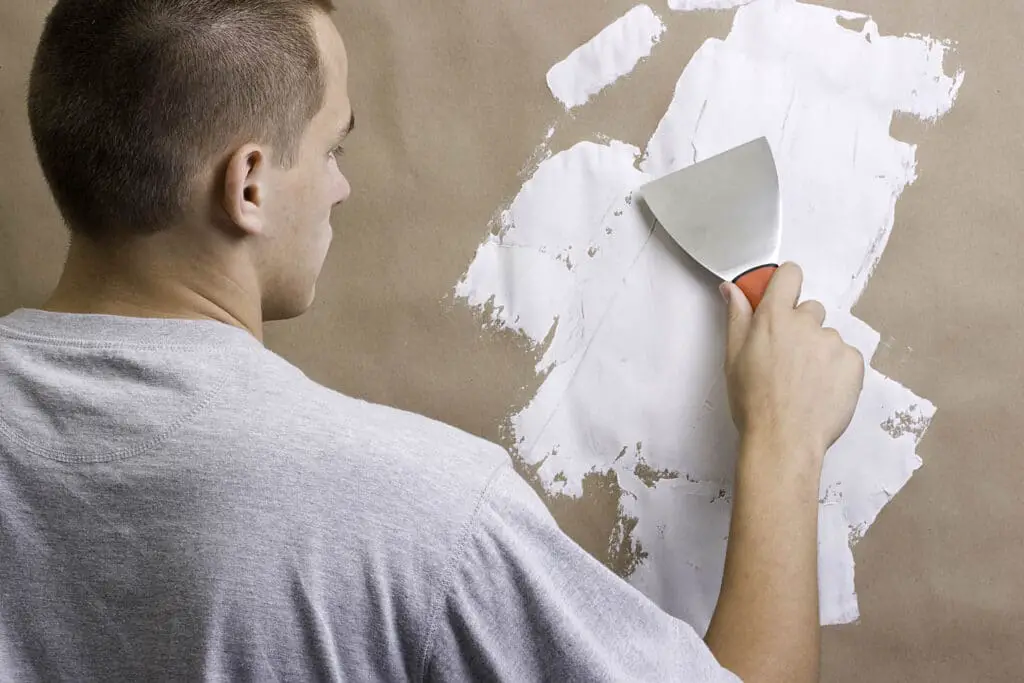
A level 4 plaster finish starts with a base coat of joint compound over joints and fasteners. Joint tape and a second compound coat follow. The third and fourth coatings, each wider than the last, feather the edges and merge them into the surface.
Create a smooth texture
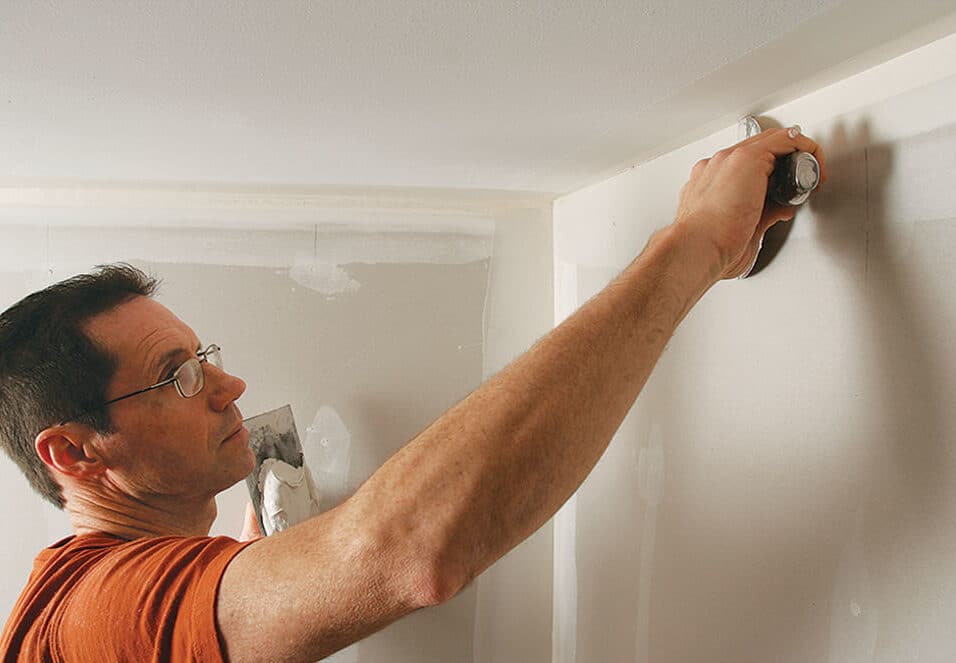
After drying, sanding joint compound gets rid of flaws and makes it smooth.For level 4 polish, this step gets rid of seams and tool lines.To avoid hurting the surface or over-sanding it, the sanding process needs skill and accuracy.
Getting a level 4 plaster finish is a very careful process that involves sanding and adding several layers of joint compound to make the surface smooth and seamless. Required in places with strong or important lights. Skill, precision, and attention to detail are needed for a level 4 finish that looks great.
What is level 5 finish plaster?
Level 5 finishes are the finest grade drywall. A Level 4 finish and a joint compound skim coat are needed to cover the surface. Level 5 finishes are smooth and visible in harsh lighting.
Construction professionals use level 5 finish plaster to define a plastering procedure. It refers to the smoothest and best plastered surface. This treatment is best for commercial, luxury, or lighting-sensitive walls. Level 5 finishes need a professional plasterer and rigorous attention to detail.
Different plastering finishes are available. The Level 0 is the roughest, with no finishing. This Level 1 applies a thin coat of joint compound to taped and completed joints. Level 2 has a thicker joint compound coat to hide joints and fasteners. In Level 3 uses a thicker joint compound that is sanded smooth. Finally, level 4 entails skimming joint compound over the entire surface and sanding it smooth.
Tool marks and ridges may remain in level 4 finishes. Here comes level 5 finish plaster. Sanding the surface smooth after applying an additional coat of joint compound gives a level 5 finish.This technique removes flaws and prepares the surface for painting or other ornamental finishes.
The lighting conditions
The level 5 finish plaster process minimizes these defects, creating a smooth, professional surface.
In conclusion, level 5 finish plaster is the smoothest and best plastered surface.
What is the difference between Level 4 and Level 5 plaster?
Level 4: 3rd coat of mud on joints and screw holes. Sanded smooth. This is the standard level of drywall finish if nothing else is specified. Level 5, a skim coat of mud applied to entire surface and sanded to equalise texture over entire wall/ ceiling.
In the context of drywall or plaster finishing, Level 4 and Level 5 refer to different degrees of surface smoothness and preparation. Here are the key differences between Level 4 and Level 5 drywall or plaster finishes:
Purpose: Level 4 finishes are utilized for thick texturing, flat paint, and matte finishes. It’s a popular home and commercial finish.
Surface Preparation: Joint tape and compound flatten and smooth Level 4 seams and fastener heads. A joint compound coating is then applied to the entire surface.
Texture: A Level 4 finish may have slight imperfections or differences in surface texture, which can be visible under certain lighting conditions or with glossy paint finishes. However, these differences are generally not noticeable with flat or matte paints.
Light Reflection: Level 4 finishes are suitable for most standard paint finishes and lighting conditions. They provide a good surface for reflecting light evenly.
Level 5 Finish
Purpose: Level 5 finishes are for high-quality surfaces. Used in crucial lighting or when gloss, semi-gloss, or other finishes highlight flaws.
Surface Preparation: Level 5 finishes comprise a thin skim coat of joint compound over the whole surface. This skim coat is precisely sanded and polished for perfection.
Texture: Level 5 finishes have no seams, ridges, or surface irregularities. It produces an extremely smooth and homogeneous surface.
Level 5 finishes allow equal light reflection in glossy paint, highlighting, and essential visual situations.n. They remove surface flaws that produce shadows and reflection discrepancies.
In conclusion, surface perfection and consistency distinguish Level 4 and Level 5 plaster or drywall finishes. Level 4 is ideal for most conventional applications, whereas Level 5 is for high-end homes, premium commercial spaces, and vital lighting areas that demand the utmost quality and visual perfection. A Level 5 finish requires careful work by expert personnel.
What are the characteristics of a level 4 drywall finish?
Residential and commercial drywall surface preparation typically uses a Level 4 finish. The smooth surface suits numerous paint finishes. Level 4 drywall finish characteristics:
Taped and Mudded Seams: Level 4 finishes tape and mud all seams and joints using joint compound. This comprises embedding joint tape and coating seams with joint compound.
Covering screw or nail heads with joint compound creates a flat surface. Smoothness is achieved with multiple coats.
Smooth Surface: A Level 4 finish results in a smooth and flat surface. The transition from the drywall panels to the seams and fastener heads is relatively even.
Minimal Tool Marks: While a Level 4 finish is smooth, it may still have some slight tool marks or imperfections, especially in areas where the final finish will be flat paint or a textured coating.
Acceptable for Most Paint Finishes: A Level 4 finish is suitable for most standard paint finishes, especially those with flat or matte sheens. It provides a good surface for these paints and is used in homes.
Variations in surface texture
Seams and fastener heads may cause surface texture differences in particular lighting conditions. These changes are usually not noticeable with flat or matte paints.
Light Reflection: Level 4 finishes reflect light well in typical illumination. It may not work well in locations with poor lighting, high-gloss paint, or other finishes that highlight surface defects.
Economical and Common: Level 4 is a popular drywall finish for residential and commercial applications due to its affordability.
A Level 4 finish is suitable for many paint finishes, however it may not be suitable for high-gloss paints or essential lighting circumstances. A Level 5 finish, which requires skim coating and sanding, may be needed for a faultless surface.
How does a level 4 drywall finish differ from other levels of drywall finishes?
Depending on surface smoothness and preparation, drywall finishes come in different levels, including Level 4. Level 4 drywall finishes differ from others:
Level 0: Unfinished Drywall
The lowest level, Level 0, has unfinished drywall and no joint treatment. Installation of drywall panels without tape or mudding. This level is used for temporary construction and drywall burial. Finish quality is unimportant.
First Level: Fire Tape
Joint tape and one coat of joint compound cover seams and fastener heads in Level 1. It’s employed where fire resistance is more vital than attractiveness.
Second Level: Fire Tape and Fill
Fastener heads and corners get joint compound in Level 2.Garages and storage spaces utilize it for joint treatment but not surface appearance.
Level 3: Excellent Joint Treatment:
Level 3 involves joint tape and three applications of joint compound on seams, fastener heads, and corners. Tool marks and ridges are absent. The Level is ideal for painting or texturing without necessary lighting.
Tape and mud seams and corners for a smooth surface. Screw and nail heads receive multiple applications of joint compound. It smooths and works with most paint finishes.
Level 5: Highest Quality Finish
Level 5 is the highest-quality finish and includes all the steps of Level 4, with the addition of a skim coat of joint compound applied over the entire surface. Skim coat is thoroughly sanded for a clean, consistent finish. Level 5 is for high-gloss paint, vital lighting, and surface perfection.
In summary, Level 4 drywall finishes differ from others in coat count, surface smoothness, and appropriateness for diverse paint finishes and lighting circumstances. Level 4 is a normal finish for most residential and commercial applications, whereas Level 5 is for high-quality and flawless surfaces.
Level 4 drywall finishes use what methods or materials?
Achieving a Level 4 drywall finish involves specific techniques and materials to create a smooth and paint-ready surface. Here’s an overview of the techniques and materials typically used for a Level 4 drywall finish:
Techniques:
Taping and Mudding Seams:
Apply joint tape over all seams and press it into a thin layer of joint compound. Embed the tape using a taping knife or drywall finishing tool.
Apply a second coat of joint compound over the taped seams, feathering the edges to create a smooth transition.
Covering Screw or Nail Heads:
Cover screw or nail heads with joint compound, ensuring they are flush with the drywall surface. Apply multiple coats as needed for a smooth finish.
Feathering Edges:
Feather the edges of the joint compound to create a smooth, gradual transition between the seams, fastener heads, and the surrounding drywall. This helps prevent visible ridges or bumps.
Sanding:
After each coat of joint compound has dried, sand the surface using fine-grit sandpaper or a sanding block. Sanding smooths out imperfections and creates an even surface for the next coat.
Inspect and Touch Up:
Inspect the entire surface for any imperfections, ridges, or visible seams. Touch up any problem areas with additional coats of joint compound and sanding as needed.
Materials:
Joint Compound (Drywall Mud):
Tape seams, cover fastener heads, and smooth surfaces with joint compound. For most Level 4 finishes, use all-purpose joint compound.
Joint Tape:
Seams and corners are reinforced with paper joint tape or fiberglass mesh tape. It strengthens and prevents cracks.
Knives for taping and finishing drywall
Use 4-inch, 6-inch, or 10-inch taping knives to apply and smooth joint compound. A corner trowel can be used inside corners.
Materials for Sanding:
Sand dried joint compound between coats with fine-grit sandpaper or blocks to smooth it. Sanding poles or hand sanders are useful for larger areas.
Safety Gear:
Safety goggles or glasses, a dust mask, and work gloves are essential for protecting yourself during sanding and working with joint compound.
Primer and Paint:
Once the Level 4 finish is achieved, you’ll need high-quality primer and paint for the final finish.
Drop Cloths:
Use drop cloths to protect floors and furnishings from dust and splatter during the finishing process.
Proper application of these techniques and materials, along with attention to detail and thorough inspection, will result in a Level 4 drywall finish that provides a smooth and paint-ready surface for your project.
What are the advantages of opting for a level 4 drywall finish over lower levels of finish?
Opting for a Level 4 drywall finish over lower levels of finish offers several advantages, making it a popular choice for a wide range of residential and commercial applications. Here are the key advantages of choosing a Level 4 drywall finish:
Smooth and Aesthetic Appearance: A Level 4 finish provides a smooth and aesthetically pleasing surface. It eliminates visible seams and fastener heads, creating a clean and attractive appearance that’s ideal for most paint finishes.
Suitable for Most Paint Finishes: Level 4 is compatible with a wide range of paint finishes, including flat, matte, eggshell, and satin sheens. It ensures that these paints adhere well and provide a uniform appearance.
Enhanced Durability: Properly taped, mudded, and sanded seams and fastener heads contribute to the durability of the drywall surface. This level of finish helps prevent cracks and imperfections from developing over time.
Versatility: Level 4 is a versatile finish suitable for various residential and commercial applications, including living rooms, bedrooms, offices, and other spaces where standard lighting conditions prevail.
Cost-Effective: Compared to higher-level finishes like Level 5, achieving a Level 4 finish is more cost-effective and requires less labor and material. It strikes a balance between aesthetics and budget considerations.
Faster Completion: Achieving a Level 4 finish typically requires fewer coats of joint compound and less meticulous surface preparation compared to Level 5. This can lead to a faster project completion time.
Commercial Settings
Level 4 is a common finish in construction projects, therefore contractors and drywallers are familiar with it.
Level 4 works well in homes, offices, schools, and retail venues. It fits these surroundings’ visual and durability criteria.
Easy Maintenance: Level 4 finishes are smoother than those with texture and seams, making them easier to clean.
Acceptable Appearance: Level 4 finishes are acceptable and attractive to most homes and business owners.
The Level 4 finishes have many benefits, but they may not be ideal for places with vital lighting or high-gloss paints.You may need level 5 finishes with better surface perfection. This Level 4 is a good choice for most conventional applications due to its aesthetics, durability, and cost.
Conclusion
A level 4 drywall finish is multistep. Tape and compound drywall panel joints first. This compound covers all drywall joints, screw heads, and defects. Sanding smooths compound for a flawless finish. Sanding and a second compound coat improve the surface. Repeat until smooth.
A level 4 drywall treatment removes joints, ridges, and defects. This finish is popular in commercial and luxury residential buildings for its pristine appearance. Conference rooms, showrooms, and galleries with poor illumination use it. Level 4 walls can be painted or polished with high-gloss or reflecting materials to seem professional.
Level 4 drywall finish level is a crucial step in the construction process to ensure a smooth and flawless appearance of drywall surfaces. It involves multiple coats of joint compound and meticulous sanding to create a seamless and high-quality finish. For high gloss or sheen or critical lighting, this finish is often needed. By achieving a level 4 finish, the walls are ready for painting or other decorative treatments, resulting in visually appealing and professional-looking spaces.