How To Install Paneling On Walls
Introduction
How To Install Paneling On Walls: Transforming the appearance of your interior walls can be a remarkably satisfying home improvement project, and installing paneling is an excellent way to achieve that. Paneling not only adds depth and texture to your walls but also offers insulation and protection. Whether you’re aiming for a rustic, traditional, or contemporary look, mastering the art of installing paneling on walls is a valuable skill for any DIY enthusiast.
In this comprehensive guide on “How To Install Paneling on Walls,” we will walk you through the essential steps and techniques needed to create a visually appealing and long-lasting wall covering. From choosing the right type of paneling material to the intricate process of measuring, cutting, and installing panels, we’ve got you covered.
Discover expert tips on preparing your walls paneling , securing the panels, and finishing your project with precision and finesse. Whether you’re renovating a room or simply looking to refresh your space, our guide will equip you with the knowledge and confidence to undertake this home improvement endeavor. Let’s embark on this journey to elevate the aesthetics and functionality of your walls with paneling.

Is wall paneling easy to install?
Installing paneling is easy, especially when you remember these tips: With unfinished walls, nail paneling sheets right onto the studs or blocks of wood nailed between the studs. When nailing into plastered walls, you may need to attach furring strips first to provide a secure place for the nail to grab hold.
The ease of installing wall paneling depends on several factors, including your level of DIY experience, the type of paneling you choose, and the condition of your walls. Generally, some types of wall paneling are relatively easy to install, while others may require more skill and effort.
Here’s an overview of the process:
- Select Paneling Type: First, choose the type of wall paneling you want. Some options, like peel-and-stick panels or interlocking panels, are designed for straightforward installation and are suitable for beginners.
- Prepare the Surface: Ensure your wall is clean, smooth, and free of any imperfections. Repair any holes or cracks and sand the surface if needed. This step is critical for a successful installation.
- Measure and Cut: Measure the wall accurately and cut the panels to size. Use a saw or appropriate cutting tools based on the paneling material. Precision in cutting is essential for a neat finish.
- Apply Adhesive: Depending on the type of paneling, you may need adhesive, nails, or screws to secure the panels to the wall. Follow the manufacturer’s instructions for the adhesive or fastening method.
- Install the Panels: Start at one corner or edge and work your way across the wall, ensuring the panels are level and aligned correctly. Use a level and spacers to maintain even gaps between panels.
- Trim and Finish: Trim any excess panel material and add finishing touches, like corner pieces or molding, to complete the look.
While some paneling types are relatively simple to install, others, like traditional wood paneling or intricate designs, may require more advanced skills. The key to success is thorough preparation, precise measurements, and following instructions carefully. If you’re unsure, consider starting with a small area or seeking guidance from a professional.
How do you prep a wall for wall panels?
Step 2: Prep
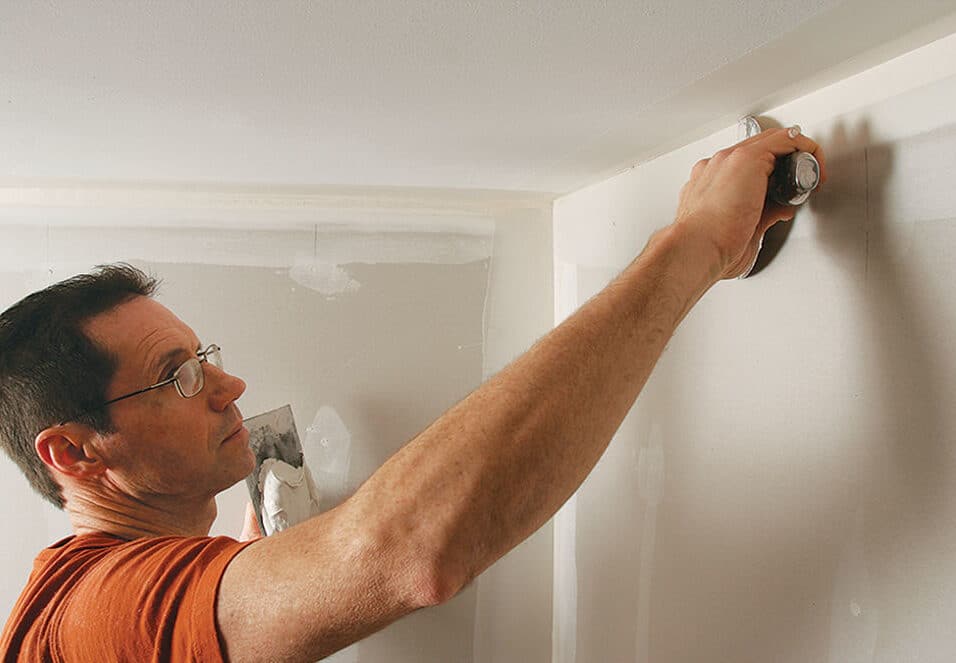
- Get rid of any flaky plaster or peeling paint by sanding down with a gritty sanding block.
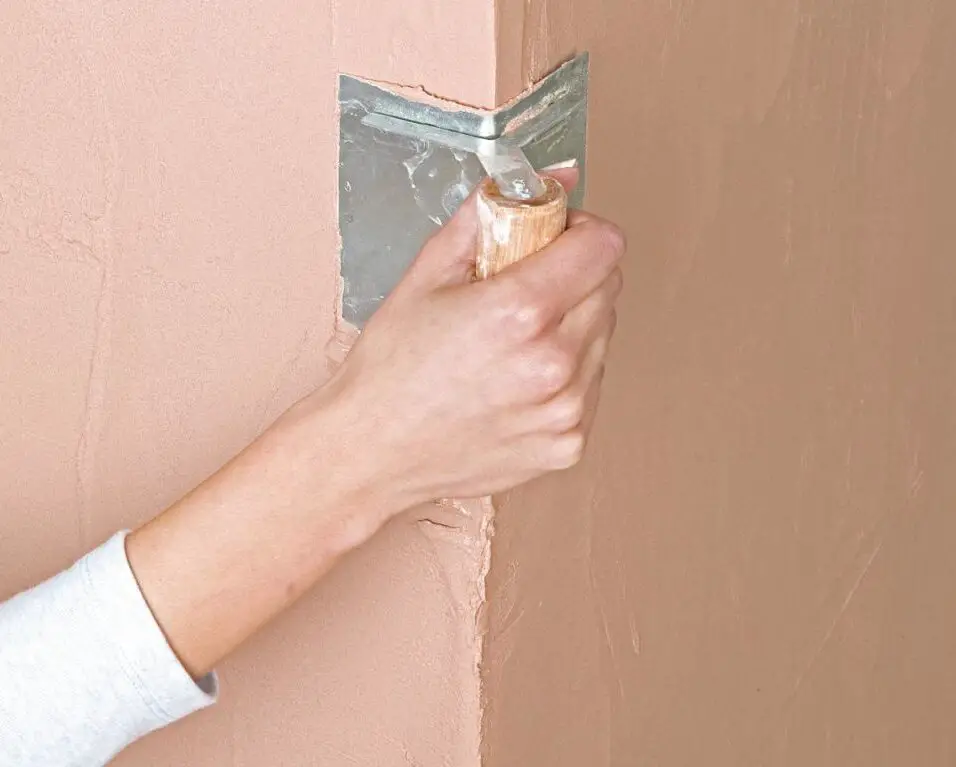
- Fill in any holes or gaps by carefully pushing filler in with a filling knife.
- Once you’ve got a smooth surface to work with, it’s time to start attaching the panels onto your wall.
Properly preparing a wall for wall panels is crucial to ensure a successful and long-lasting installation.
Here are the steps to prep a wall for wall panels:
- Clean the Wall: Start by thoroughly cleaning the wall surface. Remove any dust, dirt, or debris using a damp cloth or sponge. A clean surface will help the adhesive bond properly.
- Inspect and Repair: Examine the wall for any imperfections, such as cracks, holes, or uneven areas. Fill in holes and cracks with spackling compound or filler and sand them smooth once dry. For larger imperfections, consider using drywall joint compound.
- Remove Outlet Covers: Take off any electrical outlet and switch covers on the wall. This will allow you to install the panels more accurately around these fixtures.
- Sand the Wall: If the wall has a textured surface, it’s a good idea to lightly sand it. Sanding will create a smoother surface for the panels and improve adhesive adherence. Wipe away any dust created by sanding.
- Level the Wall: Use a level to ensure that the wall is straight and plumb. If you find any areas that are significantly out of level, consider adding furring strips to create a level surface.
- Prime the Wall (Optional): Depending on the type of wall panels and the condition of your wall, you may want to apply a primer. Primer can improve adhesion and prevent the wall from absorbing moisture from the adhesive.
- Plan the Layout: Before installing the panels, plan the layout to determine where each panel will go. This is especially important if you’re using panels with specific patterns or designs.
- Gather Tools and Materials: Make sure you have all the necessary tools and materials on hand, including adhesive, nails, screws, a level, measuring tape, and a saw or cutting tools.
By following these preparation steps, you’ll create a smooth, clean, and level surface for your wall panels, which will lead to a more successful and visually pleasing installation
Is panelling a wall expensive?
Materials: Every material will be priced differently, for example, oak wall panels are very expensive. Size of panels: Larger panels will have a higher price point than smaller options, plus the labour cost will likely increase due to the more difficult, time-consuming installation.
The cost of paneling a wall can vary widely depending on several factors:
- Type of Paneling: The type of paneling you choose has a significant impact on cost. Common options include wood, MDF (medium-density fiberboard), PVC, and faux stone or brick panels. Real wood paneling tends to be more expensive than synthetic materials.
- Quality and Brand: The quality and brand of the paneling also affect the price. High-end or designer paneling brands may come with a premium price tag.
- Size of the Wall: The size of the wall you plan to panel will obviously impact the cost. Larger walls require more materials.
- Labor: If you hire a professional to install the panels, labor costs will be an additional expense. DIY installation can save on labor but may require more time and effort.
- Additional Materials: You may need additional materials such as adhesive, fasteners, molding, or trim pieces, which can add to the overall cost.
- Finishing and Painting: Depending on your design preferences, you may need to finish or paint the panels after installation, which will also contribute to the total cost.
To get an accurate cost estimate, it’s essential to measure the wall, choose the type and quality of paneling, and consider any additional materials or labor costs. Paneling can range from affordable options for budget-conscious projects to high-end choices for those seeking a more luxurious finish.
Is wall panelling a good idea?
Panelling can be a great hallway idea for solving this, especially when used halfway up the wall where the majority of the scuffs occur. Not only does it protect the walls, but panelling can be painted in a hardier finish such as an eggshell or satin, which will fair better and be easier to clean.
Wall paneling can be a fantastic idea depending on your goals and preferences.
Here are some advantages and considerations to help you decide if wall paneling is a good choice for your project:
Advantages:
- Aesthetic Appeal: Wall paneling adds depth, texture, and visual interest to a room. It can create a warm, cozy, or luxurious ambiance, depending on the type of paneling chosen.
- Versatility: There are numerous paneling options available, from traditional wood panels to modern PVC or MDF panels. This versatility allows you to find a style that suits your design vision.
- Insulation: Some paneling materials, like wood, provide insulation benefits, helping to regulate room temperature and reduce energy costs.
- Protection: Wall panels can protect walls from wear and tear, stains, and moisture. This makes them suitable for high-traffic areas or spaces prone to splashes, such as kitchens and bathrooms.
- Ease of Maintenance: Many paneling materials are easy to clean and maintain, requiring minimal effort to keep them looking great.
Considerations:
- Cost: The cost of wall paneling can vary, with some materials being more expensive than others. It’s essential to consider your budget when choosing paneling options.
- Installation: Depending on your DIY skills, installing wall paneling can be straightforward or more challenging. Proper installation is crucial for achieving a polished look.
- Design Compatibility: Paneling styles should complement your overall interior design. Ensure that the paneling choice aligns with your aesthetic preferences and the room’s purpose.
- Maintenance: While many panels are easy to maintain, some may require more attention over time, such as periodic refinishing or repainting.
- Resale Value: In some cases, extensive or highly customized paneling may not appeal to future homebuyers, potentially affecting resale value.
In summary, wall paneling can be an excellent idea for enhancing the aesthetics and functionality of
How do you panel a wall yourself?
1: Planning.
2: Measure your wall.
3: Cut the panels.
4: Sand and smooth your walls.
5: Apply the panels to your wall.
6: Fill in any gaps.
7: Prime your panels.
8: Paint your wall panel.
Paneling a wall yourself involves several steps:
Gather Materials: Collect all the materials and tools you’ll need, including the wall panels, adhesive or fasteners, a level, measuring tape, a saw or cutting tools, a caulking gun, and a hammer or nail gun, depending on your chosen installation method.
Prepare the Wall: Ensure the wall is clean, smooth, and free of imperfections. Repair any holes or cracks and sand the surface if needed.
Measure and Plan: Measure the wall to determine the layout of the panels. Consider the size and design of the panels and decide on the spacing and arrangement.
Cut Panels: Using your measurements, cut the panels to size. Ensure precise cuts for a clean finish. You may need to trim panels for corners or edges.
Apply Adhesive or Fasteners: Depending on the type of paneling, use adhesive, nails, or screws to secure the panels to the wall. Follow the manufacturer’s instructions for the adhesive or fastening method.
Install Panels: Start at one corner or edge and work your way across the wall.
Trim and Finish: Trim any excess panel material and add finishing touches, like corner pieces or molding, to complete the look.
Caulk and Fill: Use caulk to fill gaps or seams between panels and between panels and the ceiling or floor. Sand any uneven areas and apply filler or joint compound if necessary.
Paint or Finish (Optional): Depending on your design preferences, you can paint the panels or apply a finish. Some paneling materials, like wood, may benefit from staining or varnishing.
Clean Up: Clean up any excess adhesive, caulk, or debris, and replace outlet covers or fixtures.
Inspect and Adjust: After the installation, inspect the panels for secure attachment and alignment. Make any final adjustments or touch-ups as needed.
Do you paint before Panelling?
Prep Those Walls
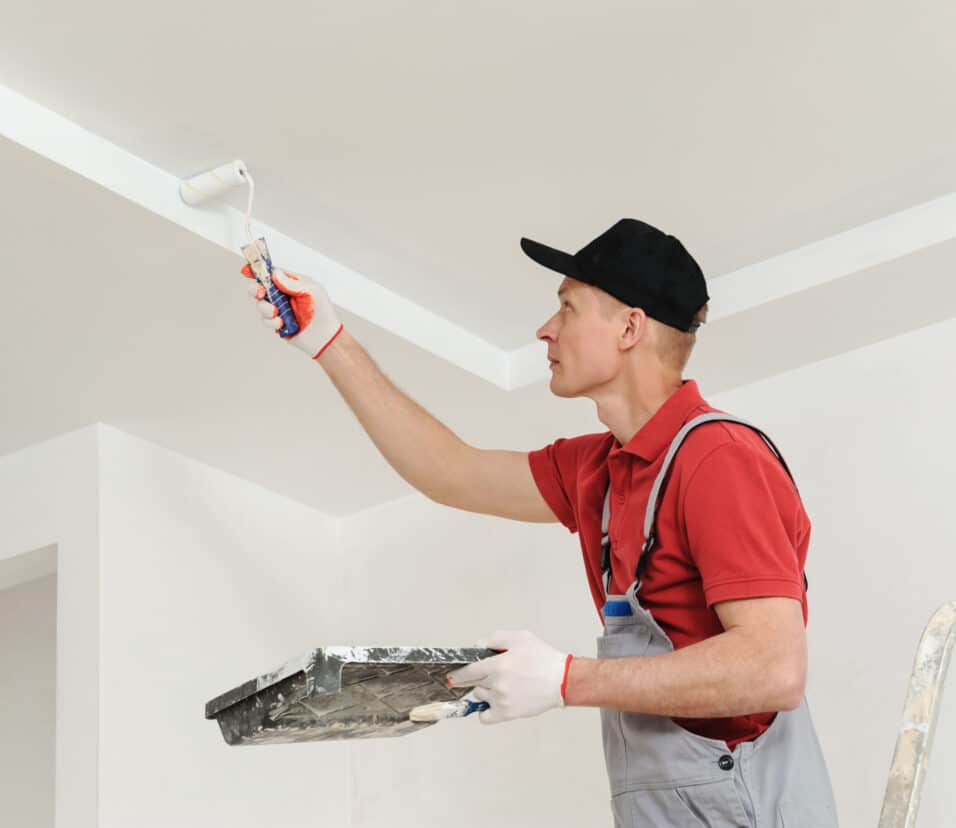
Painting your walls white before you adorn them with wall panels will ensure the colour you paint the wall panneling will match the wall once painted. It’s crucial to have a good base to start with.
In most cases, you do not need to paint the wall before paneling. Wall paneling is typically installed directly onto the existing wall surface, which can be painted afterward to achieve the desired look.
However, there are situations where you might consider painting the wall before paneling:
- Wall Condition: If the existing wall has significant imperfections, stains, or a dark color that could potentially show through the paneling, you might choose to paint it a neutral color first.
- Color Preference: If you prefer the wall color to be different from the paneling color and want the wall color to show through any gaps between panels or as an accent, you can paint it before paneling.
- Adhesive Compatibility: Some adhesives used for paneling may work better on painted surfaces. Check the adhesive manufacturer’s recommendations.
In general, painting before paneling is not a common practice, but it can be a viable option if it aligns with your design preferences or the condition of the existing wall.
What wood is used for wall Panelling?
You can use a range of materials to create your panelling, whether you want to embrace the natural grain and knots of soft timber or use MDF boards for a cleaner but less natural approach. You could use architraves and other mouldings for a more decorative option that suits both contemporary and traditional styles.
Several types of wood are commonly used for wall paneling, each offering its own unique appearance and characteristics.
Here are some popular choices:
- Pine: Pine is a commonly used wood for wall paneling. It’s affordable and has a light, natural color with prominent grain patterns. Pine paneling can give a warm and rustic look to a room.
- Cedar: Cedar has a natural resistance to insects and decay, making it an excellent choice for paneling in areas prone to moisture. It has a distinctive aroma and reddish-brown color that adds character to spaces.
- Oak: Oak is known for its durability and beautiful grain patterns. It can be stained or finished to bring out its natural color variations. Oak paneling is often chosen for a classic, traditional look.
- Maple: Maple is a hardwood with a smooth, even grain. It’s versatile and can be stained or painted to achieve various looks, from modern to traditional.
- Cherry: Cherry wood paneling has a rich, reddish-brown color that darkens with age. It’s often chosen for its elegant and timeless appearance.
- Walnut: Walnut is a dark, rich wood with a distinctive grain pattern. It adds a sense of luxury and sophistication to interiors.
- Birch: Birch is known for its pale, even color and fine grain. It can be stained or finished to achieve different styles.
- Mahogany: Mahogany is prized for its deep reddish-brown color and attractive grain. It’s a luxurious choice for traditional or formal spaces.
When selecting wood for wall paneling, consider the room’s style, the desired ambiance, and the wood’s compatibility with your design vision. You can choose between solid wood paneling or engineered wood products like plywood or MDF with wood veneer for cost-effectiveness and versatility.
Should I paint paneling?
However, if your house is full of paneling that is dated, damaged, or made of an inferior veneer, it’s worth considering an upgrade. Since removing it could be costly, consider a coat of paint. It can instantly make that dingy paneling look fresh and bright for a fraction of the cost.
Whether or not to paint paneling depends on your design preferences and the type of paneling material you’ve chosen. Here are some considerations:
Reasons to Paint Paneling:
- Updated Look: Painting paneling is an effective way to modernize or refresh the appearance of a room. It allows you to change the color and style to match current trends or your evolving taste.
- Lighten a Space: Painting paneling in a lighter color can brighten a room and make it feel more spacious, which can be especially beneficial in small or dark spaces.
- Cover Imperfections: If the paneling has imperfections or a dated finish, painting can provide a clean, uniform appearance, concealing flaws.
- Customization: Painting allows you to customize the paneling to match your decor, furniture, or color scheme.
Reasons to Keep Natural Wood Finish:
- Natural Beauty: Some paneling materials, like real wood, have a natural beauty and grain pattern that many people find appealing. Painting over such wood can obscure its unique characteristics.
- Warmth and Charm: Wood paneling adds warmth and a sense of coziness to a space, making it ideal for rustic, traditional, or cottage-style interiors.
- Durability: Wood paneling with a clear finish is often more durable and resistant to wear and tear than painted surfaces. It can withstand daily use and is easier to maintain.
- Aesthetic Preference: If you prefer the look of natural wood and it complements your design

Conclusion
Congratulations on completing your journey through the world of paneling installation! By following this guide on “How To Install Paneling on Walls,” you’ve gained valuable skills that empower you to transform your living spaces. Your newly paneled walls now exude charm, character, and a touch of your personal style.
As you conclude your project, it’s essential to review your work for any finishing touches. Inspect your panels for secure attachment and alignment. Pay attention to seams and corners, ensuring they are smooth and seamless. If needed, caulk gaps and apply any final coats of paint or finish to achieve a polished look.
Take pride in your accomplishment. The effort you’ve invested in this DIY project has not only enhanced the visual appeal of your home but also increased its value. Paneling serves as an enduring design element that can withstand the test of time, providing both aesthetics and functionality.
Remember that the key to a successful install wall paneling lies in meticulous planning, precise measurements, and attention to detail. With these skills in your toolkit, you’re well-prepared for future home improvement projects and the satisfaction of turning your vision into reality.
Thank you for entrusting us with your paneling journey. May your newly paneled walls bring warmth and beauty to your living space for years to come.