How To Fix Panel Walls
Introduction
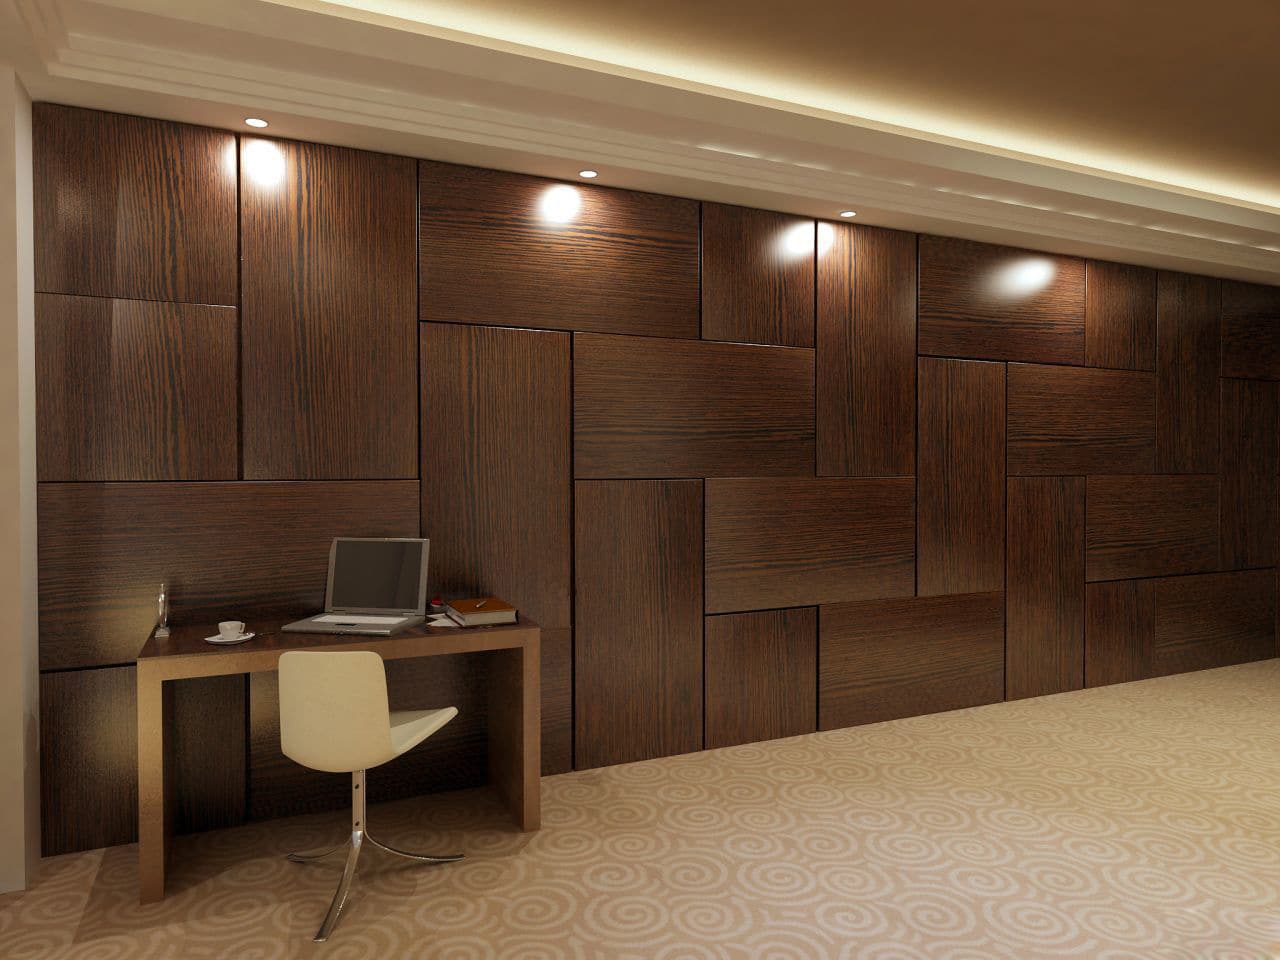
How To Fix Panel Walls: Panel walls are a popular architectural feature in many homes and commercial spaces, known for their aesthetic appeal and versatility. Whether you have classic wood paneling, modern laminate panels, or any other type, over time, they can develop issues that detract from their beauty and functionality. From unsightly cracks and holes to warping and discoloration, panel walls may require some attention to restore them to their former glory.
In this comprehensive guide, we will delve into the art of panel wall restoration, equipping you with the knowledge and techniques needed to fix these issues effectively. Whether you’re a seasoned DIY enthusiast or a novice looking to tackle your first home improvement project, we’ve got you covered.
We will explore the common problems associated with panel walls, from minor blemishes to more extensive damage, and provide step-by-step instructions on how to address each issue. From choosing the right materials and tools to mastering the art of patching, sanding, and finishing, you’ll learn the essential skills required to transform your panel walls into stunning focal points once again.
So, if you’re ready to breathe new life into your walls paneling and create a space that’s both beautiful and functional, let’s embark on this journey of restoration together. Whether you’re aiming to enhance the aesthetics of your living room or revamp your office space, this guide will empower you to fix panel walls with confidence and finesse.
How do you attach wall panels?
- How to Install FRP Wall Paneling
- Prepare Wall Surface. The wall surface must be porous, clean, and flat.
- Prepare Wall.
- Cut Panels.
- Make Cutouts.
- Apply Adhesive to Panel.
- Attach Panels to Wall: Center Holes. .
- Insert Sealant in Moldings (Optional) .
- Flatten With Roller.
Attaching wall panels involves several steps:
- Measure and Plan: Start by measuring your wall and planning the panel layout. This will help you determine panel sizes and placement.
- Prepare the Wall: Ensure the wall is clean, dry, and free of any existing materials like wallpaper or paint. Repair any imperfections, such as holes or cracks.
- Apply Adhesive: Depending on the type of wall panels you’re using, apply an appropriate adhesive to the back of the panel. For lightweight panels, construction adhesive works well. For heavier panels, like wood, you may need to use panel adhesive combined with mechanical fasteners.
- Place Panels: Carefully position the panels onto the wall, starting from one corner and working your way across. Use a level to ensure they are straight and plumb.
- Secure Panels: For added stability, use finishing nails or screws to secure the panels to the wall. Place these fasteners at the corners and along the edges, ensuring they’re driven flush with the panel surface.
- Fill Joints and Seams: If there are gaps or seams between panels, fill them with wood filler, joint compound, or caulk, depending on the panel material. Sand the filler or compound smooth when it dries.
- Finish: Finally, finish the panels as desired. This may involve painting, staining, or applying a clear finish, depending on the panel type and your design preferences.
How do you prep a wall for wall panels?
Step 2: Prep
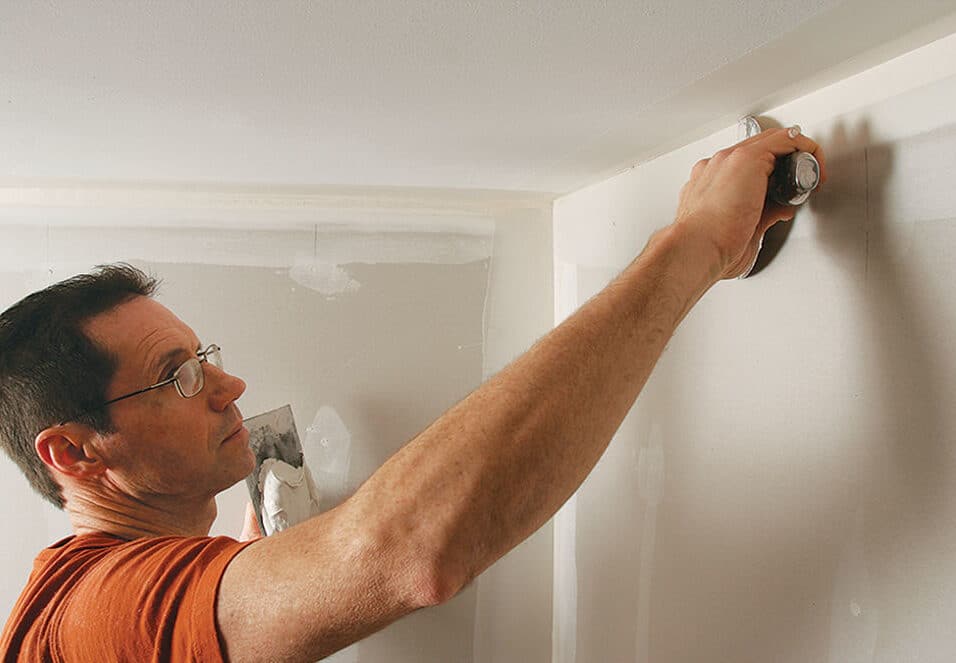
- Get rid of any flaky plaster or peeling paint by sanding down with a gritty sanding block.
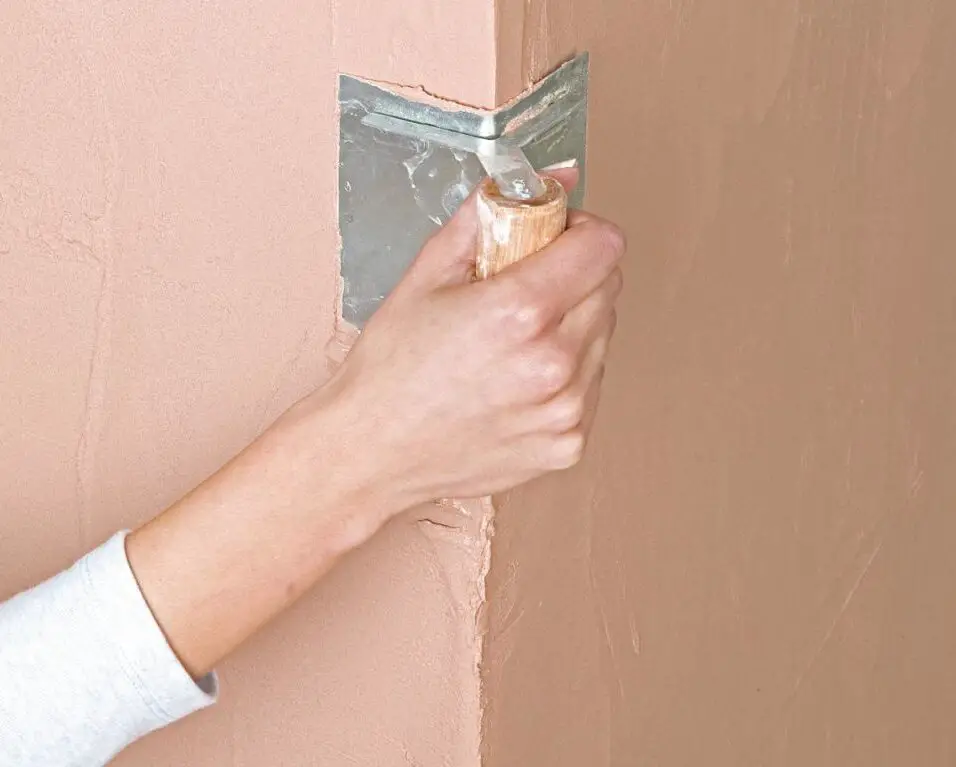
- Fill in any holes or gaps by carefully pushing filler in with a filling knife.
- Once you’ve got a smooth surface to work with, it’s time to start attaching the panels onto your wall.
- Clear the Wall: Remove any furniture, decor, or obstacles from the wall.
- Clean the Surface: Ensure the wall is clean and free from dust, dirt, and grease. A mixture of mild detergent and water can be used for cleaning. Rinse thoroughly and allow it to dry completely.
- Inspect for Damage: Carefully inspect the wall for any damage, such as holes, cracks, or loose paint. Repair these issues before installing panels.
- Measure and Plan: Measure the wall’s dimensions and plan the layout of the panels. Determine the starting point and the size of panels you’ll need.
- Locate Studs: Use a stud finder to locate and mark the positions of wall studs. This will help you secure the panels firmly.
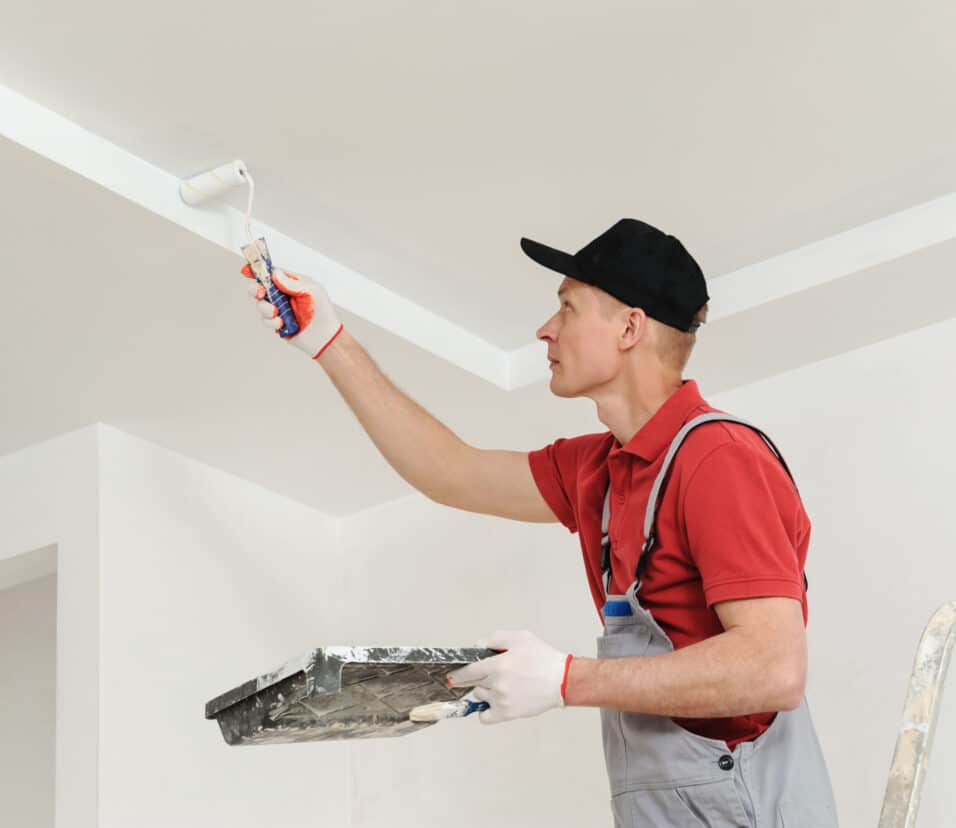
- Apply a Primer: Apply a primer to the wall if the panels won’t cover the entire surface. This helps ensure a uniform appearance when the panels are installed.
- Create Level Lines: Use a level to create horizontal and vertical guide lines on the wall. These lines will help you align the panels accurately.
What is the adhesive used for for wall panels?
Wall panel glue is the must-have wall panel accessory, because it ensures that your beautiful wall cladding is secured to the wall in a robust and long-lasting way. Our super strong wall panel adhesive will also help with fitting wall panel trims and wall panel skirtings, ensuring a perfect finish every time!
The type of adhesive used for wall panels depends on the material of the panels and the surface they are being applied to. Here are some common adhesives:
- Construction Adhesive: This versatile adhesive is suitable for many panel types, including lightweight options like foam or PVC panels. It’s easy to use and provides a strong bond.
- Panel Adhesive: Specifically designed for attaching panels, this adhesive is ideal for heavier materials like wood or MDF panels. It often has a higher bonding strength and longer drying time, allowing for precise placement.
- Contact Cement: Used for materials like laminate or veneer panels, contact cement is applied to both the wall and the panel. Once it dries, the two surfaces are pressed together, creating a strong bond.
- Liquid Nails: A popular brand of construction adhesive, Liquid Nails offers various formulations for different materials. It’s a reliable choice for panel installation.
- Caulk: For some panels, especially those with joints or seams, caulk is used to seal gaps and create a seamless appearance.
Always refer to the manufacturer’s instructions and recommendations for the specific type of adhesive that suits your wall panels. Proper application and curing time are crucial for a successful bond.
How do you fix MDF wall Panelling?
The quickest way to attach the MDF to the wall is with adhesive glue. If you choose this option, apply the adhesive to the MDF, 10cm from the edges and no more than 30cm between blobs. Position the MDF against the wall and firmly push it into place. This spreads the adhesive evenly, helping it better stick.
Fixing MDF (Medium Density Fiberboard) wall paneling involves addressing common issues like dents, scratches, or gaps:
- Clean and Prepare: Start by cleaning the MDF paneling with a mild detergent and water to remove any dirt or grime. Allow it to dry completely.
- Fill Holes and Gaps: For small holes or gaps, use a wood filler that matches the color of the paneling. Fill the imperfections, let it dry, and then sand it smooth.
- Repair Scratches: For surface scratches, lightly sand the affected area with fine-grit sandpaper. If the scratches are deep, you may need to fill them with wood filler before sanding.
- Prime: Apply a coat of primer to the MDF paneling if you plan to paint it. This helps the paint adhere evenly and provides a smooth finish.
- Paint or Finish: Depending on your desired look, paint the MDF paneling with your chosen color or finish. Use a brush or roller for an even coat.
- Seal Edges: To prevent moisture damage, seal the edges of the MDF paneling, especially in areas like kitchens or bathrooms, with a waterproof sealant.
- Regular Maintenance: Keep the MDF paneling clean and dry. Avoid excessive moisture exposure, as MDF can swell when wet.
By following these steps, you can effectively fix and maintain MDF wall paneling, ensuring it remains an attractive and durable feature in your space.
Is Wall Panelling a good idea?
Panelling can be a great hallway idea for solving this, especially when used halfway up the wall where the majority of the scuffs occur. Not only does it protect the walls, but panelling can be painted in a hardier finish such as an eggshell or satin, which will fair better and be easier to clean.
Wall paneling can be a fantastic idea for many reasons. It offers various benefits, such as enhanced aesthetics, insulation, and protection for your walls.
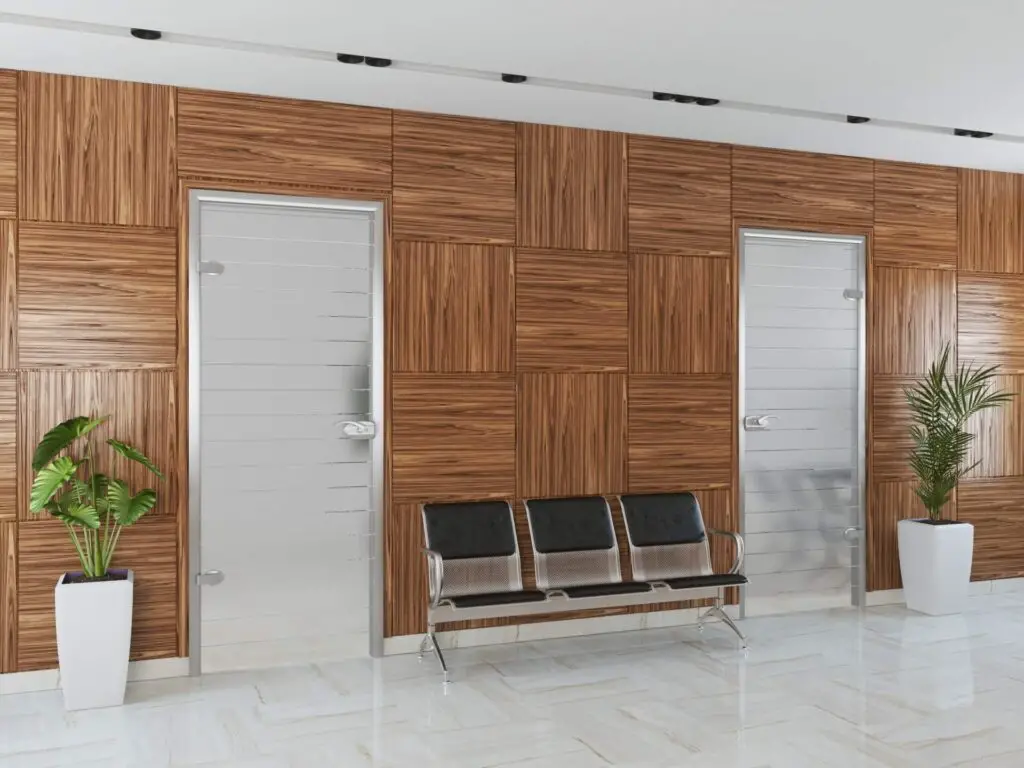
Firstly, wall paneling can significantly improve the visual appeal of a room. Whether you opt for classic wood paneling, modern PVC panels, or other materials, they can add texture, depth, and a sense of luxury to your space. You have the freedom to choose from a wide range of styles, colors, and finishes to suit your decor preferences.
Secondly, wall panels can provide insulation. Some panel types, particularly those with foam or cork backing, offer thermal and sound insulation benefits. This can help regulate indoor temperatures and reduce noise, making your living environment more comfortable.
Additionally, wall panels can protect your walls from wear and tear. They act as a barrier against scratches, stains, and damage, which is especially beneficial in high-traffic areas.
In summary, wall paneling can be an excellent idea, adding beauty, functionality, and protection to your interior spaces.
Are wall panels easy to install?
Panelling has become a popular DIY trend due to how quick, easy, and cost-effective it is to do. With various types of panelling available, there are a few different ways you can do DIY panelling at home. Check out our quick and easy steps below on how to do board and batten wood panelling.
The ease of installing wall panels depends on the type of panels you choose and your DIY skills. In general, many wall panels are designed to be relatively easy to install, making them a popular choice for homeowners looking to enhance their interiors without extensive construction work.
- Peel-and-Stick Panels: Some modern wall panels come with a peel-and-stick backing, making installation as simple as peeling off the protective layer and pressing the panel onto the wall. This is one of the easiest installation methods and requires minimal tools and expertise.
- Tongue-and-Groove Panels: Wood and some composite panels feature a tongue-and-groove design, which allows for interlocking panels. While this method requires more precision in alignment, it’s still manageable for many DIY enthusiasts.
- Nail or Screw-On Panels: Heavier panels, such as wood or MDF, may require mechanical fasteners like nails or screws in addition to adhesive. This installation method is more labor-intensive and may necessitate some carpentry skills.
- Professional Installation: For more complex paneling projects or if you lack DIY experience, hiring a professional installer is a wise choice. They have the expertise and tools to ensure precise and secure installation.
Ultimately, the ease of installation depends on your chosen panel type and your level of comfort with DIY projects. Always follow the manufacturer’s instructions for the specific panels you select and consider seeking professional help if you’re unsure about the installation process.
Is PVC Panelling strong?
Additionally, the strength and durability of PVC material mean that your bathroom tiles are unlikely to break during transit and installation, while traditional ceramic tiles will shatter easily. Safety and Hygiene: PVC wall panels are strong and both fire-resistant and waterproof, helping keep your home safe.
PVC (Polyvinyl chloride) paneling is known for its durability and strength. It is a robust material that offers several advantages when used for wall paneling:
- Waterproof: PVC panels are inherently waterproof, making them ideal for areas prone to moisture, such as bathrooms, kitchens, and basements. They do not absorb water, which prevents issues like rot or mold.
- Impact Resistance: PVC panels are resistant to impact and do not easily dent or break. This durability makes them suitable for high-traffic areas where accidental bumps or impacts can occur.
- Low Maintenance: PVC paneling requires minimal maintenance. It is easy to clean, typically requiring only a wipe down with a damp cloth or mild cleaning solution.
- Longevity: PVC is a long-lasting material that can withstand years of use without significant wear or deterioration.
- Lightweight: PVC panels are lightweight, making them easier to handle during installation.
While PVC panels are strong and durable, their specific strength can vary based on the thickness and quality of the PVC material. Thicker panels tend to be stronger and more rigid than thinner ones. Overall, PVC paneling is a dependable choice for both residential and commercial applications.
Can PVC sheet be pasted on wall?
Polywood water-based adhesive is highly recommended for pasting of fancy PVC sheets on the walls. It works best in this application giving excellent & durable hold. Flawed walls, like with holes, mold, defected & damaged surfaces can be covered with PVC sheets & Polywood white adhesive.
Yes, PVC sheets can be pasted or adhered to the wall, and it’s a common method for installing PVC wall paneling. Here’s how to do it:
Prepare the Wall: Ensure that the wall surface is clean, dry, and free from dust, grease, and any loose paint or wallpaper. If there are any holes or imperfections, patch them and let them dry completely.
Measure and Cut: Measure the wall and the PVC sheets to determine the size you need. Use a utility knife or a saw to cut the PVC sheets to the correct dimensions.
Apply Adhesive: Use an appropriate adhesive recommended by the PVC sheet manufacturer. Apply a generous amount of adhesive to the back of the PVC sheet, ensuring even coverage.
Position the PVC Sheet:
Carefully position the PVC sheet onto the wall, starting at one corner or edge. Press it firmly against the wall to ensure proper adhesion. Use a level to make sure the sheet is straight and plumb.
Secure the Sheet: Depending on the size and weight of the PVC sheet, you may need to use temporary supports or clamps to hold it in place until the adhesive dries. Follow the adhesive manufacturer’s recommended drying time.
Seal the Joints: If you have multiple PVC sheets to install and there are gaps or seams between them, use a PVC-compatible sealant to fill and seal the joints. This ensures a clean and waterproof finish.
Finish the Edges: To create a finished look, you can use PVC corner trims or moldings to cover the exposed edges of the sheets.
Remember to follow the specific instructions provided by the PVC sheet manufacturer and the adhesive manufacturer for the best results. Installing PVC sheets on the wall can be a relatively straightforward DIY project, but it’s essential to take your time and ensure proper adhesion for a long-lasting finish.

Conclusion
In conclusion, restoring panel walls is a rewarding endeavor that can breathe new life into your living or working spaces. We’ve covered a wide range of techniques and tips in this comprehensive guide on how to fix panel walls, equipping you with the knowledge and skills needed to tackle a variety of issues.
Remember, the key to successful panel wall restoration lies in careful preparation, attention to detail, and patience. Whether you were dealing with unsightly cracks, holes, warping, or discoloration, we’ve provided you with step-by-step instructions and expert advice to help you achieve remarkable results.
As you embark on your panel wall restoration journey, always prioritize safety and take your time to ensure each step is done correctly. Choosing the right materials, tools, and finishes will make a significant difference in the final outcome, leaving you with walls that are not only structurally sound but also aesthetically pleasing.
Ultimately, by following the guidance provided in this guide, you can transform your panel walls from sources of frustration into stunning focal points. Whether you’re aiming to create a cozy and inviting home environment or an impressive and professional workspace, the satisfaction of a job well done will be your reward.
So, roll up your sleeves, gather your supplies, and embark on your wall paneling restoration project with confidence. With the knowledge you’ve gained here, you have the power to breathe new life into your space and enjoy the beauty and functionality of your panel walls for years to come.