How To Cut Shower Wall Panels
Introduction
How to Cut Shower Wall Panels: Shower wall panels are a great option for bathroom renovations or shower aesthetics. These durable, low-maintenance panels may update your bathroom with their sleek, modern design.
While installing shower wall panels might seem like a straightforward task, one of the key skills you’ll need to master is the art of cutting them to fit your specific space. Properly cutting shower wall panels is essential for achieving a seamless and professional finish.
In this guide, we will take you through the step-by-step process of cutting shower wall paneling, covering everything from selecting the right tools and materials to measuring and making precise cuts. We’ll provide you with expert tips and tricks to ensure that your panels fit flawlessly around fixtures, corners, and edges. So, let’s dive in and learn how to cut shower wall panels like a pro!

What is the best tool to cut shower panels?
Cutting a Shower Panel with a fine toothed saw.
Mark the panel to your desired length using either a fine tipped marker or pencil. With a fine toothed saw (PVC Predator Saw is ideal) cut slowly with the decorative face up. This method will leave a clean edge.
The best tool to cut shower panels largely depends on the material of the panels you’re working with. This tool offers clean, straight cuts with minimal chipping.
However, if you’re dealing with thin or lightweight panels, a utility knife with a sharp, high-quality blade can also be effective for scoring and snapping. For more intricate or curved cuts, a jigsaw or reciprocating saw with a fine-toothed blade can be useful.
In any case, regardless of the tool you choose, safety should be a priority. Always wear appropriate safety gear like goggles, gloves, and a dust mask, and follow the manufacturer’s guidelines for the specific tool and material.
Can you cut shower walls?
Myth 2: Only standard sizes are available. Many people with custom-sized showers believe tile is their only option, which isn’t the case. In fact, most shower wall panel materials can be cut to the exact dimensions of any walk-in shower, including LuxStone® shower walls.
Yes, you can cut shower walls, but it’s essential to do it correctly and safely. Cutting shower walls is typically necessary to fit them around fixtures, corners, or other obstacles in your bathroom.
The process involves measuring the area you need to cut, marking it carefully, and then using an appropriate cutting tool, such as a circular saw, utility knife, or a specialized shower wall cutting tool if available. Be sure to follow the manufacturer’s guidelines for your specific shower wall material, as different materials may require different tools and techniques.
Safety precautions are critical when cutting shower walls, including wearing safety gear and ensuring proper ventilation to manage dust and fumes. Take your time, make precise cuts, and be cautious to avoid damaging the surrounding area or the plumbing and wiring behind the walls.
Can you cut PVC wall panels?
PVC wall and ceiling panels are easy to cut with a fine tooth saw – either a hand saw or a circular saw with a fine tooth blade. Be careful in low temperatures, panels can become brittle and be prone to splitting.
Yes, you can cut PVC wall panels. PVC (polyvinyl chloride) is a common material used for shower wall panels due to its durability and moisture resistance. To cut PVC wall panels, follow these general steps:
- Measure the area you need to cut carefully and mark it with a pencil or masking tape.
- Use a circular saw with a fine-toothed carbide blade for straight cuts. Ensure the blade is suitable for cutting PVC.
- Set the saw to the appropriate depth to prevent over-cutting.
- Cut along the marked line slowly and steadily, keeping the saw blade straight for a clean edge.
- Sand the cut edge lightly to remove any rough edges or burrs.
Remember to wear safety gear, including eye protection and a dust mask, when cutting PVC panels. Additionally, it’s crucial to follow the manufacturer’s guidelines for your specific PVC wall panels, as the cutting process may vary slightly depending on the product.
Can acrylic shower panels be cut?
Before cutting you should make sure that you have taken into account any allowances for profiles that are to be used which are shown below. The acrylic panels can be cut either using a circular saw, jigsaw or router.
Yes, acrylic shower panels can be cut, but it requires care and the right tools. Acrylic is a popular choice for shower panels due to its lightweight and durable nature. To cut acrylic shower panels:
- Measure and mark the area you need to cut using a straight edge and a pencil.
- Ensure you have the right tool for the job. A circular saw with a fine-toothed carbide blade or a jigsaw with a fine-toothed blade can work well for acrylic.
- Set the saw blade to a low speed and feed the material through slowly to avoid melting or chipping.
- Consider using masking tape along the cutting line to reduce chipping and splintering.
- After cutting, sand the edges with fine-grit sandpaper to smooth any rough edges.
Safety precautions, such as wearing eye protection and a dust mask, are essential when cutting acrylic to protect against flying debris and fumes. Always follow the manufacturer’s instructions for your specific acrylic shower panels, as some products may have unique cutting requirements or recommendations.
What is the easiest way to cut PVC panels?
A Mitre Saw is the quickest method to cut PVC Wall Panels, you can even cut one pack of four panels with a single pass. We do recommend caution with this method as it really does come down to the blade, the more teeth the better when cutting PVC Cladding.
The easiest way to cut PVC panels is typically with a circular saw equipped with a fine-toothed carbide blade. Follow these steps:
- Measure and Mark: Begin by measuring the area you need to cut on the PVC panel and mark it with a pencil or masking tape. Ensure your measurements are accurate to avoid mistakes.
- Set Up the Saw: Adjust the circular saw’s blade depth to slightly more than the thickness of the PVC panel. This prevents over-cutting and minimizes chipping. Ensure you’re using a blade designed for cutting plastic or PVC.
- Safety Gear: Before cutting, put on safety gear, including safety goggles and a dust mask, to protect yourself from flying debris.
- Cut Slowly: Position the panel securely on a stable surface, and then slowly guide the saw along the marked line. Keep a steady hand to ensure a straight cut. Cutting too quickly can lead to melting or rough edges.
- Finish the Cut: Once the cut is complete, remove any remaining burrs or rough edges by sanding lightly with fine-grit sandpaper.
Remember to practice caution and prioritize safety when cutting PVC panels. Always follow the manufacturer’s guidelines for your specific panels, as the cutting process may vary depending on the product.
How do you cut a shower wall liner?
If you have to remove a considerable length of liner, you can use a stanley knife with a straight edge to cut/mark the liner at the correct place and bend it at the cut/mark to break the excess off at that point. Redress the cut edge with sandpaper.
Cutting a shower wall liner, typically made of materials like acrylic or PVC, involves similar steps to cutting other plastic panels. Here’s a general guide:
- Measure and Mark: Begin by measuring the area where you need to cut the shower wall liner. Use a straightedge or a level to create a straight line. Mark the cut line using a pencil or masking tape.
- Select the Right Tool: For shower wall liners, a circular saw with a fine-toothed carbide blade or a jigsaw with a fine-toothed blade is usually suitable. Ensure the blade is designed for cutting plastic materials.
- Safety Precautions: Always wear appropriate safety gear, including safety goggles and a dust mask, to protect yourself from debris and fumes.
- Cut Carefully: Secure the shower wall liner on a stable surface, and then carefully guide the saw along the marked line. Keep a steady pace to achieve a clean cut without melting or chipping.
- Finish the Edges: After cutting, use fine-grit sandpaper to smooth any rough or sharp edges, ensuring a polished appearance.
The specific instructions may vary depending on the brand and type of shower wall liner you’re using, so always refer to the manufacturer’s recommendations for the most accurate cutting guidelines.
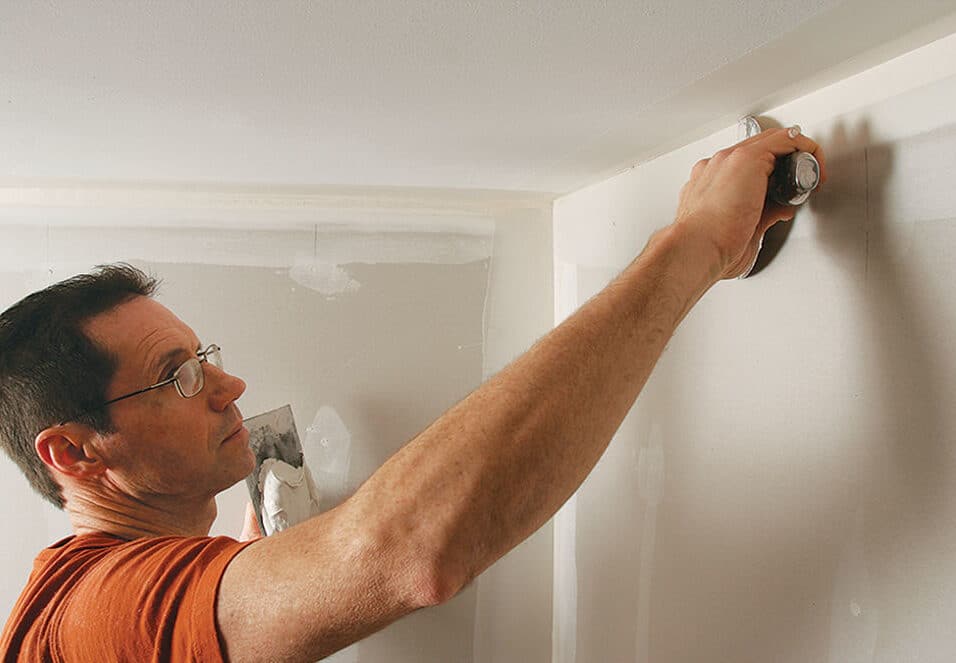
Do shower wall panels leak?
That’s because, unlike tiles, shower panels don’t have grout joins that absorb moisture. So, in theory, your shower wall panel shouldn’t leak. Any high-quality shower panel should be completely non-porous and repel all water droplets coming toward it.
Shower wall panels themselves do not typically leak if they are properly installed and sealed. Modern shower wall panels, especially those made of materials like acrylic, PVC, or fiberglass, are designed to be water-resistant and are intended to prevent water from passing through them.
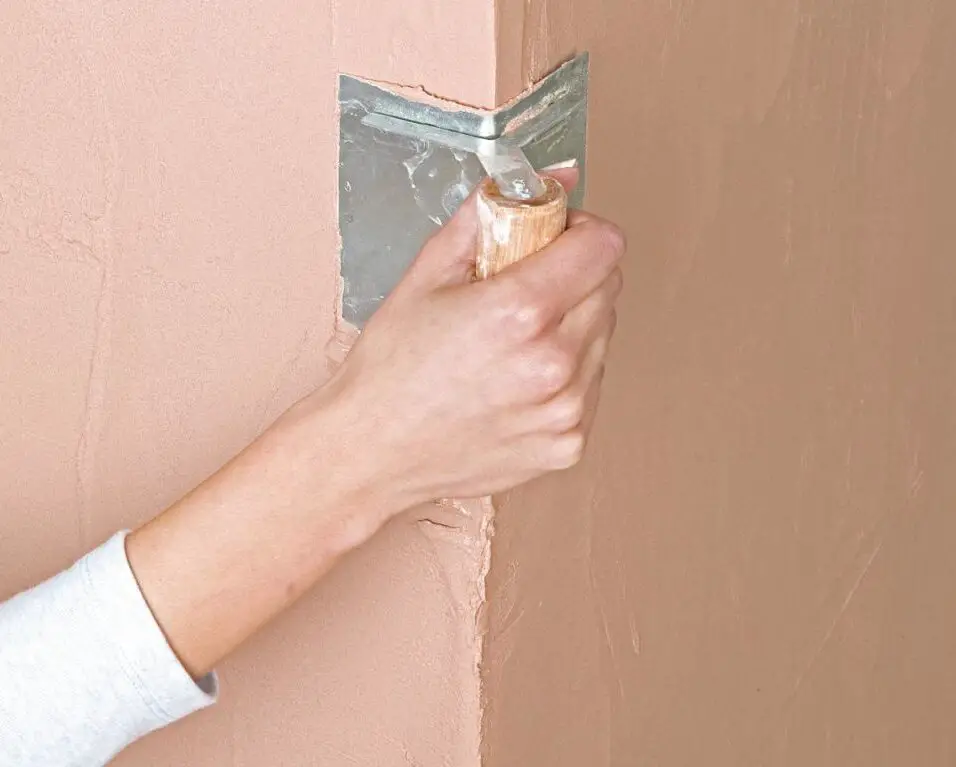
However, it’s crucial to ensure proper installation to prevent leaks. This includes properly sealing the joints, corners, and edges with appropriate sealant or adhesive recommended by the manufacturer.
Keep in mind that while the panels themselves are designed to be waterproof, any gaps or faults in the installation process could potentially lead to water leaks. Regular maintenance and inspection of your shower wall panels are essential to detect and address any issues promptly.
Are shower panels waterproof?
Shower panels are durable, waterproof wall panels specifically designed to cover the walls of your shower enclosure. PVC panels for shower enclosures provide an alternative to traditional tile or grout, offering a seamless and low-maintenance solution for your shower walls.
Shower panels are designed to be waterproof or water-resistant. The degree of waterproofing may vary depending on the material used and the quality of the panels.
Materials commonly used for shower panels, such as acrylic, PVC, fiberglass, and certain types of laminated or solid surface panels, are inherently water-resistant
However, the key to ensuring the waterproofing of shower panels lies in the installation process. Properly installed shower panels, when sealed and joined correctly, create a watertight barrier that prevents water from penetrating the wall behind them. It’s essential to follow the manufacturer’s guidelines for installation, especially when it comes to sealing joints, corners, and edges, to maintain their waterproof properties.
Proper installation and maintenance are crucial to prevent water-related issues in your shower enclosure.
Conclusion
Mastering the art of cutting shower wall panels is a crucial skill for anyone looking to enhance the beauty and functionality of their bathroom space. This guide has equipped you with the knowledge and techniques needed to complete this task with confidence and precision.
Remember that safety should always be a top priority when working with power tools, and taking your time to ensure accurate measurements and cuts will pay off in the end. Additionally, don’t hesitate to seek assistance from a friend or family member if you’re uncertain about any aspect of the process.
Once your shower panels are accurately cut and installed, you’ll not only have a waterproof and easy-to-maintain surface but also a visually appealing one that can elevate the overall look and feel of your bathroom. Your hard work and attention to detail will be rewarded with a space that’s both functional and aesthetically pleasing.
We hope this guide has been a valuable resource on your journey to cutting and installing shower wall panels. With the right techniques and a commitment to quality, you can achieve the bathroom of your dreams. Happy renovating!