How To Remove Wood Paneling From Walls
Introduction
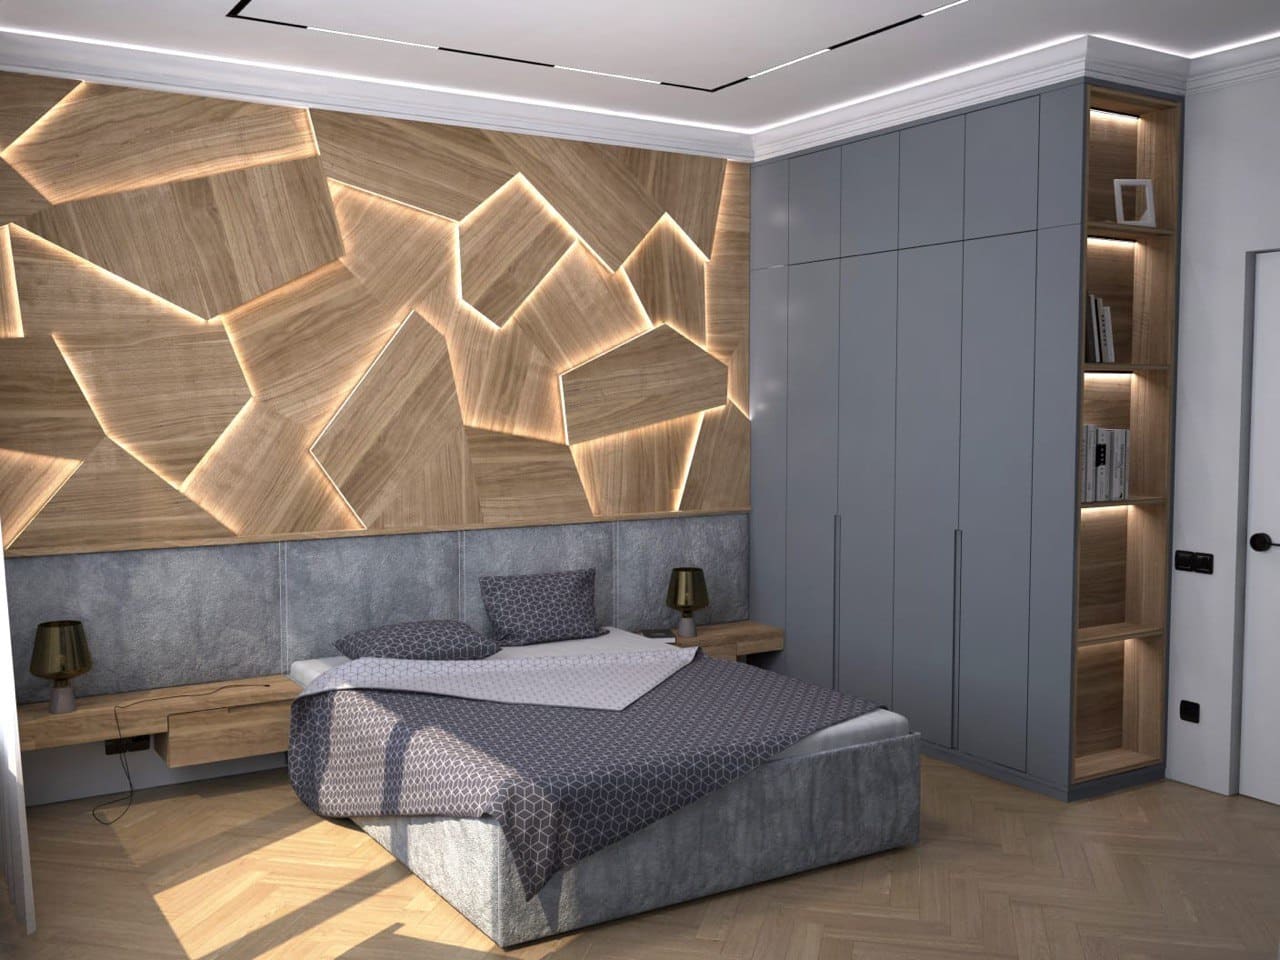
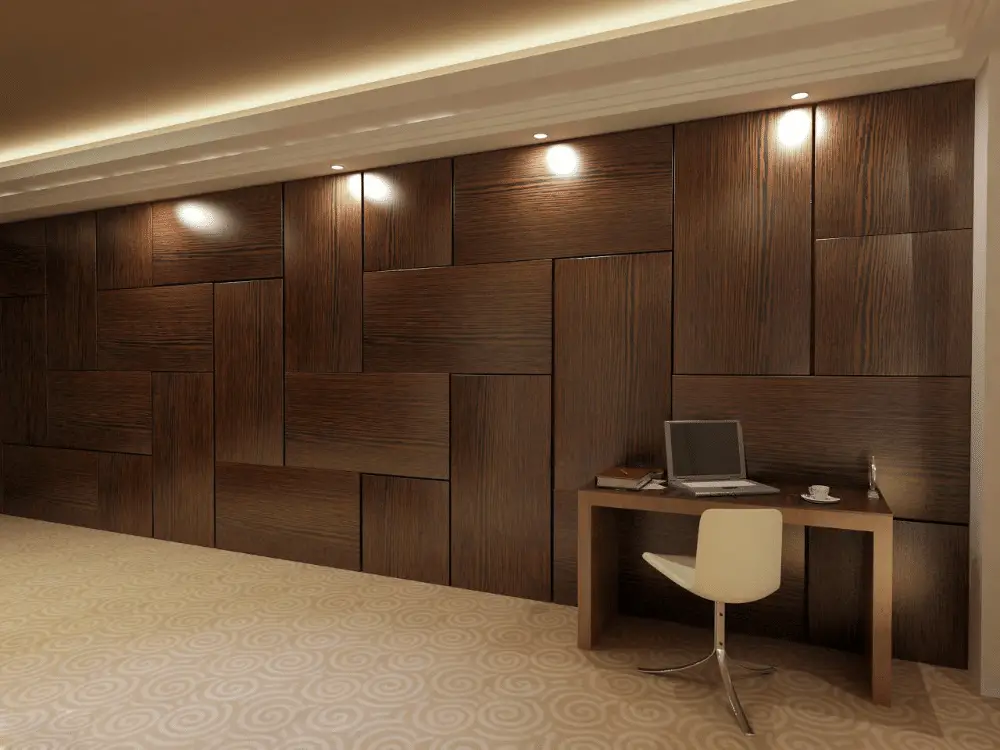
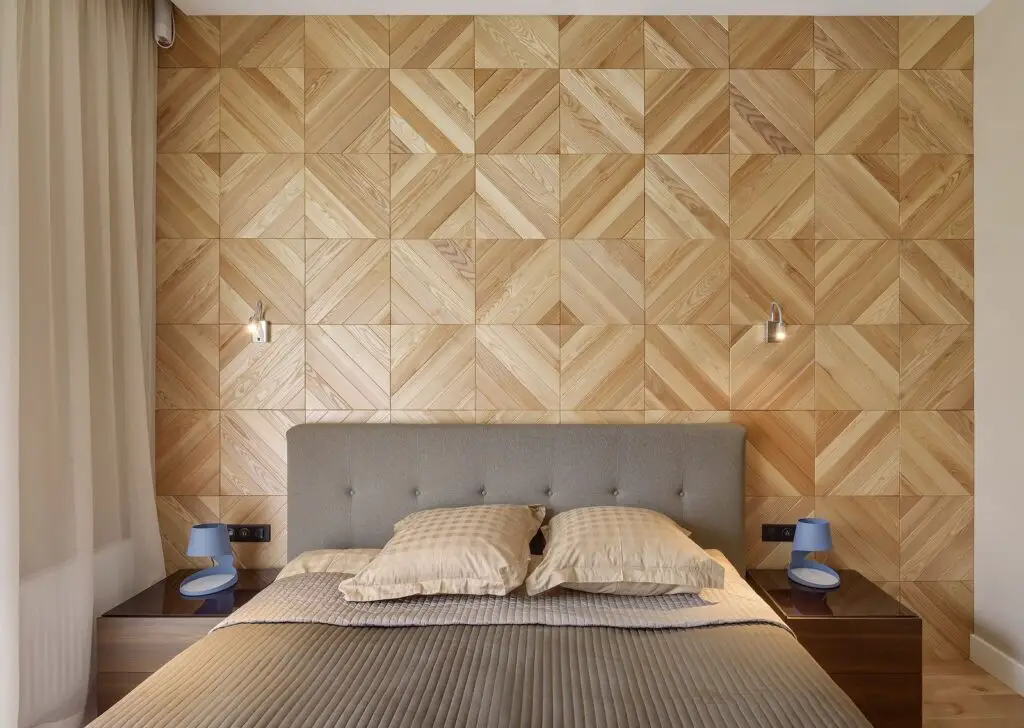
How To Remove Wood Paneling From Walls: Wood paneling has been a popular choice for interior walls for many years. However, as design trends evolve, many homeowners are now opting to remove wood paneling to create a more modern and updated look in their homes. Whether you are looking to completely transform a room or simply want to update the walls, removing wood paneling can be a challenging but rewarding task.
In this article, we will provide you with step-by-step instructions on how to remove wood paneling from walls. We will guide you through the process, highlighting important considerations and offering helpful tips along the way.
Before diving into the process of removing wall paneling, there are a few important considerations to keep in mind. Firstly, it is crucial to assess the condition of the walls behind the paneling. In some cases, the paneling may have been installed directly onto the drywall, while in others, it may have been nailed onto furring strips. Understanding the underlying structure will help determine the best approach for removal.
Additionally, it is important to consider the potential for damage to the walls during the removal process. Depending on the adhesive or nails used to secure the paneling, there may be some repair work required once the paneling is removed. It is advisable to have the necessary tools and materials on hand to address any potential damage.
By following the instructions provided in this article, you will be equipped with the knowledge and guidance needed to successfully remove wood paneling from your walls. Remember to proceed with caution, take your time, and enjoy the process of transforming your living space into a more modern and inviting environment.
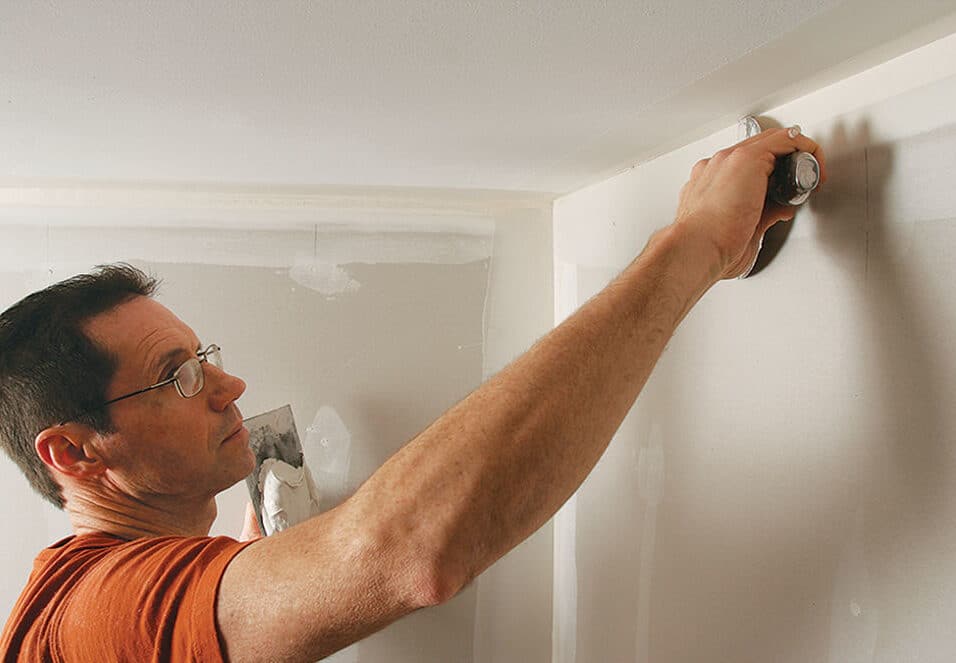
How do you remove wood paneling without damaging drywall?
Work slowly to avoid damaging the drywall.
Pry away the first panel using your pry bar and hammer. Pull out nails using pliers as they come loose. After removing every nail, use your pry bar to gently ease away the wood panel. Carefully wedge your chisel or pry bar between the next panel and repeat.
Removing wood paneling without damaging drywall
Wood paneling can add a touch of warmth and elegance to any room, but there may come a time when you want to remove it. Whether you’re looking to update your space or simply want a change, it’s important to approach the removal process carefully to avoid damaging the underlying drywall. Here are some steps you can follow to remove wood paneling without causing any harm:
1. Prepare the area:
Before you begin, it’s essential to prepare the area properly. Start by removing any furniture or fixtures near the paneling to create a clear workspace. Cover the floor with a drop cloth or plastic sheeting to protect it from any debris that may fall during the removal process. Additionally, wear protective goggles and gloves to safeguard yourself from any potential hazards.
2. Inspect the paneling:
Take a close look at the wood paneling to determine how it is attached to the drywall. In most cases, paneling is either nailed or glued to the wall. If it is nailed, you can proceed to the next step. However, if it is glued, you may need to use a heat gun or adhesive remover to loosen the glue before attempting to remove the paneling.
3. Remove the paneling:
Using a pry bar or a crowbar, gently insert it between the paneling and the wall. Apply even pressure and slowly work your way along the paneling, prying it away from the drywall. Be careful not to use excessive force, as this can cause damage to the underlying drywall. If the paneling is nailed, you may need to use a hammer to remove the nails as you go.
4. Patch and repair:
Once the paneling has been removed, you may notice some holes or damage to the drywall. Use a putty knife to fill any holes or cracks with spackling compound. Allow it to dry, then sand it down until it is smooth. Finally, apply a coat of primer and paint to match the surrounding wall, ensuring a seamless finish.
By following these steps, you can successfully remove wood paneling without causing any damage to the underlying drywall. Remember to take your time and proceed with caution to achieve the best results.
How do you remove paneling without damaging walls?
You want to be careful and not damage the wall underneath the paneling. Begin by slowly peeling back a section of panel from the wall. With a heat gun, go around the edge of the panel to soften the glue. Keep going around until you can peel off the section, and scrape off the residue.
Introduction:
Removing paneling from walls can be a challenging task, especially if you want to avoid damaging the underlying walls. However, with the right techniques and tools, you can successfully remove paneling without causing any harm. This article will provide you with step-by-step instructions on how to remove paneling while preserving the integrity of your walls.
Step 1: Prepare the area
Before you begin removing the paneling, it is essential to prepare the area properly. Start by clearing the room of any furniture or objects that may obstruct your work. Cover the floor with a drop cloth to protect it from any potential damage. Additionally, ensure that you have all the necessary tools handy, such as a pry bar, hammer, putty knife, and a pair of safety goggles.
Step 2: Remove the trim
The next step is to remove the trim around the paneling. Use a pry bar or a putty knife to gently pry off the trim from the edges. Be careful not to damage the trim or the wall underneath. If necessary, use a small block of wood to protect the wall while prying off the trim.
Step 3: Loosen the paneling
Once the trim is removed, you can start loosening the paneling from the wall. Insert the pry bar or putty knife between the paneling and the wall, and gently apply pressure to separate them. Work your way along the edges, gradually loosening the paneling from top to bottom.
Step 4: Remove the paneling
After loosening the paneling, carefully pull it away from the wall. Start from one corner and continue until the entire paneling is detached. If the paneling is glued to the wall, you may need to use a heat gun to soften the adhesive before removing it. Be cautious not to apply too much heat, as it can damage the wall surface.
Step 5: Clean and repair the walls
Once the paneling is removed, you may notice some adhesive residue or small holes on the walls. Use a putty knife to scrape off any remaining adhesive, and fill in the holes with spackling compound. Allow the compound to dry, and then sand the walls to create a smooth surface. Finally, you can paint or wallpaper the walls to give them a fresh look.
By following these instructions, you can successfully remove paneling without damaging your walls. Remember to work slowly and carefully, taking necessary precautions to protect both yourself and the underlying wall surface. With patience and the right tools, you can achieve a beautifully renovated space.
Is it better to paint or remove wood paneling?
Since removing it could be costly, consider a coat of paint. It can instantly make that dingy paneling look fresh and bright for a fraction of the cost.
Introduction:
When it comes to wood paneling, homeowners often find themselves faced with the dilemma of whether to paint over it or remove it altogether. This decision depends on various factors, including personal preference, the condition of the paneling, and the desired outcome. Both options have their advantages and disadvantages, and it is essential to weigh them carefully before making a choice.
Advantages of painting wood paneling:
One of the main advantages of painting wood paneling is the ability to transform the look and feel of a room without the need for extensive renovations. By applying a fresh coat of paint, homeowners can achieve a more modern and updated appearance. Additionally, painting allows for a wide range of color options, enabling individuals to customize their space according to their personal style and preferences.
Another benefit of painting wood paneling is that it can help to brighten up a room. Dark wood paneling can make a space feel smaller and more closed off, while a lighter paint color can create a sense of openness and airiness. This can be particularly advantageous in rooms with limited natural light or those that require a more inviting atmosphere.
Advantages of removing wood paneling:
On the other hand, removing wood paneling can offer a more significant transformation and a completely different aesthetic. By removing the paneling, homeowners can expose the underlying walls, which can be painted, textured, or covered with alternative materials such as drywall or wallpaper. This option provides more flexibility in terms of design possibilities and allows for a more seamless integration with the rest of the room’s decor.
Furthermore, removing wood paneling can be beneficial if the paneling is in poor condition or outdated. Some older paneling may have become warped, damaged, or discolored over time, making it difficult to achieve a desirable result through painting alone. In such cases, removing the paneling and addressing any underlying issues can be a more effective solution.
How do you remove paneling glue from plaster?
Apply the paste adhesive remover directly to the paneling glue with a bristled paint brush. Because the adhesive remover is a paste, or gel, consistency, it will stay in place. Allow the remover to sit on the paneling glue for up to 30 minutes.
Introduction:
Removing paneling glue from plaster can be a challenging task, but with the right techniques and tools, it is possible to restore the original appearance of the plaster. Paneling glue is a strong adhesive that is commonly used to attach panels to walls, and it can leave behind stubborn residue when removed. However, by following the proper steps, you can effectively remove the glue without causing damage to the plaster surface.
Step 1: Prepare the area
Before starting the glue removal process, it is important to prepare the area properly. Begin by covering the floor and any furniture or fixtures near the wall with drop cloths or plastic sheets to protect them from any potential damage. Additionally, ensure that you have all the necessary tools and materials, such as a putty knife, adhesive remover, warm water, and a sponge or cloth.
Step 2: Test a small area
Before applying any adhesive remover to the entire wall, it is crucial to test a small, inconspicuous area first. This will help you determine the effectiveness of the adhesive remover and ensure that it does not cause any discoloration or damage to the plaster. Apply a small amount of the adhesive remover to the test area and let it sit for a few minutes. Then, gently scrape off the glue using a putty knife or a plastic scraper. If the adhesive comes off easily without causing any harm to the plaster, you can proceed with the removal process.
Step 3: Apply adhesive remover
Once you have confirmed that the adhesive remover is safe to use on your plaster, you can begin applying it to the remaining glue. Start by pouring a small amount of the adhesive remover onto a clean cloth or sponge and gently dab it onto the glue. Allow the adhesive remover to penetrate the glue for a few minutes, as this will help loosen its grip on the plaster surface.
Step 4: Scrape off the glue
After the adhesive remover has had time to work, use a putty knife or plastic scraper to carefully scrape off the softened glue. Be gentle to avoid damaging the plaster. If the glue is particularly stubborn, you may need to repeat the application of the adhesive remover and let it sit for a longer period before attempting to scrape it off again. Continue this process until all the glue has been successfully removed.
By following these steps and using the appropriate tools and materials, you can effectively remove paneling glue from plaster without causing any harm to the underlying surface. Remember to always test a small area first and proceed with caution to ensure the best results.
Does removing panelling damage walls?
The answers depend on the condition of the wall as well as how the paneling was installed. If the paneling was nailed on, you may be able to remove it with little damage to the wall.
Understanding the potential damage:
When removing panelling, it is important to consider the type of panelling and the method used for installation. Some panelling is attached directly to the wall, while others may be secured with adhesive or nails. The removal process can vary depending on these factors, and each method carries its own risks of damaging the walls.
Methods for removing panelling:
If the panelling is attached with adhesive, it is crucial to proceed with caution. Using a heat gun or a hairdryer to soften the adhesive can make the removal process easier and reduce the risk of damaging the walls. However, excessive heat or improper technique can lead to wall damage, such as paint peeling or plaster cracking. It is advisable to test a small area first and adjust the heat and technique accordingly.
Minimizing damage during removal:
Regardless of the method used for installation, there are several steps you can take to minimize damage when removing panelling. First, ensure that you have the necessary tools, such as a pry bar, putty knife, and protective gloves. These tools will help you carefully pry off the panelling without causing excessive force on the walls. Additionally, using a stud finder can help you locate and avoid damaging any electrical wires or plumbing behind the panelling.
While removing panelling can potentially damage walls, taking the appropriate precautions and using the right techniques can help minimize any negative impact. It is essential to understand the type of panelling and the method of installation before proceeding with the removal process. By following the steps outlined in this article, homeowners can successfully remove panelling without causing significant damage to their walls.
Removing wood paneling from walls can be a time-consuming process, but with the right steps and tools, it can be done successfully.
Here is a step-by-step guide to help you through the process:
Step 1: Start by preparing the area. Remove any furniture or decorations from the room and cover the floor with drop cloths or plastic sheets to protect it from dust and debris.
Step 2: Inspect the paneling to determine how it is attached to the walls. Most paneling is either nailed or glued in place. If it is nailed, you can use a pry bar or a hammer and a flathead screwdriver to gently remove the nails. If it is glued, you may need to use a heat gun to soften the adhesive before prying the paneling off.
Step 3: Once the paneling is loose, start removing it from the walls. Start at one corner and work your way across, using a pry bar or a putty knife to gently pry the paneling away from the wall. Be careful not to damage the underlying drywall or plaster.
Step 4: After removing all the paneling, inspect the walls for any remaining adhesive or nails. Use a scraper or sandpaper to remove any adhesive residue, and fill in any nail holes or damaged areas with spackle or joint compound.
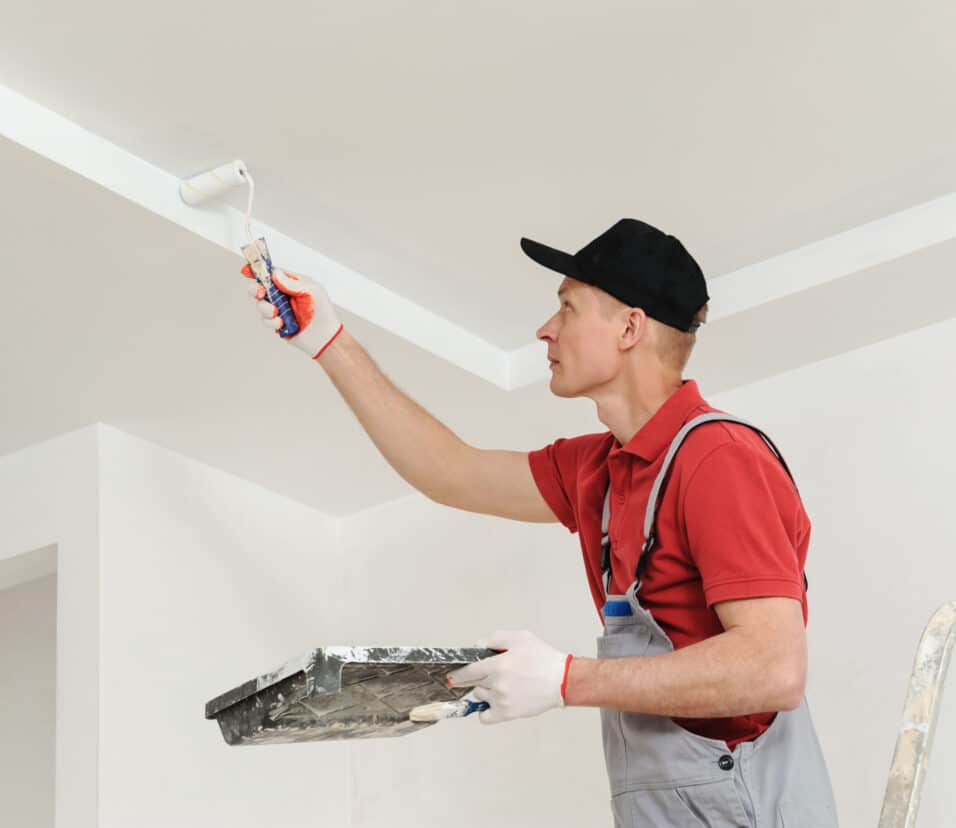
Step 5: Finally, sand the walls to smooth out any rough patches and prepare them for painting or any other desired finish.
By following these steps and taking your time, you can successfully remove wood paneling from walls and restore them to their original state.
What tools or materials are needed to successfully remove wood paneling?
To successfully remove wood paneling, you will need a few essential tools and materials. Firstly, you will need a pry bar or a crowbar to gently pry the panels away from the wall. This tool will help you loosen the panels without causing too much damage to the underlying structure. Additionally, a hammer can be useful for removing any nails or staples that may be holding the panels in place.
Another important tool is a utility knife, which will come in handy for cutting through any adhesive or caulk that may be securing the panels to the wall. This will make it easier to remove the panels without causing excessive damage. It is also recommended to have a putty knife or a scraper to help remove any remaining adhesive or caulk after the panels have been taken down.
Lastly, it is important to have safety equipment such as gloves and safety goggles to protect yourself during the removal process. Gloves will provide a better grip on the tools and protect your hands from any sharp edges, while safety goggles will shield your eyes from any flying debris or dust. By having these tools and materials on hand, you will be well-prepared to successfully remove wood paneling from your walls.
Are there any specific precautions or safety measures to consider when removing wood paneling?
Additionally, before starting the removal process, it is advisable to turn off the electricity in the room to prevent any accidents or electrical hazards. This will ensure your safety and minimize the risk of electrical shocks or fires. It is also recommended to cover the floor with drop cloths or plastic sheets to protect it from any damage or scratches caused by falling debris or tools.
Furthermore, it is important to be cautious while using tools such as pry bars or hammers to avoid injury. Always use these tools with care and ensure a firm grip to prevent them from slipping and causing accidents. It is also advisable to work slowly and methodically, applying gentle pressure to avoid damaging the walls or causing any structural issues. If you encounter any electrical outlets or wiring behind the wood paneling, it is crucial to turn off the power supply and seek professional assistance to safely disconnect and handle them.
Can you provide any tips or techniques for minimizing damage to the walls during the removal process?
1. Start by preparing the area: Before you begin removing the wood paneling, make sure to clear the surrounding area and protect any furniture or flooring that may be at risk of damage. Cover the floor with drop cloths or plastic sheets to catch any debris or dust that may fall during the removal process.
2. Use the right tools: Having the appropriate tools can make a significant difference in minimizing damage. Start by using a pry bar or a crowbar to gently loosen the paneling from the wall. Be careful not to apply excessive force, as this can cause the panels to splinter or the walls to crack. Additionally, a utility knife can be handy for cutting through any adhesive or caulk that may be holding the paneling in place.
3. Take it slow and steady:
Patience is key when removing wood paneling. Avoid rushing the process, as this can lead to unnecessary damage. Instead, work methodically and gradually remove the paneling section by section. Use the pry bar to gently lift the panels away from the wall, taking care not to pull too hard or at awkward angles that could cause the walls to become damaged.
4. Repair any damage: Despite your best efforts, it is possible that some damage may occur during the removal process. If you notice any cracks, holes, or other imperfections on the walls, it is important to address them promptly. Fill any holes or cracks with spackling compound and sand them down until smooth. This will ensure that your walls are ready for any further treatment or finishing.
By following these tips and techniques, you can minimize the risk of damage to your walls while successfully removing wood paneling. Remember to always proceed with caution and take the necessary safety measures to protect yourself and your surroundings during the removal process.
Can you provide any tips or techniques for minimizing damage to the walls during the removal process?
When it comes to removing wood paneling from walls, it is important to take certain precautions to minimize any potential damage to the underlying walls. Here are some tips and techniques that can help you achieve a successful
Removal process while preserving the integrity of your walls.
1. Start by preparing the area: Before you begin removing the wood paneling, make sure to clear the surrounding area and protect the floor with drop cloths or plastic sheets. This will prevent any debris or dust from damaging the flooring and make the cleanup process easier.
2. Use the right tools: Having the appropriate tools can make a significant difference in minimizing damage. Start by using a pry bar or a crowbar to gently loosen the paneling from the wall. Be careful not to apply excessive force, as it can cause cracks or holes in the wall. Additionally, using a putty knife or a scraper can help in removing any adhesive or glue residue left behind.
Take it slow and steady:
Patience is key when removing wood paneling. Avoid rushing the process, as it can lead to unnecessary damage. Start by removing the trim or molding around the paneling, and then gradually work your way from one corner to another. By taking your time and applying gentle pressure, you can minimize the risk of causing any significant damage to the walls.
4. Repair and patch as needed: Despite your best efforts, it is possible that some damage may occur during the removal process. If you notice any holes, cracks, or dents in the walls, it is important to address them promptly.
By following these tips and techniques, you can successfully remove wood paneling from your walls while minimizing any potential damage.
Conclusion
Removing wood paneling off walls is difficult, but with the appropriate instructions and tools, it’s possible. You can remove wood paneling and give your walls a new look by following the step-by-step guide. This procedure will help you modernize your home’s interior or remove obsolete paneling.
The first step in removing wood paneling is to carefully assess the condition of the walls and paneling. This will help you determine the best approach for removal. In good shape and securely fastened to the walls, you may be able to remove the paneling without damage. If the paneling is old, brittle, or improperly built, you may need to take extra steps to protect the walls.
Removing wood paneling from walls requires careful planning, preparation, and execution. By following the step-by-step instructions provided, you can successfully remove the paneling and achieve the desired results. With patience and attention to detail, you can transform your walls and create a fresh, updated look for your space.