How To Remove Panelling From Wall
Introduction
How To Remove Panelling From Wall: Removing paneling from a wall can be a daunting task, but with the right tools and techniques, it can be accomplished successfully. Whether you want to update the look of your space or need to repair damaged walls, knowing how to remove paneling is essential. This article will provide you with step-by-step instructions on how to remove paneling from a wall, ensuring a smooth and seamless process.
Paneling was a popular choice for wall coverings in the past, but it can quickly become outdated or damaged. Many homeowners prefer to remove paneling to create a more modern and updated look in their homes. Additionally, paneling can hide underlying issues such as water damage or mold, making it necessary to remove it for proper repairs. By removing paneling, you can uncover the true condition of your walls and address any underlying problems.
Before you begin the process of removing wall paneling, it is important to gather the necessary tools. You will need a few basic tools such as a pry bar, hammer, utility knife, and a putty knife. These tools will help you in removing the paneling without causing damage to the underlying wall.
Removing any trim or molding around the paneling
1. Start by removing any trim or molding around the paneling. Use a pry bar and gently pry it away from the wall. Be careful not to damage the trim or the wall during this process.
2. Once the trim is removed, locate the seams between the paneling sheets. Insert a putty knife or utility knife into the seam and gently pry the paneling away from the wall. Start at one corner and work your way along the seam, applying gentle pressure to loosen the paneling.
3. As you remove each panel, be cautious of any electrical outlets or switches that may be hidden behind the paneling. Turn off the power to the room before removing the paneling near these areas to avoid any electrical hazards.
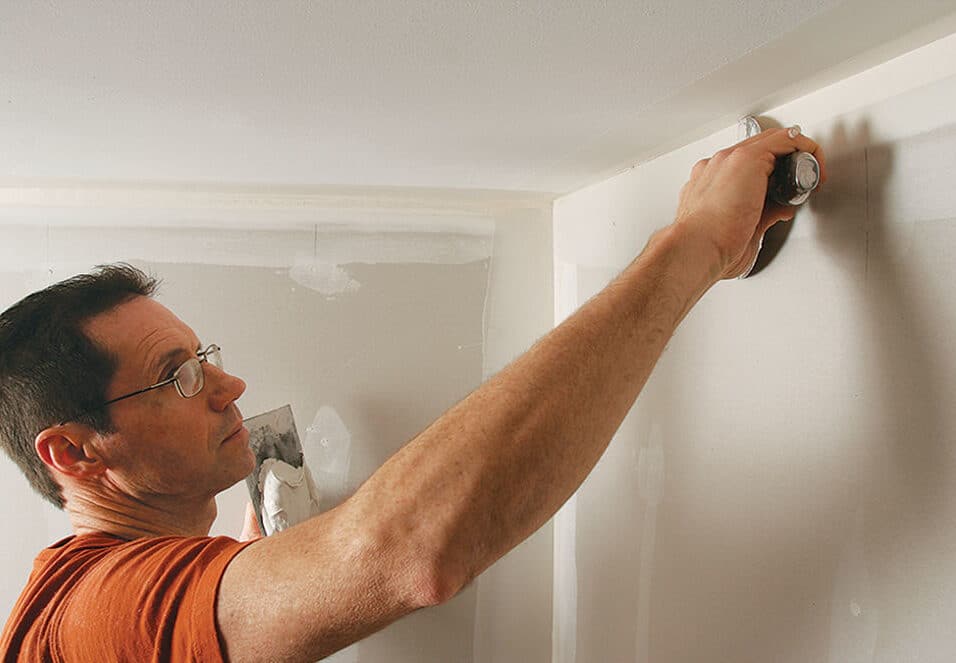
4. After removing all the paneling, you may find adhesive or glue residue on the wall. Use a scraper or putty knife to remove any remaining adhesive. If necessary, you can also use a heat gun to soften the adhesive and make it easier to remove.
By following these step-by-step instructions, you can successfully remove paneling from your wall and achieve the desired results. Remember to take your time and be cautious during the process to avoid any damage to the underlying wall.
How do you remove wall paneling without damaging it?
Work slowly to avoid damaging the drywall.
Pry away the first panel using your pry bar and hammer. Pull out nails using pliers as they come loose. After removing every nail, use your pry bar to gently ease away the wood panel. Carefully wedge your chisel or pry bar between the next panel and repeat.
Removing wall paneling without damaging it
Wall paneling can be a great addition to any room, providing a unique and stylish look. However, there may come a time when you need to remove the paneling without causing any damage to it. Whether you’re looking to update your space or simply want to change the style, it’s important to follow the right steps to ensure a successful removal process.
Assess the type of wall paneling
Before you begin removing the wall paneling, it’s crucial to determine the type of paneling you’re dealing with. There are various types of paneling, such as wood, vinyl, or laminate, and each may require a different approach. Take a close look at the paneling and try to identify any seams or edges that may indicate how it was installed. This will help you understand the best method for removal.
Prepare the necessary tools
Once you’ve assessed the type of wall paneling, gather the necessary tools for the removal process. Common tools include a pry bar, hammer, putty knife, and a utility knife. These tools will help you carefully remove the paneling without causing any damage. Additionally, it’s a good idea to have a drop cloth or plastic sheeting to protect the floor or furniture from any debris that may fall during the removal process.
Start the removal process
Begin by removing any trim or molding around the paneling. Apply gentle pressure to loosen the paneling from the wall. Slowly work your way along the paneling, using the pry bar or putty knife to separate it from the wall. Take your time and be patient to avoid any damage.
Continue the removal process
As you remove the paneling, be mindful of any electrical outlets or switches that may be hidden behind it. Turn off the power to these areas before attempting to remove the paneling around them. If necessary, consult a professional electrician to ensure your safety. Once all the paneling has been removed, inspect the wall for any remaining adhesive or nails. Use a putty knife or sandpaper to remove any residue and prepare the wall for a fresh finish.
By following these steps and taking the necessary precautions, you can successfully remove wall paneling without causing any damage. Remember to work slowly and carefully, and seek professional help if needed. With a little patience and effort, you can transform your space and achieve the desired result.
Is it better to paint paneling or remove it?
Since removing it could be costly, consider a coat of paint. It can instantly make that dingy paneling look fresh and bright for a fraction of the cost.
Introduction:
When it comes to updating the look of a room with paneling, homeowners often find themselves faced with the decision of whether to paint the paneling or remove it altogether. This dilemma arises because both options have their own advantages and disadvantages. Ultimately, the choice between painting paneling or removing it depends on various factors such as personal preference, the condition of the paneling, and the desired outcome.
Advantages of painting paneling:
One of the main advantages of painting paneling is that it can be a cost-effective solution. Instead of investing in new materials and labor for removing the paneling, painting allows homeowners to transform the appearance of the room without breaking the bank. Additionally, painting paneling provides a quick and relatively easy way to update the space, as it requires less time and effort compared to removing the paneling.
Another advantage of painting paneling is the ability to customize the color and style to suit individual preferences. By choosing the right paint color, homeowners can create a fresh and modern look, completely transforming the room’s aesthetic. This option also allows for experimentation with different finishes, such as matte or glossy, to achieve the desired effect.
Advantages of removing paneling:
On the other hand, removing paneling can offer a more drastic transformation and a higher-quality result. This option also provides the freedom to explore alternative wall treatments, such as drywall or textured finishes, which can enhance the overall appearance and value of the room.
Furthermore, removing paneling can be a desirable choice for those seeking a more natural and authentic look. Some paneling materials, especially older ones, may not lend themselves well to painting and may require extensive preparation or priming. In such cases, removing the paneling can reveal the original walls, allowing homeowners to embrace the natural beauty of the space.
How do you remove paneling glue from plaster?
Apply the paste adhesive remover directly to the paneling glue with a bristled paint brush. Because the adhesive remover is a paste, or gel, consistency, it will stay in place. Allow the remover to sit on the paneling glue for up to 30 minutes.
Introduction:
Removing paneling glue from plaster can be a challenging task, but with the right techniques and tools, it is possible to restore the original appearance of the plaster. Paneling glue is a strong adhesive that is commonly used to attach panels to walls, and it can leave behind stubborn residue when removed. However, by following the proper steps, you can effectively remove the glue without causing damage to the plaster surface.
Step 1: Prepare the area
Before starting the glue removal process, it is important to prepare the area properly. Begin by covering the floor and any furniture or fixtures near the wall with drop cloths or plastic sheets to protect them from any potential damage. Additionally, ensure that you have all the necessary tools and materials, such as a putty knife, adhesive remover, warm water, and a sponge or cloth.
Step 2: Test a small area
Before applying any adhesive remover to the entire wall, it is crucial to test a small, inconspicuous area first. This will help you determine the effectiveness of the adhesive remover and ensure that it does not cause any discoloration or damage to the plaster. Apply a small amount of the adhesive remover to the test area and let it sit for a few minutes. Then, gently scrape off the glue using a putty knife or a plastic scraper. If the adhesive comes off easily without causing any harm to the plaster, you can proceed with the removal process.
Step 3: Scrape off the glue
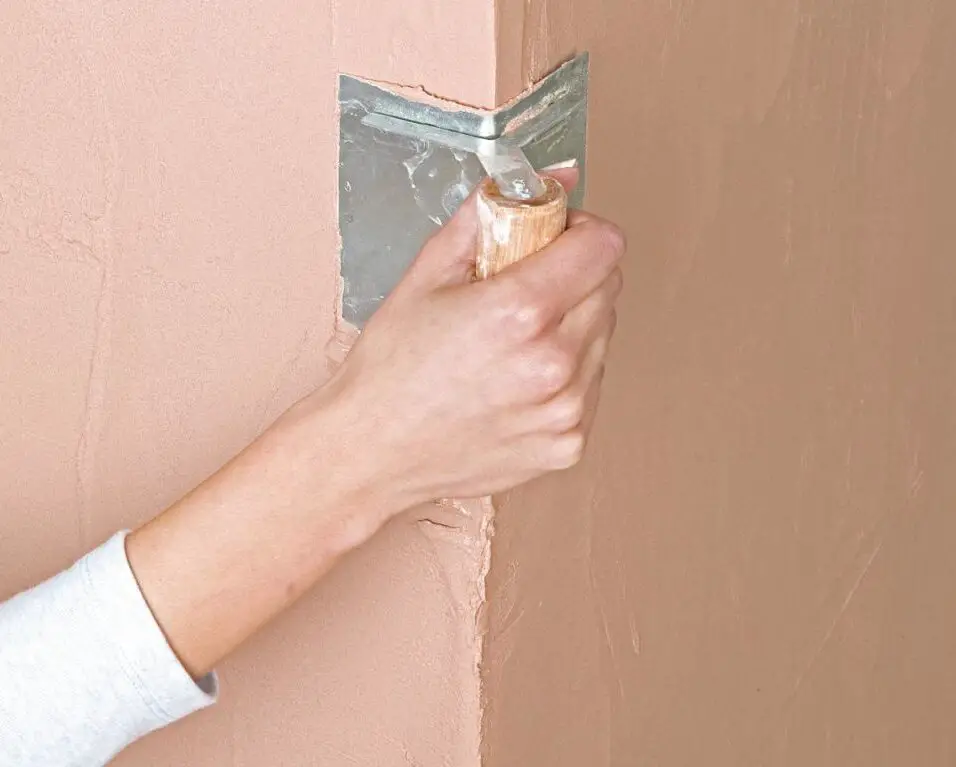
After the adhesive remover has had time to work, use a putty knife or plastic scraper to carefully scrape off the softened glue. Be gentle to avoid damaging the plaster. If the glue is particularly stubborn, you may need to repeat the application of the adhesive remover and let it sit for a longer period before attempting to scrape it off again. Continue this process until all the glue has been successfully removed.
By following these steps and using the appropriate tools and materials, you can effectively remove paneling glue from plaster without causing any harm to the underlying surface. Remember to always test a small area first and proceed with caution to ensure the best results.
Does removing panelling damage walls?
Understanding the potential damage:
When removing panelling, it is important to consider the type of panelling and the method used for installation. Some panelling is attached directly to the wall, while others may be secured with adhesive or nails. The removal process can vary depending on these factors, and each method carries its own risks of damaging the walls.
Methods for removing panelling:
If the panelling is attached with adhesive, it is crucial to proceed with caution. Using a heat gun or a hairdryer to soften the adhesive can make the removal process easier and reduce the risk of damaging the walls. However, excessive heat or improper technique can lead to wall damage, such as paint peeling or plaster cracking. It is advisable to test a small area first and adjust the heat and technique accordingly.
Minimizing damage during removal:
Regardless of the method used for installation, there are several steps you can take to minimize damage when removing panelling. First, ensure that you have the necessary tools, such as a pry bar, putty knife, and protective gloves. These tools will help you carefully pry off the panelling without causing excessive force on the walls. Additionally, using a stud finder can help you locate and avoid damaging any electrical wires or plumbing behind the panelling.
While removing panelling can potentially damage walls, taking the appropriate precautions and using the right techniques can help minimize any negative impact. It is essential to understand the type of panelling and the method of installation before proceeding with the removal process. By following the steps outlined in this article, homeowners can successfully remove panelling without causing significant damage to their walls.
How can I make my paneled walls look better?
APPLY SOME PAINT
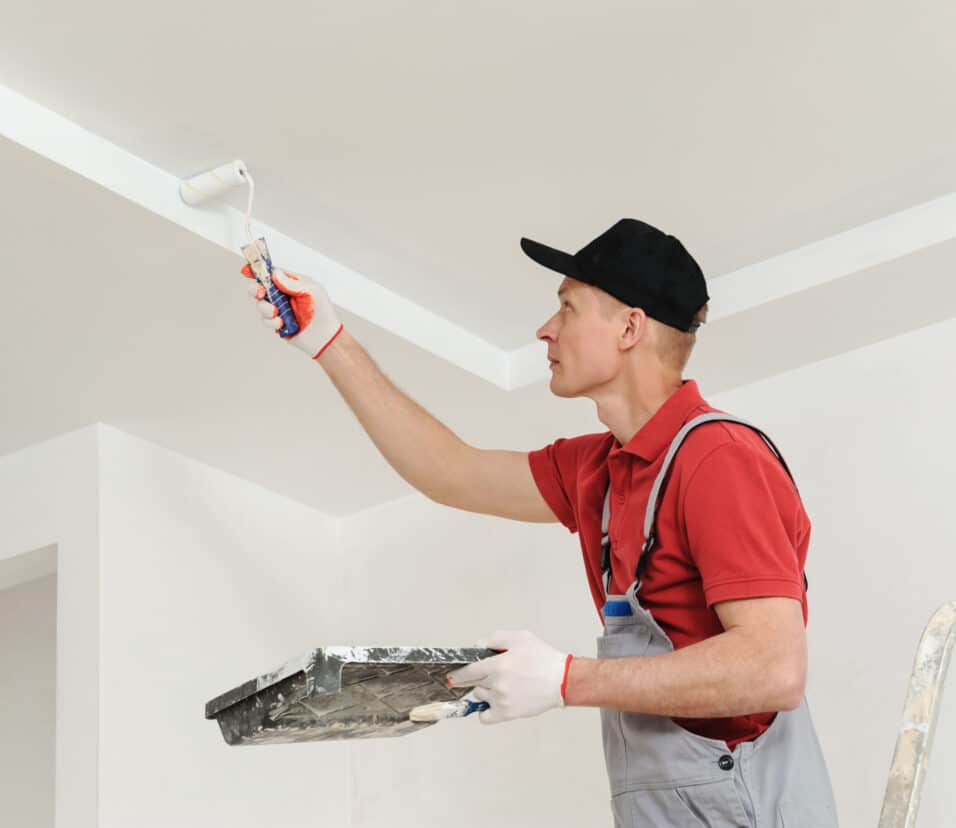
For an easy, quick update to your wood paneling, add a fresh coat of paint. White is a popular choice among homeowners and can quickly brighten up a room (plus, it has a cute, country cottage look!). But don’t be scared to be adventurous and go for a bold color, like blue or green.
Introduction:
Paneled walls can add a touch of elegance and sophistication to any room. However, over time, they may start to look dull or outdated. If you’re wondering how to make your paneled walls look better, there are several techniques and ideas you can consider. Whether you want to enhance the natural beauty of the wood or completely transform the look, there are options available to suit your preferences and style.
Enhancing the Natural Beauty:
If you have paneled walls made of wood, one way to make them look better is by enhancing their natural beauty. Start by thoroughly cleaning the panels to remove any dust or grime. Then, consider applying a fresh coat of varnish or wood stain to bring out the richness of the wood grain. This will not only revive the appearance of the panels but also protect them from further damage.
Adding Texture:
If you’re looking to add more visual interest to your paneled walls, consider adding texture. One way to achieve this is by applying a textured wallpaper or fabric to the panels. This can create a unique and eye-catching look, especially if you choose a pattern or design that complements the overall theme of the room. Additionally, you can also consider installing decorative molding or trim to add depth and dimension to the walls.
Painting the Panels:
If you prefer a more modern or contemporary look, painting the panels can be a great option. Choose a color that complements the room’s decor and style. Lighter shades can make the space feel more open and airy, while darker hues can create a cozy and intimate atmosphere. Before painting, make sure to properly prepare the panels by sanding and priming them. This will ensure that the paint adheres well and provides a smooth and even finish.
Adding Decorative Elements:
To further enhance the appearance of your paneled walls, consider adding decorative elements. This can include hanging artwork, mirrors, or shelves. These additions can draw attention to the walls and create a focal point in the room. Additionally, you can also incorporate lighting fixtures such as wall sconces or picture lights to highlight specific areas or artwork on the panels.
Removing panelling from a wall involves several steps to ensure a successful and efficient process. Firstly, it is important to prepare the area by clearing any furniture or objects near the wall to create a safe and spacious working environment. Next, carefully inspect the panelling to determine the type of installation and any potential challenges that may arise during removal.
Once the preparation is complete, start by removing any trim or moulding around the edges of the panelling. This can usually be done by gently prying it away from the wall using a pry bar or a putty knife. Be cautious not to damage the underlying wall surface while doing this. After removing the trim, the next step is to detach the panelling from the wall itself. Depending on the installation method, this may involve unscrewing or prying off the panels.
Are there any specific tools or materials required for removing panelling?
When it comes to removing panelling from a wall, there are several specific tools and materials that can make the process much easier and more efficient. One essential tool is a pry bar or crowbar, which is used to gently pry the panelling away from the wall. It’s important to use a pry bar with a flat edge to avoid damaging the underlying wall surface.
In addition to a pry bar, a utility knife is also necessary for cutting through any adhesive or caulk that may be holding the panelling in place. This allows for easier removal without causing unnecessary damage to the wall. It’s important to have a sharp utility knife with replaceable blades to ensure clean and precise cuts.
Other tools that may be helpful during the removal process include a hammer, a putty knife for scraping away any remaining adhesive, and a stud finder to locate and avoid damaging any studs behind the panelling. It’s also recommended to have safety goggles and gloves to protect yourself from any potential hazards.
How long does it typically take to remove panelling from a wall?
Removing panelling from a wall can vary in terms of time depending on several factors. The size of the wall, the type of panelling, and the condition of the wall are all factors that can affect the time it takes to complete the removal process. On average, it can take anywhere from a few hours to a full day to remove panelling from a wall.
The first step in removing panelling is to carefully inspect the wall and determine the best approach. This may involve removing any trim or moulding around the edges of the panelling. Once the trim is removed, the panelling can be carefully pried away from the wall using a pry bar or a crowbar. It is important to work slowly and methodically to avoid damaging the underlying wall.
Are there any potential challenges or difficulties that may arise during the removal process?
Another challenge that may arise during the removal process is the discovery of hidden electrical or plumbing components behind the panelling. It is important to exercise caution and be aware of the potential presence of these components before starting the removal process. If any electrical or plumbing lines are found, it is recommended to consult a professional to ensure their safe removal or relocation.
In some cases, the panelling may have been installed using nails or screws, which can be difficult to locate and remove. This can prolong the removal process and require additional tools such as a stud finder or pry bar to locate and extract the fasteners. It is important to be patient and careful during this process to avoid damaging the wall or injuring yourself.
Overall, while removing panelling from a wall can present challenges and difficulties, with proper preparation, tools, and caution, it can be successfully accomplished.” “
Are there any potential challenges or difficulties that may arise during the removal process?
Removing panelling from a wall can be a challenging task, especially if it has been installed securely or if there are multiple layers of panelling. One potential difficulty is the presence of adhesive or glue used to attach the panelling to the wall. This adhesive can be stubborn and may require additional effort to remove.
Another challenge that may arise during the removal process is the potential for damage to the underlying wall. Removing nails or screws from panelling might leave holes or damage to the wall.
Furthermore, if the panelling has been in place for a long time, there is a possibility of encountering unexpected issues such as mold or mildew growth behind the panelling. This can pose health risks and may require additional steps to properly address and remediate the situation.
Conclusion
The first step in removing paneling is to prepare the area. This involves clearing the room of any furniture or objects that may obstruct your work. It is also important to protect the floor and surrounding surfaces with drop cloths or plastic sheets to prevent any damage.
To start, carefully remove any trim or molding that may be attached to the paneling. Start at one corner of the wall and use a pry bar to loosen the paneling from the wall. Slowly work your way along the wall, applying gentle pressure to release the paneling. Be cautious not to damage the underlying wall surface as you remove the paneling.
Apply the solution to the wall and use a sponge or cloth to gently scrub away the residue. If the adhesive is particularly stubborn, you may need to use a commercial adhesive remover. Removing paneling from a wall requires careful preparation, patience, and the right tools. Remember to take your time and be cautious to avoid any damage to the underlying wall surface. With a little effort and determination, you can transform your space and create a beautiful, updated environment.