How To Install Fiberglass Insulation In Ceiling
Introduction
How To Install Fiberglass Insulation In Ceiling: Installing fiberglass insulation in a ceiling is a crucial step towards enhancing the energy efficiency and comfort of your living space. By creating a thermal barrier, fiberglass insulation helps regulate indoor temperatures, reduces energy consumption, and minimizes sound transmission. Whether you’re aiming to retrofit an existing ceiling or insulate a new construction, this guide will walk you through the fundamental steps to ensure a successful installation.
Before you begin, gather all the necessary materials, including safety gear like gloves, a dust mask, and protective clothing. Start by measuring the area of the ceiling to determine the amount of insulation required. Then, prepare the space by clearing any obstructions and ensuring a clean work environment.
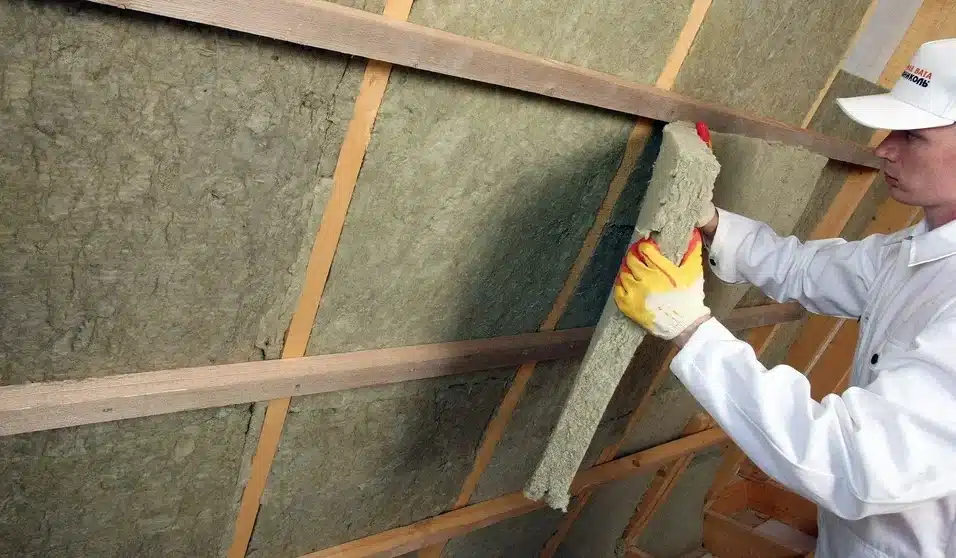
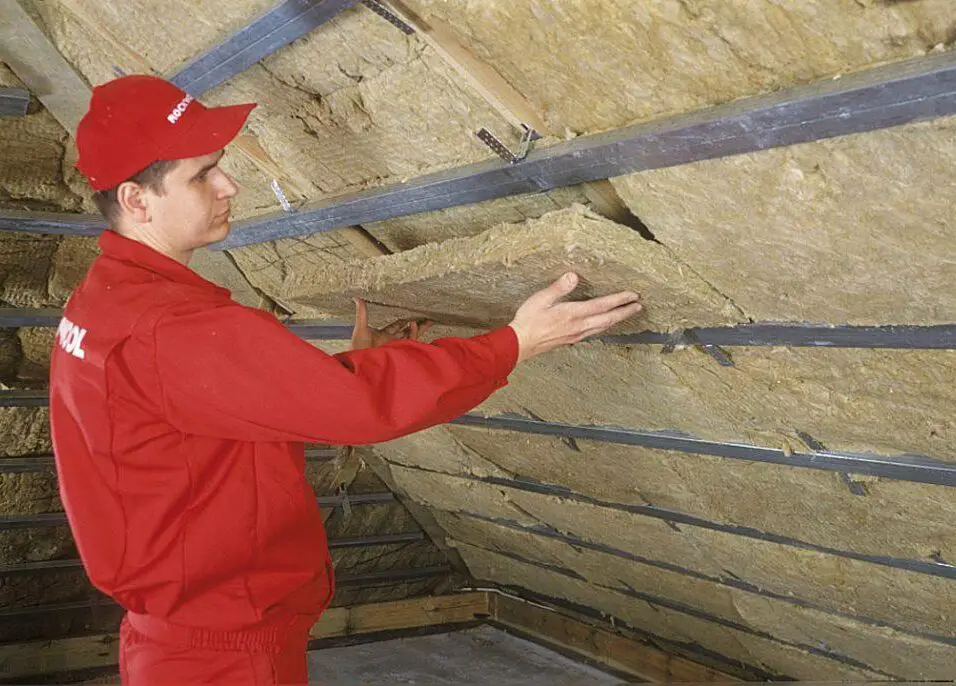
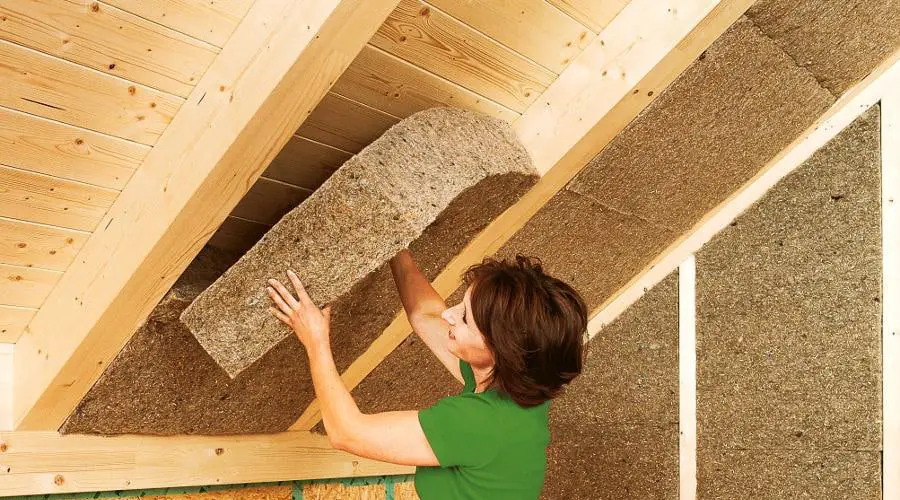
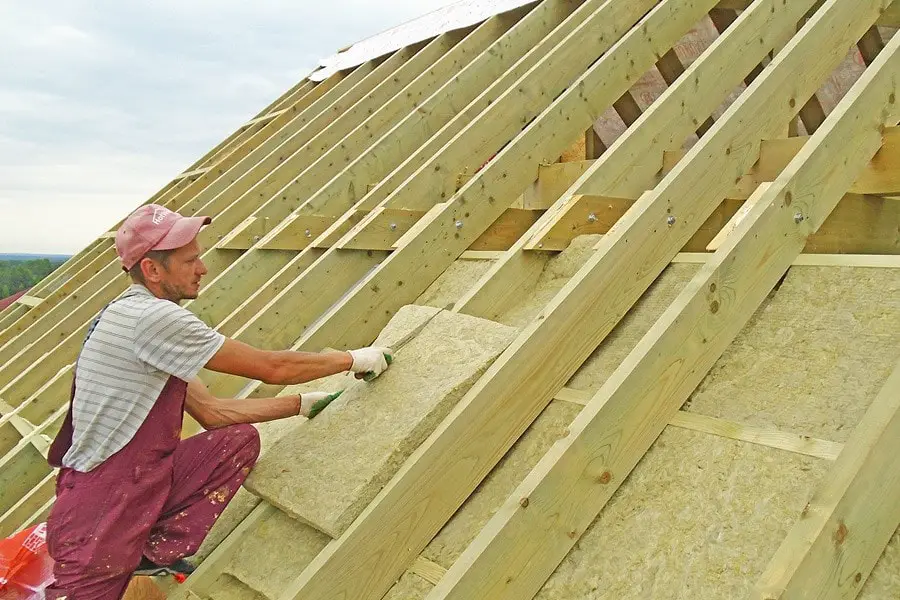
Proper installation involves placing the fiberglass board insulation batts or rolls between the ceiling joists, ensuring a snug fit without compressing the material. Take care around electrical fixtures and ensure proper ventilation to prevent moisture buildup. Safety precautions are paramount during this process, so make sure to follow the manufacturer’s guidelines and handle the insulation with care to prevent irritation.
We will delve into each step in detail, offering tips to streamline the installation process and maximize the insulation’s effectiveness. By the end, you’ll have a well-insulated ceiling that contributes to a more energy-efficient and comfortable home environment.
Can I install ceiling insulation myself?
The good news is, you can do it yourself without much hassle if you have the right insulation batts. Our blog today will be concentrating on steps you should take to install insulation in your home’s ceiling.
Before you begin, educate yourself about the specific type of insulation you’re using and any manufacturer recommendations. Gather the necessary safety gear, such as gloves, a dust mask, and protective clothing, to safeguard yourself from potential irritants. Accurate measurements of the ceiling area are essential to ensure you purchase the correct amount of insulation.
While DIY installations can save money, they demand meticulous attention to detail. It’s crucial to properly fit the insulation between ceiling joists without compressing it, as compression reduces its effectiveness. Take care around electrical fixtures and maintain proper ventilation to prevent moisture issues.
What is the best fiberglass insulation for ceilings?
Read on for some tips and types of insulation as well as the best options currently on the market.
- BEST OVERALL: Owens Corning R-38 Kraft Faced Fiberglass Insulation.
- BEST BANG FOR THE BUCK: Frost King CF1 “No Itch” Natural Cotton Insulation.
- BEST BLANKET: Owens Corning R-30 EcoTouch Fiberglass Insulation.
When selecting fiberglass insulation for ceilings, it’s essential to consider factors like R-value, thickness, and the specific needs of your space. One of the most popular and effective choices is unfaced fiberglass batt insulation. This type of insulation is available in various R-values to suit different climate zones and energy efficiency requirements.
Certain brands offer high-quality unfaced fiberglass batts that are easy to handle and install. Look for products with consistent density and thickness to ensure uniform coverage and performance. Additionally, consider the dimensions of your ceiling joists; insulation should fit snugly between them without being compressed, as this maintains its insulating properties.
How tight should ceiling insulation be?
Insulation should be installed right to the eaves so the batt is 50mm over the outside wall. However, you need to leave an air gap of 20mm between the insulation and your roof.
Ceiling insulation should be installed snugly but not tightly. The goal is to achieve a proper fit between the insulation and the ceiling joists without compressing the material. Compressing insulation can reduce its effectiveness by decreasing the trapped air spaces that provide insulation’s thermal resistance.
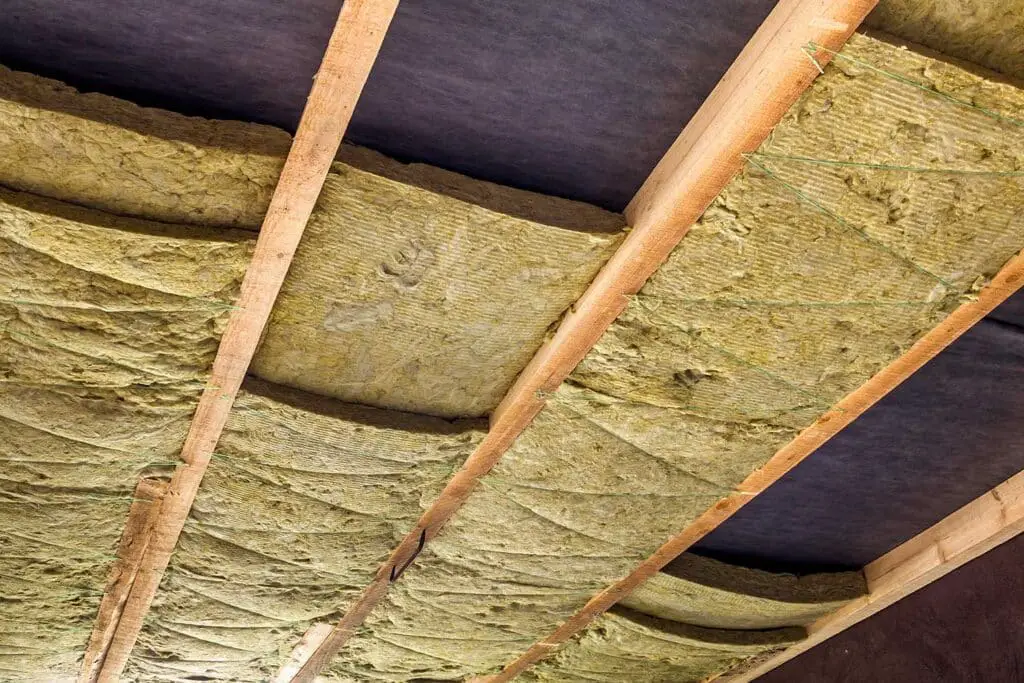
When installing fiberglass insulation batts or rolls in between ceiling joists, they should fit snugly but not be forced or compressed. The insulation should fill the space fully, with no gaps or voids that could allow heat transfer or air leakage. However, pushing the insulation too tightly can lead to reduced R-value and compromised thermal performance.
To gauge proper fit, look for a uniform appearance in the installed insulation, ensuring that there are no bulges or areas where the insulation is visibly compressed. Properly fitted insulation will provide the intended thermal barrier while allowing for sufficient airflow and preventing moisture buildup.
Remember that improper installation, whether too tight or too loose, can negatively impact the insulation’s effectiveness. Following manufacturer guidelines and best practices for installation will help ensure that your ceiling insulation performs optimally in maintaining energy efficiency and indoor comfort.
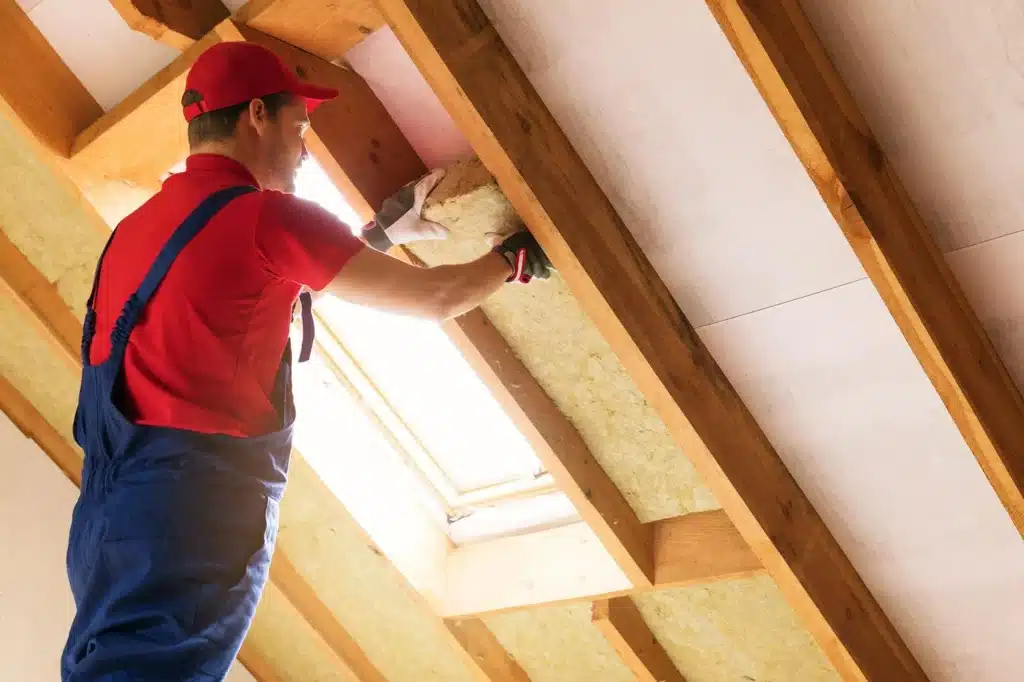
Is it safe to install fiberglass insulation?
However, working with fiberglass can irritate the skin, eyes and upper respiratory tract, so it’s important to protect yourself when you’re installing it.
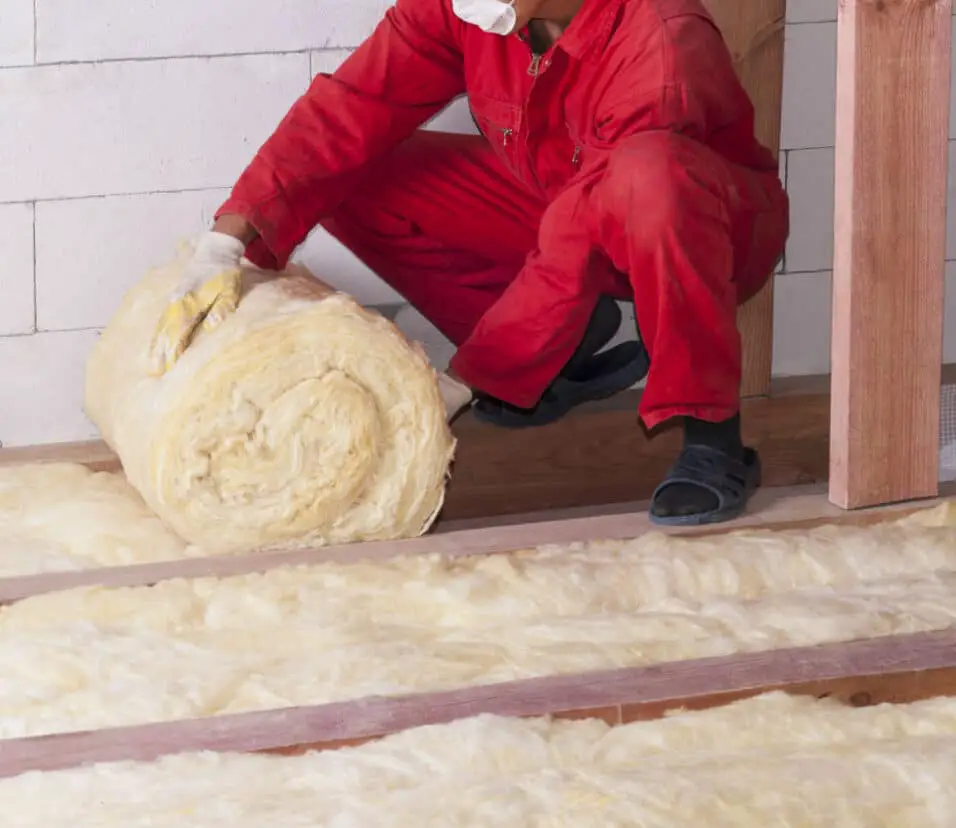
Yes, installing fiberglass insulation can be safe as long as you take appropriate precautions. Fiberglass insulation consists of fine glass fibers that can cause skin irritation and respiratory discomfort if not handled properly. To ensure your safety:
Wear Protective Gear: Always use gloves, a long-sleeved shirt, pants, and safety glasses to prevent direct contact with the insulation fibers. A dust mask or respirator is also recommended to avoid inhaling airborne particles.
Minimize Skin Contact: Handle the insulation with care and avoid touching your skin. If contact occurs, wash the affected area thoroughly with water and soap.
Maintain Proper Ventilation: Work in a well-ventilated area to reduce the concentration of airborne particles. Open windows and doors when possible and consider using fans to facilitate air circulation.
Prevent Dust Spread: Try to cut insulation outside or in a controlled area, and use a utility knife or specialized insulation cutting tool to minimize dust.
Avoid Disturbing Airborne Particles: Be cautious not to disturb the insulation fibers, as they can become airborne. Handle insulation gently and avoid unnecessary movement.
Clean Up Properly: After installation, clean the work area and tools thoroughly to remove any residual insulation fibers.
By following these safety measures and reading the manufacturer’s safety guidelines, you can minimize risks and carry out the insulation installation safely. If you have any respiratory issues or sensitivities, or if you’re unsure about the process, consider seeking professional assistance.
What are the essential safety precautions one should take before starting the installation of fiberglass insulation in a ceiling?
Before embarking on the installation of fiberglass insulation in a ceiling, it’s imperative to prioritize safety to prevent potential health risks. Here are the essential precautions to take:
Personal Protective Equipment (PPE): Wear appropriate safety gear, including gloves, a long-sleeved shirt, long pants, safety glasses, and a dust mask or respirator. This gear acts as a barrier between your skin and the insulation fibers, minimizing direct contact and inhalation.
Ventilation: Work in a well-ventilated area whenever possible. Open windows and doors to allow fresh air to circulate, which helps disperse any airborne particles and reduce their concentration.
Minimize Skin Exposure: Fiberglass insulation fibers can irritate the skin. Avoid touching the insulation with bare skin, and immediately wash any exposed skin with water and soap if contact occurs.
Control Dust: Insulation materials can generate dust when cut. To minimize dust exposure, use proper tools like a utility knife or specialized insulation cutter. Consider performing cutting outside or in a designated space.
Safety Eyewear: Protect your eyes with safety glasses to prevent insulation particles from entering your eyes, causing irritation or injury.
Avoid Disturbance: Handle insulation materials gently to prevent the release of airborne particles. Avoid vigorous movement or activities that could disturb the insulation and increase the potential for particles to become airborne.
Clean-Up: After completing the installation, thoroughly clean the work area and tools. Use a damp cloth or vacuum equipped with a HEPA filter to collect any residual insulation fibers.
By adhering to these safety precautions, you can significantly reduce the risk of skin irritation, respiratory discomfort, and other potential health issues associated with handling fiberglass insulation. Your safety is paramount, so make sure to follow these guidelines throughout the installation process.
Can you explain the process of measuring the ceiling area to determine the amount of fiberglass insulation needed for installation?
Measuring the ceiling area accurately is a critical initial step in determining the amount of fiberglass insulation required for a successful installation. To begin, equip yourself with a measuring tape, pencil, and paper.
First, calculate the length and width of the ceiling space in feet. Measure from one end of the room to the other for both dimensions, ensuring accuracy. Multiply the length by the width to determine the total square footage of the ceiling.
Next, account for any openings or irregularities, such as vents or light fixtures, by subtracting their square footage from the total. This yields the “net” square footage that requires insulation.
Insulation is typically sold in square foot coverage, so divide the net square footage by the coverage of one insulation package or roll. This calculation provides an estimate of how many packages or rolls you’ll need.
What measures should be taken to ensure proper ventilation during and after the installation of fiberglass insulation in the ceiling?
Ensuring proper ventilation during and after the installation of fiberglass insulation in the ceiling is crucial for maintaining air quality and preventing the accumulation of moisture. Here’s how to effectively manage ventilation throughout the process:
During Installation:
Open Windows and Doors: Prior to installation, open windows and doors to create cross-ventilation. This helps disperse any airborne particles generated during insulation placement.
Use Fans: Place fans strategically to direct airborne particles away from the work area and towards open windows or doors. This promotes the circulation of fresh air and helps minimize particle concentration.
After Installation:
Allow Time for Settling: After installation, leave windows and doors open to allow any remaining airborne particles to settle outside. This prevents particles from lingering indoors and potentially affecting indoor air quality.
Air Exchange: Continue to ventilate the space over the next few days by keeping windows partially open, using fans, or even employing an HVAC system with proper filtration. This supports the gradual removal of any residual particles.
By employing these measures, you’ll minimize the chances of indoor particle accumulation and ensure that the air quality within your space remains conducive to a healthy living environment throughout and after the fiberglass insulation installation process.
What are the potential benefits of a well-installed fiberglass insulation in a ceiling, both in terms of energy efficiency and indoor comfort?
A well-installed fiberglass insulation in a ceiling offers a range of significant benefits, enhancing both energy efficiency and indoor comfort.
Energy Efficiency:
Reduced Heat Transfer: Properly installed fiberglass insulation creates a thermal barrier that minimizes heat transfer through the ceiling. This prevents heat from escaping during colder months and keeps out external heat during warmer periods, leading to reduced energy consumption for heating and cooling.
Lower Energy Bills: By regulating indoor temperatures, insulation decreases the need for constant heating or cooling. This results in lower energy bills as your HVAC system operates more efficiently.
Indoor Comfort:
Consistent Temperatures: Insulation helps maintain consistent indoor temperatures, eliminating cold spots in winter and hot spots in summer. This provides a more comfortable living environment year-round.
Noise Reduction: Fiberglass insulation can also dampen sound transmission between different rooms or levels, contributing to a quieter and more peaceful interior.
Moisture Control: Proper insulation minimizes the risk of condensation forming on the ceiling, reducing the potential for mold growth and moisture-related issues that can compromise indoor air quality.
Overall, a well-installed fiberglass insulation in the ceiling creates a more energy-efficient and comfortable living space, translating into cost savings, improved indoor comfort, and a healthier environment for occupants.
Conclusion
Installing fiberglass insulation in your ceiling is a worthwhile investment that pays off in terms of energy savings, comfort, and noise reduction. By following the steps outlined in this guide, you’ll have successfully created a thermal barrier that helps maintain consistent indoor temperatures while minimizing the need for excessive heating or cooling. This not only reduces your energy bills but also lessens your carbon footprint, contributing to a more sustainable lifestyle.
Additionally, the installation process outlined here ensures that your ceiling insulation is properly placed, optimizing its performance. The attention given to safety precautions guarantees that the process is carried out without harm to yourself or the environment. With the right materials, accurate measurements, and meticulous placement, you’ve taken a significant step toward enhancing the overall quality of your living space.
Remember that proper insulation not only influences your comfort and savings but also adds value to your property. So, as you stand back and admire your well-insulated ceiling, take pride in knowing that your efforts will continue to provide benefits for years to come.