How To Install Wall Insulation On An Existing Wall
Introduction
How To Install Wall Insulation On An Existing Wall: Energy-efficient and cost-effective solution for homeowners seeking improved insulation, this guide will walk you through the process of installing wall insulation on an existing wall. As energy conservation takes center stage in modern living, properly insulating your walls can substantially enhance your home’s comfort and reduce energy bills.
Installing wall insulation is a practical approach to maintaining consistent indoor temperatures while minimizing heat loss or gain. Whether you reside in an older house or simply want to upgrade your foam insulation. The necessary information and techniques to tackle the project successfully.
We will explore different insulation materials and methods suitable for existing walls, ensuring you make an informed decision based on your specific requirements. From assessing the current insulation status to selecting the right type of insulation, we will cover each crucial aspect of the installation process.
By following these instructions, you’ll not only contribute to a more environmentally-friendly home but also create a more comfortable living space for yourself and your family. Get ready to enhance your home’s energy efficiency and enjoy the benefits of a well-insulated living environment through this comprehensive wall insulation installation guide.
Can you add wall insulation to existing walls?
Drill and fill is a great choice if you need to insulate your walls without tearing down existing drywall. We hope this news brings you a huge sigh of relief! You don’t need to tear apart your existing walls to install new insulation. All you need is an expert who knows how to do drill and fill to do the job.
Yes, you can certainly add insulation to existing walls, a process known as retrofitting insulation. While it can be more complex than installing insulation during initial construction, it is entirely feasible and offers substantial benefits. Retrofitting insulation involves carefully selecting the right method and material based on your wall’s composition and your specific goals.
Before proceeding, it’s crucial to evaluate the current condition of your walls and determine the most suitable insulation type—such as blown-in cellulose, spray foam, or rigid foam panels. Each option has its advantages and considerations, including insulation effectiveness, ease of installation, and potential impact on wall aesthetics.
The installation process typically involves drilling holes in the wall or creating access points. It is used to introduce the insulating material. This demands precision and expertise to avoid damaging the wall’s structure and finishes. While retrofitting insulation may require professional assistance, it promises enhanced energy efficiency, increased comfort, and potentially reduced utility costs.
Adding insulation to existing walls is indeed possible, offering numerous benefits for homeowners seeking. To improve their indoor environment’s insulation performance. Thorough research, careful material selection, and precise installation. Techniques are essential to successfully upgrade your walls’ insulation and enjoy a more energy-efficient and comfortable living space.
Can foam insulation be installed in existing walls?
It’s a common misconception that you have to completely remove the outer wall covering before you can re-insulate it with injection foam. You may add insulation without removing any drywall. The fact that siding of any kind can be placed from the outside is a significant consideration.
Adding foam insulation to already-built walls is a practical strategy for doing so. The most popular forms of foam insulation used in retrofitting are spray foam and rigid foam panels.
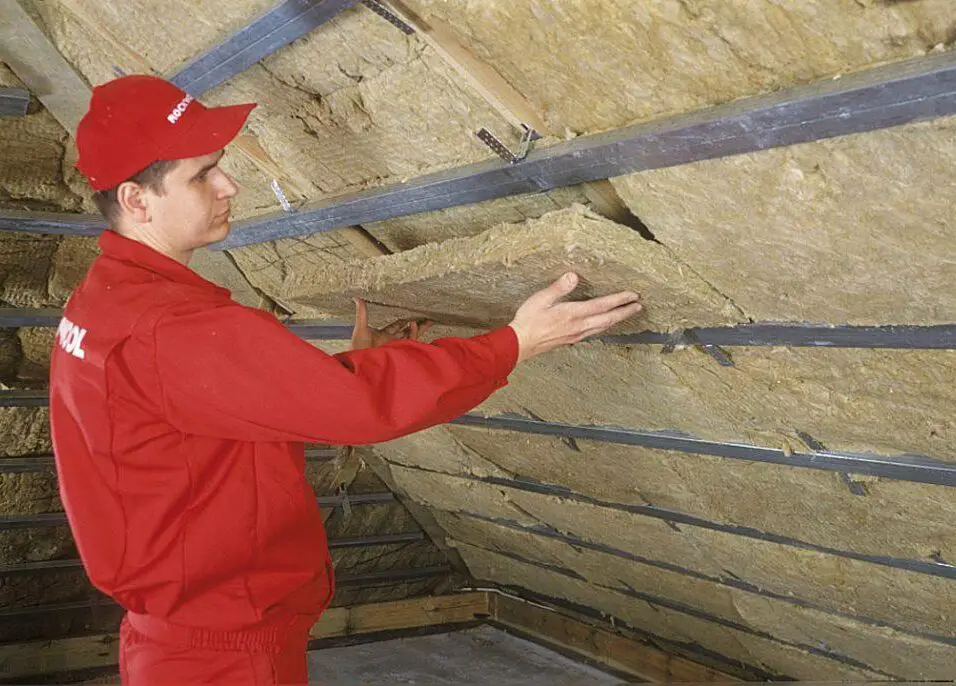
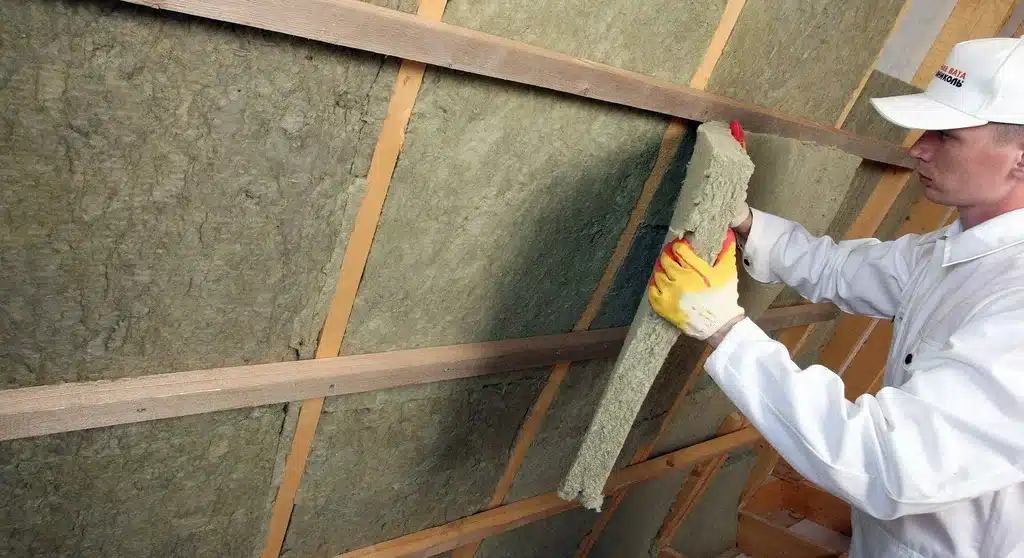
Insulating wall cavities using spray foam entails spraying a liquid foam mixture into the spaces between wall studs. The foam’s expanding properties make it an efficient sealer and insulator. Because of its malleability and ability to flow around obstructions, spray foam is ideal for retrofitting existing walls. The need for precision and the risk of overexpansion make the assistance of a professional installer highly advised.
Rigid foam panels are adaptable and can be used to insulate wall spaces. They come predrilled with slots or holes to make it simple to install them inside walls or in wall stud cavities. Rigid foam is more efficient than fiberglass because it has a higher R-value (thermal resistance). Air leakage can be prevented if the panels are properly sealed to one another.
The use of foam insulation significantly improves the insulating properties and energy efficiency of existing walls. When installed by skilled specialists, rigid foam and spray foam are both most effective and give the best results.
Can you put insulation over existing insulation?
If the old insulation appears to be wet but is actually dry, find the source of the moisture and address the problem.
Your home’s insulation can be improved by adding more insulation on top of the current insulation. The addition of further insulation, often known as “insulation topping,” can reduce energy expenditures and enhance thermal resistance. The best results, however, depend on meticulous planning.
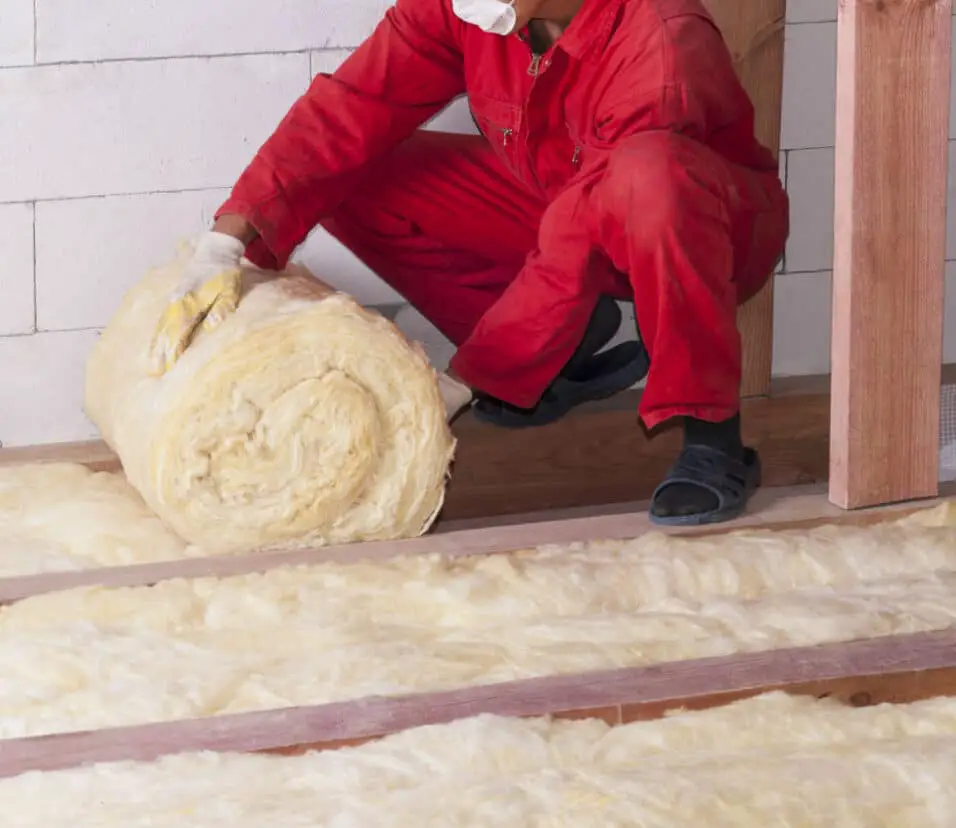
Before beginning, make sure the insulation is in good condition. Before adding new insulation, it is recommended to remove any damaged, wet, or ineffective existing insulation. If the existing insulation layer is in good condition, it can be placed on top of it.
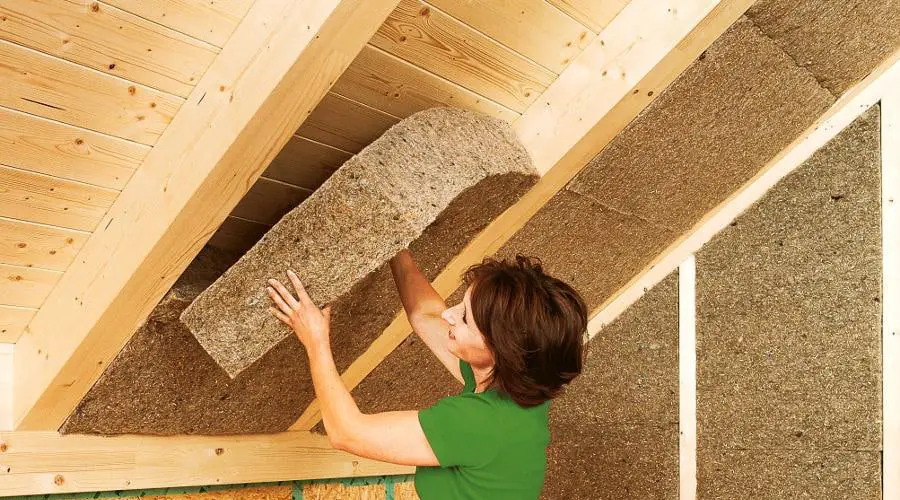
Select the kind of insulation that will be installed. Batts or rolls of insulation may be used to cover the insulation in an attic, wall, or floor. Blown-in insulation consisting of cellulose or fiberglass can be evenly put on top of the existing insulation.
Ensure that the new insulation doesn’t block vents or create moisture-related issues, as proper ventilation is crucial to prevent mold and other problems.
Adding insulation over existing insulation can enhance your home’s energy efficiency. It’s important to assess the condition of the current insulation, choose the appropriate insulation type, and address potential ventilation concerns to maximize the benefits of this approach.
How do you insulate existing walls in an old house?
How to Insulate Walls in an Old House
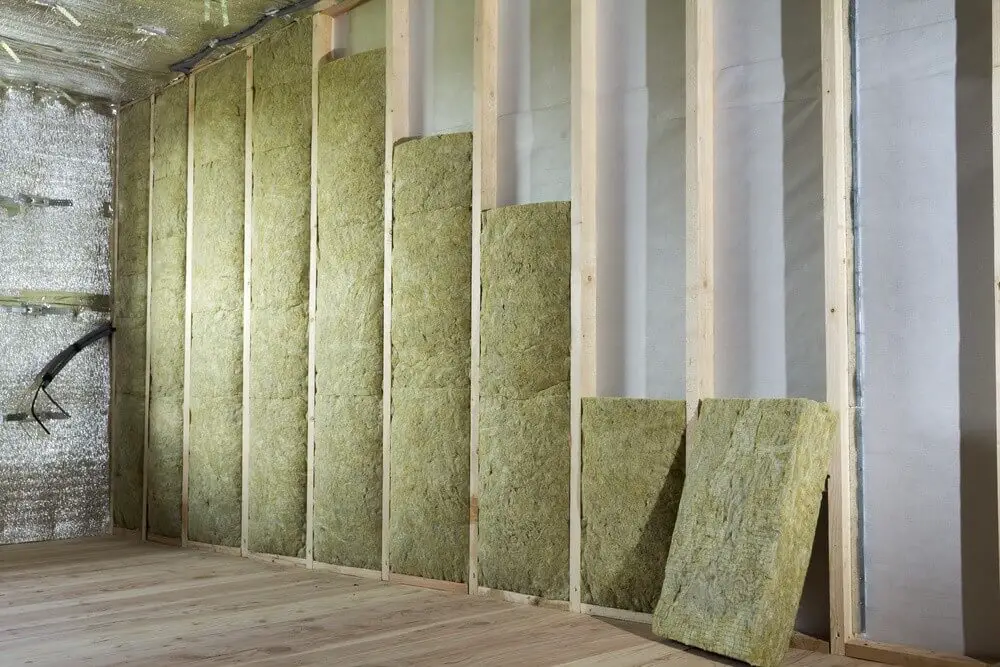
- Apply a house wrap/vapor barrier to exterior walls.
- Attach 1-inch foam board insulation.
- Install siding over the insulation.
- Replace old windows with energy-efficient units.
- Caulk window trim and use weatherstripping to reduce air leaks.
Insulating existing walls in an old house presents challenges but can significantly improve comfort and energy efficiency. Here’s a concise guide to the process:
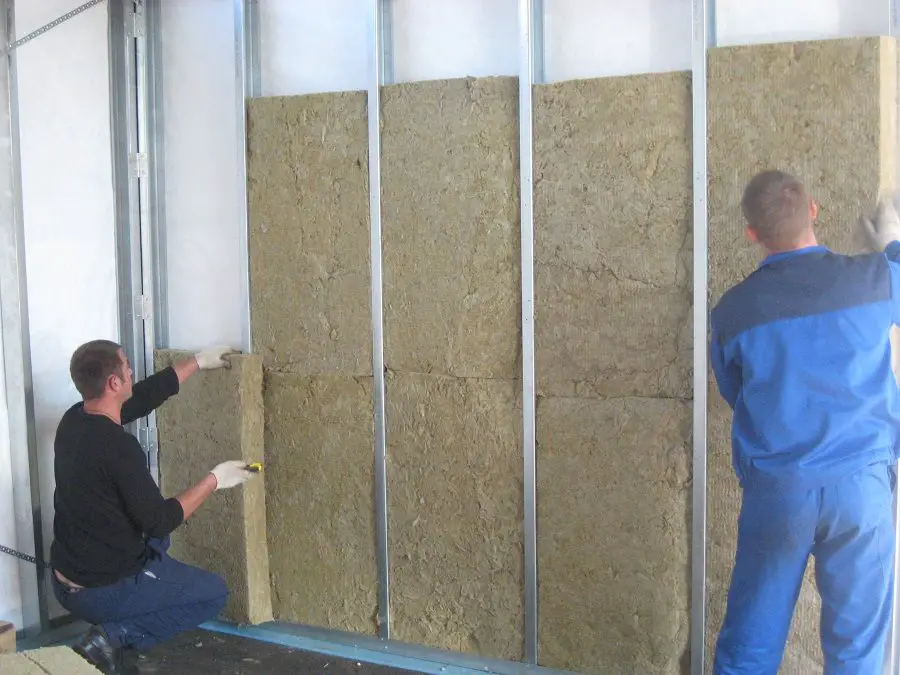
Assessment: Evaluate the current insulation and wall structure. Determine if there’s any existing insulation, its condition, and the type of wall construction (e.g., wood frame or masonry).
Choose Insulation Type: Select a suitable insulation type based on your wall’s construction. Options include blown-in cellulose, spray foam, or rigid foam panels. Research the R-values and installation requirements.
Access Points: Create access points if needed. This could involve drilling holes or removing sections of drywall or plaster.
Installation: Install insulation through access points or by attaching it to the interior or exterior surface. Professionals may be needed for complex installations like spray foam due to precise application requirements.
Vapor Barrier: Consider adding a vapor barrier if needed, to prevent moisture-related issues.
Sealing: Properly seal access points, gaps, and cracks to prevent air leakage.
Aesthetics: Repair and restore any damage caused by access point creation, ensuring the walls look seamless.
Professional Help: Complex installations and historic homes may require professional expertise.
Insulating existing walls in an old house involves careful planning, suitable insulation selection, precise installation, and attention to preserving the home’s aesthetic and structural integrity. The effort can lead to improved energy efficiency and comfort while preserving the charm of your historic home.
What are the key benefits of installing insulation on existing walls, and why is it important for homeowners to consider this upgrade?
Installing insulation on existing walls offers a host of benefits that can greatly enhance a homeowner’s quality of life and financial well-being. Chief among these advantages is the substantial improvement in energy efficiency. By effectively reducing heat transfer, insulation helps maintain a consistent indoor temperature, making homes more comfortable year-round. This not only enhances occupants’ comfort but also minimizes the reliance on heating and cooling systems, leading to significant energy savings and lower utility bills.
Additionally, insulation contributes to soundproofing, creating a quieter living environment by reducing the transmission of noise from both within and outside the house. It also acts as a barrier against moisture infiltration, which can prevent mold growth and protect the structural integrity of the home.
For historical or older homes, insulation retrofitting provides a chance to modernize the living space while maintaining its architectural charm. Moreover, in an era of heightened environmental consciousness, insulating existing walls aligns with sustainable practices by reducing the carbon footprint associated with excessive energy consumption.
Homeowners should consider upgrading their existing walls with insulation due to the array of benefits. It brings – from improved energy efficiency and cost savings to enhanced comfort, noise reduction, and a positive impact on the environment. It’s a prudent investment that not only increases the value of the property but also contributes to a more sustainable and enjoyable living space.
What steps are involved in assessing the current condition of the walls and determining the appropriate insulation method for an existing wall?
Assessing the current condition of existing walls and selecting the suitable insulation method involves a systematic approach to ensure optimal results. Here’s a breakdown of the key steps:
Visual Inspection: Begin by visually examining the walls, both inside and outside, to identify any visible damage, deterioration, or signs of moisture infiltration. Look for cracks, gaps, and areas of discoloration.
Existing Insulation: Determine whether the walls already have insulation and assess its condition.
Wall Composition: Identify the wall’s construction type – whether it’s wood frame, masonry, or another material.
Access Points: Plan where access points will be created for insulation installation. Consider factors like ease of access, impact on aesthetics, and structural implications.
Insulation Options: Research insulation types suitable for your wall composition. Consider factors such as R-value (thermal resistance), installation complexity, and potential impact on wall thickness and aesthetics.
Moisture Assessment: Conduct a moisture test to ensure that the walls are dry. Moisture-related issues can affect insulation effectiveness and cause damage over time.
Professional Consultation: For complex assessments, or if you’re uncertain about the best approach. Consult with insulation professionals who can provide expert advice based on your home’s unique characteristics.
Budget and Goals: Consider your budget and insulation goals. Determine how much you’re willing to invest in the project and the level of energy efficiency you aim to achieve.
You may obtain crucial information to determine the best insulation technique for your existing walls by carefully following these procedures. This ensures that your insulation upgrade aligns with your home’s specific requirements and delivers the desired comfort and efficiency improvements.
Could you explain the installation process for blown-in insulation on existing walls?
Blown-in insulation is a versatile and effective method for upgrading existing walls’ insulation. The process involves the following steps:
Making an Access Point Entails Drilling Holes in the Wall at Strategic Locations. These strategically positioned holes will provide an even distribution of insulation.
It is necessary to remove any dust, debris, or old insulation from the wall cavities before installing new insulation.
Loose-fill insulation, often comprised of cellular glass or cellulose, is blown into a building during the construction process.
Walls are pierced so that insulation may be blasted into the stud cavities. Any holes or crevices in the insulation are sealed by the blowing machine.
Keeping Warm and Blocking Out the Chill After the insulation has been installed, any gaps or cracks that could let air escape are sealed.
If you want the greatest possible result in terms of tidiness and visual appeal, you should patch and restore all accessible wall surfaces to their original condition.
Blown-in insulation’s malleability makes it a good choice for insulating existing walls, which often have odd shapes and crevices.
What safety precautions should homeowners take when installing insulation on existing walls, and when might it be advisable to seek professional assistance for the installation process?
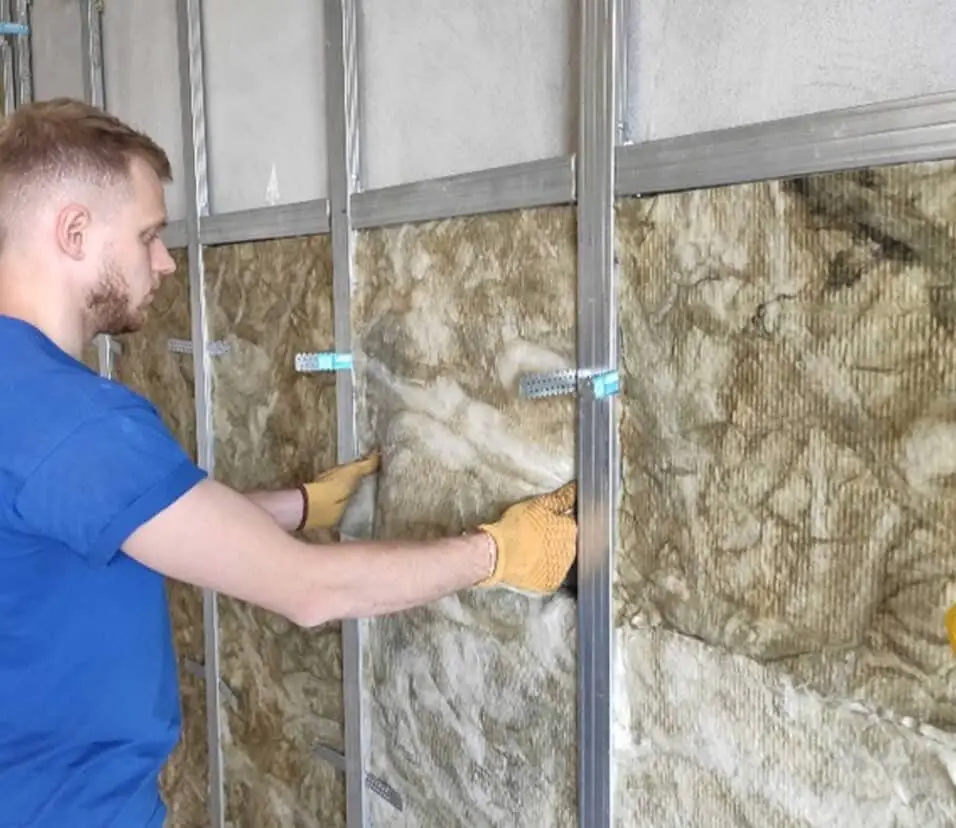
When installing insulation on existing walls, homeowners should prioritize safety to avoid potential hazards. Proper safety precautions include wearing protective clothing such as gloves, safety goggles, and masks to shield against insulation fibers or dust. Adequate ventilation in the work area is crucial to prevent the accumulation of airborne particles. Additionally, handling tools and equipment safely, especially when creating access points, is essential to prevent accidents.
Spray foam is a sophisticated insulating material that requires careful application to ensure its efficacy and prevent health hazards, so it may be best to seek professional advice if you plan to use it. A professional should also check for electrical hazards and asbestos in homes.
Prioritizing safety by wearing appropriate protective gear, ensuring proper ventilation, and handling tools cautiously is vital during insulation installation. Seeking professional assistance is advisable for intricate installations, hazardous materials, or situations that may pose risks to both the installer and the home’s structure.
Conclusion
Embarking on the journey to install wall insulation on an existing wall can bring about remarkable improvements in both your living space and your energy savings. By diligently following the steps outlined in this guide, you’re well on your way to achieving a more comfortable and sustainable home.
Remember, the choice of insulation material, thorough preparation, and precise installation are paramount to the success of this endeavor. Whether you opt for batt insulation, blown-in insulation, or another type, the rewards of your efforts will manifest in reduced utility bills, minimized environmental impact, and a cozier indoor atmosphere.
As you take on this project, keep safety in mind and consider seeking professional guidance if you’re unsure about any aspect of the installation. With careful planning and attention to detail, you can significantly enhance your home’s insulation and overall energy efficiency. So, go ahead and transform your existing wall insulation into a shield against temperature fluctuations, demonstrating your commitment to a more sustainable and comfortable living environment for years to come.