How To Finish A Plywood Wall
Introduction
How To Finish A Plywood Wall: Enhancing the interior of your home is an exciting venture, and one versatile and aesthetically pleasing option is finishing a plywood wall. Plywood has gained popularity for its unique blend of affordability, durability, and natural beauty, making it an excellent choice for adding character and charm to any space. Whether you’re a seasoned DIY enthusiast or a novice looking to embark on a creative project, finishing a plywood wall is a rewarding endeavor that allows you to unleash your creativity and transform an ordinary wall into a captivating focal point.
In this comprehensive guide, we will delve into the step-by-step process of finishing wall, providing valuable insights, tips, and techniques to achieve professional-grade results. From preparing the surface to selecting the ideal finish, we will walk you through each stage, ensuring your project is a resounding success.
Preparation is the foundation of any successful endeavor, and finishing a plywood wall is no exception. We will explore the importance of inspecting the plywood for imperfections and how to expertly sand down rough edges to create a smooth canvas that’s ready to receive the finishing materials.
Selecting the appropriate finish is where your creativity comes to life. Whether you desire the rustic appeal of stained wood or prefer the versatility of painted surfaces, we will discuss various finishing options and guide you on how to make the best choice to align with your desired interior style.
What is the best finish for plywood walls?
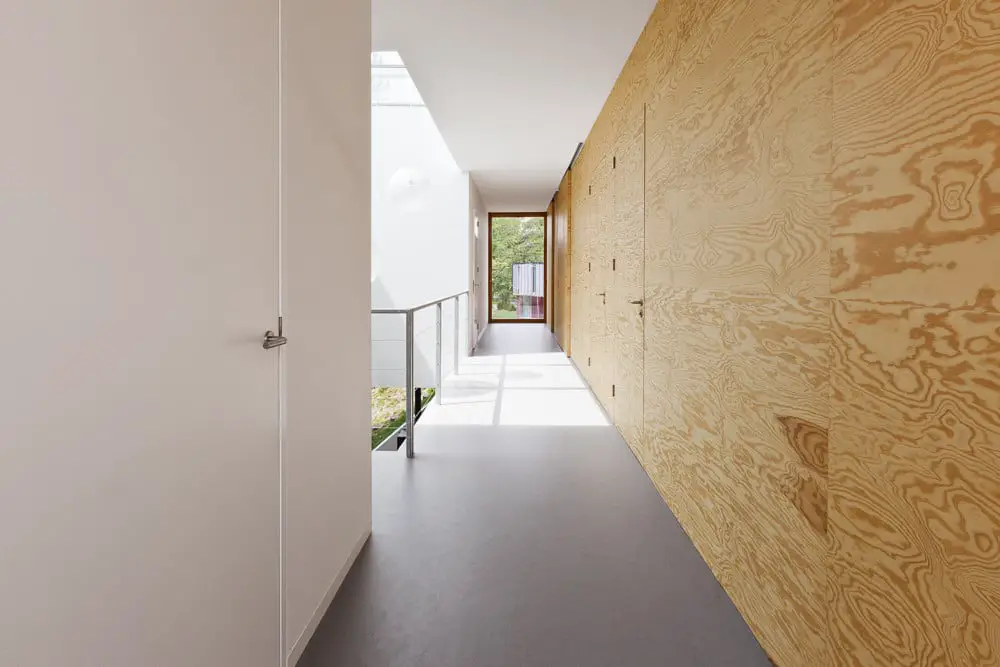
In the form of large sheets on a wall, plywood is an excellent choice. Because we brush up against them often, walls are best sealed with a smooth finish — a satin polyurethane or tung oil is a good choice. When it comes to choosing the best finish for plywood walls, it largely depends on your desired aesthetic, the intended use of the space, and your personal preferences. Plywood’s natural grain and texture can be enhanced or altered with various finishing options. Here are some popular choices:
Clear Polyurethane or Varnish: For a natural look that highlights the plywood’s grain and color, a clear polyurethane or varnish is an excellent option. It provides a protective layer that preserves the wood’s beauty while adding a subtle sheen to the surface.
Stain: If you want to accentuate the plywood’s natural beauty while adding color, stains are a great choice. Stains come in various shades, allowing you to choose the level of transparency and color intensity that best suits your design scheme.
Paint: For a more versatile and customizable finish, painting the plywood wall offers countless possibilities. You can match your decor’s color scheme or create a statement wall with bold hues and patterns.
Whitewash: Achieve a trendy, rustic look by applying a whitewash finish to the plywood. This technique allows the wood’s grain to show through while adding a light, weathered appearance.
Ultimately, the best finish for plywood walls is one that complements your overall design vision and meets the functional requirements of the space. Consider the level of protection, maintenance needs, and the ambiance you wish to create before selecting the ideal finish that will transform your plywood wall into a stunning focal point.
What finish can be applied to plywood?
Hard wax oil is an excellent choice for coating plywood, and is the finish that we use and recommend. The main point of difference is that it protects wood from the inside out, unlike most coatings which form a film on the surface only. Plywood offers remarkable versatility when it comes to finishes, allowing homeowners and designers to achieve a wide range of desired aesthetics. The most common finishes applied to plywood are stains, paints, and clear coatings.
Stains are a popular choice for those who want to showcase the natural beauty of the wood grain. They come in various colors and tones, allowing users to achieve a rustic, warm, or modern look. Stains penetrate the plywood’s surface, enhancing its texture and character while adding depth to the overall appearance.
Paints offer endless possibilities for customizing plywood walls. They come in a myriad of colors and finishes, from matte to glossy, enabling homeowners to match their décor or create a striking accent wall. Paints provide excellent coverage and are especially suitable for achieving a consistent color across the plywood surface.
Does plywood need a finish?
Plywood is one of the most versatile materials used in construction. It is also a strong and durable material that’s relatively cheaper than similar wooden boards. However, for plywood to stay in great shape for a long time, you need the right plywood finish. Yes, plywood generally requires a finish to protect it and enhance its durability and appearance. Unlike solid wood, plywood is composed of multiple layers of wood veneers glued together, making it more susceptible to moisture, warping, and damage. Applying a finish creates a protective barrier that shields the plywood from these potential hazards.
A finish also serves to enhance the natural beauty of the plywood by bringing out its grain and color variations. Whether you choose to stain, paint, or use a clear varnish, the finish can add depth and character to the plywood surface, elevating its overall aesthetic appeal.
Moreover, a well-applied finish can make cleaning and maintenance easier, as it provides a smoother surface that is less prone to dust accumulation and stains.
What paint is best for plywood?
For plywood projects, water-based acrylic-latex paints are generally the easiest to work with. Epoxy paints also offer great durability. Opt for high-quality paint and apply with a quality brush for the best possible results. Wet the brush before painting, and apply in the direction of the top grain.
When choosing the best paint for plywood, several factors come into play to ensure a successful and long-lasting finish. The most suitable paint for plywood is generally an acrylic latex-based paint. Acrylic latex paints are water-based and offer numerous benefits, making them a popular choice for plywood surfaces.
One key advantage of acrylic latex paint is its excellent adhesion to plywood, ensuring that the paint adheres firmly to the surface and resists peeling or flaking over time. Additionally, these paints dry relatively quickly, allowing you to complete your project efficiently.
Acrylic latex paint also provides good coverage, even in one coat, saving you time and paint expenses. Its low VOC (Volatile Organic Compounds) content makes it an environmentally-friendly option that emits fewer harmful fumes during application.
Furthermore, acrylic latex paint is highly durable and flexible, which is crucial for plywood as it can expand and contract with changes in humidity and temperature. The flexibility of the paint prevents cracking or bubbling, ensuring a smooth and professional-looking finish on your plywood surface.
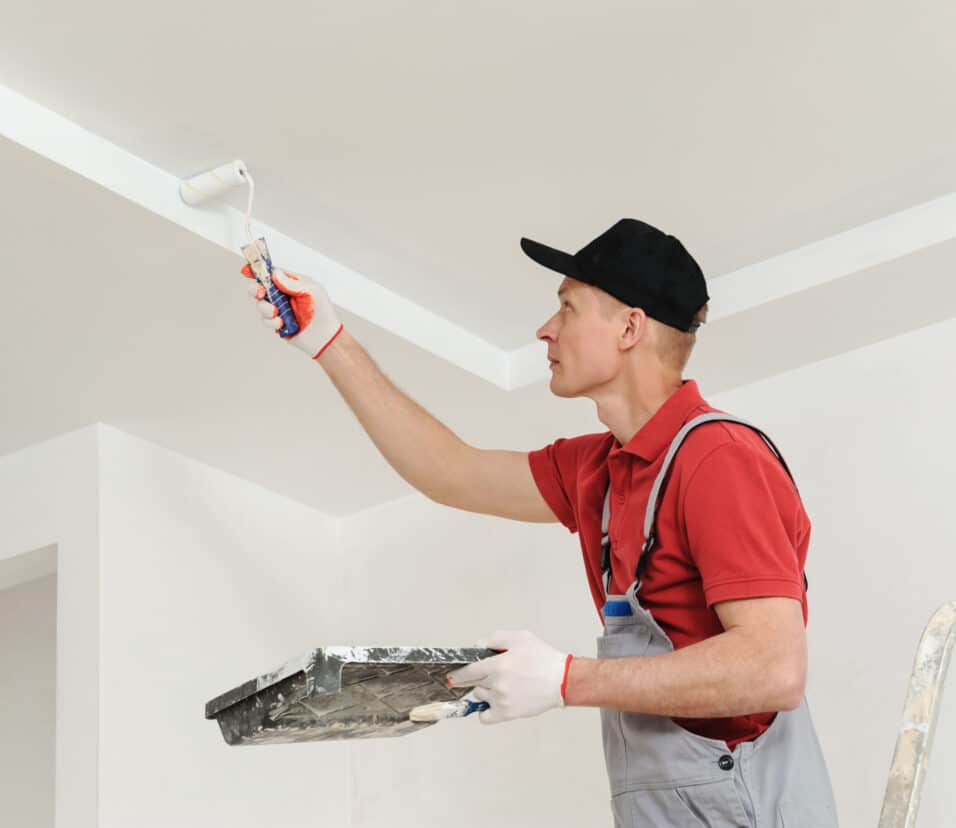
What is the finishing method for wood?
Once the wood surface is prepared and stained, the finish is applied. There are frequently multiple coats of wax, shellac, drying oil, lacquer, varnish, or paint, followed by sanding. Wood finishing involves applying coatings or treatments to improve its appearance, durability, and protection. This vital technique highlights the wood’s natural beauty while protecting it from external influences that could damage or deteriorate it.
There are several common finishing methods for wood, including staining, painting, varnishing, and oiling. Staining involves applying a colored pigment to the wood, highlighting its grain and adding depth to the surface. Painting, on the other hand, completely covers the wood with an opaque color, offering versatility in design and customization.
Varnishing is a popular method that involves applying a clear, protective coat over the wood surface. This creates a durable and glossy finish that shields the wood from moisture, scratches, and UV rays. Oiling is a more natural approach, where specific oils are applied to the wood to bring out its natural luster and protect it from environmental elements.
Does plywood have a smooth finish?
A-grade plywood features a smooth, sanded surface without knots. Any wood defects have been repaired with synthetic filler, so the veneer can be painted. A-grade plywood is ideal for furniture or cabinet doors.
The quality, type, and manufacturing of plywood affect its smoothness. A smooth finish is typical of plywood, however MDF and particle board may be smoother.
A-grade and B-grade plywood have smoother surfaces than lower-grade choices. A-grade plywood is appropriate for applications that value appearance due to its smooth, sanded sides. However, lower-grade plywood may have more visible defects and roughness, requiring more sanding or finishing.
Plywood smoothness depends on the wood type.Hardwood plywood, created from thick wood species, finishes smoother than softwood plywood.

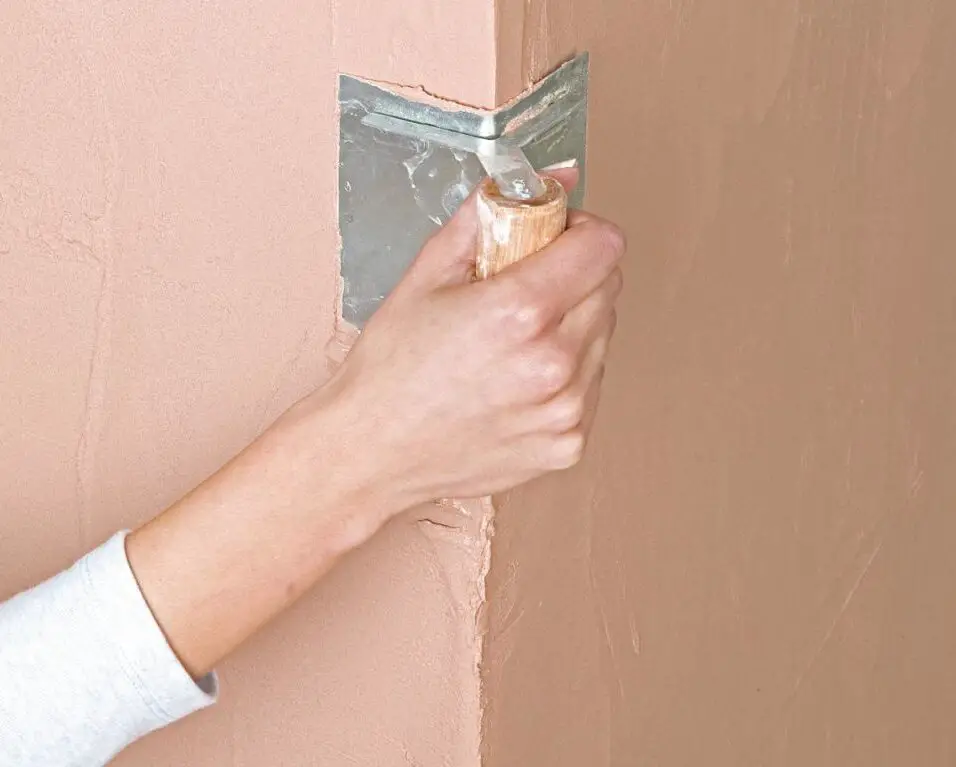
How do I address imperfections on the plywood surface before finishing?
Before applying any finishes, inspect the plywood for knots, rough patches, or gaps. Use wood filler to fill in imperfections, and sand the surface until it’s smooth and even. This step is crucial to ensure a flawless and professional finish.
Addressing imperfections on the plywood surface before finishing is a crucial step to ensure a smooth and professional result. Before applying any stains, paints, or protective coatings, it’s essential to prepare the plywood by inspecting and addressing any flaws or irregularities.
Start by examining the plywood closely for knots, rough patches, dents, or gaps. Use wood filler or putty to fill in these imperfections, smoothing it out with a putty knife or a spatula. Allow the filler to dry thoroughly, and then sand the entire surface using sandpaper or a sander.
Sanding the plywood not only levels out the patched areas but also creates a uniformly smooth texture, providing a clean canvas for the finishing materials. Be sure to use appropriate grit sandpaper, starting with a coarser grit and gradually moving to finer grits for a refined finish.
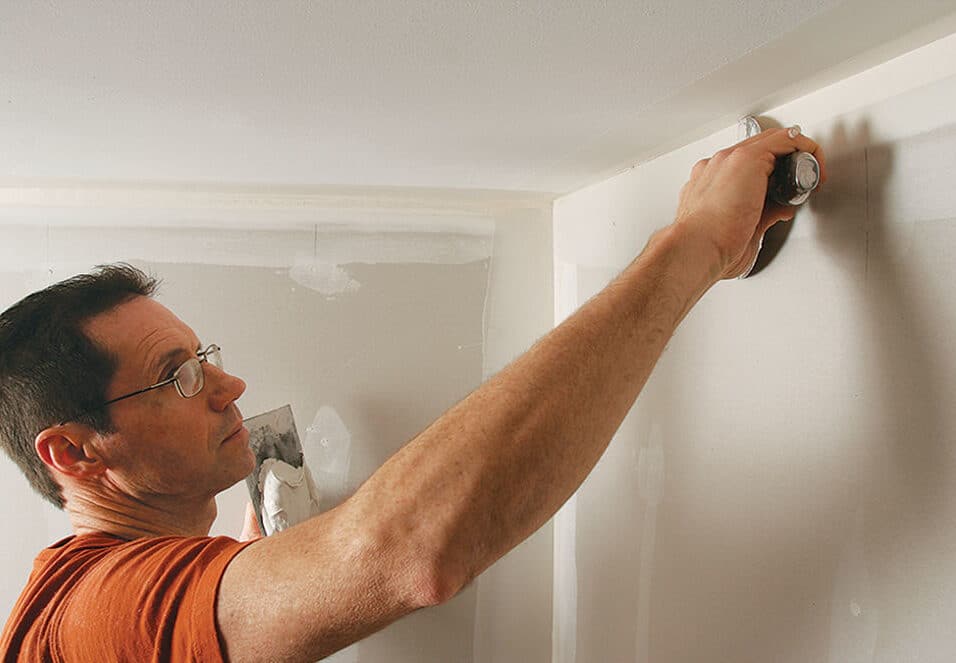
Is it necessary to apply a sealer or protective coat after finishing the plywood wall?
Clear polyurethane or varnish protects the wall from moisture, scratches, and abrasion, extending its lifespan. Yes, sealer or protective layer is recommended after plywood wall finishing. The protective coat protects the completed surface and maintains its beauty.
Despite its durability, plywood can be damaged by moisture, scratches, and wear. Without a protective coat, the finish may wear off fast and harm the wood, ruining the wall’s appearance.
A sealer like transparent polyurethane or varnish protects plywood against moisture intrusion, which can deform or swell it. It also prevents scratches, stains, and fading, keeping the plywood wall colorful and clean.
A protective coat extends the finish’s life and makes the plywood wall easier to clean. Regular dusting and mild cleaning won’t damage the plywood wall, so you can enjoy its beauty without stress.
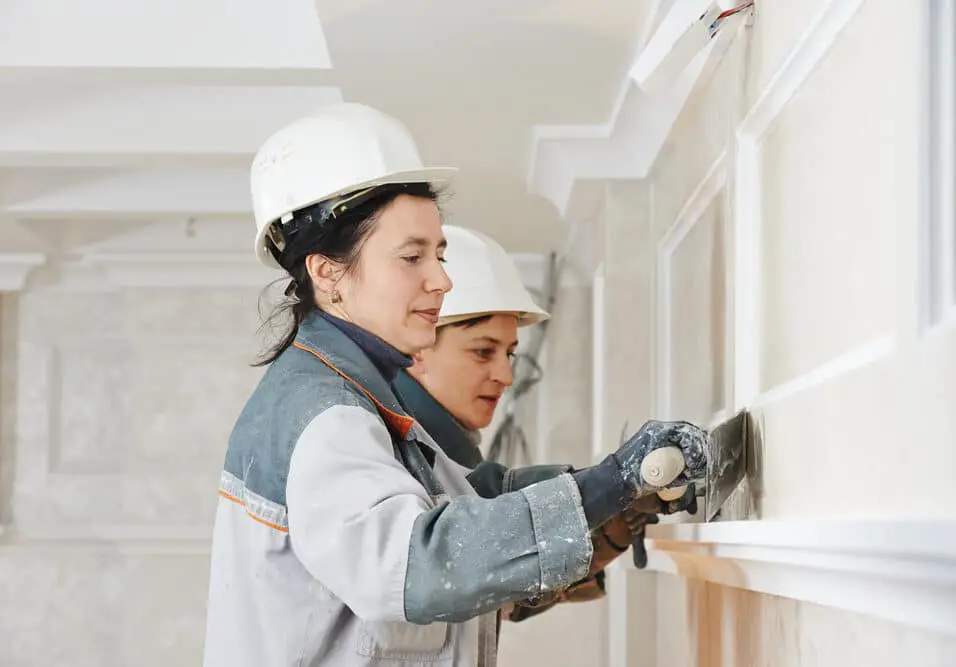
Can I install trims or borders on my finished plywood wall, and how do I do it?
Yes, installing trims or borders is an excellent way to enhance the look of your finished plywood wall. Use a saw to cut the trims to the desired length, ensuring clean and precise edges. Secure the trims using nails or adhesive, and use a level to ensure they are straight and properly aligned along the edges or borders of the wall.
To install trims or borders, follow these steps:
Measure and cut the trims: Use a measuring tape to determine the length needed for each trim. With a saw, carefully cut the trims to the appropriate size. Ensure clean and precise edges for a professional finish.
Position the trims: Lay out the trims along the edges of the plywood wall to check for alignment and fit. Make any necessary adjustments before proceeding.
Secure the trims: Use nails, adhesive, or a combination of both to attach the trims to the plywood wall. If using nails, drive them into the plywood at regular intervals along the trim’s length. If using adhesive, apply a thin, even layer on the back of the trim before pressing it firmly onto the plywood surface.
Level and straighten: Use a level to ensure the trims are straight and properly aligned. Adjust as needed to achieve a uniform and visually pleasing result.
Fill and finish: If there are any small gaps between the trims and the plywood wall, fill them with wood filler to create a seamless look. Sand the trims lightly if necessary and finish them with paint or stain that complements the overall design of the room.
By following these steps, you can effortlessly install trims or borders on your finished plywood wall, transforming it into a sophisticated and captivating feature in your interior space.

Conclusion
One of the key aspects of finishing a plywood wall is proper preparation. Sanding down imperfections, such as knots and rough edges, ensures a smooth surface for the finishing materials to adhere to. This step sets the foundation for a flawless finish and guarantees that the natural beauty of the plywood shines through.
The choice of finish plays a pivotal role in the overall aesthetics of the plywood wall. Whether you opt for a stain that highlights the wood’s grain or a paint that complements your décor, the finish sets the tone for the entire room. By testing stains and paints on a small section of the plywood, you can ensure the color meets your expectations before applying it to the entire surface.
Sealing and protecting the finished plywood wall is essential to enhance its longevity and durability. Applying a clear polyurethane or varnish as a topcoat shields the surface from moisture, scratches, and daily wear and tear, preserving the beauty of your creation for years to come.
Additionally, adding trims along the edges or creating a border around the plywood wall elevates its appearance and adds a touch of sophistication. Trims conceal any imperfections and create a polished look that completes the project with finesse.