How To Wire Baseboard Heater
Introduction
How To Wire Baseboard Heater: Baseboard heaters are a popular choice for heating individual rooms or small spaces. They are efficient, easy to install, and provide a consistent source of heat. However, if you are not familiar with electrical work, wiring a baseboard heater can seem like a daunting task. In this article, we will guide you through the process of wiring a baseboard heater, step by step.
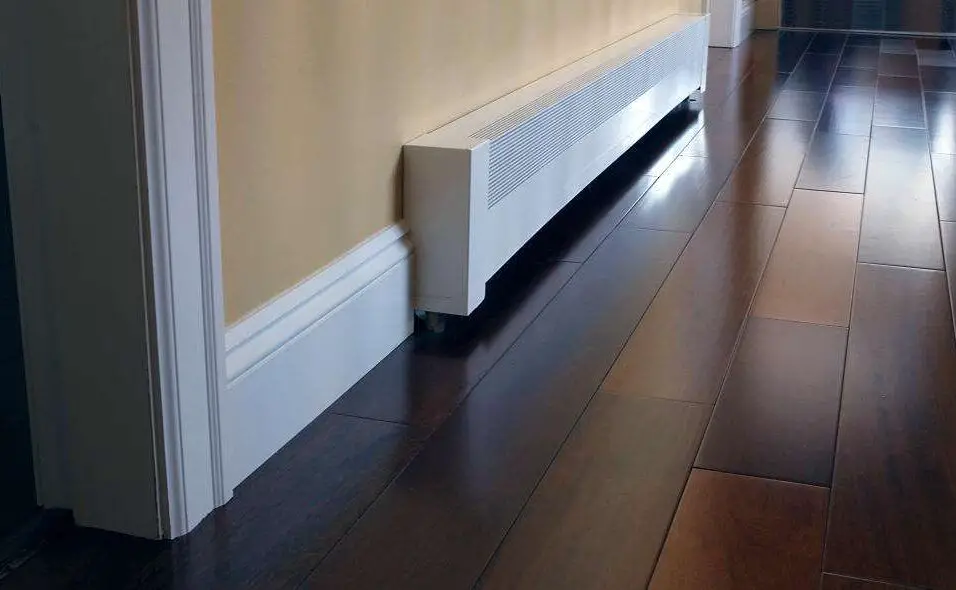
Firstly, it is important to understand the basic components of a baseboard heater. A typical scribe baseboard heater consists of a heating element, a thermostat, and a power supply. The heating element is responsible for generating heat, while the thermostat controls the temperature. The power supply, usually a dedicated circuit, provides the electricity needed to operate the heater.
Before you begin the wiring process, it is crucial to ensure your safety. Make sure to turn off the power to the circuit you will be working on at the main electrical panel. This will prevent any accidental electrical shocks or fires. Additionally, it is recommended to wear protective gloves and goggles to protect yourself from any potential hazards.
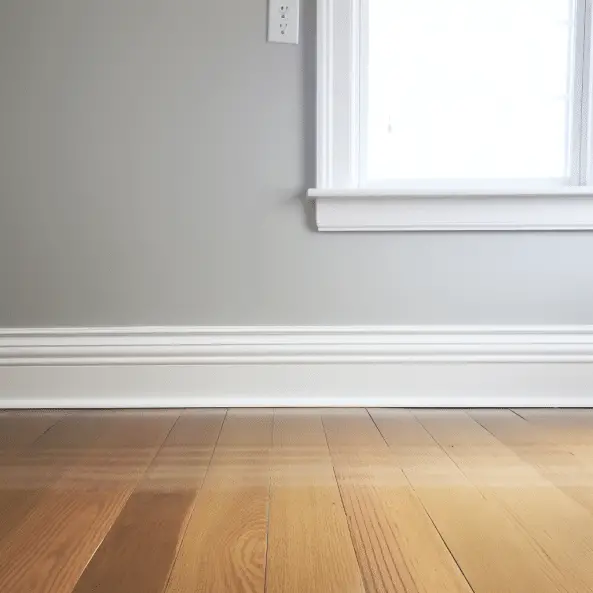
Once you have taken the necessary safety precautions, you can start the wiring process. Begin by identifying the location where you want to install the baseboard heater. It is important to choose a location that is near an electrical outlet or junction box, as this will make the wiring process easier. Additionally, make sure the location is clear of any obstructions and is suitable for the size of the heater you will be installing.
How do you run wire for an electric baseboard heater?
Running wire for an electric baseboard heater is a crucial step in the installation process. It involves carefully planning the route for the wire, ensuring proper sizing and insulation, and following electrical codes and safety guidelines. By following the correct procedures, you can ensure that your baseboard heater operates efficiently and safely.
Firstly, it is important to determine the appropriate wire size for your electric baseboard heater. This will depend on the wattage and voltage of the heater, as well as the length of the wire run.The manufacturer’s instructions or an electrician can help you choose the right heater wire size.
Once you have determined the wire size, you will need to plan the route for the wire. It is important to choose a route that minimizes the length of the wire run and avoids any obstacles or potential hazards. This may involve drilling holes through walls or running the wire along baseboards or other surfaces.
Before running the wire, it is essential to turn off the power to the circuit at the main electrical panel. This will ensure your safety while working with the electrical wiring. You should also use a voltage tester to confirm that the power is indeed off before proceeding.
Next, you will need to install the appropriate electrical boxes for the baseboard heater. These boxes will house the wire connections and provide a safe and secure mounting point for the heater. It is important to follow the manufacturer’s instructions for installing the electrical boxes and ensure they are properly grounded.
How many wires for baseboard heater?
When it comes to installing a baseboard heater, one of the important considerations is the number of wires required for the installation. The number of wires needed for a baseboard heater depends on various factors, including the voltage of the heater and the type of wiring system in your home. In this article, we will discuss the typical number of wires required for a baseboard heater installation.
In newer homes, a three-wire system is commonly used, which consists of two hot wires and a neutral wire. This type of wiring system is suitable for both 120-volt and 240-volt baseboard heaters. If you have a three-wire system in your home, you can easily install either type of baseboard heater without any additional wiring modifications.
The number of wires required for a baseboard heater installation depends on the voltage of the heater and the type of wiring system in your home. A 120-volt baseboard heater typically requires two wires, while a 240-volt baseboard heater requires three wires. It is important to consult a professional electrician to ensure that the installation is done safely and in compliance with local electrical codes.
Can I wire a baseboard heater to an electrical outlet?
Yes, it is possible to wire a baseboard heater to an electrical outlet. However, there are a few important factors to consider before attempting this installation. Baseboard heaters are typically designed to be hardwired into a dedicated circuit, rather than plugged into an outlet. This is because baseboard heaters require a higher voltage and wattage than a standard electrical outlet can provide.
Before proceeding with wiring a baseboard heater to an electrical outlet, it is crucial to check the manufacturer’s instructions and specifications for the specific model of heater you are using. Some baseboard heaters may have the option to be converted for plug-in use, while others may not. It is important to follow the manufacturer’s guidelines to ensure the safe and proper installation of the heater.
How many volts are baseboard heaters?
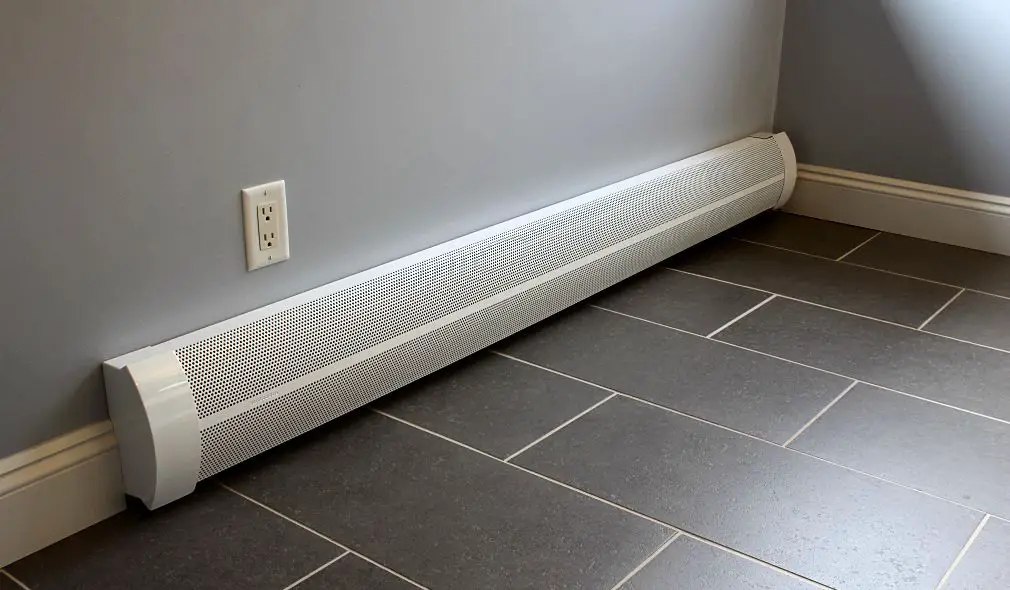
Baseboard heaters typically operate on standard household voltage, which is 120 volts in most residential settings. However, there are also baseboard heaters available that operate on 240 volts. The voltage requirement of a baseboard heater depends on its size and power output.
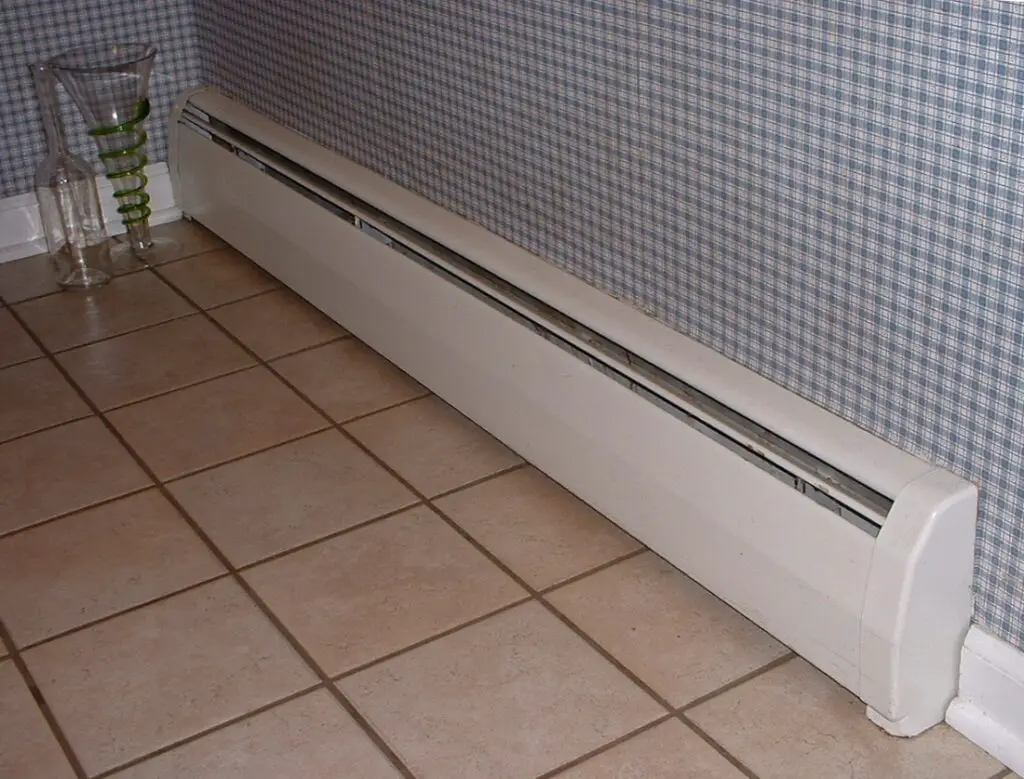
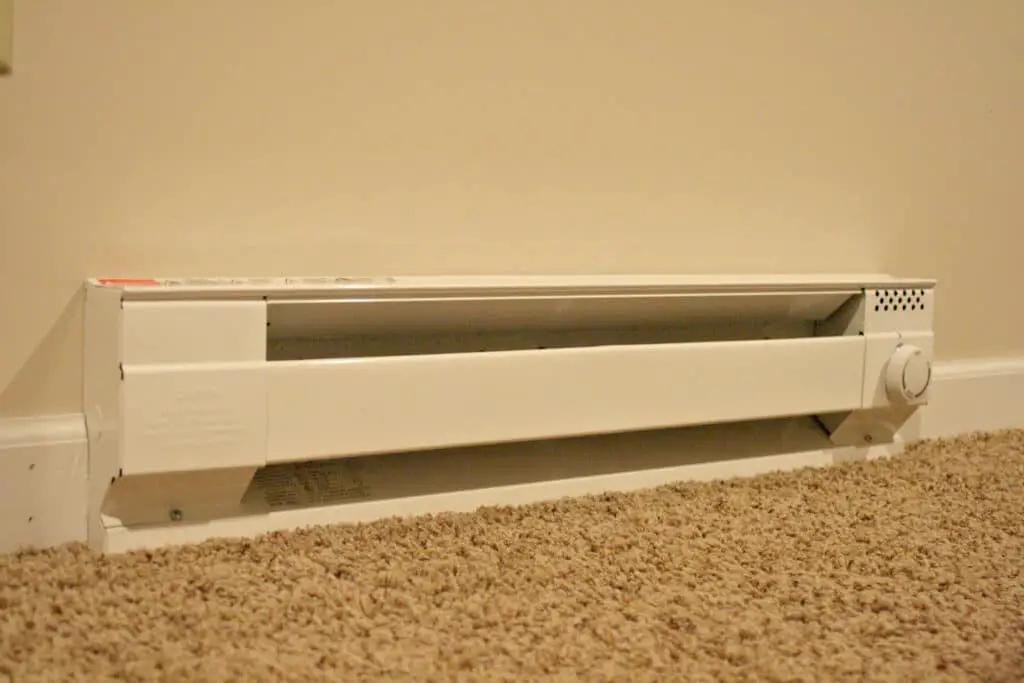
Baseboard heaters are popular for heating individual rooms. They are commonly used as additional heat or in rooms where central heating is not possible. These radiant heaters are installed along a wall baseboard to warm the space.
Most baseboard heaters use 120 volts. This voltage is typical for home electrical installations. Baseboard heater voltage requirements vary by model and manufacturer. Large baseboard heaters or those with higher power output may need 240 volts. These heaters are utilized in larger rooms or locations that need additional heat. Before installing the baseboard heater, check its specs to ensure the right voltage.
Baseboard heaters can use 120 or 240 volts depending on their size and power. Most residential baseboard heaters use 120 volts, the normal household voltage. Larger heaters or those with more power may need 240 volts. To discover the baseboard heater’s voltage requirement before installation, examine its specs.
How to wire 240V electric baseboard heater?
Wiring a 240V electric baseboard heater is easy with a few steps. To ensure safe and effective operation, wire a new heater or replace an old one properly.
Before wiring the heater circuit, turn off the electricity. Turn off the main electrical panel circuit breaker. Also, use a voltage tester to confirm the power is off.
Find the heating circuit after turning off the power. No other electrical equipment should share this heating circuit. Check your local electrical code to confirm compliance.
Run the right gauge wire from the electrical panel to the heater after finding the circuit. Heater power and wire length determine wire size. To determine wire size, ask the manufacturer or an electrician.
Here are the necessary steps to follow
Turn off the power: Before starting any electrical work, it is crucial to turn off the power to the circuit you will be working on. Locate the circuit breaker or fuse that controls the heater and switch it off.
Plan the wiring route: Determine the most efficient route for the wiring from the electrical panel to the baseboard heater.
Gather the materials: You will need a few essential tools and materials for the wiring process. These include wire strippers, electrical tape, wire connectors, a screwdriver, and the appropriate gauge of electrical wire.
Install the thermostat: Mount the thermostat on the wall near the baseboard heater. Follow the manufacturer’s instructions for proper installation and wiring. Ensure that the thermostat is compatible with the voltage and wattage of the heater.
Connect the wiring: Strip the insulation from the ends of the electrical wires and connect them to the corresponding terminals on the thermostat and the baseboard heater. Use wire connectors to secure the connections and wrap them with electrical tape for added protection.
Test the circuit: Once all the wiring connections are made, turn the power back on and test the circuit. Check for any signs of overheating or malfunctioning. If everything is working correctly, you can proceed to mount the baseboard heater on the wall.
By following these necessary steps and adhering to safety precautions, you can ensure a properly wired baseboard heater that will provide efficient and reliable heating in your space.
Are there any specific safety precautions to consider when wiring a baseboard heater?
When wiring a baseboard heater, it is crucial to prioritize safety to prevent any potential hazards. Here are some specific safety precautions to consider:
Turn off the power: Before starting any electrical work, make sure to turn off the power at the circuit breaker to avoid the risk of electric shock. Use a voltage tester to ensure that the power is completely off.
Use the correct wire size: It is important to use the appropriate wire size for the baseboard heater. Refer to the manufacturer’s instructions or consult an electrician to determine the correct wire gauge for your specific heater model.
Install a dedicated circuit: Baseboard heaters typically require their own dedicated circuit. Avoid overloading existing circuits by installing a new circuit specifically for the heater. This will ensure that the heater operates safely and efficiently.
What tools and materials are required for wiring a baseboard heater?
When wiring a baseboard heater, there are several tools and materials that you will need to have on hand to ensure a proper installation. These include:
- These equipment are needed to cut and strip the heater-to-electricity wires. Use wire cutters and strippers that match your wire gauge.
- Secure the wires to the baseboard heater terminal blocks with a screwdriver. Avoid terminal block damage by using the right screwdriver size and type.
- Electrical tape insulates and protects wire-terminal block connections. Electrical tape should match the baseboard heater’s voltage and temperature.
- Wire nuts secure wires. Use wire nuts that match your wire gauge.
- Ensure the baseboard heater’s power is off before wiring. This safety measure must be taken.
These tools and materials will help you wire a baseboard heater safely and efficiently.
Can you provide a detailed diagram or instructions for wiring a baseboard heater?
Wiring a baseboard heater requires careful attention to detail to ensure safety and proper functionality. Here is a step-by-step guide on how to wire a baseboard heater:
Start by turning off the power to the circuit you will be working on. This can be done by switching off the corresponding breaker in your electrical panel.
Next, gather all the necessary tools and materials for the job. You will need wire strippers, wire nuts, electrical tape, a screwdriver, and the appropriate gauge of electrical wire.
Measure and cut the electrical wire to the appropriate length, ensuring that it reaches from the electrical panel to the location of the baseboard heater.
Strip the ends of the wire using wire strippers, exposing about 1/2 inch of bare copper.
Connect the wires to the baseboard heater. Typically, there will be two black wires and one green or bare copper wire. The black wires are for the power supply, while the green or bare copper wire is for grounding.
Use wire nuts to securely connect the wires together. Make sure to match the black wires with the corresponding wires on the baseboard heater, and connect the green or bare copper wire to the grounding screw.
Once all the connections are made, use electrical tape to wrap around the wire nuts for added protection.
Finally, turn the power back on and test the baseboard heater to ensure it is functioning properly.
Following these instructions and referring to a detailed diagram can help you wire a baseboard heater correctly and safely. It is important to note that electrical work should always be done by a qualified professional if you are unsure or uncomfortable with the process.
Are there any specific codes or regulations that need to be followed when wiring a baseboard heater?
Yes, there are specific codes and regulations that need to be followed when wiring a baseboard heater. These codes and regulations are put in place to ensure the safety and proper functioning of the heater. Failure to comply with these codes and regulations can result in electrical hazards, fires, or damage to the heater.
One important code to follow is the National Electrical Code (NEC), which provides guidelines for electrical installations. According to the NEC, baseboard heaters must be installed on dedicated circuits and should not be connected to any other electrical devices or outlets. This means that the heater should have its own circuit breaker in the electrical panel.
Another important regulation to consider is the local building code. Building codes can vary from one jurisdiction to another, so it is important to check with the local authorities to ensure compliance. These codes may specify the minimum wire size, the type of wiring method to be used, and the required clearance around the heater.
Conclusion
By understanding the basic principles of electrical wiring and following the necessary safety precautions, you can successfully install and connect a baseboard heater in your home. This not only provides you with a cost-effective and efficient heating solution but also gives you the flexibility to control the temperature in individual rooms.
When wiring a install baseboard heater, it is crucial to ensure that you have the right tools and materials. This includes appropriate wire gauges, circuit breakers, and thermostats. Additionally, it is important to carefully plan the placement of the heater and consider any potential obstacles or obstructions that may affect its performance. By taking these factors into account, you can ensure that your baseboard heater operates safely and effectively.
It is essential to follow the manufacturer’s instructions and local electrical codes when wiring a baseboard heater. This ensures that you comply with safety regulations and prevent any potential hazards. If you have any wiring questions, consult a certified electrician. Their expertise and understanding can reassure you and ensure proper installation.
A baseboard heater is a task that requires careful planning, knowledge of electrical principles, and adherence to safety guidelines. By following the necessary steps and precautions, you can successfully install a baseboard heater in your home and enjoy the benefits of efficient and controlled heating. Whether you are looking to save on energy costs or improve the comfort of your living space, learning how to wire a baseboard heater is a valuable skill that can enhance your home’s heating system.