How To Take Off Baseboard Trim
Introduction
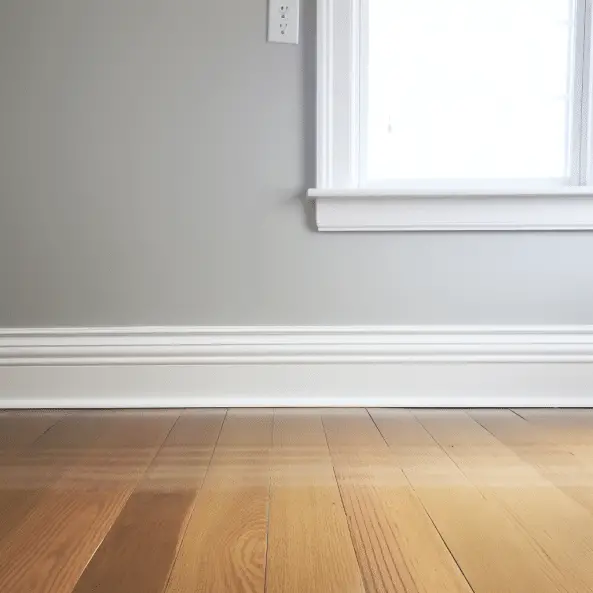
How To Take Off Baseboard Trim: Baseboard trim is a common feature in many homes, serving both a functional and aesthetic purpose. It not only covers the gap between the wall and the floor, but it also adds a finishing touch to the overall look of a room. However, there may come a time when you need to remove the baseboard trim, whether it’s to replace it, paint the walls, or make repairs. Taking off stand baseboard trim may seem like a daunting task, but with the right tools and techniques, it can be a relatively simple process.
There are several reasons why you might need to remove baseboard trim. One common reason is to replace old or damaged trim. Over time, baseboard trim can become worn, chipped, or cracked, detracting from the appearance of a room. By removing the old trim and installing new trim, you can give your space a fresh, updated look. Another reason to remove baseboard trim is to paint the walls. When painting a room, it’s often easier to remove the trim first to ensure a clean, professional-looking paint job. Additionally, if you’re making repairs to the walls or flooring, removing the baseboard trim can provide better access to the areas that need attention.
On the other hand, vinyl and composite baseboards may be glued onto the wall. These materials are often lighter and more flexible than wood, making them easier to work with. Glue can be used to secure vinyl or composite baseboards to the wall, providing a strong bond. However, it is important to note that glue alone may not be sufficient for a secure installation, especially in high-traffic areas. In such cases, additional support, such as nails or screws, may be necessary.
Is removing baseboard hard?
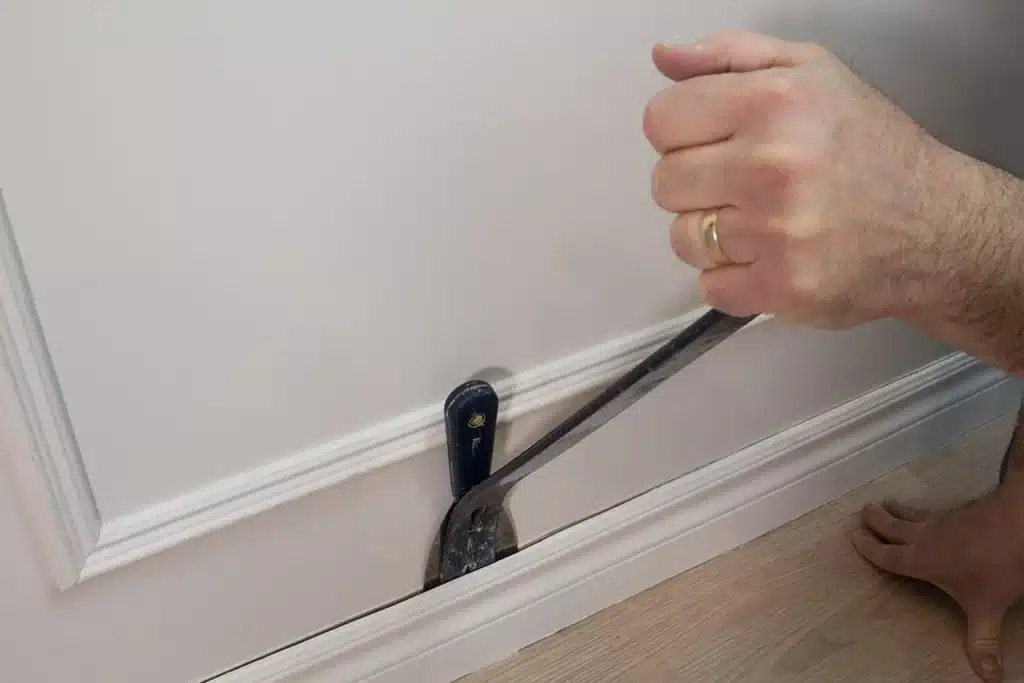
Whether you’re a professional or amateur, just be sure to use the right tools, like the General Tools EdgeWedge! Removing baseboard can be a challenging task, especially if you have never done it before.
Firstly, it is important to gather the necessary tools for the job. You will need a pry bar, a putty knife, a hammer, and a utility knife. These tools will help you in removing the baseboard without causing any damage. It is also a good idea to wear safety goggles and gloves to protect yourself during the process.
Next, you will need to prepare the area before removing the baseboard. This involves removing any furniture or obstacles near the baseboard and ensuring that the area is clear.
Once you have prepared the area, you can start removing the baseboard. Start by using the putty knife to gently pry the baseboard away from the wall. Insert the putty knife between the baseboard and the wall and apply gentle pressure to loosen the baseboard. Be careful not to apply too much force as this can cause damage to the wall or the baseboard.
After Insert the pry bar between the baseboard and the wall and gently pry the baseboard away from the wall. Again, be cautious not to apply excessive force to avoid any damage.
How do you remove glued baseboards?
Steps for Removing Baseboards
- Score a line along the baseboard
- Choose a starting point
- Tap a putty knife behind the molding
- Create a gap
- Pull out leftover nails
Removing glued baseboards can be a challenging task, but with the right tools and techniques, it can be done effectively. Glued baseboards are commonly found in homes and can be difficult to remove without causing damage to the walls or the baseboards themselves. However, by following a few steps, you can successfully remove glued baseboards without much hassle.
Prepare the area
Before you begin removing the glued baseboards, it is important to prepare the area. Start by clearing the space around the baseboards and removing any furniture or obstacles that may be in the way. This will give you more room to work and prevent any accidents or damage to your belongings.
Soften the glue
To make the removal process easier, you will need to soften the glue that is holding the baseboards in place. This can be done by using a heat gun or a hairdryer to apply heat to the baseboards. Hold the heat source a few inches away from the baseboards and move it back and forth to evenly distribute the heat. The heat will soften the glue, making it easier to remove the baseboards.
Use a putty knife
Once the glue has been softened, you can start removing the baseboards. Use a putty knife or a similar tool to gently pry the baseboards away from the wall. Start at one end of the baseboard and work your way along its length, applying pressure to loosen the glue. Be careful not to apply too much force, as this can cause damage to the wall or the baseboard.
Are baseboards glued on?
Baseboards help keep your room looking finished and balanced. Use construction adhesive or nails to attach baseboards. Nailing baseboards can keep them straighter and free from warping over time. Gluing your baseboards can take much less time and effort.
Baseboards are an essential component of interior design, providing a finishing touch to a room by covering the joint between the wall and the floor. They not only enhance the aesthetic appeal of a space but also protect the walls from damage. One common question that arises when it comes to baseboards is whether they are glued on or not.
The answer to this question depends on the type of baseboard and the installation method used. There are various types of baseboards available, including wood, vinyl, and composite materials. Each type may have different installation requirements and techniques.
Wooden baseboards, for example, are typically nailed or screwed onto the wall. This is the most common method of installation and provides a secure and durable attachment. Nails or screws are driven through the baseboard and into the wall studs, ensuring a tight fit. Glue is generally not necessary for wooden baseboards, as the nails or screws provide sufficient support.
Whether baseboards are glued on or not depends on the type of baseboard and the installation method used. Wooden baseboards are typically nailed or screwed onto the wall, while vinyl and composite baseboards may be glued. It is important to follow the manufacturer’s instructions and use the appropriate installation technique to ensure a secure and long-lasting attachment.
Can you remove baseboards without damaging walls?
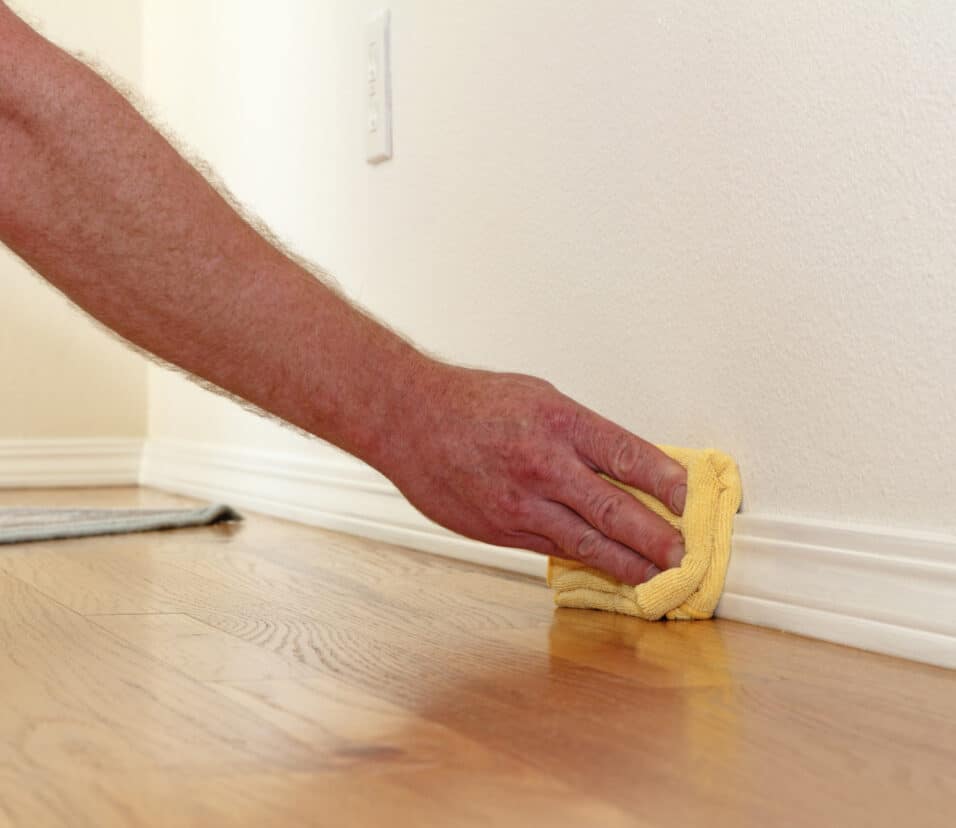
Cut any caulk along the baseboard with your utility knife, right where it meets the wall. This well help you avoid destroying any paint, drywall, or wallpaper on the wall.
Yes, it is possible to remove baseboards without damaging walls. They are typically installed using nails or adhesive, and over time, they may become damaged or need to be replaced. Removing baseboards can be a delicate process, as you want to avoid causing any damage to the walls.
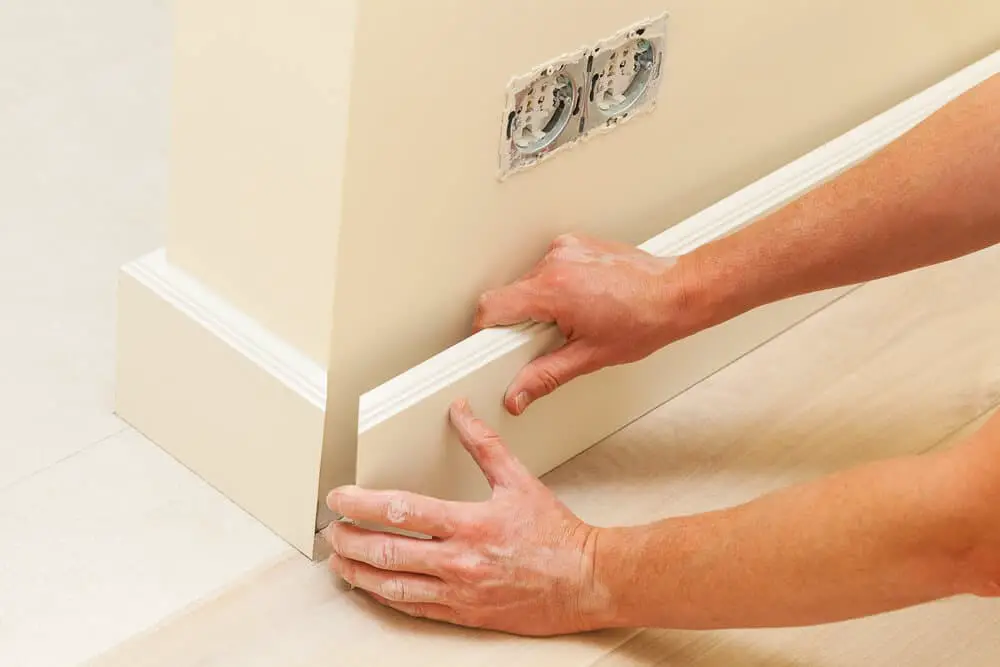
One method for removing baseboards without damaging walls is to use a putty knife or a thin pry bar. Start by inserting the putty knife or pry bar between the baseboard and the wall at one end. Gently pry the baseboard away from the wall, working your way along its length.
This will help to loosen the baseboard and make it easier to remove. . Once the nail is exposed, use a pair of pliers to grip the nail and pull it out. Repeat this process for each nail along the length of the baseboard. It is important to take your time and be patient when removing baseboards to avoid damaging the walls.
What tool is used to remove baseboards?
The Trim Puller is designed specifically to safely and easily remove baseboards, molding, door casings and decorative panels without damage to the trim or to the wall and without the need for a shim or small board spacer.
When it comes to removing baseboards, there are several tools that can be used to make the job easier and more efficient. One of the most commonly used tools for this task is a pry bar or a crowbar. These tools are designed to provide leverage and help pry the baseboards away from the wall without causing damage to the surrounding area.
Another tool that can be used to remove baseboards is a putty knife or a utility knife. These knives can be used to carefully cut through any caulk or paint that may be holding the baseboards in place. By scoring along the top edge of the baseboard, it becomes easier to pry it away from the wall.
In addition to pry bars and knives, a mallet or a hammer can also be used to remove baseboards. By gently tapping the back of the baseboard with a mallet or hammer, it can help loosen the boards from the wall. However, it is important to use caution when using a hammer to avoid causing any damage to the baseboard or the wall.
Specialized Tool for Baseboard Removal: The Baseboard Removal Tool
For those who prefer a more specialized tool, a baseboard removal tool can also be used. This tool is specifically designed to remove baseboards without causing any damage. It typically features a flat, wide blade that can be inserted between the baseboard and the wall, allowing for easy removal.
There are several tools that can be used to remove baseboards, including pry bars, knives, hammers, and specialized baseboard removal tools. The choice of tool will depend on personal preference and the specific needs of the project. Regardless of the tool chosen, it is important to use caution and take the necessary steps to avoid causing any damage to the baseboard or the surrounding area.
Lastly, you may need a small saw or a coping saw to cut through any nails or screws that are holding the baseboard in place. This will allow you to remove the baseboard without causing any damage to the wall or floor.
The tools needed to remove baseboard trim include a pry bar or flathead screwdriver, a hammer, a utility knife, a putty knife, and a small saw or coping saw. These tools will help you safely and effectively remove the baseboard without causing any damage to the surrounding area.” “
Are there any specific techniques or steps to follow when taking off baseboard trim?
When removing baseboard trim, it is important to follow specific techniques and steps to ensure a smooth and damage-free process. Here are some recommended steps to follow:
Prepare the area: Before starting, clear the area around the baseboard trim by removing any furniture or obstacles. This will provide you with enough space to work and prevent any accidental damage.
Use the right tools: To remove baseboard trim, you will need a few essential tools such as a pry bar, putty knife, hammer, and a utility knife. These tools will help you loosen and remove the trim without causing any damage.
Start from the edges: Begin by using a putty knife or utility knife to carefully score along the edges of the baseboard trim. This will help break the paint or caulk seal and make it easier to remove.
Pry the trim: Insert a pry bar or a flathead screwdriver between the wall and the baseboard trim. Gently apply pressure to pry the trim away from the wall. Work your way along the length of the trim, gradually loosening it.
Remove nails: As you pry the trim, you may encounter nails or brads holding it in place. Use a hammer or a pair of pliers to carefully remove these fasteners. Be cautious not to damage the wall or the floor while doing so.
Clean and repair: Once the baseboard trim is removed, clean the area and inspect for any damage. If there are any holes or dents in the wall or floor, fill them with putty or spackle and sand them down for a smooth finish.
Can baseboard trim be removed without causing damage to the wall or floor?
Removing baseboard trim without causing damage to the wall or floor is possible with the right tools and techniques. One important tool you will need is a putty knife or a pry bar. These tools will help you gently pry the baseboard away from the wall without causing any major damage. It is important to be patient and take your time when removing the trim to avoid any unnecessary force that could lead to damage.
Another technique to consider is using a utility knife to score along the top edge of the baseboard where it meets the wall. This will help break the paint or caulk seal and make it easier to remove the trim without causing any damage. Additionally, using a small block of wood as a buffer between the pry bar and the wall can help prevent any scratches or dents.
Are there any safety precautions to consider when removing baseboard trim?
When removing baseboard trim, it is important to take certain safety precautions to ensure your well-being and prevent any accidents. Firstly, it is recommended to wear protective gear such as safety goggles and gloves to protect your eyes and hands from any potential injuries. This is especially important if you are using tools like a pry bar or a hammer, as they can cause splinters or flying debris.
Additionally, it is crucial to be cautious of any electrical wiring that may be hidden behind the baseboard trim. Before starting the removal process, turn off the power to the room and use a voltage tester to ensure there is no live electricity present. This will help prevent any electrical shocks or accidents.
Is it necessary to replace the baseboard trim after it has been removed?
Whether or not it is necessary to replace the baseboard trim after it has been removed depends on a few factors. One important factor to consider is the condition of the baseboard trim itself. If the trim is damaged, warped, or in poor condition, it is recommended to replace it with new trim. This will not only improve the overall appearance of the room, but also ensure that the baseboard trim functions properly and provides a clean and finished look.
Another factor to consider is the overall design and style of the room. If you are making significant changes to the room, such as repainting the walls or replacing the flooring, it may be a good opportunity to update the baseboard trim as well. Choosing a new trim that complements the new design elements can help tie the room together and create a cohesive look.
However, if the baseboard trim is in good condition and matches the style of the room, it may not be necessary to replace it. In this case, you can simply reinstall the trim after any necessary repairs or renovations have been completed. It is important to carefully remove the trim to avoid causing damage, and to take proper measurements to ensure a precise fit when reinstalling it.

Conclusion
Taking off baseboard trim can be a daunting task, but with the right tools and techniques, it can be done efficiently and effectively. By following the steps outlined in this guide, you can safely remove baseboard trim without causing any damage to your walls or flooring.
First and foremost, it is important to gather the necessary tools for the job. This includes a pry bar, a putty knife, a hammer, and a utility knife. These tools will help you to carefully and methodically remove the baseboard trim without causing any unnecessary damage.
Once you have your tools ready, it is important to take the time to prepare the area. This involves removing any furniture or obstacles that may be in the way, as well as protecting your flooring and walls. By taking these precautions, you can ensure that the removal process goes smoothly and without any mishaps.