How To Sand Baseboards
Introduction
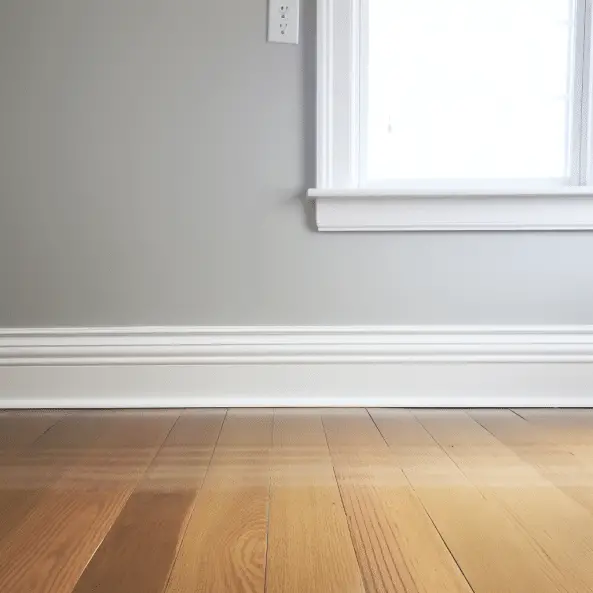
How To Sand Baseboards: Sanding baseboards is an essential step in any home improvement project that involves painting or refinishing. Baseboards, also known as skirting boards, are the trim that runs along the bottom of walls, covering the joint between the wall and the floor. Over time, baseboards can become worn, scratched, or discolored, and sanding them can help restore their original beauty and prepare them for a fresh coat of paint or stain.
Sanding baseboards serves several purposes. Firstly, it helps to smooth out any imperfections or rough spots on the surface of the join baseboards. This is particularly important if you plan to paint the baseboards, as a smooth surface will ensure a more even and professional-looking finish. Secondly, sanding helps to remove any existing paint or stain that may be peeling or chipping. By removing these old layers, you can create a clean canvas for your new paint or stain to adhere to. Lastly, sanding also helps to roughen up the surface of the baseboards, allowing the new paint or stain to better grip and adhere to the wood.
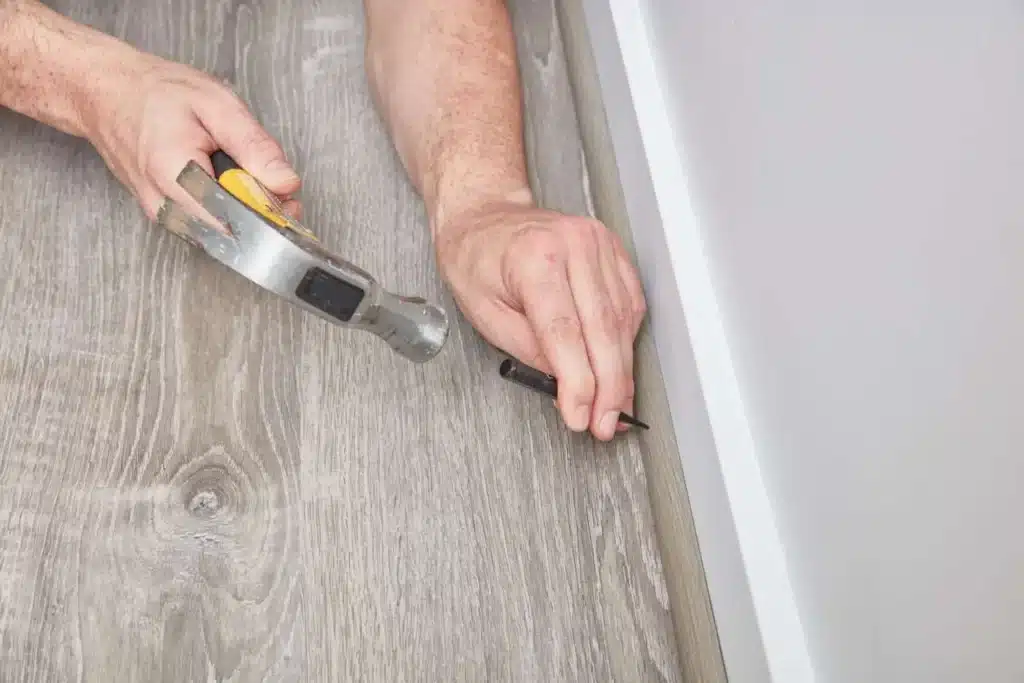
Before you begin sanding, it is important to gather the necessary tools and materials. You will need a sanding block or sandpaper, a dust mask, safety goggles, and a vacuum or brush to remove the dust. Start by removing any existing paint or stain using a paint stripper or a heat gun, following the manufacturer’s instructions. Once the old finish has been removed, use a sanding block or sandpaper to smooth out any rough spots or imperfections on the baseboards.
Do I need to sand my baseboards before painting?
Do I Need to Sand Baseboards Before Painting? Yes! You need to sand your baseboards first. This way, you start with a clear surface without any imperfections.
If your baseboards are in good condition and have a smooth surface, you may be able to skip the sanding step. However, if there are any imperfections such as rough patches, dents, or old paint that is peeling or chipping, sanding can help create a better surface for the new paint to adhere to. Sanding can also help remove any dirt or grime that may be present on the baseboards, ensuring a cleaner and more professional-looking finish
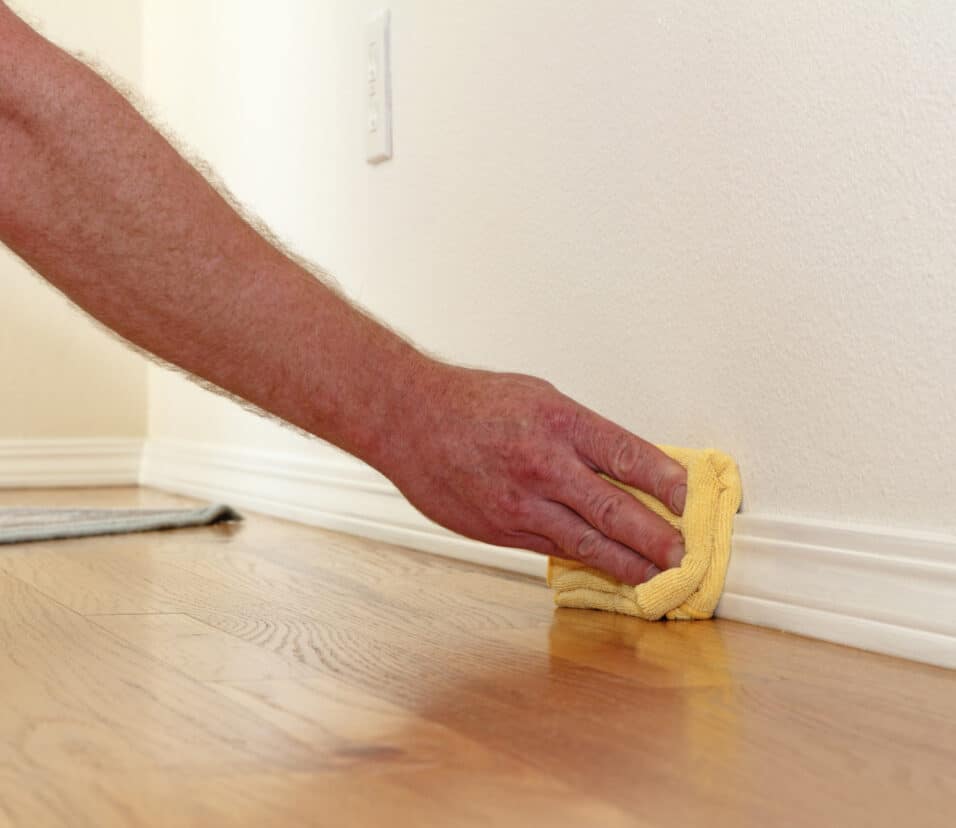
To sand the baseboards, start by lightly sanding the surface in the direction of the wood grain. Avoid applying too much pressure, as this can damage the baseboards. Instead, use a gentle back-and-forth motion to smooth out any rough areas or imperfections. After sanding, wipe down the baseboards with a damp cloth to remove any dust or debris.
Once the baseboards are sanded and clean, you can proceed with painting. It’s important to choose a high-quality paint that is specifically designed for trim and baseboards. Apply the paint using a brush or roller, making sure to use smooth and even strokes. Multiple coats may be necessary to achieve the desired coverage and finish.
Can you sand down baseboards?
It’s not always 100% necessary to sand before painting your baseboards, but lightly sanding your baseboards before painting will help give the paint something to adhere to. It will also provide a nice smooth surface, which looks more professional.
Yes, you can sand down baseboards. Sanding down baseboards is a common practice when refinishing or repainting them. It helps to remove any imperfections, smooth out the surface, and create a clean and even finish. Whether you are looking to update the look of your baseboards or simply want to refresh their appearance, sanding is an important step in the process.
Sanding down baseboards involves using sandpaper or a sanding block to gently rub the surface of the baseboards. This helps to remove any rough spots, scratches, or old paint that may be present. It is important to choose the right type of sandpaper for the job, as using the wrong grit can result in damage to the baseboards. Generally, a medium-grit sandpaper is suitable for most baseboard sanding projects.
Preparing for Safe Sanding: Clearing Space and Protective Measures
Before you begin sanding, it is important to prepare the area by removing any furniture or objects that may be in the way. You should also cover the floor with a drop cloth or plastic sheeting to protect it from dust and debris. It is also a good idea to wear protective goggles and a dust mask to prevent any particles from getting into your eyes or lungs.
Once you have prepared the area, you can begin sanding the baseboards. Start by sanding in the direction of the wood grain, using long, smooth strokes. Be sure to sand the entire surface of the baseboards, including any corners or edges. If there are any stubborn spots or areas with old paint, you may need to apply more pressure or use a finer-grit sandpaper to remove them.
After you have finished sanding, it is important to clean the baseboards thoroughly to remove any dust or debris. You can use a vacuum cleaner or a damp cloth to wipe away any remaining particles. Once the baseboards are clean and dry, you can proceed with refinishing or repainting them to achieve the desired look.
What sandpaper for sanding baseboards?
Sanding Tip: If the trim is new or already smooth, lightly sand using 120-grit sandpaper until all shine disappears from the trim. If the trim is rough and worn, start by sanding with coarse, 80-grit sandpaper. Then, move to less-coarse sandpaper such as 100- or 120-grit to smooth the surface
When it comes to sanding baseboards, it is important to choose the right sandpaper for the job. Baseboards are typically made of wood or a wood composite material, so you will want to use sandpaper that is suitable for sanding these types of surfaces. The type of sandpaper you choose will depend on the condition of the baseboards and the level of sanding required.
One option for sanding baseboards is to use a medium-grit sandpaper, such as 120-grit or 150-grit. This type of sandpaper is ideal for removing any rough spots or imperfections on the surface of the baseboards. It can also be used to smooth out any uneven areas or edges. Medium-grit sandpaper is a good choice if the baseboards are in relatively good condition and just need a light sanding.
Coarse Grits for Baseboard Restoration: Choosing and Using Sandpaper
If the baseboards are in rough shape and have a lot of scratches or dents, you may need to use a coarser-grit sandpaper, such as 80-grit or 100-grit. This type of sandpaper is more abrasive and will remove material more quickly. It is best suited for heavy sanding or for removing old paint or finish from the baseboards. However, be careful not to use too coarse of a sandpaper, as it can damage the surface of the baseboards.
For a final sanding or for smoothing out the surface after using a coarser-grit sandpaper, you can use a fine-grit sandpaper, such as 220-grit or 240-grit. This type of sandpaper is less abrasive and will create a smoother finish on the baseboards. It is also useful for preparing the surface for painting or staining. Fine-grit sandpaper is best used for light sanding or for finishing touches.
When sanding baseboards, it is important to use the proper technique to avoid damaging the wood. Always sand with the grain of the wood, using long, even strokes. Be sure to sand evenly across the entire surface of the baseboards to avoid creating uneven spots. And remember to wear protective goggles and a dust mask to protect yourself from the dust and debris created during the sanding process.
What is the first step before sanding trim?
Scrub the Wood
The first step in refinishing old trim is to clean the wood to remove grime. Scrub the wood to create a clean, contaminant-free surface for the new finish.
The first step before sanding trim is to prepare the area by removing any dirt, dust, or debris. This is important because sanding over a dirty surface can cause the sandpaper to become clogged and less effective. Additionally, any loose paint or varnish should be removed before sanding to ensure a smooth and even finish.
To prepare the area, start by wiping down the trim with a damp cloth to remove any surface dirt or dust. This will help to create a clean surface for sanding. If there are any stubborn stains or grime, a mild detergent can be used to gently scrub the trim. After cleaning, allow the trim to dry completely before proceeding to the next step.
Preparing Trim for Sanding: Removing Loose Paint and Varnish
Once the trim is clean and dry, the next step is to remove any loose paint or varnish. This can be done using a scraper or a putty knife. Carefully scrape away any peeling or flaking paint, being careful not to damage the trim underneath. If there are any stubborn areas, a heat gun can be used to soften the paint or varnish, making it easier to remove.
After removing any loose paint or varnish, it is important to smooth out any rough or uneven areas. This can be done using sandpaper or a sanding block. Start with a coarse grit sandpaper to remove any remaining paint or varnish, and then switch to a finer grit sandpaper to smooth out the surface. Sand in the direction of the wood grain to avoid creating scratches or gouges.
Once the trim has been sanded smooth, it is important to remove any dust or debris before applying a new finish. This can be done using a tack cloth or a vacuum cleaner with a brush attachment. Make sure to thoroughly clean the trim, paying attention to any crevices or corners where dust may accumulate. By properly preparing the trim before sanding, you can ensure a professional-looking finish that will last for years to come.
What is the golden rule of sanding?
The Golden Rule of Sanding
The golden rule for choosing your sequence is to never skip more than 1 grit. For example, if you start with P80, and need to finish at P240, rather than using every grit from P80 – P220, you can do P80 – P120 – P180 – P240.
The golden rule of sanding is a fundamental principle that guides the process of sanding various surfaces. It is a rule that ensures the best results and helps to avoid common mistakes. Sanding is a crucial step in many projects, whether it is woodworking, painting, or refinishing furniture. By following the golden rule of sanding, you can achieve a smooth and flawless finish.
The first aspect of the golden rule of sanding is to start with the right grit sandpaper. The grit refers to the coarseness of the sandpaper, and different grits are suitable for different tasks. For initial sanding or removing rough surfaces, a lower grit sandpaper like 80 or 100 is recommended. As you progress, you should gradually move to higher grits like 150, 220, or even finer for a smoother finish. Starting with too high of a grit can make the sanding process longer and less effective.
The second aspect of the golden rule of sanding is to sand in the direction of the grain. This is particularly important when working with wood surfaces. Sanding against the grain can cause scratches and damage the surface, resulting in an uneven finish. By sanding with the grain, you ensure a smoother and more consistent result. It is also important to pay attention to the direction of the grain, as it may change on different parts of the surface.
Optimizing Sanding Efficiency: Importance of Sanding Blocks or Tools
The third aspect of the golden rule of sanding is to use a sanding block or a sanding tool. Sanding by hand can be tiring and may result in an uneven finish. Using a sanding block or a sanding tool helps to distribute the pressure evenly and maintain a consistent sanding motion. It also prevents the sandpaper from folding or tearing, ensuring a longer lifespan. Additionally, using a sanding block or tool allows for better control and precision during the sanding process.
To sand baseboards, you will need a few essential tools. Firstly, you will need a power sander or sanding block. This will make the sanding process much quicker and easier. Additionally, you will need sandpaper with a medium grit, around 80 to 120. This grit is ideal for removing any roughness or imperfections on the baseboards.
Furthermore, it is important to have a dust mask or respirator to protect yourself from inhaling the dust particles that will be generated during the sanding process. Safety goggles are also necessary to shield your eyes from any flying debris. Lastly, you will need a vacuum cleaner or a brush to remove the dust and debris that accumulates after sanding.
In summary, the tools needed to sand baseboards include a power sander or sanding block, sandpaper with a medium grit, a dust mask or respirator, safety goggles, and a vacuum cleaner or brush for cleanup.
What is the proper technique for sanding baseboards?
When it comes to sanding baseboards, it is important to follow the proper technique to achieve the best results. The first step is to gather the necessary tools, which include a sanding block or sandpaper, a vacuum or brush for dust removal, and a putty knife for any necessary repairs. Once you have these tools ready, you can begin the sanding process.
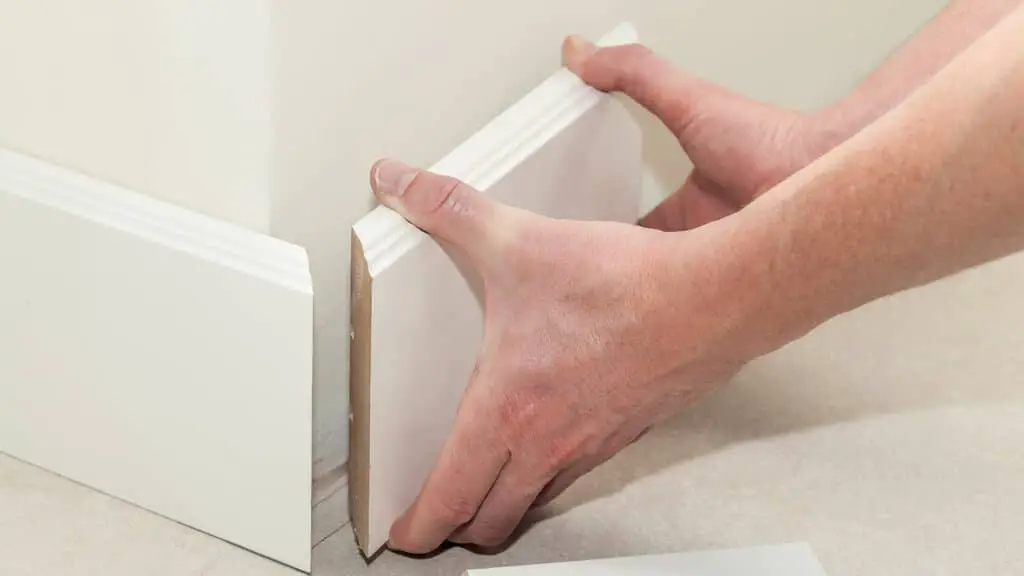
Start by inspecting the baseboards for any imperfections or damage. Use the putty knife to fill in any holes or cracks with wood filler and allow it to dry. Next, attach the sandpaper to the sanding block and begin sanding the baseboards in the direction of the wood grain. Apply even pressure and make sure to sand all areas, including corners and edges.
After sanding, use a vacuum or brush to remove any dust or debris from the baseboards. This will ensure a smooth and clean surface for painting or staining. If necessary, you can repeat the sanding process with a finer grit sandpaper for a smoother finish. Overall, following these steps and using the proper technique will result in beautifully sanded baseboards ready for finishing.
Are there any safety precautions to consider when sanding baseboards?
When sanding baseboards, it is important to take certain safety precautions to ensure your well-being. Firstly, always wear protective gear such as safety goggles, a dust mask, and gloves. This will protect your eyes, respiratory system, and hands from any potential harm caused by flying debris or dust particles.
Additionally, it is crucial to work in a well-ventilated area to minimize the inhalation of dust. If possible, open windows or use fans to improve air circulation. It is also advisable to cover nearby furniture and flooring with drop cloths or plastic sheets to prevent them from getting damaged or covered in dust.
How long does it typically take to sand baseboards?
The time it takes to sand baseboards can vary depending on several factors, including the size of the area, the condition of the baseboards, and the tools and techniques used. On average, it can take anywhere from a few hours to a full day to sand baseboards in a typical room.
The first step in sanding baseboards is to prepare the area by removing any furniture or obstacles that may get in the way. Next, you’ll need to gather the necessary tools, which typically include a sanding block or sandpaper, a vacuum or brush for dust removal, and a putty knife for any necessary repairs.
Once you have all the tools ready, you can begin sanding the baseboards. It’s important to start with a coarse grit sandpaper to remove any rough or uneven surfaces. After the initial sanding, you can switch to a finer grit sandpaper to smooth out the baseboards and achieve a more polished finish.
Are there any alternative methods or products for sanding baseboards?
Yes, there are alternative methods and products available for sanding baseboards. One alternative method is using a chemical stripper instead of sanding. Chemical strippers are applied to the baseboards and left to sit for a certain amount of time, usually indicated on the product’s instructions. After the specified time, the stripper is scraped off along with the old finish, revealing a smooth surface. This method is particularly useful for removing multiple layers of paint or varnish.
Another alternative method is using a heat gun. Heat guns are handheld devices that emit hot air, which can soften the old finish on the baseboards. Once the finish is softened, it can be easily scraped off using a putty knife or a similar tool. Heat guns are especially effective for removing stubborn or thick layers of paint or varnish.
When it comes to alternative products, there are sanding sponges and sanding blocks available. These are small, handheld tools that have sandpaper attached to them. They are convenient to use and can be easily maneuvered around the baseboards. Sanding sponges and blocks are particularly useful for small or intricate areas that are difficult to reach with larger sanding tools.
Conclusion
Overall, learning how to sand baseboards is a crucial skill for any homeowner or DIY enthusiast. By following the proper steps and using the right tools, you can achieve a smooth and professional finish that will enhance the overall appearance of your home. Sanding baseboards not only removes imperfections and rough edges but also prepares the surface for painting or staining, ensuring a long-lasting and beautiful result.
This includes sandpaper of various grits, a sanding block or electric sander, a vacuum or brush for dust removal, and protective gear such as goggles and a mask. Taking the time to properly prepare and organize your workspace will make the sanding process much more efficient and enjoyable.
When sanding painting baseboards, it is crucial to start with a coarse grit sandpaper and gradually work your way up to a finer grit. This allows you to remove any roughness or imperfections while gradually smoothing the surface. It is also important to sand in the direction of the wood grain to avoid causing any damage or creating visible scratches. Additionally, be sure to clean the baseboards thoroughly after sanding to remove any dust or debris before applying paint or stain.
Sanding baseboards is a necessary step in achieving a professional and polished look for your home. By following the proper techniques and using the right tools, you can easily remove imperfections and create a smooth surface that is ready for painting or staining. Remember to take your time, work in the direction of the wood grain, and clean the baseboards thoroughly after sanding. With these tips in mind, you can confidently tackle any baseboard sanding project and enjoy the satisfying results of your hard work.