How To Join Baseboard
Introduction
How To Join Baseboard: Joining baseboards is an essential skill for any homeowner or DIY enthusiast. Whether you are installing new baseboards or repairing existing ones, knowing how to join them properly is crucial for a seamless and professional-looking finish. In this article, we will guide you through the step-by-step process of joining baseboards, providing you with the knowledge and techniques needed to achieve a sturdy and visually appealing result
When joining caulk baseboards, it is important to ensure a tight and secure connection between the two pieces. This not only enhances the overall appearance but also prevents any gaps or movement that may occur over time. There are several methods for joining baseboards, including using nails, screws, or adhesives. The choice of method depends on the material of the baseboards, the type of wall, and personal preference.
One of the most common methods for joining baseboards is using nails. This method involves driving nails through the baseboards and into the wall studs or the wooden subfloor. It provides a strong and durable connection, especially when combined with an adhesive. However, it requires careful measuring, drilling pilot holes, and using a hammer or nail gun. Another method is using screws, which offer a more secure connection and allow for easier removal or adjustment if needed. Adhesives, on the other hand, provide a seamless and nail-free finish, but they may not be as sturdy as mechanical fasteners.
How are baseboards attached?
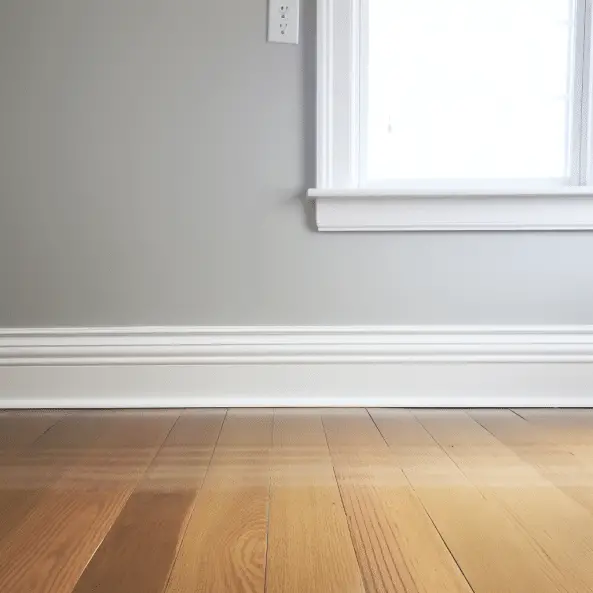
Baseboards are an essential component of any interior design, providing a finishing touch to the walls and floors. They not only enhance the aesthetic appeal of a room but also serve a functional purpose by protecting the walls from damage caused by furniture, vacuum cleaners, and other household activities.
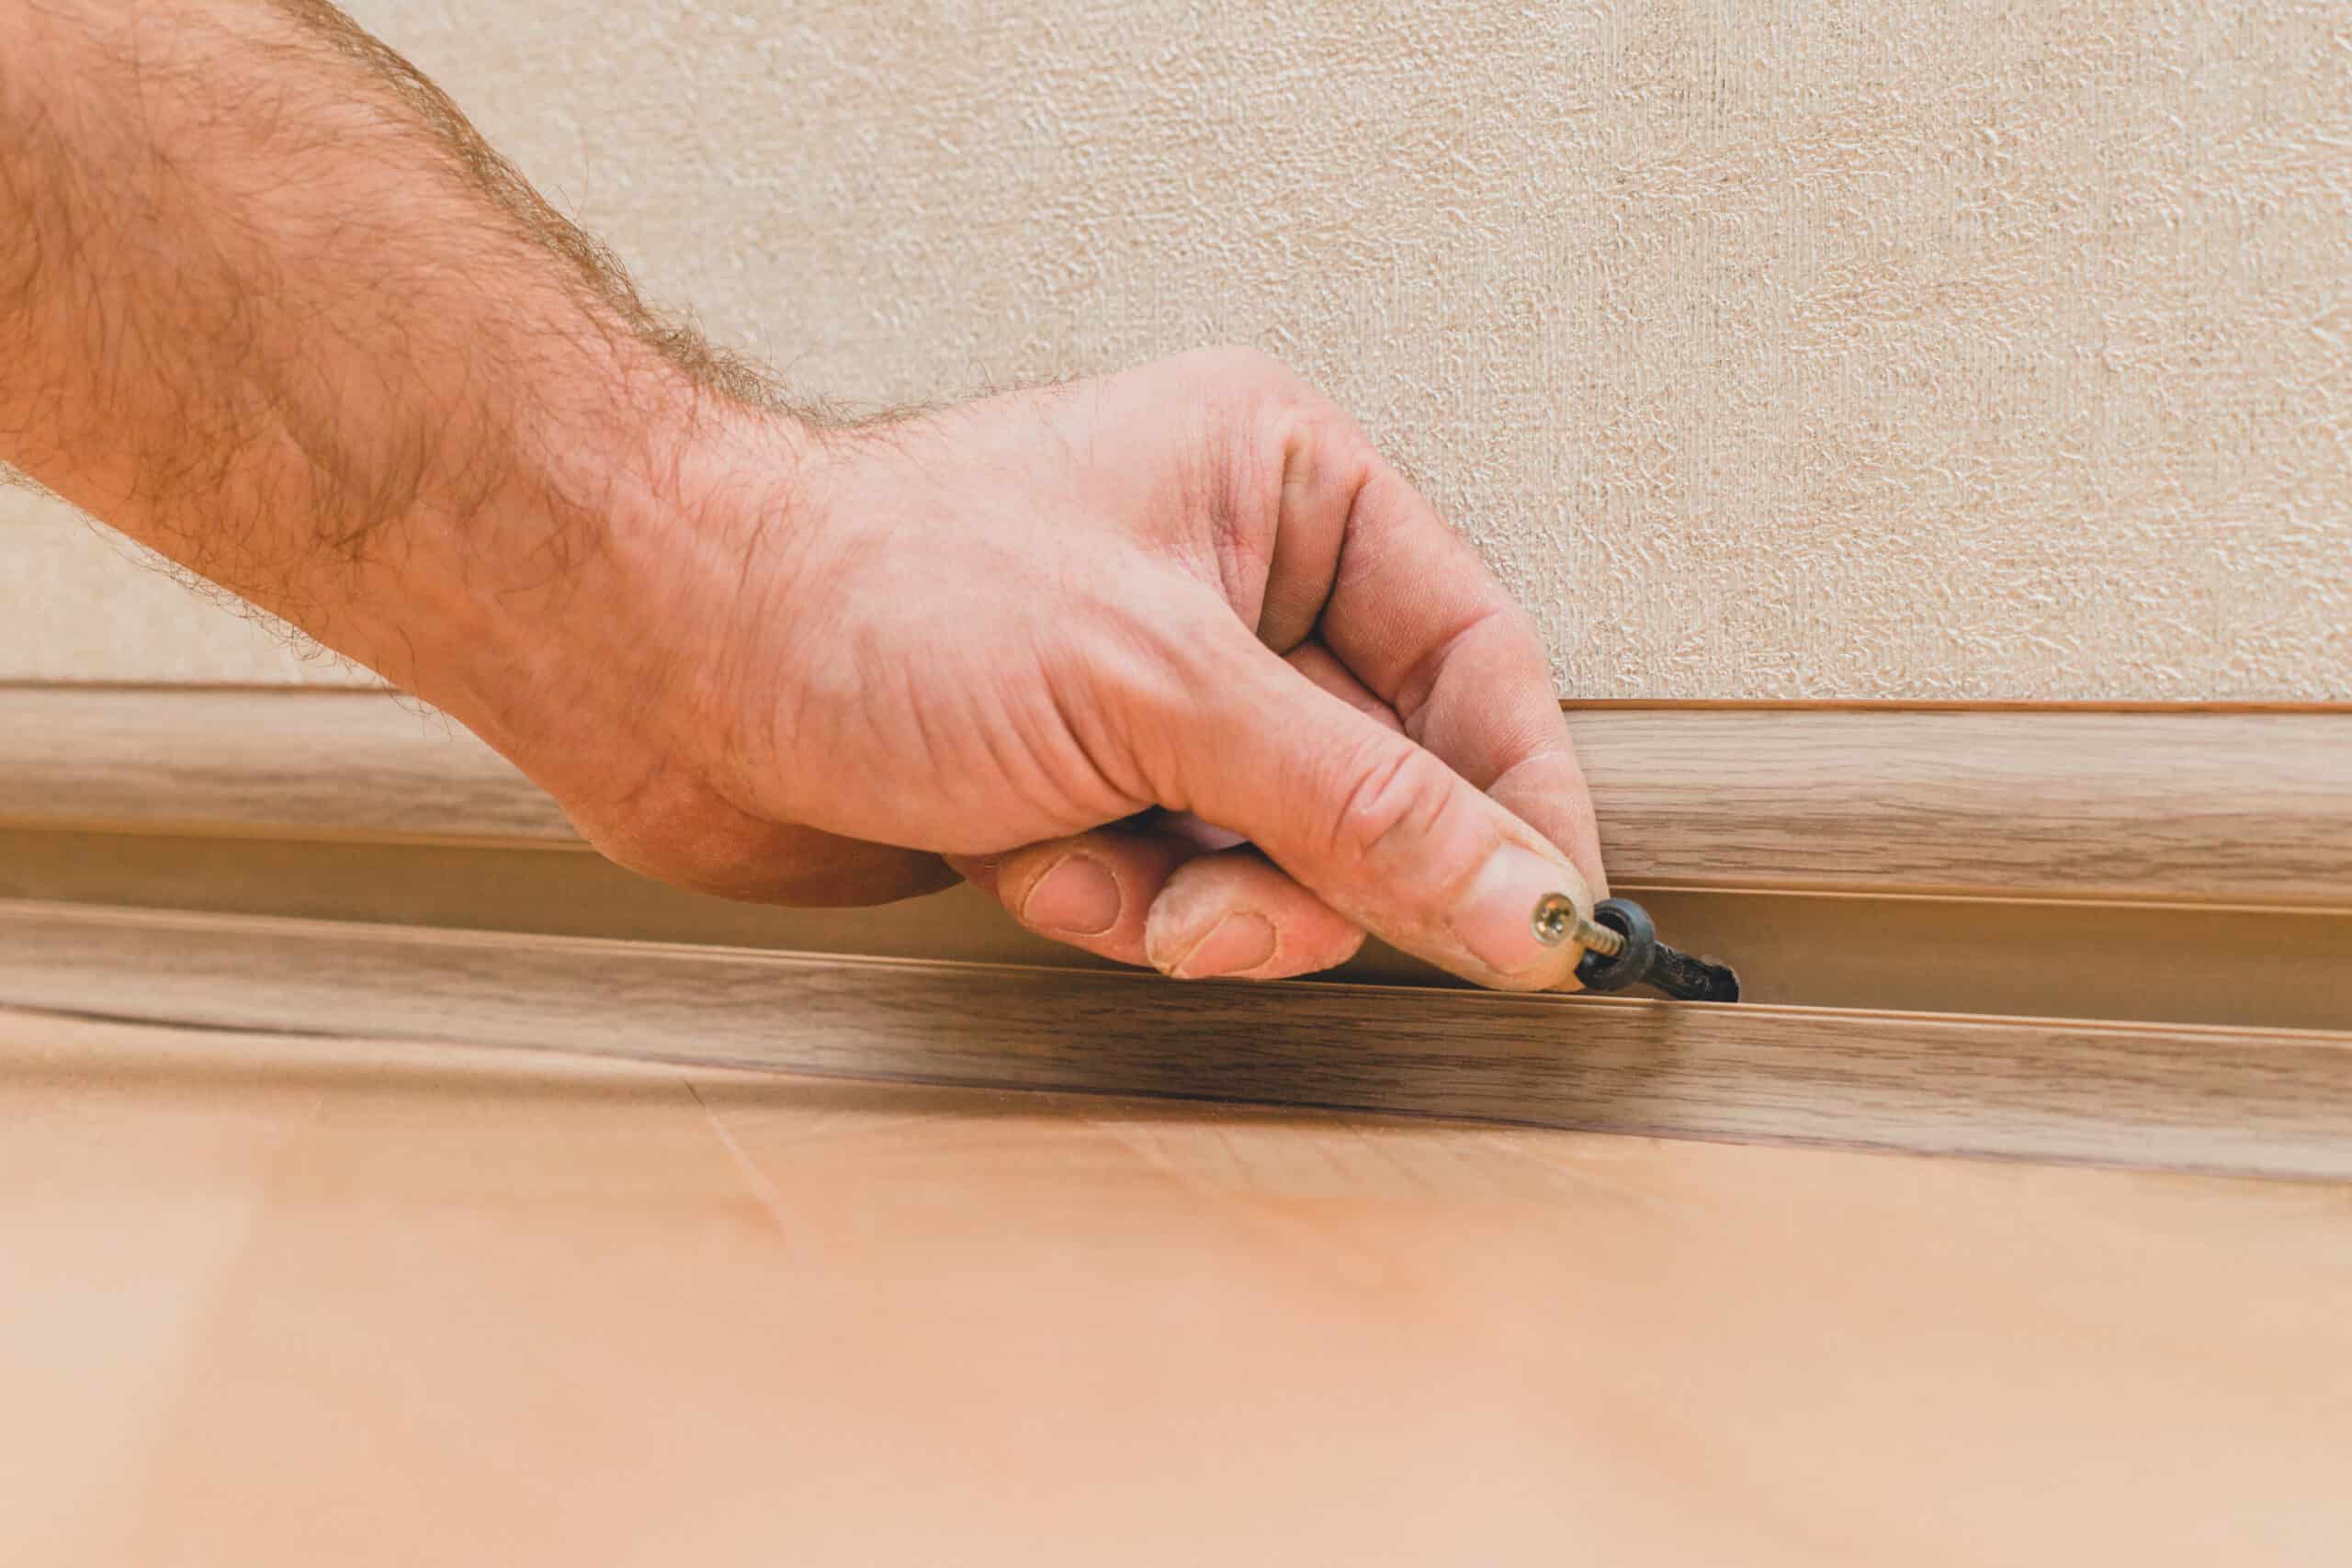
There are several methods for attaching baseboards, depending on the type of baseboard and the desired outcome. One common method is using nails or screws to secure the baseboard to the wall. This method involves pre-drilling holes in the baseboard and then using a hammer or screwdriver to drive the nails or screws into the wall. This ensures a secure and stable attachment.
Another method is using adhesive or construction adhesive to attach the baseboard to the wall. This method is particularly useful when dealing with uneven or irregular walls, as it allows for a more flexible and forgiving installation. The adhesive is applied to the back of the baseboard, and then the baseboard is pressed firmly against the wall. This method eliminates the need for nails or screws and provides a seamless and clean look.
For a more professional and polished finish, some people choose to use a combination of both nails/screws and adhesive. This method provides the stability and strength of the nails/screws while also ensuring a tight and secure bond with the adhesive. It is especially useful for larger or heavier baseboards that may require additional support.
When attaching baseboards, it is important to consider the type of wall material and the condition of the wall. Similarly, if the wall is uneven or damaged, using adhesive may be a better option to ensure a smooth and seamless installation.
What is the best glue for baseboard joints?
When it comes to baseboard joints, finding the right glue is essential for a strong and durable bond. The best glue for baseboard joints will depend on various factors such as the type of baseboard material, the location of the joint, and the desired level of strength. In this article, we will explore some of the top glues that are commonly used for baseboard joints.
Another commonly used glue for baseboard joints is wood glue. Wood glue is specifically formulated for bonding wood surfaces and is known for its strong bond. It is available in both regular and waterproof varieties, depending on the location of the baseboard joint. Wood glue is easy to apply and dries clear, making it a popular choice for baseboard joints that will be visible.
If you are looking for a quick and easy solution, adhesive caulk can be a good option for baseboard joints. Adhesive caulk is a combination of adhesive and caulk, providing both bonding and sealing properties. It is typically applied using a caulk gun and can be used on a variety of materials, including wood and drywall. Adhesive caulk is available in different colors, allowing you to match it to the color of your baseboard.
For baseboard joints that require extra strength and flexibility, epoxy glue can be a suitable choice. Epoxy glue is known for its high strength and ability to bond different materials together. It is typically a two-part adhesive that needs to be mixed before application. Epoxy glue is ideal for baseboard joints that may be subject to movement or stress, as it provides a strong and flexible bond.
Do baseboards need glue?
Baseboards are an essential component of any interior design, providing a finishing touch to the walls and floors. They not only enhance the aesthetic appeal of a room but also serve a functional purpose by protecting the walls from damage caused by furniture, vacuum cleaners, and other household activities. When it comes to installing baseboards, one common question that arises is whether or not they need to be glued in place.
In some cases, baseboards can be installed using nails or screws alone, particularly if they are made of a more rigid material such as PVC or metal. These materials are often lightweight and can be easily secured to the wall using fasteners. Additionally, some baseboards come with a built-in mounting system that eliminates the need for glue or nails altogether.
Ultimately, the decision to use glue for baseboard installation depends on the specific circumstances and personal preference. If you are unsure, it is always best to consult with a professional or follow the manufacturer’s recommendations for the specific type of baseboard you are installing.
What paint is used on baseboards?
When it comes to painting baseboards, it is important to choose the right type of paint that will not only provide a smooth and durable finish but also withstand the wear and tear that baseboards often endure. The type of paint used on baseboards can vary depending on personal preference and the specific needs of the space. However, there are a few common types of paint that are commonly used on baseboards.
One popular option is latex paint. Latex paint is a water-based paint that is known for its durability and ease of use. It dries quickly and has a low odor, making it a convenient choice for indoor projects. Latex paint is also available in a wide range of colors, allowing homeowners to easily match their baseboards to the rest of their decor. Additionally, latex paint is easy to clean and maintain, making it a practical choice for high-traffic areas. Oil-based paint takes longer to dry than latex paint and has a stronger odor, so proper ventilation is important when using it. However, it is worth noting that oil-based paint can be more difficult to clean up and may require the use of solvents.
Some homeowners may also choose to use enamel paint on their baseboards. Enamel paint is a type of oil-based paint that is known for its durability and high-gloss finish. It provides a hard, protective coating that can withstand heavy use and is resistant to chipping and peeling. Enamel paint is often used on trim and baseboards in high-traffic areas, such as hallways and entryways.
What type of baseboards are in style?
In addition to traditional and modern baseboards, there are also more decorative styles available. For example, colonial baseboards feature intricate detailing and can add a touch of elegance to a room. These baseboards are often made from wood and can be stained or painted to enhance the detailing. Victorian baseboards are another decorative option, with ornate designs and intricate patterns.
Ultimately, the type of baseboard that is in style will depend on individual preferences and the overall design aesthetic of the space. Some people may prefer a more traditional look, while others may opt for a modern or decorative style. It’s important to choose a baseboard that complements the rest of the room and enhances the overall design.
To properly join baseboard, follow these steps:
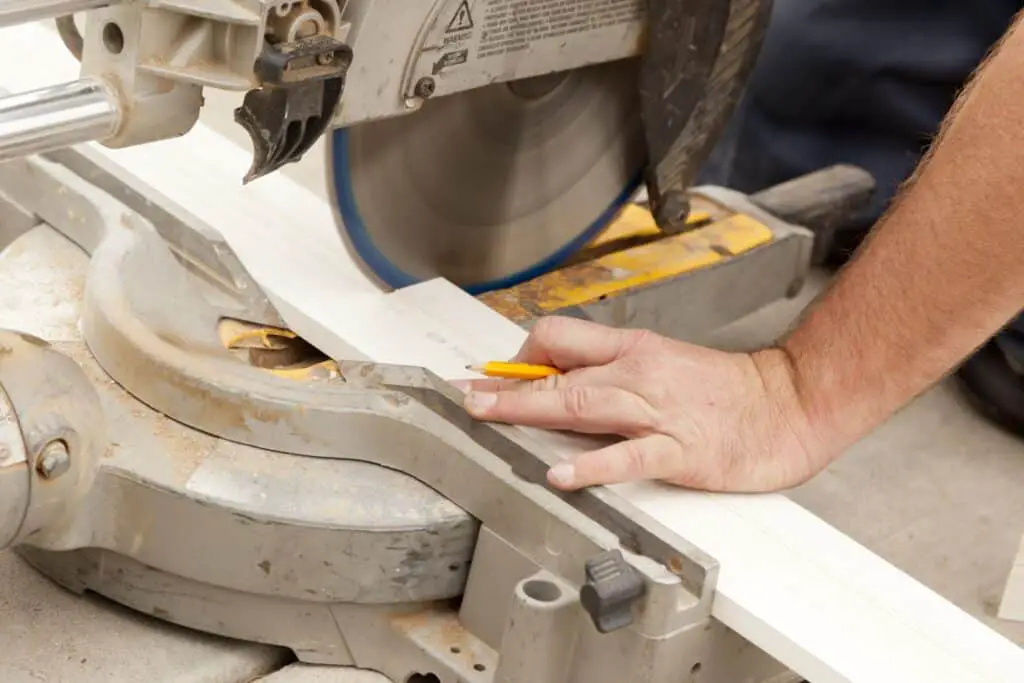
Step 1: Measure and cut the baseboard pieces to the desired length using a miter saw. Ensure that the ends are cut at a 45-degree angle for a seamless join.
Step 2: Apply a thin layer of construction adhesive to the back of the baseboard pieces. This will help secure them to the wall and prevent any gaps or movement.
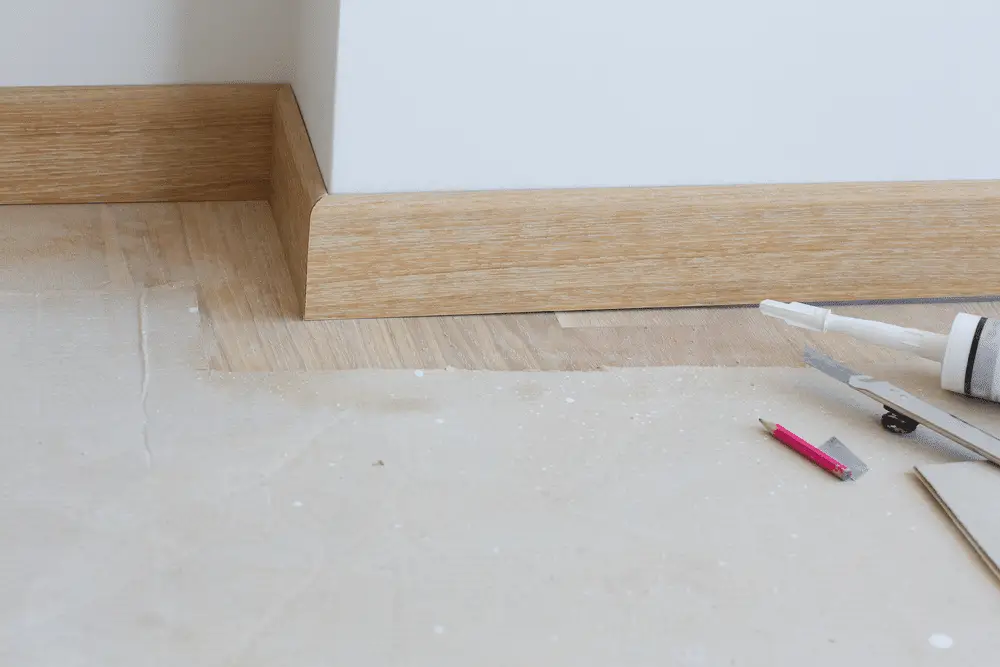
Step 3: Press the baseboard pieces firmly against the wall, aligning the mitered ends to create a tight join. Use a level to ensure that the baseboard is straight and even.
Step 4: Secure the baseboard in place by nailing it to the wall. Use a nail gun or finish nails to avoid any visible nail holes. Place the nails at regular intervals along the length of the baseboard.
Step 5: Fill any gaps or nail holes with wood filler. Once dry, sand the filler smooth and paint or stain the baseboard to match your desired finish.
By following these steps, you can achieve a seamless and professional-looking join for your baseboard, enhancing the overall appearance of your walls.
Are there any specific tools or materials needed to join baseboard?
Yes, there are specific tools and materials that are needed to join baseboard properly. The tools you will need include a miter saw, a coping saw, a tape measure, a pencil, a level, a hammer, a nail set, and a caulk gun. These tools will help you accurately measure, cut, and install the baseboard.
Can you provide a detailed explanation of the process to join baseboard?
Joining baseboard is an important step in finishing the look of a room. To properly join baseboard, follow these steps:
Dry fit the baseboard: Before applying any adhesive or nails, dry fit the baseboard pieces together to ensure they fit properly. Make any necessary adjustments by trimming the ends or adjusting the angles.
Apply adhesive: Once the baseboard pieces fit together correctly, apply a thin layer of construction adhesive to the back of each piece. This will help secure the baseboard to the wall and prevent any gaps.
Install the baseboard: Press the baseboard firmly against the wall, starting at one end. Use a nail gun or finish nails to secure the baseboard in place. Make sure to nail into the studs for a secure hold. Repeat this process for each piece of baseboard.
By following these steps, you can achieve a seamless and professional-looking baseboard join. Remember to measure carefully, dry fit the pieces, and use adhesive and nails for a secure hold. With attention to detail and proper technique, your baseboard join will enhance the overall appearance of your room.
Are there any tips or tricks to ensure a seamless baseboard join?
When it comes to joining baseboard, there are a few tips and tricks that can help ensure a seamless and professional-looking result. First and foremost, it’s important to measure and cut the baseboard pieces accurately. Using a miter saw or a coping saw can help achieve precise cuts, especially for corners and angles.
Another tip is to use a good quality adhesive or construction adhesive to secure the baseboard to the wall. This will help prevent any gaps or movement once the baseboard is installed. It’s also important to use the right type and size of nails or brads to secure the baseboard to the wall. Using a nail gun or a hammer and nail set can make this process easier and more efficient.
Are there any common mistakes to avoid when joining baseboard?
When joining baseboard, there are a few common mistakes that you should avoid to ensure a professional and seamless finish. One of the most common mistakes is not properly measuring and cutting the baseboard. It is important to measure the length accurately and make precise cuts to ensure a tight fit. Using a miter saw or a coping saw can help achieve clean and accurate cuts.
Lastly, one common mistake is not properly filling and sanding the joints. After joining the baseboard, it is important to fill any gaps or nail holes with wood filler and sand it down to create a smooth and seamless finish. This will ensure that the baseboard looks professional and well-joined. By avoiding these common mistakes and following the proper steps, you can achieve a flawless baseboard join.
Conclusion
Joining baseboards is a crucial step in any home improvement project. Whether you are installing new baseboards or replacing old ones, knowing how to join them properly is essential for achieving a seamless and professional-looking finish. By following the right techniques and using the appropriate tools, you can ensure that your baseboards are securely joined and will last for years to come.
One of the most common methods for joining running baseboards is using a miter joint. This involves cutting the ends of the baseboards at a 45-degree angle and joining them together to form a corner. To achieve a perfect miter joint, it is important to measure and mark the correct angles accurately. Using a miter saw or a miter box can help you achieve precise cuts. Additionally, applying wood glue to the joint before securing it with finishing nails or screws will provide extra strength and stability.
Another method for joining baseboards is using a butt joint. This involves joining the ends of the baseboards together in a straight line without any angles. Using a coping saw or a miter saw can help you achieve clean and accurate cuts. Applying wood glue and using finishing nails or screws will help secure the joint and prevent any gaps or movement.
Baseboards is an important skill to have for any DIY enthusiast or homeowner. Whether you choose to use a miter joint or a butt joint, it is crucial to measure and cut accurately to achieve a seamless and professional-looking finish.