How To Remove Hooks From Wall
Introduction
How To Remove Hooks From Wall: Removing hooks from walls can be a daunting task, especially if you are unsure of the proper techniques and tools to use. Whether you are redecorating your space or simply want to get rid of old hooks, it is important to approach the removal process with caution to avoid damaging your walls. In this article, we will provide you with step-by-step instructions on how to safely and effectively remove hooks from your walls.
Before you begin the removal process, it is essential to gather the necessary tools. You will need a few basic items, including a putty knife or a similar flat-edged tool, a hammer, and a pair of pliers. These tools will help you loosen and remove the hooks without causing any significant damage to your walls. Additionally, it is advisable to wear protective gloves to prevent any injuries while handling the tools.
Once you have gathered the required tools, the next step is to assess the type of command hook you are dealing with. There are various types of hooks available, such as adhesive hooks, screw-in hooks, or hooks with anchors. Each type requires a slightly different approach for removal. Adhesive hooks can usually be removed by gently pulling them away from the wall. However, screw-in hooks may require additional steps, such as unscrewing them using pliers or a screwdriver.
If you are dealing with hooks that have anchors, the removal process may be slightly more complicated. In such cases, you will need to locate the anchor and remove it before taking out the hook. Anchors are typically made of plastic or metal and are inserted into the wall to provide additional support for heavier items. To remove the anchor, you can use pliers to grip it firmly and twist it counterclockwise until it comes loose. Once the anchor is removed, you can proceed to remove the hook using the appropriate method based on its type.
After successfully removing the hooks, you may notice small holes or marks on your walls. To restore the wall’s appearance, you can use a spackling compound or putty to fill in the holes. Apply the compound using a putty knife, ensuring it is smooth and level with the surrounding wall surface. Once the compound is dry, you can sand it lightly and touch up the area with paint to match the rest of the wall. This final step will help conceal any signs of the hooks’ previous presence, leaving your walls looking clean and fresh.
By following these instructions, you can safely and efficiently remove hooks from your walls without causing any damage. Remember to always exercise caution and use the appropriate tools for the specific type of hook you are dealing with. With a little patience and the right techniques, you can easily transform your walls and create a blank canvas for your next decorating project.
Do 3M hooks damage walls?
When used as directed, Command Strips should cause no damage to your wall or paint. Damage is usually associated with removing the product incorrectly. They are not intended to be used on textured walls as they won’t adhere properly. Also, don’t use them on wallpaper because it is too delicate and can rip upon removal.
Do 3M hooks damage walls?
3M hooks are a popular choice for hanging items on walls without causing damage. These adhesive hooks are designed to hold a variety of objects securely, making them a convenient solution for organizing and decorating spaces. However, many people wonder if these hooks can cause any harm to the walls they are attached to. In this article, we will explore the impact of 3M hooks on walls and provide you with a comprehensive answer to this question.
Firstly, it is important to note that 3M hooks are specifically designed to be gentle on walls. The adhesive used in these hooks is engineered to provide a strong hold while minimizing any potential damage. The hooks are designed to be easily removable without leaving behind any residue or marks on the wall surface. This makes them an ideal choice for those who are renting a space or want to avoid the hassle of repairing walls after removing traditional hooks.
Secondly, the effectiveness of 3M hooks in preventing wall damage depends on various factors. The type of wall surface, the weight of the item being hung, and the correct installation technique all play a role in determining whether any damage will occur. It is essential to follow the manufacturer’s instructions carefully when installing the hooks to ensure they are properly attached and will not cause any harm to the wall.
Additionally, it is recommended to test the hooks on a small, inconspicuous area of the wall before hanging any valuable or delicate items. This will allow you to assess the adhesive’s compatibility with your specific wall surface and ensure that it does not cause any damage or discoloration. It is also advisable to avoid using 3M hooks on freshly painted walls, as the adhesive may not adhere properly and could potentially damage the paint.
When used correctly and on appropriate wall surfaces, 3M hooks are unlikely to cause any damage. However, it is always a good idea to exercise caution and test the hooks before hanging valuable or fragile items. By following the manufacturer’s instructions and considering the specific characteristics of your walls, you can enjoy the convenience and versatility of 3M hooks without worrying about any potential damage.
How do you remove picture hooks without damaging plaster?
Picture hanging hooks often have the nail inserted at a 45-degree angle. In that instance, pull the nail out and upward at the same angle it was inserted into the hole. This minimizes damage to the wall. Keep pulling until the nail is completely removed from the wall.
Introduction:
Removing picture hooks without damaging plaster can be a tricky task, but with the right techniques and tools, it can be done effectively. Whether you are moving out of a rented property or simply want to rearrange your wall decor, it is important to know how to remove picture hooks without causing any damage to the plaster. This article will provide you with step-by-step instructions on how to safely remove picture hooks, ensuring that your walls remain intact.
Step 1: Assess the type of hook:
Before you begin removing the picture hook, it is essential to determine the type of hook you are dealing with. There are various types of hooks available, such as adhesive hooks, nail-in hooks, and screw-in hooks. Each type requires a different removal method. Adhesive hooks can usually be peeled off gently, while nail-in and screw-in hooks require additional tools.
Step 2: Gather the necessary tools:
Depending on the type of hook, you will need specific tools to remove it without damaging the plaster. For adhesive hooks, a flat-edged tool, such as a putty knife or credit card, can be used to gently pry the hook off the wall. Nail-in hooks may require a pair of pliers or a claw hammer to carefully pull the nail out. Screw-in hooks can be removed using a screwdriver or a drill with a screwdriver bit.
Step 3: Remove the hook:
Once you have identified the type of hook and gathered the necessary tools, it is time to remove the hook. For adhesive hooks, insert the flat-edged tool between the hook and the wall, and gently pry it off. Apply steady pressure to avoid damaging the plaster. For nail-in hooks, use the pliers or claw hammer to grip the nail head and slowly pull it out at a 45-degree angle. For screw-in hooks, use the screwdriver or drill to unscrew the hook in a counterclockwise direction.
Step 4: Patch any holes:
After removing the picture hook, you may be left with small holes in the plaster. To ensure a seamless finish, it is recommended to patch these holes. Use a lightweight spackling compound or filler to fill the holes, and smooth it out with a putty knife. Allow the compound to dry, and then sand it lightly to create a smooth surface. Finally, touch up the area with matching paint to blend it with the surrounding wall.
By following these steps, you can safely remove picture hooks without damaging the plaster. Remember to always proceed with caution and take your time to avoid any unnecessary mishaps. With the right tools and techniques, you can maintain the integrity of your walls while rearranging or removing your wall decor.
How do you break off wall anchors?
Start by removing any screws that may still be attached to the wall anchor. Then, using needle-nose pliers to firmly grip the inside edge of the wall anchor, grab the collar or head of the drywall anchor and give it a wiggle and tug. Use judgment as you test how freely it will move within the drywall hole.
Wall anchors are commonly used to provide stability and support to objects that are hung on walls. However, there may come a time when you need to remove these anchors, either because you no longer need them or because you want to replace them with new ones. Breaking off wall anchors can be a bit tricky, but with the right tools and techniques, it can be done effectively and safely.
One method to break off wall anchors is to use a hammer and a chisel. Start by placing the chisel against the anchor and gently tap it with the hammer. Gradually increase the force until the anchor starts to loosen. Once it becomes loose enough, you can use pliers or a screwdriver to pull it out completely. This method works well for plastic or nylon wall anchors.
If you are dealing with metal wall anchors, a different approach is needed. In this case, you can use a power drill with a metal cutting bit. Start by drilling a hole in the center of the anchor. Once the hole is made, you can use pliers or a screwdriver to twist and pull the anchor out. Be careful not to damage the surrounding wall while doing this.
Another method that can be used for both plastic and metal wall anchors is to use a wall anchor removal tool. This tool is specifically designed to remove wall anchors without causing any damage to the wall. Simply insert the tool into the anchor and twist it counterclockwise until the anchor comes loose. This method is particularly useful if you have multiple anchors to remove.
It is important to note that before attempting to break off wall anchors, you should always wear protective eyewear and gloves. This will help prevent any potential injuries from flying debris or sharp edges. Additionally, if you are unsure about how to remove the anchors or if they are particularly stubborn, it is recommended to seek professional assistance to avoid any damage to the wall or surrounding areas.
How do you remove hook and loop tape?
Chemicals. With other substrates like glass and metal, you can use a scraper without having to worry about damage too much. You can also use a solvent, alcohol, oil, or acetone to break down the adhesive residue that often remains.
Hook and loop tape, also known as Velcro, is a versatile fastening material that is commonly used in various applications. It consists of two components: the hook side, which has tiny hooks, and the loop side, which has soft loops. Over time, you may need to remove hook and loop tape for various reasons, such as replacing it or cleaning the surface it is attached to. In this guide, we will discuss the steps to remove hook and loop tape effectively.
To remove hook and loop tape, start by identifying the type of surface it is attached to. The removal process may vary depending on whether it is attached to fabric, plastic, or another material. If the tape is attached to fabric, gently pull the two sides apart to separate the hook and loop components. Avoid pulling too forcefully, as this may damage the fabric. If the tape is attached to a plastic surface, use a plastic scraper or a credit card to carefully lift one corner of the tape and slowly peel it off.
If the hook and loop tape is firmly attached and difficult to remove, you can try using a hairdryer to soften the adhesive. Set the hairdryer to a low heat setting and direct the warm air towards the tape for a few seconds. This will make the adhesive more pliable, allowing you to remove the tape more easily. However, be cautious not to overheat the tape or the surface it is attached to, as this may cause damage.
Once you have removed the hook and loop tape, you may notice some adhesive residue left behind. To clean this residue, you can use rubbing alcohol or an adhesive remover. Apply a small amount of the chosen solution to a clean cloth and gently rub the residue until it is completely removed. Avoid using harsh chemicals or abrasive materials, as they may damage the surface.
Removing hook and loop tape can be a simple process if done correctly. By following these steps and using the appropriate tools and solutions, you can safely remove the tape without causing any damage to the surface it is attached to. Whether you need to replace the tape or clean the surface, knowing how to remove hook and loop tape effectively will come in handy in various situations.
Do adhesive hooks remove paint?
When used as directed, Command Strips should cause no damage to your wall or paint. Damage is usually associated with removing the product incorrectly. They are not intended to be used on textured walls as they won’t adhere properly. Also, don’t use them on wallpaper because it is too delicate and can rip upon removal.
Do adhesive hooks remove paint?
Adhesive hooks are a popular and convenient solution for hanging items on walls without the need for drilling or hammering. However, one common concern among users is whether adhesive hooks can cause damage to the paint on the walls. In this article, we will explore this question and provide you with a comprehensive answer.
Firstly, it is important to note that not all adhesive hooks are created equal. Some adhesive hooks are specifically designed to be removable without causing any damage to the surface they are attached to. These hooks are often made with a special adhesive that allows them to be easily removed without leaving behind any residue or damaging the paint. It is crucial to read the product description and packaging carefully to ensure that you are purchasing hooks that are designed for easy removal.
Secondly, the condition of the wall’s paint can also play a role in whether adhesive hooks will remove paint. If the paint on the wall is old, weak, or already peeling, there is a higher chance that the adhesive hooks may cause some damage when they are removed. In such cases, it is recommended to test the adhesive hook on a small, inconspicuous area of the wall before applying it to a more visible spot. This will help you determine if the hook is suitable for your specific wall surface.
Thirdly, proper installation and removal techniques can also minimize the risk of paint damage. When installing adhesive hooks, it is important to clean the wall surface thoroughly and ensure it is dry before applying the hook. This will help the adhesive bond properly and reduce the chances of it pulling off any paint when removed. When removing the hook, it is advisable to pull it straight down and away from the wall rather than pulling it at an angle, as this can help prevent any paint from peeling off.
While adhesive hooks have the potential to remove paint, choosing the right type of hook, considering the condition of the wall’s paint, and using proper installation and removal techniques can greatly minimize this risk. By following these guidelines, you can enjoy the convenience of adhesive hooks without worrying about damaging your walls.
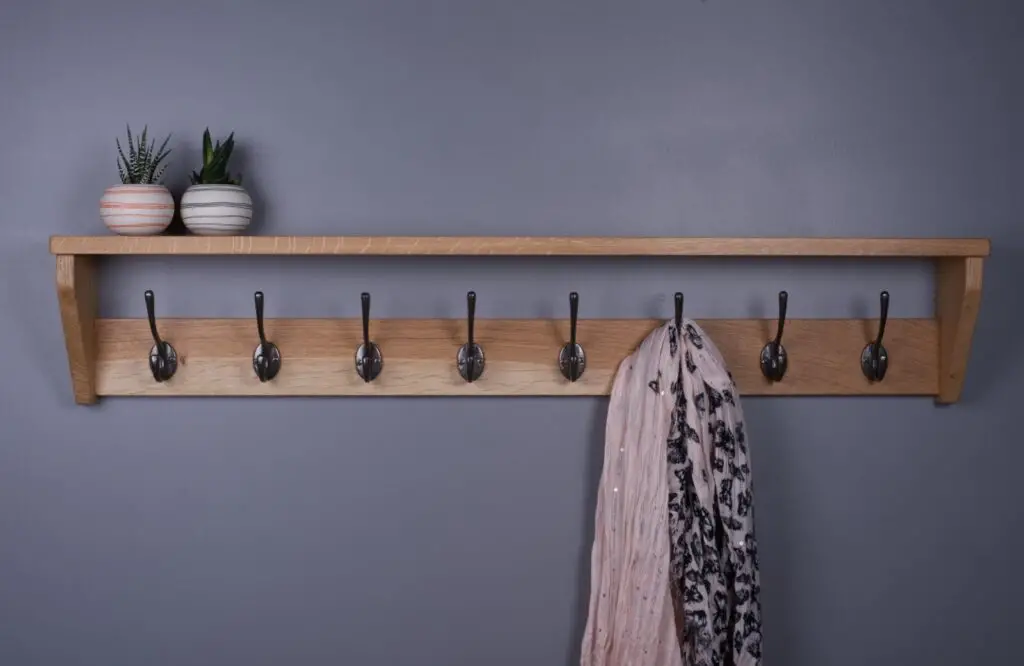
When it comes to hanging items on walls, there are several types of hooks that are commonly used. One popular option is the traditional picture hook, which features a sharp point that can be easily inserted into the wall. These hooks are typically used for hanging framed pictures or artwork and come in various sizes to accommodate different weights.
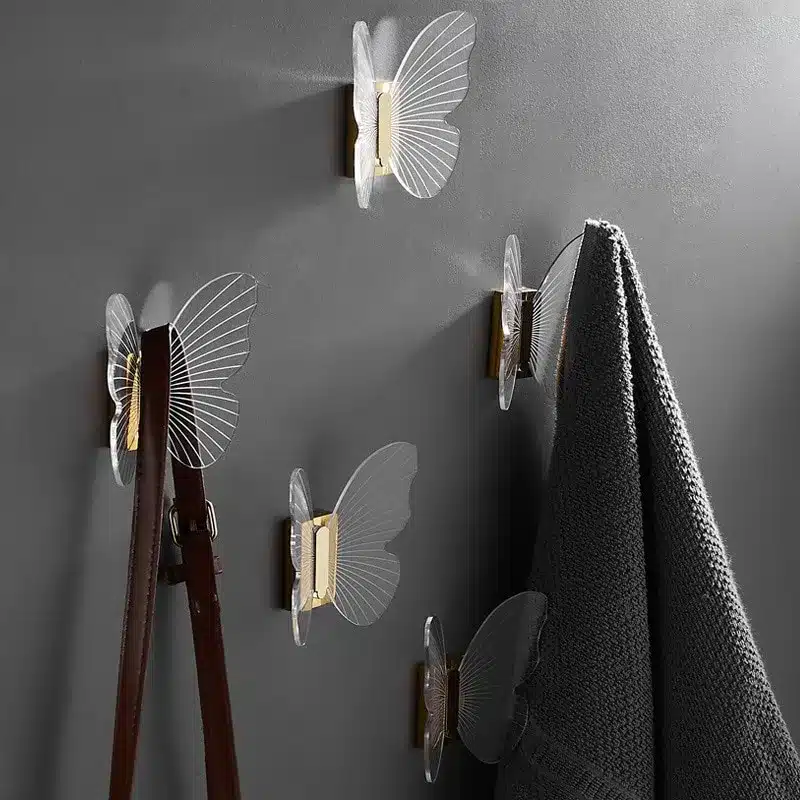
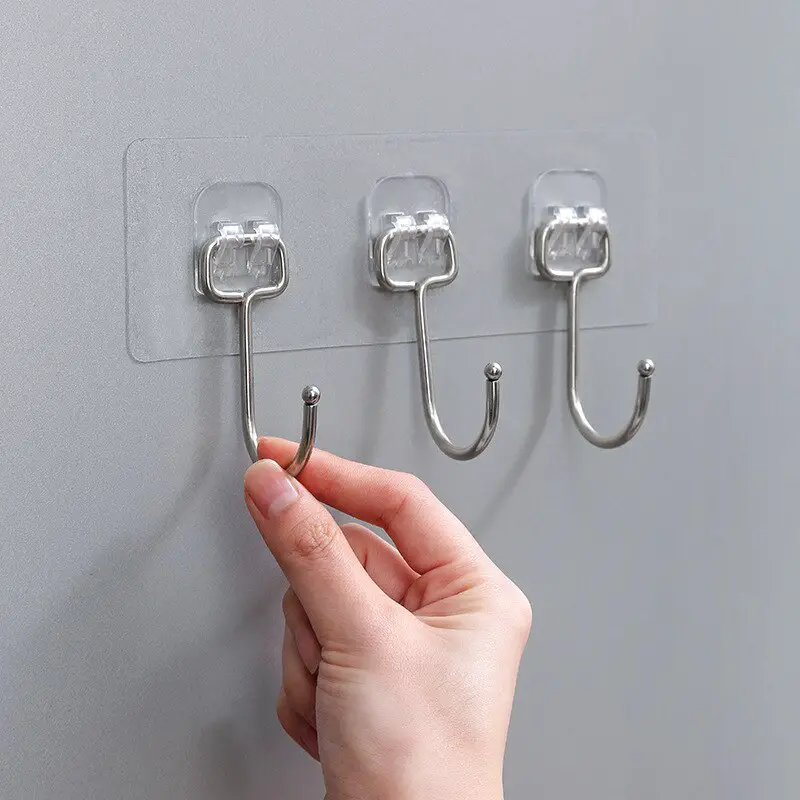
Another common type of hook is the adhesive hook, which is a great option for those who want to avoid drilling holes in their walls. These hooks have a sticky backing that adheres to the wall, providing a secure hold. They are often used for hanging lightweight items such as keys, small decorations, or lightweight frames.
For heavier items, such as mirrors or shelves, it is recommended to use a wall anchor or toggle bolt. These types of hooks provide extra support and stability by distributing the weight across a larger area of the wall. Wall anchors are typically inserted into the wall and expand behind it, while toggle bolts feature a spring-loaded mechanism that opens up behind the wall to provide a secure hold.
How can I safely remove adhesive hooks from a wall without causing damage?
When it comes to removing adhesive hooks from a wall, it’s important to proceed with caution to avoid any potential damage. Here are some steps you can follow to safely remove adhesive hooks:
1. Prepare the area: Before removing the adhesive hook, make sure to clear the surrounding area and remove any items hanging on the hook. This will prevent any accidental damage or breakage during the removal process.
2. Apply heat: Applying heat to the adhesive can help loosen its grip on the wall. You can use a hairdryer on a low heat setting or a heat gun, but be sure to keep a safe distance to avoid overheating the wall or causing any damage. Gently heat the adhesive for a few seconds to soften it.
3. Slowly peel off: Once the adhesive has been heated, use your fingers or a plastic scraper to slowly peel off the hook from one corner. Apply gentle and steady pressure to avoid any sudden jerks that could damage the wall. If you encounter resistance, stop and reapply heat to further loosen the adhesive.
4. Remove residue: After removing the hook, you may notice some adhesive residue left on the wall. To remove this, you can use a mild adhesive remover or rubbing alcohol. Apply a small amount to a clean cloth and gently rub the residue until it comes off. Avoid using harsh chemicals or abrasive materials that could damage the wall’s surface.
By following these steps, you can safely remove adhesive hooks from your walls without causing any damage. Remember to always proceed with caution and take your time to ensure a smooth removal process.
Are there any specific tools or techniques that can make the process of removing hooks easier?
When it comes to removing adhesive hooks from walls without causing damage, there are a few specific tools and techniques that can make the process easier and more efficient. One useful tool is a hairdryer or heat gun, which can help soften the adhesive and make it easier to peel off. Simply apply heat to the hook for a few seconds, and then gently pry it off using a putty knife or a plastic card.
Another technique that can be effective is using dental floss or fishing line. Slide the floss or line behind the hook and gently saw back and forth to separate the adhesive from the wall. This method is particularly useful for hooks that have a strong bond. Additionally, using rubbing alcohol or adhesive remover can help dissolve the adhesive and make it easier to remove.
It’s important to note that the specific tools and techniques you use may vary depending on the type of adhesive and the surface of the wall. Always read and follow the instructions provided by the manufacturer of the adhesive hooks. If you’re unsure about the best approach for your specific situation, it’s a good idea to consult a professional or seek advice from a hardware store.
What are some alternative methods for hanging items on walls that do not involve using hooks?
When it comes to hanging items on walls without using hooks, there are several alternative methods you can consider. One popular option is using adhesive strips or hooks, which provide a strong hold without the need for drilling or damaging the walls. These strips are typically easy to apply and remove, making them a convenient choice for renters or those who frequently change their wall decor.
Another alternative method is using picture hanging strips, which consist of two interlocking strips that hold the picture in place. These strips can be easily attached to the wall and provide a secure hold. Additionally, you can use adhesive putty or mounting squares, which are sticky substances that can be molded to hold lightweight items on the wall. These options are ideal for temporary displays or for hanging lightweight decorations.
For heavier items, you can explore options such as wall anchors or toggle bolts. Wall anchors are inserted into the wall and provide a sturdy base for screws or nails. Toggle bolts, on the other hand, are used for hollow walls and provide extra support by expanding behind the wall surface. These methods are more suitable for items that require a stronger hold, such as shelves or heavy artwork.
Are there any specific precautions or considerations to keep in mind when removing hooks from different types of wall surfaces (e.g., drywall, plaster, tile)?
When removing hooks from different types of wall surfaces, it is important to take certain precautions to avoid causing any damage. The specific precautions and considerations may vary depending on the type of wall surface you are dealing with, such as drywall, plaster, or tile.
Drywall: When removing hooks from drywall, it is crucial to be gentle and avoid applying excessive force. Start by carefully peeling off any adhesive backing or removing any screws. To minimize damage, it is recommended to use a putty knife or a similar tool to gently pry the hook away from the wall. If there are any remaining adhesive residues, you can use a mild adhesive remover or rubbing alcohol to clean the area. It is important to note that excessive force or aggressive scraping can cause the drywall to chip or crack, so it is best to proceed with caution.
Plaster: Removing hooks from plaster walls requires extra care to prevent any damage. Begin by loosening the hook gently using a putty knife or a similar tool. Avoid pulling or yanking the hook, as this can cause the plaster to crack or crumble. If the hook is firmly attached, you can try using a hairdryer to warm up the adhesive, making it easier to remove. Once the hook is off, any remaining adhesive can be cleaned using a mild adhesive remover or rubbing alcohol. It is important to handle plaster walls delicately to avoid any unnecessary repairs or restoration.
Tile: Removing hooks from tiled walls can be a bit more challenging due to the hard and often delicate nature of the tiles. Start by gently prying the hook away from the tile using a putty knife or a similar tool. Take care not to apply excessive force, as this can cause the tile to crack or chip. If the hook is attached with adhesive, you can use a hairdryer to warm up the adhesive and make it easier to remove. Once the hook is off, any remaining adhesive can be cleaned using a mild adhesive remover or rubbing alcohol. It is important to be cautious and patient when removing hooks from tiled walls to avoid any damage to the tiles.
By following these precautions and considerations, you can safely remove hooks from different types of wall surfaces without causing any damage. Remember to always proceed with care and use the appropriate tools and techniques for each specific wall surface to ensure a successful and damage-free removal process.
Conclusion
Removing hooks from a wall can be a simple and straightforward process if you follow the right instructions. By carefully following the steps outlined above, you can ensure that you remove the hooks without causing any damage to the wall. Remember to gather all the necessary tools and materials before starting the process, and take your time to ensure a smooth and successful removal.
Firstly, it is important to assess the type of hook you are dealing with. Different hooks may require different removal techniques, so it is crucial to identify the specific type of hook before proceeding. This will help you determine the best approach to remove it without causing any damage to the wall. Whether it is a adhesive hook, a screw-in hook, or a picture hook, understanding its structure and mechanism will make the removal process much easier.
Once you have identified the type of hook, gather the necessary tools and materials. This may include a screwdriver, pliers, a putty knife, or even a hairdryer. Having these tools on hand will ensure that you are prepared for any situation that may arise during the removal process. Additionally, it is important to protect yourself by wearing gloves and safety goggles, especially if you are dealing with sharp or potentially hazardous materials.
Next, carefully follow the step-by-step instructions provided above to remove the adhesive hook from the wall. Take your time and proceed with caution, ensuring that you do not rush or apply excessive force. By following the correct technique, you can minimize the risk of damaging the wall or leaving behind any unsightly marks or holes. Remember to be patient and persistent, as some hooks may require a bit more effort to remove than others.
Removing hooks from a wall can be a relatively simple task if you approach it with the right knowledge and tools. By identifying the type of hook, gathering the necessary materials, and following the step-by-step instructions, you can successfully remove hooks without causing any damage to the wall. Remember to take your time, be patient, and proceed with caution to ensure a smooth and successful removal process. With these guidelines in mind, you can confidently tackle the task of removing hooks from your walls and enjoy a clean and clutter-free living space.