How To Remove Baseboard From Wall
Introduction
How To Remove Baseboard From Wall: Your experience level, from seasoned DIYers to those new to home improvement, this guide will empower you to tackle this project with confidence. By the end, you’ll have the knowledge and skills necessary to remove baseboards like a pro and open up endless possibilities for updating and refreshing your living spaces.
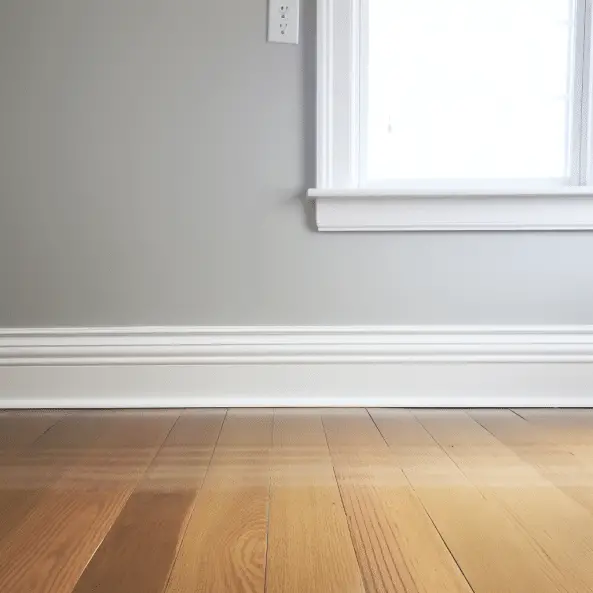
Baseboards play a significant role in enhancing the aesthetic appeal of any room while concealing gaps and transitions between walls and floors. Whether you want to replace old and worn-out baseboards or create space for new flooring, learning how to remove them is an clean baseboard essential skill for any homeowner or DIY enthusiast.
To make repairs, one of the first steps may involve removing baseboards from the walls. Baseboards not only provide a decorative touch but also serve to protect the bottom portion of your walls from potential damage. While it might seem like a daunting task, with the right tools and techniques, removing baseboards can be a straightforward process.

Can you remove baseboard without damage?
- Use your utility knife to cut any glue along the baseboard where it meets the wall. If you do this, you won’t damage the paint, drywall, or wallpaper on the wall. Score the baseboard all the way along its length so that it can come off the wall more easily in the next steps.
Cut carefully through the paint or caulk along the top edge of the baseboard with a pocket knife. This will help keep the paint or caulk from coming off in big chunks when you start to pull the baseboard off.
Use the putty knife or pry bar to get between the floor and the wall. Press on the baseboard gently to move it away from the wall. If you run into trouble, lightly tap the pry bar on the hammer to loosen the baseboard. Lift the baseboard off the wall little by little as you work your way along its length.
There may be nails or brads sticking out. To hide them, use the nail punch to drive them below the floor. To carefully pull out nails that are hard to get to, use pliers. Watch out not to pull or yank on the floor, as this could damage it.
When removing borders that are stuck down with glue, you may need to be a little more careful. Put a putty knife behind the baseboard and carefully move it along the length of the board to loosen the glue from the wall. Take care to pry the baseboard away from the wall as you go.
Take extra care when taking the baseboards down if you want to use them again so that they don’t break or split. To protect the baseboard from damage, put a piece of scrap wood between the pry bar and it.
Is there a special tool to remove baseboards?
With the Trim Puller, you can take off baseboards, molding, door casings, and decorative panels without hurting the walls or trim or needing to use a shim or tiny board spacer.
A tool makes it easier to take out the baseboard. Metal blades that are flat and curled meet the wall and carpet. The blade angle makes it easier to remove baseboards from walls. Handles or grips make it easier to take off the baseboard.
Baseboard removal tools are most useful because they keep walls and baseboards from getting damaged. The curved edge of the blade keeps it from gouging into the wall, and the force moves the baseboard evenly, which stops splintering and trim damage.
Oscillating tools come with blades for removing baseboards. Baseboard removal blades that are small and flat can fit between the wall and the baseboard. Cutting caulk and paint for baseboards is easier with a rotating tool.
Multitools with baseboard blades can be used to remove baseboards that are stuck on or aren’t working right. The baseboard-to-wall bonds are broken by oscillating tools, which makes removal easy.
Electric pry bars work the same way that rotary saws do. To take it off, the flat blade can be pushed between the floor and the wall. There are electric pry bars with depth controls that can be used to remove things.
Is it OK to remove baseboards?
When installing floors, baseboards are rarely needed to be taken off. During the flooring construction process, you can take out and put back in baseboards to change their height or style.
Change the look of your home by adding baseboards. Take down the old baseboards and put up new trim to match the style of the room.
For a clean, professional look, take off the baseboards before putting down hardwood or laminate flooring. The new floor looks nice and fits well against the walls.
Damage to baseboards can come from water, chips, and cracks. You can fix or replace broken frames to make the room look better.
Panels or paneling can be put in by the owners. By removing the baseboard, they become one.
When there are no gaps between the baseboards, floor installs and repairs look better.
Taking out the baseboards makes it easier to place outlets, wires, and fix the walls.
Should you remove baseboards to paint?
In older homes, removing baseboards before painting them can have unintended consequences, ripping the baseboard out could cause damage to the wall that may be hard to repair. It also looks better and is easier in older homes to just keep the baseboards in place when painting them.
Condition of Baseboards: Assess the condition of your baseboards before making a decision. If they are old, damaged, or in need of replacement, it may be a good opportunity to remove them, paint separately, and reinstall new or refreshed baseboards after the paint job.
Type of Baseboard Installation: The method used to install your baseboards can influence whether removal is necessary. Baseboards nailed or brad-nailed to the wall are easier to remove without damage compared to adhesive-mounted baseboards, which may be difficult to take off intact.
Time and Effort: Removing and reinstalling baseboards can be time-consuming and labor-intensive. Consider the scope of your painting project and whether you have the time and energy to remove and replace the baseboards.
Tape and Protect: If you choose not to remove the baseboards, use painter’s tape to protect them while painting the walls. Carefully apply tape along the top edge of the baseboards to create a clean paint line and prevent paint from splattering on the trim.
Cut-In Method: When painting the walls, use a high-quality angled paintbrush to “cut in” along the top edge of the baseboards. This technique requires a steady hand but can result in a neat and precise paint line.
What happens if you don’t have baseboards?
Opting to not have any baseboards will keep your design simple and modern. The only downside is a loss of protection for your walls from brooms and vacuums. That said if you don’t expect too much horseplay around your house, being able to have a bookshelf flush against your wall is a real upside.
Baseboards provide a visual transition between the walls and the flooring, creating a polished and finished appearance. Without baseboards, the junction between the walls and the floor may appear bare and incomplete, giving the room an unrefined and unprofessional look.
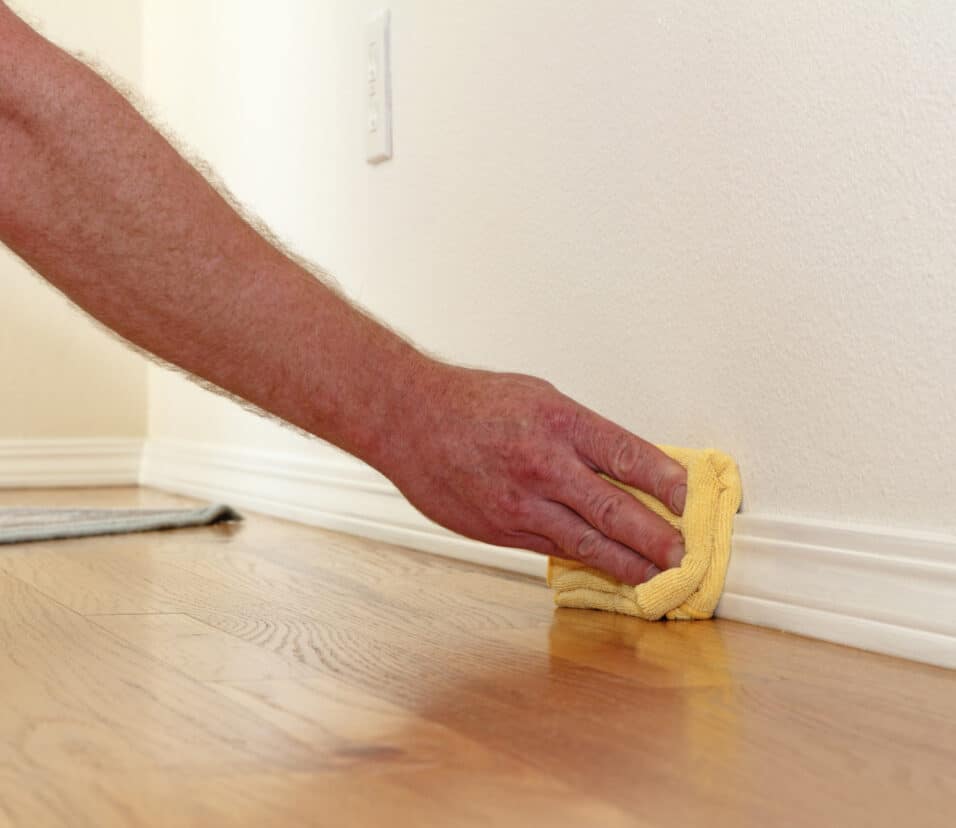
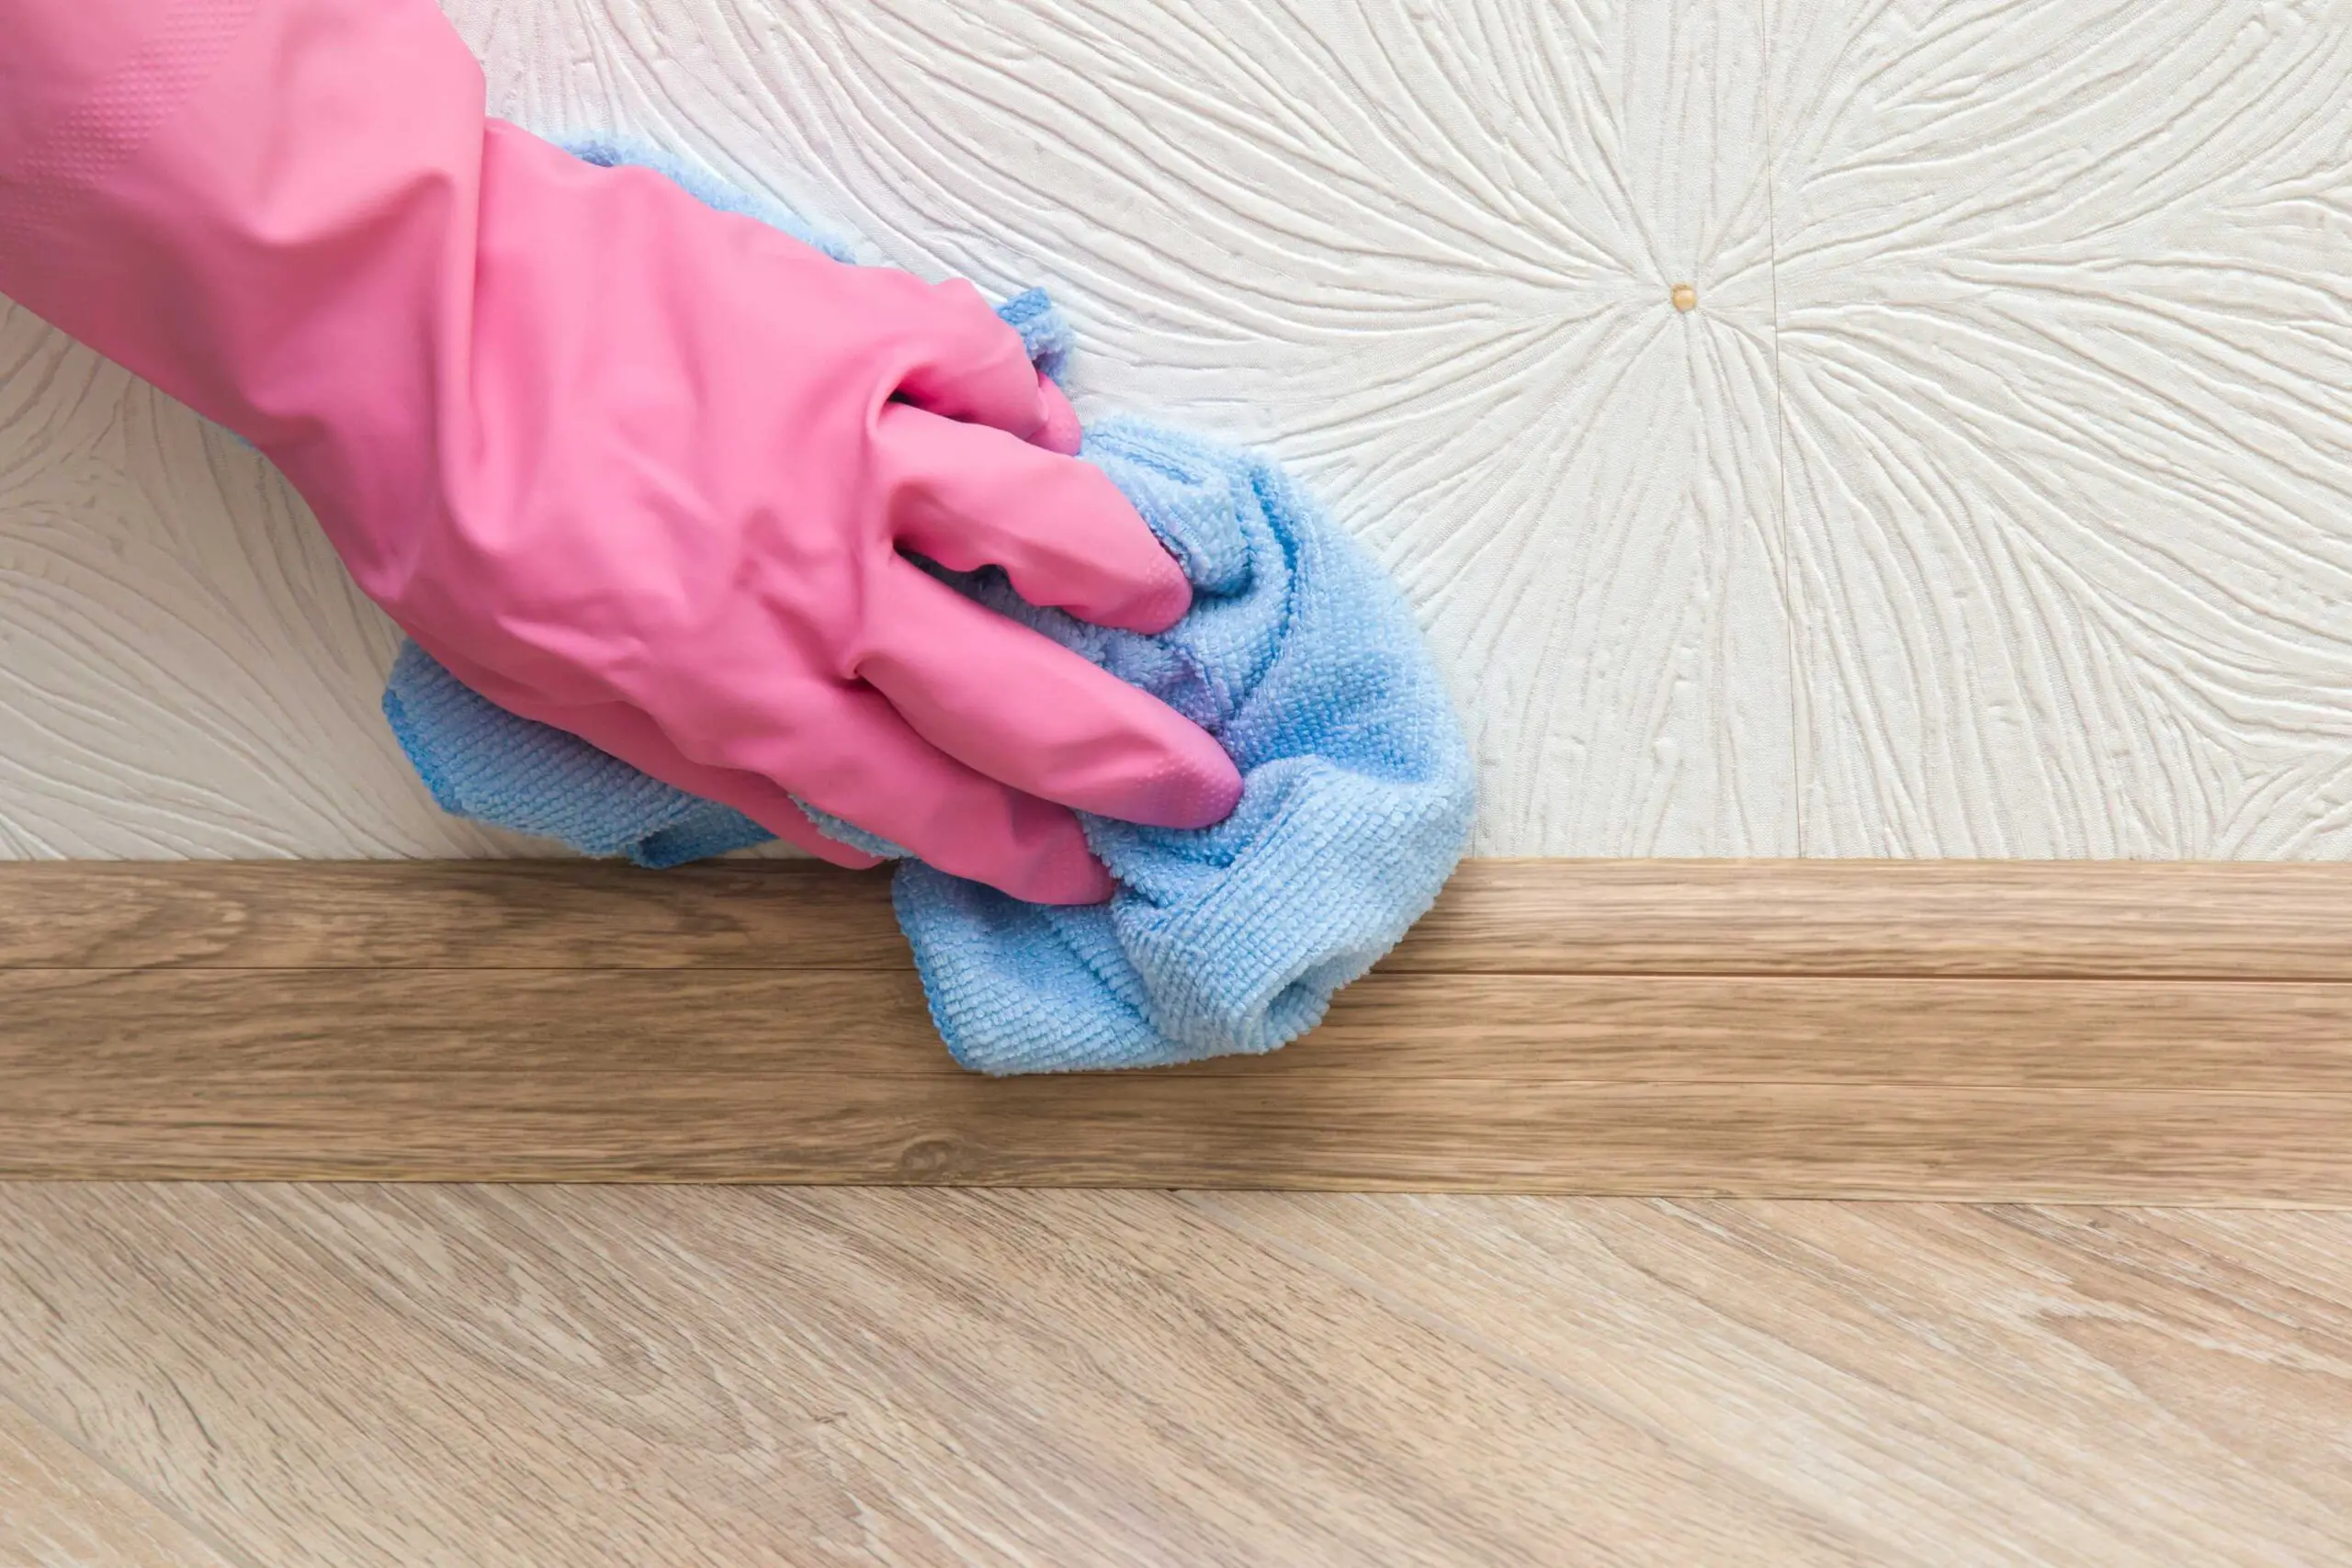
One of the primary functions of baseboards is to protect the bottom portion of the walls from damage caused by furniture, vacuum cleaners, and foot traffic. Without baseboards, the walls are more susceptible to nicks, scuffs, and stains, requiring more frequent touch-ups and repairs.
Baseboards act as a barrier between the walls and the floor, preventing dust, dirt, and debris from collecting in the crevice between them. Without baseboards, this gap becomes a magnet for dirt and can be challenging to clean effectively.
Baseboards often conceal electrical wiring and cables that run along the bottom of the walls. Without baseboards, these unsightly elements may become visible, detracting from the overall aesthetics of the room.
The absence of baseboards can be considered a cosmetic flaw when potential buyers are evaluating your home. While it may not be a deal-breaker, it could negatively impact the overall impression and potentially lower the resale value of your property.
Are baseboards easy to replace?
Adding or replacing baseboards is a simple enough DIY task, so long as you have a miter saw at your disposal. While the installation process for baseboards isn’t difficult, the most challenging part is measuring and cutting the trim at the correct angles.
Before attempting to remove glued baseboards, examine the condition of the trim and the type of adhesive used. Some baseboards may have been installed with construction adhesive, while others might have a combination of adhesive and brad nails. Understanding the specific adhesive and installation method will help you determine the best approach for removal.
To make the glue more pliable and easier to remove, use a heat gun or a hairdryer to apply heat along the length of the baseboard. This will soften the adhesive, allowing the baseboard to separate more easily from the wall. Be cautious not to overheat the area to avoid damaging the baseboard or the wall.
Insert a putty knife or a flat-edged tool between the baseboard and the wall. Apply gentle and consistent pressure to create a gap between the two surfaces. Avoid using excessive force, as this could cause damage to the wall or baseboard. If the baseboard has any visible nails or brads, remove them using pliers or a nail puller.
Once you have created a small gap, insert wooden shims or wedges into the space to keep it open. This will prevent the baseboard from re-adhering to the wall as you work on other sections. Gradually work your way along the length of the baseboard, continuing to insert shims and prying gently until the entire piece is free from the wall.
Can you remove glued baseboards?
Keep heating and prying along the molding until a section breaks free. Once the baseboard is off, use the heat gun to melt the adhesive on the wall. Then scrape it off with the putty knife.
Before starting the replacement process, gather the necessary tools and materials, including a measuring tape, miter saw, nail gun or hammer, wood putty, sandpaper, and new baseboard trim. Measure the length of the walls where you plan to install the new baseboards to determine the amount of trim needed.
Begin by carefully removing the existing baseboards. Use a putty knife or pry bar to gently separate the baseboard from the wall, taking care not to damage the walls or the old trim. If the baseboards were installed with nails, remove them using a nail puller or pliers. For adhesive-mounted baseboards, use a putty knife to help loosen the adhesive and then gently pry them off the wall.
With the old baseboards removed, measure and mark the new baseboard trim according to the length of the walls. Use a miter saw to make precise 45-degree cuts at the corners, ensuring a seamless fit when installing the pieces together.
Before permanently attaching the new baseboards, conduct a dry fit by placing the trimmed pieces against the wall to ensure they align correctly and match the corners accurately.
Once you’re satisfied with the dry fit, apply a thin line of construction adhesive to the back of the baseboard trim. Press the trim firmly against the wall, making sure it’s level and flush. Secure the baseboard in place using a nail gun or hammer, being careful to avoid splitting the wood. Space the nails evenly along the length of the baseboard.
How thick is a baseboard?
In general, a quarter-inch is fine. If you add up to 11/16ths of an inch to the baseboard, you can hide the gap.
Baseboard thickness has a big effect on how a room looks. Baseboards that are thicker add beauty and grandeur. Baseboards today are smaller and more simple. Furniture, vacuums, and people can’t damage walls because of baseboards. Baseboards that absorb shock protect walls.
The thickness of the baseboards should fit the style of the house. In historic or traditional homes with lots of internal moldings and trim, thicker baseboards may be better to keep the look consistent. Baseboards that are thinner look good in modern and simple rooms.
It’s harder to put in borders that are thicker in corners and other tight spots. Some seamless parts need to be cut and put together. Narrower borders, on the other hand, are easier to put in.
Another thing to consider is the baseboard height in relation to the room ceiling height. Shorter baseboards make the room look smaller, while taller ones make the roof higher.
Conclusion
Walls might have initially seemed like a daunting task, but armed with the right knowledge and tools, it can become a straightforward and rewarding DIY project. Throughout this guide, we’ve covered the essential steps to ensure a smooth and damage-free removal process. By following these steps, you can successfully remove baseboards without causing unnecessary harm to your walls or the trim itself.
Remember to gather the necessary tools, take your time, and be patient during the process, as rushing could lead to accidents or damage. Now that you’ve acquired the skills to remove baseboards, you open up a world of possibilities for home improvement and interior design. Whether you plan to upgrade the baseboards, install new flooring, or simply refresh the look of your rooms, this newfound expertise will come in handy time and again.
As always, safety should remain a priority throughout any DIY project. If you encounter any challenges beyond your comfort level, it’s best to seek the assistance of a professional to ensure the job is completed efficiently and with excellent results. However, the fear of causing damage to the walls or the baseboards themselves can be a significant concern for many homeowners. The good news is that with the right tools, techniques, and a gentle approach, it is entirely possible to remove baseboards without causing any harm.