How To Fill Gap Between Baseboard And Tile Floor
Introduction
How To Fill Gap Between Baseboard And Tile Floor: When it comes to home improvement projects, one common issue that homeowners often face is the gap between the baseboard and tile floor. This gap can be unsightly and can also lead to various problems such as dirt and debris accumulation, moisture seepage, and even pest infestation. Therefore, it is essential to address this gap and fill it properly to ensure a seamless and aesthetically pleasing finish.
In this article, we will discuss some effective methods and techniques to fill the gap between the baseboard and tile floor. Whether you are a DIY enthusiast or seeking professional assistance, these tips will help you achieve a flawless result.
Before diving into the solutions, it is important to understand the reasons behind the gap between the baseboard and tile floor. One common cause is the natural expansion and contraction of the materials due to temperature and humidity changes. Over time, this movement can create gaps between the baseboard and tile floor. Another reason could be improper installation or settling of the flooring, which can result in uneven surfaces and gaps.
How do you seal a gap between tile and baseboard?
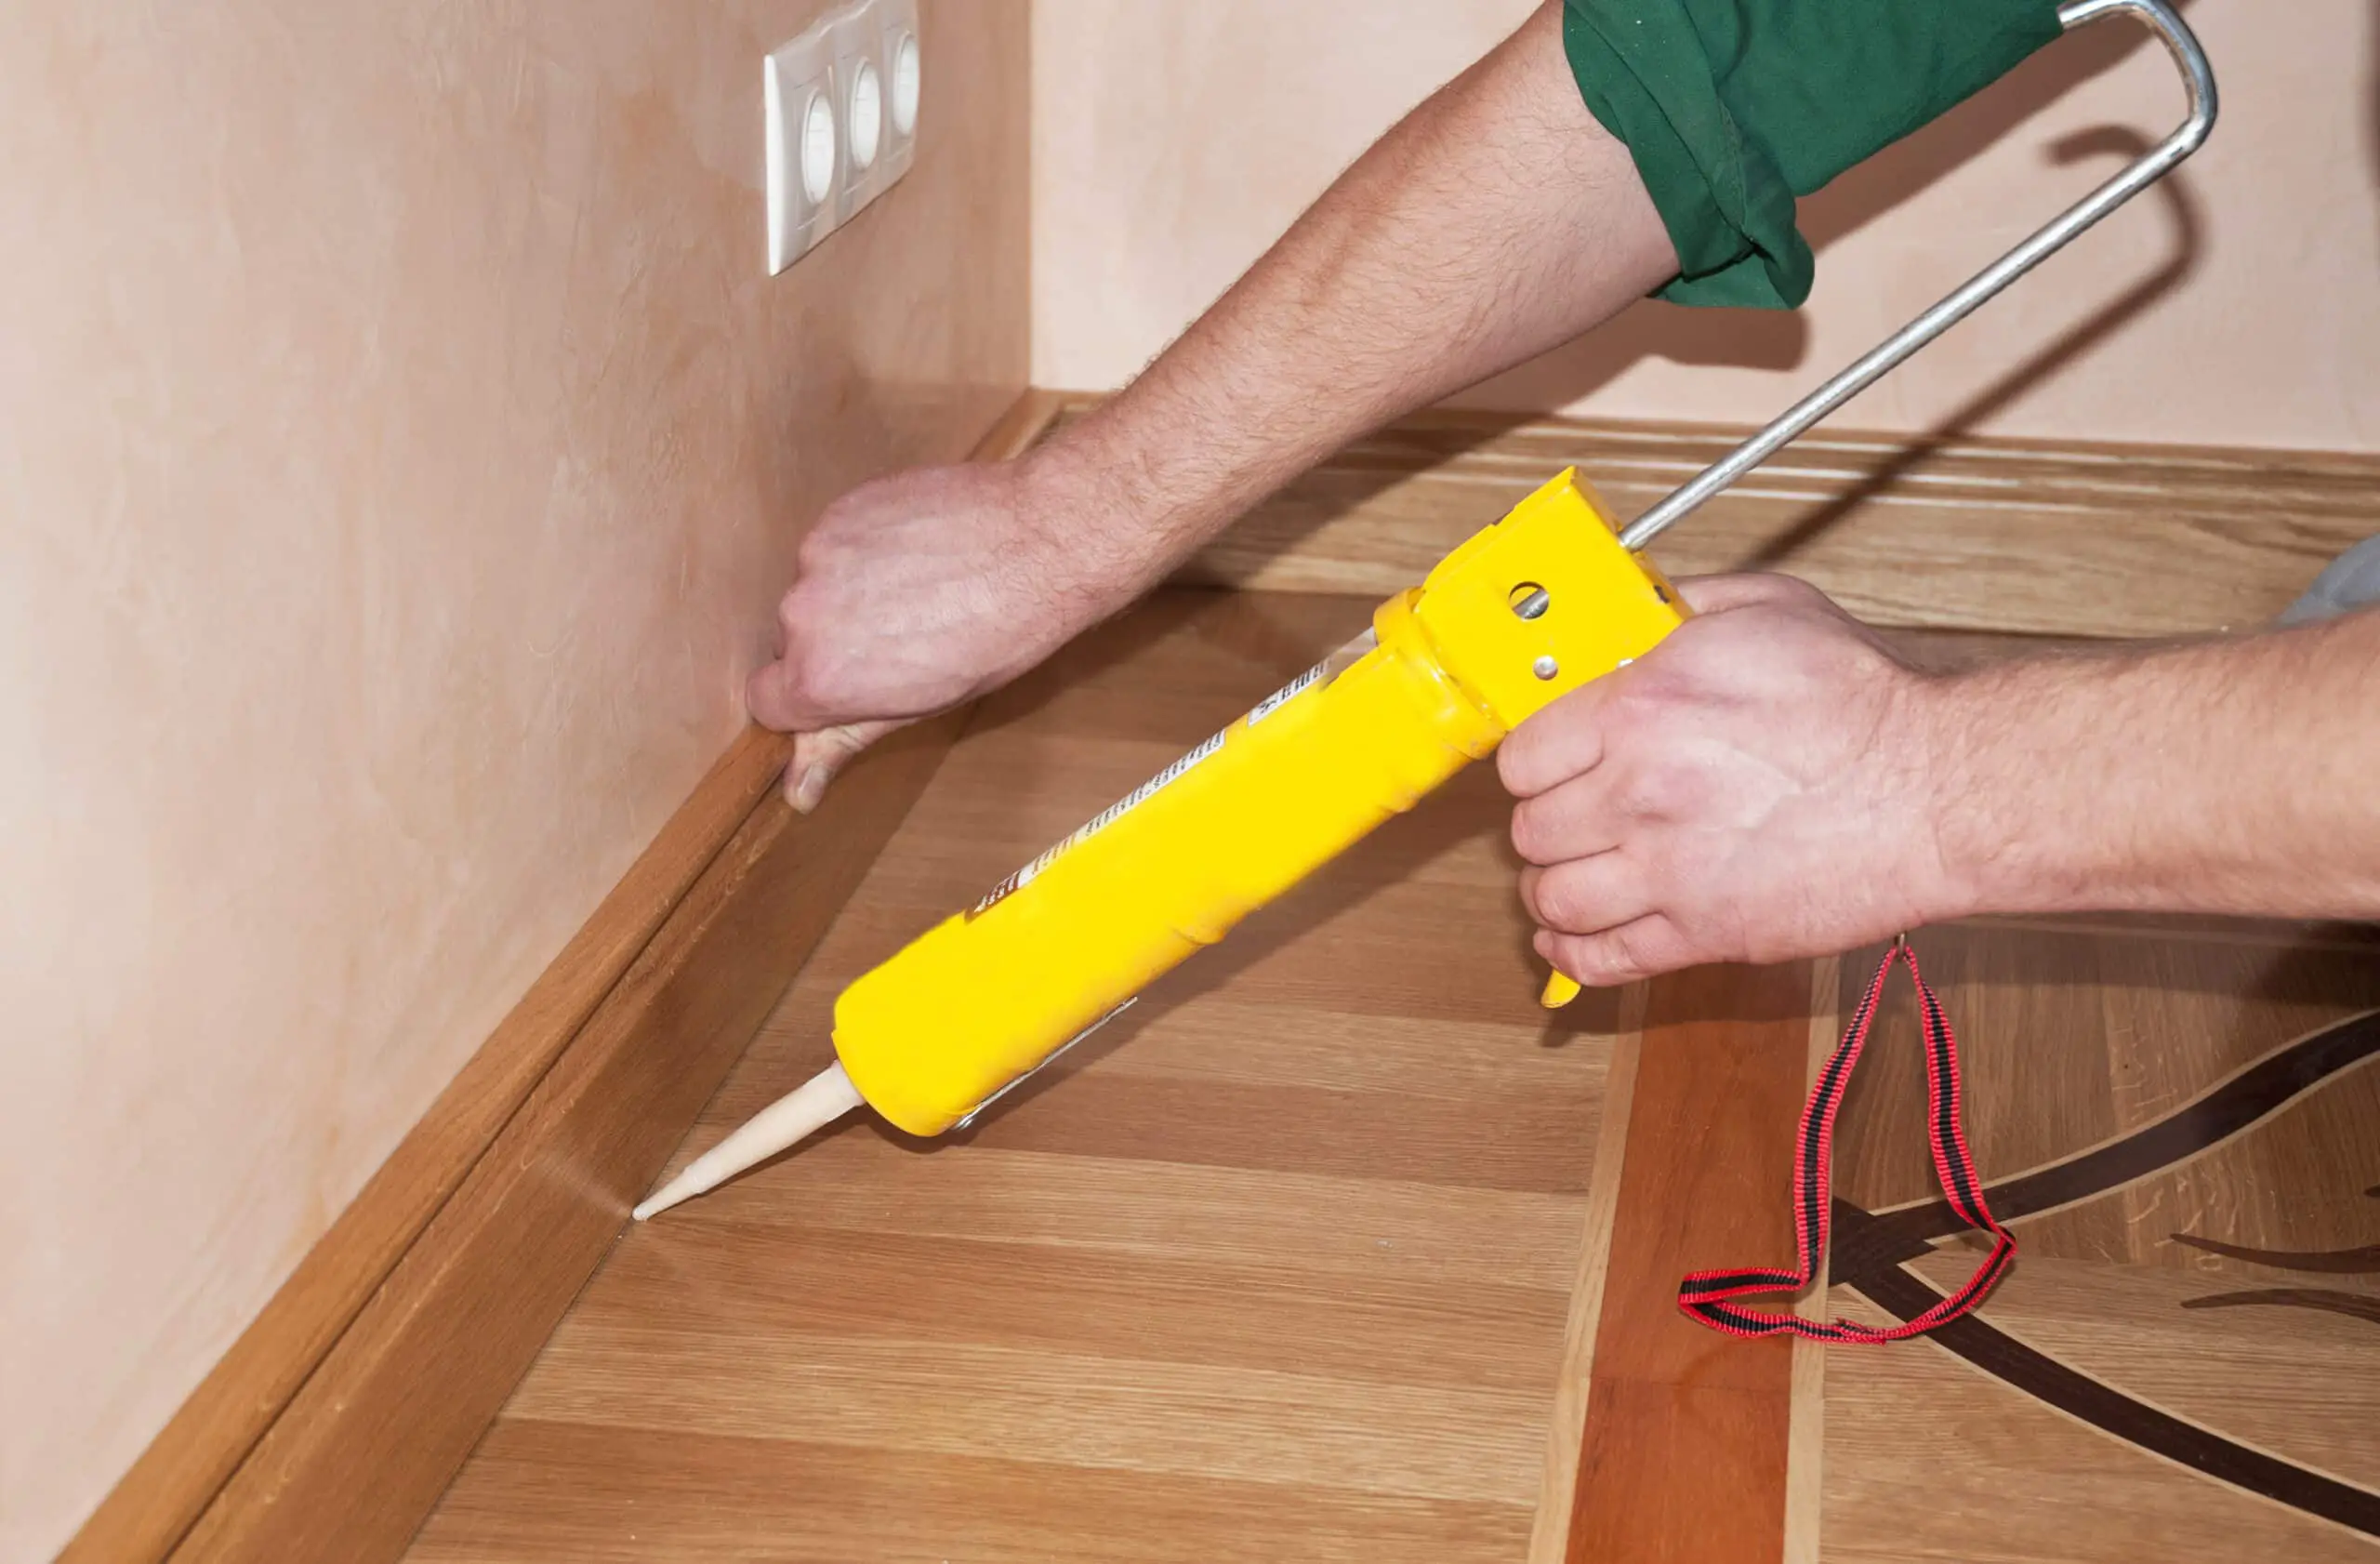
Fill the space with caulk completely. Cut your caulk tubing tip. Fill your gun with caulk. Fill the baseboard-tile space with caulk slowly in a bead. To give your flooring a polished look, seal the tile-baseboard gap. It improves the room’s look and prevents dirt, dust, and moisture from building in the gap. This gap can be sealed in numerous ways, depending on your preference and materials.
Caulk is often used to seal the tile-baseboard gap. Caulk is flexible and may be shaped to suit the gap. It comes in many colors to match your baseboard or tile. Squeeze caulk into the gap and smooth with a caulk tool or finger. Remove extra caulk before it dries.
For a permanent solution, fill the space with grout. Tile gaps are filled with grout, a cement, sand, and water mixture. It comes in many hues to complement your tiling. Mix grout per manufacturer’s directions and push it into the gap with a grout float. Wipe excess grout with a moist sponge when it dries.
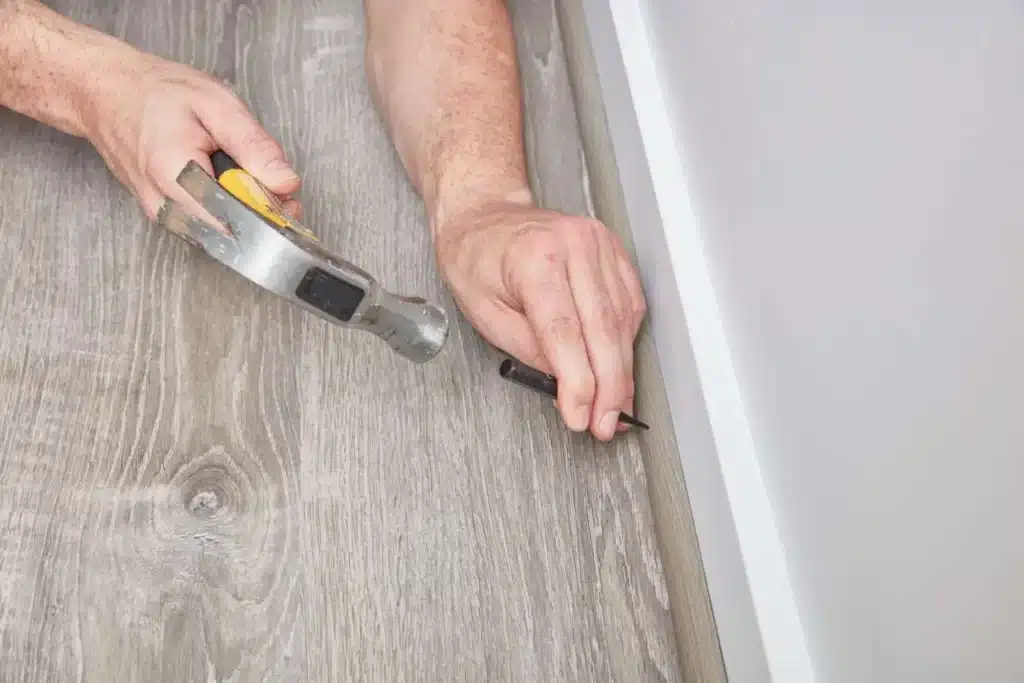
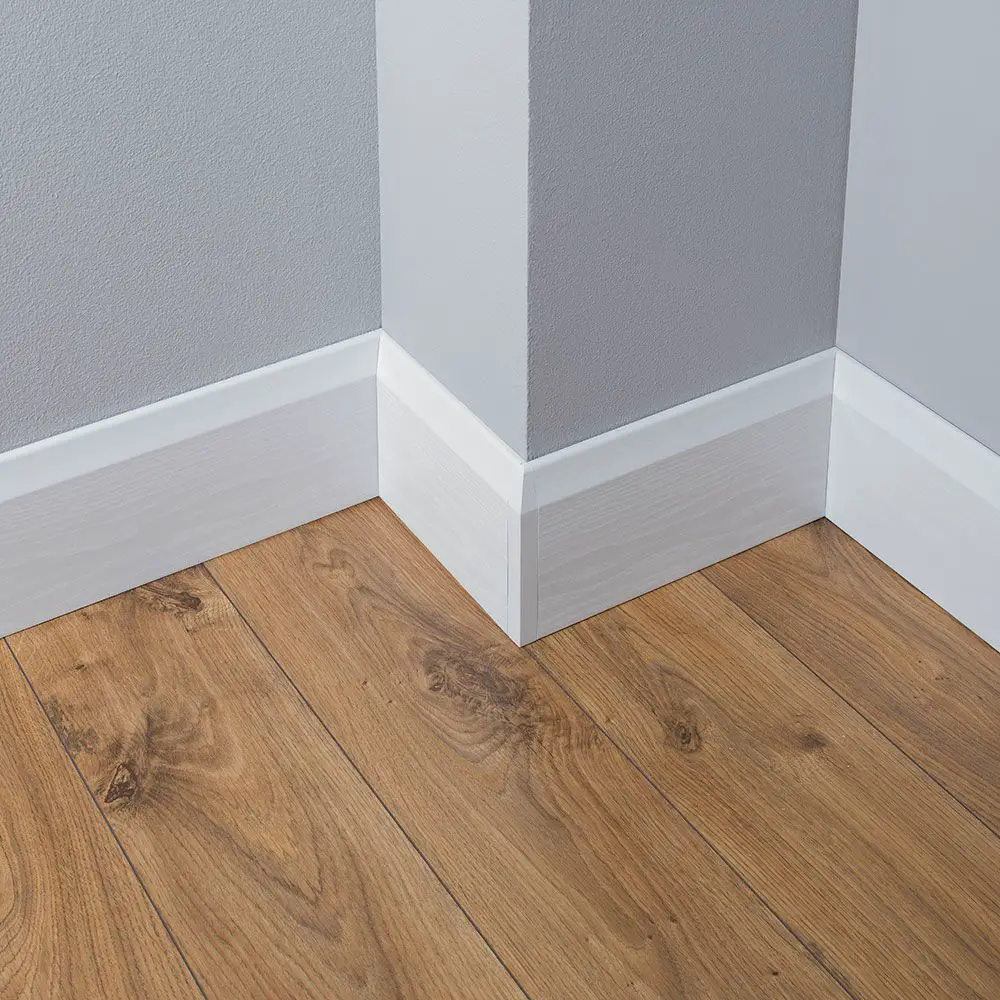
Covering the tile-baseboard gap with baseboard molding is another option. Baseboard moldings come in several styles and finishes to match your flooring. To install the molding, measure and cut it to wall length, then nail or adhesive it to the baseboard. This procedure plugs the gap and decorates your room.
How do you fill the gap between baseboards and floors?
One common solution is to use caulk. Caulk is a flexible material that can be easily applied to fill in gaps and cracks. It is available in different colors, so you can choose one that matches your baseboards or floors. To fill the gap, simply apply a thin bead of caulk along the entire length of the baseboard-floor joint. Use a caulk gun for precise application and smooth out the caulk with a caulk smoothing tool or your finger. Once the caulk is dry, it can be painted over to further blend in with the surrounding area.
Another option is to use quarter round molding. Quarter round molding is a small, rounded trim that can be installed along the baseboard-floor joint to cover the gap. It is available in various materials such as wood, PVC, or even flexible rubber. To install quarter round molding, measure the length of the baseboard and cut the molding accordingly. Then, simply nail or glue the molding in place along the baseboard-floor joint. This not only fills the gap but also adds a decorative touch to the room.
If you prefer a more permanent solution, you can consider removing the baseboards and reinstalling them at a lower height. This will effectively cover the gap between the baseboards and floors. However, this option requires more time and effort as it involves removing and reinstalling the baseboards. It is recommended to seek professional help if you are not confident in your DIY skills.
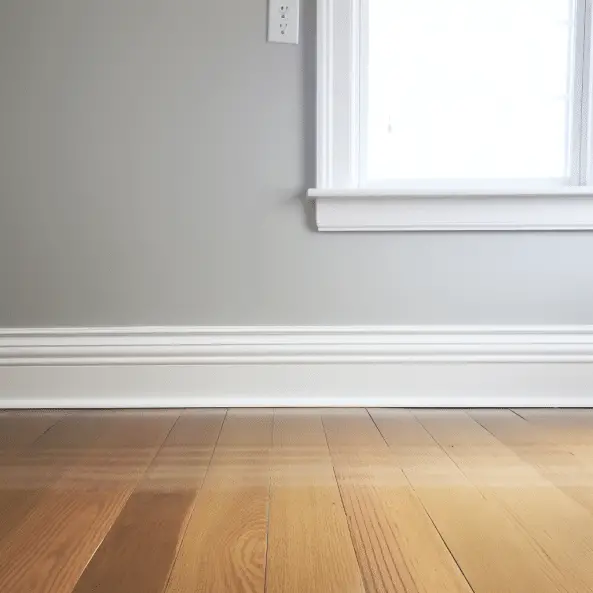
Should there be a gap between baseboard and floor?
Caulking the baseboard-tile gap improves hygiene. Left unfilled, these holes may breed bacteria and mold. Easy and inexpensive caulking makes a waterproof seal. Hire an expert to do the work.Yes, the baseboard and floor should be apart. This gap serves several key reasons and is widespread in building and interior design. The gap size depends on the situation and tastes, but a 1/4 to 1/2 inch separation is advised.
Allowing materials to expand and compress is one explanation for the baseboard-floor gap. Baseboards made of wood expand and compress with temperature and humidity. Securing the baseboard securely against the floor might warp or buckle the wood as it grows. By leaving a tiny gap, the baseboard can move without injury. Another purpose for a gap is to allow floor or wall flaws. Many floors and walls are uneven. Even if the floor or wall is uneven, the baseboard can be laid straight and level with a gap. This gives a neat, professional finish.
Electrical wires and cables can also be hidden in the baseboard-floor gap. This is helpful in areas with baseboard outlets or switches. Wires can be hidden and neatly routed below the baseboard and through the gap. Finally, ventilation can be used in the baseboard-floor gap. Baseboards may include small vents or apertures for airflow. This can enhance air quality and prevent mold and mildew growth from moisture.
How do you finish the edges of tile baseboards?
Finishing the sides of tiles keeps them from breaking and keeps water out, and it also makes them look better.It’s common and useful to seal, trim, and edge tile corners. It’s cheap and easy to caulk the edges of tiles.Finishing the baseboard edges is needed for tiling. It keeps the tile sides from peeling and cracking and makes the design look more professional. Depending on the style and type of tile, there are different ways to finish the edges of tile baseboards.
Bullnose tiles are often used for tile borders. Edges of bullnose tiles are shaped to make them shine. To clean and shine, tiles can be put along the edges. Bullnose tiles that come in different sizes and colors might match the room’s style.
Use metal trim to finish the edges of the tile baseboards. Use metal or stainless steel trim to update the edges of your baseboards. This trim is used in industrial and modern styles. Profiles and finishes on metal trim make it possible to use a variety of designs.
Tile floor borders look more rustic with wood trim around the edges. You can paint or stain wood trim to match tiles or other room decor. This baseboard fitting trim is warm and unique.
These ways are better with tile baseboard edge profiles and trims. With these profiles, you can make smooth, clean transfers from tiles to walls. They last a long time and are made of PVC or acrylic. They are used in commercial or high-traffic places.
Which chemical is used to fill gap between tiles?
The most efficient method as tiles gap filler is cement. People have been using cement because of its affordability, easy application and low maintenance. Cement goes well with different tile types. The chemical used to fill the gap between tiles is commonly known as tile grout. Tile grout is a type of cementitious material that is used to fill the spaces between tiles, providing a smooth and even surface. It is an essential component in tile installation, as it not only enhances the aesthetic appeal of the tiled area but also helps to protect the tiles from moisture and dirt.
In addition to Portland cement, tile grout may also contain other additives such as sand, polymers, and colorants. Sand is often added to improve the strength and stability of the grout, while polymers help to enhance its flexibility and adhesion properties. Colorants are used to give the grout a desired color, allowing it to blend seamlessly with the tiles.
When applying tile grout, it is important to ensure that the gaps between the tiles are clean and free from any debris. This can be done by using a grout brush or a vacuum cleaner to remove any loose dirt or dust. Once the gaps are clean, the grout can be applied using a grout float or a grout bag, making sure to fill the gaps completely.
After the grout has been applied, it is important to remove any excess grout from the surface of the tiles using a damp sponge or a grout haze remover. This will help to achieve a clean and polished look. The grout should then be left to dry for a specified period of time, usually around 24 to 48 hours, before the tiled area can be used.
What are some effective methods for filling the gap between a baseboard and a tile floor?
there are several effective methods you can consider. One popular option is to use caulk or silicone sealant. This flexible material can be applied along the gap, filling it completely and creating a seamless transition between the baseboard and the tile floor. Caulk or silicone sealant is easy to apply and can be found in various colors to match your baseboard or tile.
Another method is to use quarter round molding. This type of molding is specifically designed to cover gaps between the baseboard and the floor. It can be easily installed using nails or adhesive, providing a clean and finished look. Quarter round molding is available in different materials, such as wood or PVC, allowing you to choose the one that best suits your needs and preferences.
Additionally, you can also consider using base shoe molding. Similar to quarter round molding, base shoe molding is specifically designed to cover gaps between the baseboard and the floor. It is typically smaller and narrower than quarter round molding, providing a more subtle and streamlined appearance. Base shoe molding can be installed using nails or adhesive, and it is available in various materials and finishes.
Are there any specific materials or products that are recommended for filling this gap?
When it comes to filling the gap between a baseboard and a tile floor, there are several specific materials and products that are recommended for the job. One popular option is using caulk or silicone sealant. These materials are flexible and can easily fill in the gap, creating a seamless and waterproof seal. It is important to choose a caulk or sealant that is specifically designed for use in bathrooms or kitchens, as these areas are prone to moisture and require a more durable solution.
Another recommended material for filling the gap is wood filler. This is especially useful if you have a wooden baseboard. Wood filler can be easily applied and sanded down to create a smooth and even surface. It is important to choose a wood filler that matches the color of your baseboard to ensure a seamless finish. Additionally, adhesive-backed trim or molding can also be used to cover the gap and provide a decorative touch.
Can you provide step-by-step instructions on how to fill the gap between a baseboard and tile floor?
When it comes to filling the gap between a baseboard and a tile floor, there are several steps you can follow to ensure a proper and professional-looking result. Here is a step-by-step guide:
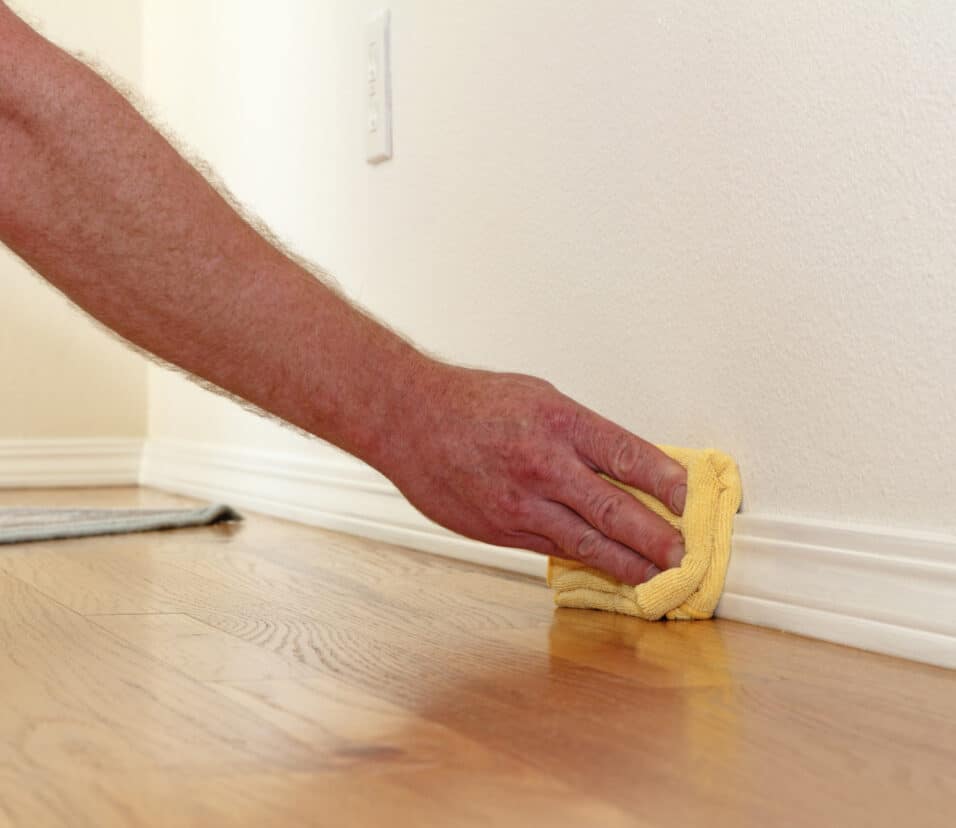
Step 1: Start by thoroughly cleaning the gap between the baseboard and the tile floor. Remove any dirt, dust, or debris using a vacuum cleaner or a damp cloth.
Step 2: Measure the width and depth of the gap. This will help you determine the amount of filler material you will need.
Step 3: Choose an appropriate filler material. There are various options available, such as caulk, silicone, or wood filler. Consider the color and flexibility of the filler material to ensure it matches the baseboard and can withstand any movement or expansion.
Step 4: Apply the filler material to the gap using a caulking gun or a putty knife. Start at one end of the gap and work your way to the other end, ensuring an even and consistent application.
Step 5: Smooth out the filler material using a damp cloth or your finger. This will help create a seamless transition between the baseboard and the tile floor.
Step 6: Allow the filler material to dry completely according to the manufacturer’s instructions. This may take a few hours or overnight.
Step 7: Once the filler material is dry, inspect the filled gap for any imperfections or unevenness. If necessary, apply an additional layer of filler and repeat the smoothing process.
By following these step-by-step instructions, you can effectively fill the gap between a baseboard and a tile floor, ensuring a clean and professional finish.
Are there any potential challenges or considerations to keep in mind when filling this gap?
When filling the gap between a baseboard and a tile floor, there are a few potential challenges and considerations to keep in mind. Firstly, it is important to ensure that the baseboard is securely attached to the wall before attempting to fill the gap. If the baseboard is loose or unstable, it may not provide a solid foundation for the filler material.
Another consideration is the type of filler material to use. It is recommended to use a flexible and durable material that can withstand the movement and expansion of the floor. Silicone caulk or a flexible adhesive are commonly used options for filling this gap. These materials can accommodate the slight shifts and movements that may occur between the baseboard and the tile floor.
Additionally, it is important to properly prepare the gap before applying the filler material. This may involve cleaning the area, removing any debris or old caulk, and ensuring that the surface is dry and free from moisture. Proper preparation will help to ensure a strong and long-lasting bond between the filler material and the baseboard and tile floor.
Are there any alternative solutions or techniques for addressing the gap between a baseboard and tile floor?
Yes, there are alternative solutions and techniques for addressing the gap between a baseboard and tile floor. One option is to use caulk or silicone sealant to fill the gap. This can be an effective solution as it provides a flexible and waterproof seal. To do this, you would first clean the gap and remove any debris. Then, using a caulk gun, apply the caulk or silicone sealant along the gap, making sure to fill it completely. Smooth out the caulk with a caulk smoothing tool or your finger, and wipe away any excess. Allow the caulk to dry according to the manufacturer’s instructions.
Another alternative solution is to use baseboard molding or quarter round molding to cover the gap. This can be a more aesthetically pleasing option as it adds a finished look to the space. To do this, you would first measure the length of the gap and cut the molding to size. Then, using a nail gun or adhesive, attach the molding to the baseboard, making sure it covers the gap completely. You can then paint or stain the molding to match the baseboard and tile floor for a seamless appearance.
Conclusion
Overall, filling the gap between the baseboard and tile floor is a relatively simple task that can greatly improve the appearance and functionality of your space. By following the steps outlined in this guide, you can ensure a seamless and professional-looking finish. Whether you choose to use caulk, quarter round molding, or another method, it is important to take your time and carefully measure and cut the materials to ensure a precise fit.
Additionally, it is important to consider the type of flooring and baseboard you have when selecting a method for filling the gap. Different materials may require different techniques or products, so be sure to do your research and consult with professionals if needed. It is also worth noting that while filling the gap can help improve the aesthetics of your space, it is not a permanent solution. Over time, the materials may shift or settle, requiring additional mantenance or repairs.
Filling the gap between the baseboard and tile floor is a task that can be easily accomplished with the right tools and techniques. Whether you choose to use caulk, quarter round molding, or another method, it is important to carefully measure and cut the materials to ensure a precise fit. By taking your time and following the steps outlined in this guide, you can achieve a seamless and professional-looking finish that enhances the overall appearance and functionality of your space.
Remember to consider the type of flooring and baseboard you have when selecting a method for filling the gap, and be prepared for potential future maintenance or repairs. With proper care and attention, you can enjoy a beautiful and well-maintained space for years to come.