How To Paint Interior Window Trim
Introduction
How to Paint Interior Window Trim: With the right approach and patience, you’ll be surprised at how much a fresh coat of paint can improve your room’s ambience.Interior window trim joins windows to walls, producing a focal point that can complement or contrast your décor. It’s an opportunity to personalize your home, whether you like minimalist and modern or cozy and rustic. Plan and gather resources before commencing this artistic journey. From sandpaper and primer to paint brushes and painter’s tape, everything contributes to a professional finish.
The choice of paint interior color and finish is another crucial decision that will influence the overall vibe of the room.The process itself involves a series of steps, starting with thorough preparation. Cleaning the trim, sanding any imperfections, and ensuring a smooth surface are key to achieving a flawless result. Properly applied painter’s tape protects the adjacent surfaces from accidental paint smears and keeps the edges crisp and clean.
Once your preparation is complete, it’s time to apply the primer. Primer not only provides a consistent base for the paint but also helps it adhere better to the surface. With the primer in place, you can move on to the exciting part—applying the paint. Use the appropriate techniques to achieve an even, professional finish with a brush, roller, or both.You’ll see the transformation once the paint dries. The window trim will change, bringing character and elegance to the area. After the paint dries, carefully remove the painter’s tape to expose your hard-earned precise lines and defined edges.
Can you paint over window trim?
Start by adding a coat of primer to your window trim. Once that first coat is dry, you can begin adding your main coat.
Assessing the Trim
Before you begin, evaluate the condition of the existing window trim. Ensure that it’s in good shape without any major cracks, peeling paint, or other damage. If there are any issues, address them before proceeding with the painting process.
Preparation
Like any painting project, proper preparation is crucial. Clean the trim to remove dirt, dust, and grime that could interfere with paint adhesion. Sand the surface lightly to create a smooth texture that will help the new paint adhere better.
Choosing the Right Paint
Select a high-quality paint that’s suitable for the material of your window trim. For wooden trim, use an interior latex or oil-based paint. For metal or plastic trim, choose a paint formulated for those surfaces. Consider the finish as well – glossy, semi-gloss, satin, or matte – based on your desired look and the surrounding decor.
Priming
Applying a primer is generally a good idea, especially if you’re changing the color significantly or if the trim has a glossy finish. A primer creates a smooth surface and helps the paint adhere better. Apply the primer evenly and allow it to dry according to the manufacturer’s instructions.
Paint Application
Start painting with smooth and even brush strokes. If you’re painting intricate details, use a smaller brush to navigate those areas. For larger, flat sections, a small roller can provide a smoother finish. Apply thin coats, allowing each layer to dry before applying the next. This prevents drips and ensures an even result.
What is the difference between Interior Paint and trim paint?
Trim paint is a category of interior paint that is formulated specifically for use on trim. It has a satin, semi-gloss, gloss, or high gloss sheen. Trim paint usually comes pretinted in bright white and in base colors that can be custom-tinted
Composition and Formulation
Interior paint and trim paint are formulated differently to accommodate their specific roles. Interior paint, also known as wall paint, is designed to cover larger surfaces such as walls and ceilings. It is often created with a balance of durability, coverage, and color vibrancy.
Finish and Sheen
One of the most notable differences between the two types of paint is the finish or sheen. Interior paint offers a variety of finishes, including matte, eggshell, satin, semi-gloss, and gloss. These finishes determine how light is reflected off the surface and play a role in the overall appearance of your walls. Trim paint typically has a higher sheen, often in the form of semi-gloss or gloss, which contributes to its distinct shine. This high sheen enhances the architectural details and makes the trim more resistant to wear and tear, making it ideal for frequently touched areas.
Coverage and Application
Larger surfaces can benefit from the increased covering provided by interior paint. Its unique composition makes it easier to apply with pinpoint accuracy, resulting in flawless highlighting of fine details with no brush strokes or dripping.
Is it better to paint trim with a roller or brush?
Simply said, rollers are meant for effectively covering big, open, continuous areas, while brushes are ideal for smaller, but no less important, painting tasks like cutting in edges, touching up coats, and covering small, thin, and/or sloped surfaces (such as trim, moldings, frames, outlets).
Precision A brush allows for greater precision when painting intricate details, edges, and corners. This is especially important for trim, where clean lines and defined edges are crucial for a polished look.
With a brush, you have more control over the amount of paint applied and the pressure exerted, reducing the chances of paint drips or excessive application.
Smooth Finish When used skillfully, a brush can provide a smoother finish, particularly on smaller areas with detailed features.
Touch-Ups Brushes are excellent for touch-up work and correcting small imperfections.
Efficiency A roller covers larger areas more quickly than a brush, making it ideal for wide and flat sections of trim.
Consistency Rollers provide a more consistent application of paint, resulting in a uniform finish across the trim.
Smooth Surfaces For wide and smooth trim surfaces, rollers can create a sleek and even appearance.
Minimal Brush Marks Rollers generally leave fewer brush marks compared to brushes, especially when used correctly.
What is the most popular interior trim color?
white
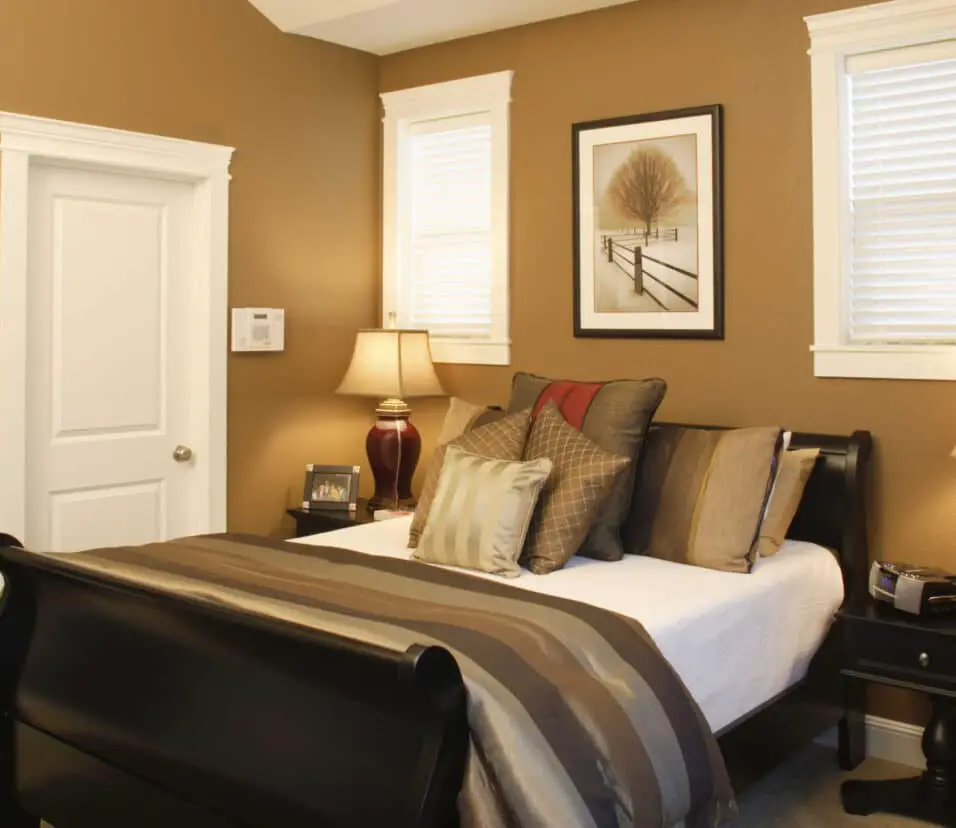
When it comes to trim, baseboards, doors, moldings, etc. a white paint color is the most popular choice. It provides a beautiful contrast to the wall color, really making it pop.
Crisp White
Crisp white trim is a timeless choice that complements virtually any interior style. It provides a clean and fresh look that enhances the contrast between walls and architectural details. White trim can make rooms feel more spacious, airy, and cohesive. It pairs beautifully with a wide range of wall colors, allowing you to easily switch up the overall vibe of your space without worrying about trim color clashes.
Off-White or Cream
Off-white or cream-colored trim offers a softer alternative to pure white. These neutral shades provide a warmer and more inviting feel while maintaining a classic aesthetic. Off-white trim can add a touch of elegance and sophistication to any room, particularly in spaces where you want to create a cozy and welcoming ambiance.
Soft Gray
Soft gray trim has gained popularity as a versatile alternative to white. Gray trim can add subtle contrast without being too stark, creating a more muted and sophisticated look. It works well in both modern and traditional interiors and pairs nicely with a variety of wall colors, allowing for a cohesive and harmonious design.
Classic Beige or Taupe
Beige or taupe trim exudes warmth and pairs beautifully with earthy and natural color palettes. These neutral tones can create a sense of comfort and elegance, making them a popular choice for traditional and transitional interior styles.
What is the best paint for window frames?
Use semi-gloss or high-gloss paint
However, we believe that the best paint for wood window frames is a high-quality semi-gloss or high-gloss paint, as it is easy to maintain and stays in good condition even despite rough treatment. Both oil and acrylic-based paints will work well.
Type of Paint
Opt for an exterior-grade paint for window frames. Exterior paints are formulated to withstand outdoor elements, ensuring that your window frames remain protected against moisture, UV rays, and temperature fluctuations.
Water-Based vs. Oil-Based
Water-based paints (latex) are generally preferred for window frames due to their ease of use, quick drying time, and lower levels of VOCs (volatile organic compounds). They also offer good durability and flexibility.
Finish
For window frames, a semi-gloss or gloss finish is often recommended. These finishes provide better water resistance, are easier to clean, and offer a sleek look that complements the overall aesthetics of your windows.
Color
When choosing a color for your window frames, consider the style of your home’s exterior and the surrounding environment. Neutrals and classic colors tend to work well, as they blend seamlessly with different architectural styles.
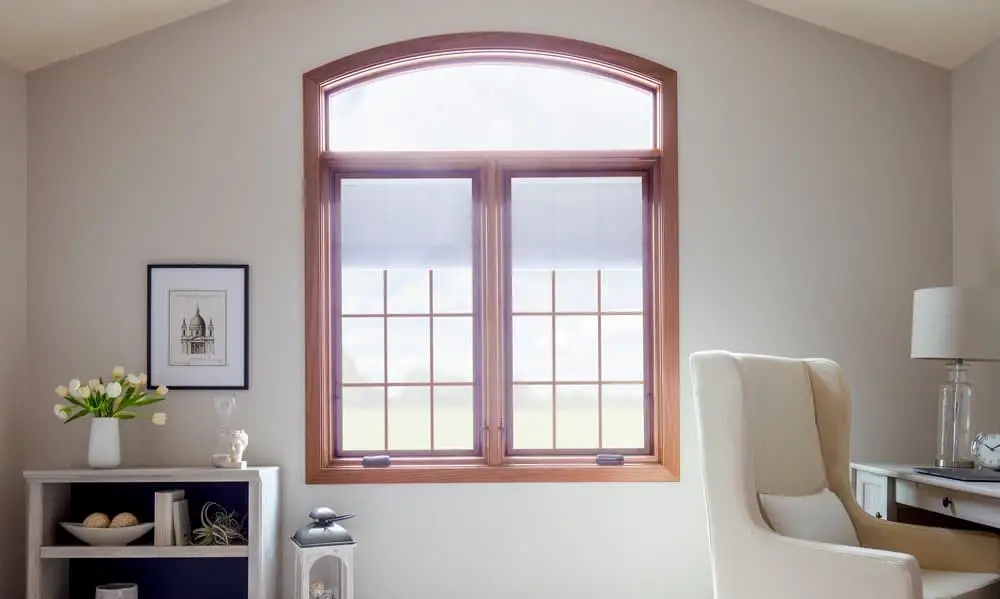
What color to paint window trim?
How to Pick the Perfect Trim Paint Color, According to a …
Opt for a cool white trim color. If all else fails: “A clean, neutral white will have a fresh, modern look that pairs well with pretty much any color.” “Just like you would any other color, test your trim paint to make sure you love it in your space and that it looks good with your walls,” Gibbons recommends.
Consider the Style of Your Home
The architectural style of your home can guide your color choice. For traditional homes, classic white or off-white trim is a safe and timeless option. Modern and contemporary homes might benefit from more daring choices like dark gray, charcoal, or even black trim for a bold contrast.
Harmonize with the Walls
Your window trim color should coordinate with the color of your walls. If you’re going for a subtle and seamless look, consider a trim color that matches the wall color or is just a shade lighter or darker. For a more pronounced contrast, choose a trim color that complements or contrasts with the walls.
Create Visual Impact
Window trim can be a design element that stands out and makes a statement. Opt for a contrasting color to create visual interest. A dark trim against light walls or vice versa can add depth and drama to your space.
Consider the Room’s Ambiance
Think about the mood and atmosphere you want to create in the room. Lighter trim colors can make a room feel more open and airy, while darker colors can add coziness and intimacy. Your choice can influence the overall feeling of the space.
What to use for interior trim?
Opt for semi-gloss.
Semi-gloss, however, is the industry standard for trim, as it offers the best balance of looks and practicality; it’s smoother and more reflective than satin yet masks imperfections more effectively than higher glosses, which draw attention to the slightest goofs.
Wood
Wood is a classic and versatile choice for interior trim. It offers a warm and traditional look that complements various design styles. Common wood species used for trim include pine, oak, maple, and poplar. Hardwoods like oak are durable and provide a timeless appearance, while softwoods like pine are more budget-friendly. Wood trim can be stained to enhance its natural beauty or painted to match your interior color palette.
Medium Density Fiberboard (MDF)
MDF is a cost-effective alternative to solid wood trim. It’s made from wood fibers and resin, offering a smooth and consistent surface. MDF is easy to work with and doesn’t have the knots or imperfections found in natural wood. It’s often used for painted trim due to its uniform texture and ability to hold paint well.
Polyurethane
Polyurethane trim is a synthetic material that mimics the look of wood but is lightweight and resistant to moisture and insects.
PVC
PVC (polyvinyl chloride) trim is a durable and moisture-resistant option, making it suitable for areas prone to humidity, such as bathrooms and kitchens. It’s resistant to rot, insects, and warping, and it can be painted to match your decor. PVC trim is available in various profiles and styles, making it versatile for different design aesthetics.
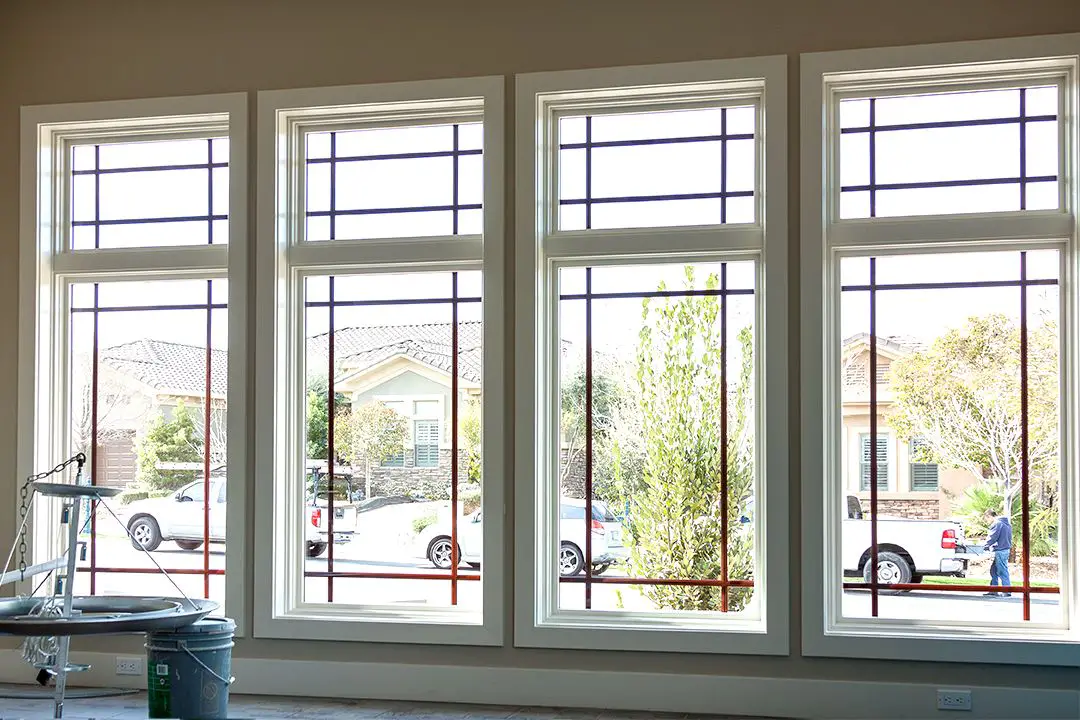
What is the purpose of interior window trim?
Interior window trim has two main purposes: insulation and decoration. Interior window trim is often more decorative so wood is a viable choice. “Window trim will work as an important barrier to help keep outside air out of the home, and inside air in,” says DiMartino.
Framing the View
Interior window trim acts as a frame that outlines and emphasizes the view outside. By providing a visual boundary between the window and the wall, trim draws attention to the beauty of the outdoors while maintaining a clean transition between interior and exterior spaces.
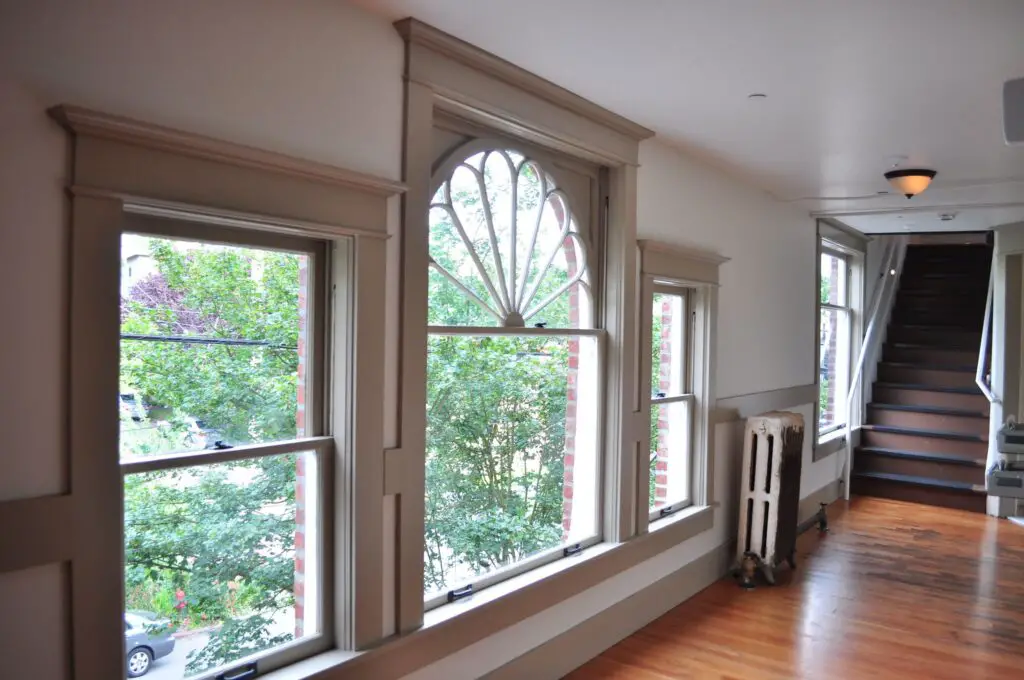
Defining Architectural Detail
Trim adds architectural detail to your windows, transforming them from mere openings to design focal points. It introduces texture, lines, and shapes that enhance the visual interest of the room. Depending on the style of trim you choose, whether it’s a simple and streamlined design or an intricate decorative element, it can complement your interior design aesthetic.
Creating Visual Balance
Interior window trim helps to create a sense of balance and proportion within a room. It adds structure to the wall and contributes to the overall symmetry of the space. Well-chosen trim can help harmonize the visual elements in the room and create a cohesive design.
Covering Gaps and Seams
Window trim serves a practical purpose by concealing gaps and seams between the window frame and the surrounding wall. It provides a finished and polished appearance by hiding any imperfections in the installation or gaps that may have resulted from construction.
Conclusion
Painting interior window trim is a captivating endeavor that offers an avenue for creative expression and home transformation. What might appear as a seemingly simple project carries the potential to dramatically enhance the ambiance and character of your living space. Whether you opt for a subtle and seamless integration or a striking contrast that draws attention, the process is a testament to the impact that attention to detail and careful execution can have on the aesthetics of your home.
Throughout this guide, we’ve explored the fundamental steps of preparing, priming, and painting your window trim, all while sharing valuable tips and insights to navigate potential challenges. Remember that patience is your ally, as each layer of paint adds depth and character to your trim. The precision you invest in masking edges and ensuring smooth application will undoubtedly yield a professional finish that you can take pride in.
As you undertake this journey of interior window trim painting, relish in the sense of accomplishment that arises from transforming your living space into an extension of your personal style. Your efforts will not only rejuvenate your home’s appearance but also infuse it with a fresh and inviting atmosphere. So, armed with the tools, techniques, and creative inspiration outlined in this guide, go forth and turn your vision into reality, one brushstroke at a time. Your home will thank you for the care and attention you’ve invested in creating a space that reflects your unique taste and elevates your everyday surroundings.