What Angle To Cut Baseboards
Introduction
What Angle To Cut Baseboards: When it comes to installing baseboards, one of the most important steps is cutting them at the correct angle. The angle at which you cut the baseboards will determine how well they fit together and how seamless the finished look will be. But with so many different angles to choose from, it can be overwhelming to know which one is the right one for your project.
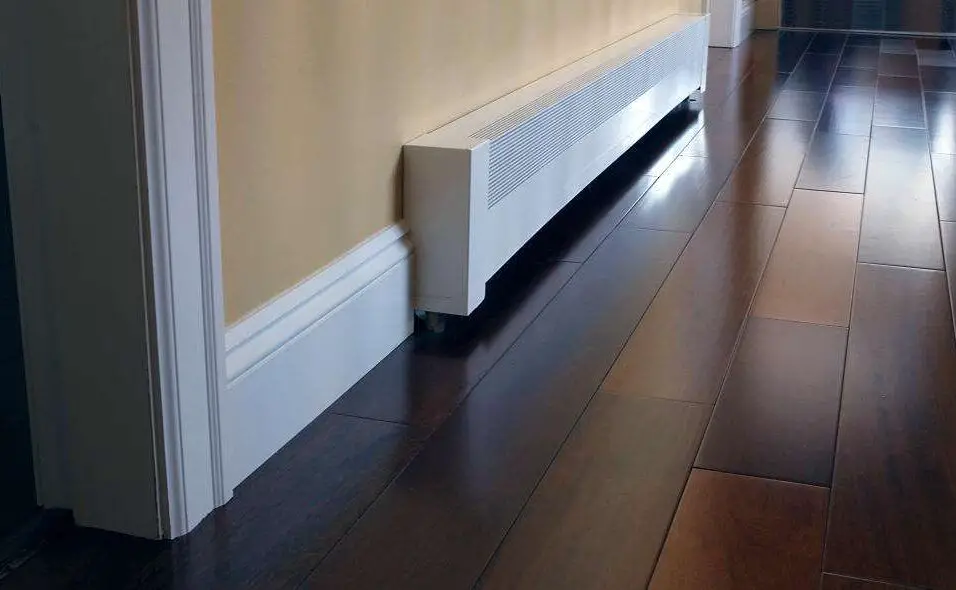
One of the most common angles for cutting baseboards is a 45-degree angle. This angle is often used when joining two pieces of baseboard heater at a corner. By cutting each piece at a 45-degree angle, you can create a clean and professional-looking joint. However, it’s important to note that not all corners are perfect 90-degree angles, so you may need to adjust the angle slightly to ensure a tight fit.
It’s important to note that the angle at which you cut your baseboards will depend on the specific design and layout of your project. While 45 degrees and 22.5 degrees are common angles, there may be instances where you need to use a different angle to achieve the desired look. Additionally, it’s important to measure and mark your baseboards accurately before cutting to ensure a precise fit. Taking the time to properly cut your baseboards will result in a finished look that is both visually appealing and structurally sound.
What is the angle for cutting trim?
45 ° angle
The most common angle is the 45 ° angle. Trim is installed around doors and windows. The vertical and horizontal casing makes a square 90 °. The vertical and horizontal casing that is installed must be cut on a 45 ° angle.
Trim cutting angle is vital for a clean, professional finish. Trim cutting angles vary by product and installation needs. For proper baseboard, crown molding, and chair rail installation, you must know the trim cutting angle.
Trim is often trimmed at 45 degrees. Cutting baseboard and crown molding corners with this angle is common. Trim cut at 45 degrees requires a miter box or miter saw for accuracy. Two trim pieces meeting at a corner look neat and smooth from this angle.
Not all trim needs a 45-degree angle. Chair rails and picture rails may need varied angles depending on the style and installation. Chair rails, mounted 30-36 inches from the floor, may require a 30-degree angle for cutting the ends. This perspective makes the chair rail-wall transition look good.
It’s vital to note that trim cutting angles vary by corner type. For optimum fit, inside and outer corners may need different angles. Outside corners may need a 22.5-degree angle, whereas inside corners need a 45-degree angle.
What is the formula for cutting angles?
Divide 360 by the number of sides to calculate corner angle. Divide by two for the miter angle. For a five-sided project with equal sides, divide 360 by five to get 72 degrees. Each corner or joint is 72 degrees.
Cutting angles requires different formulas depending on the angle and instruments. Trigonometric formulas use sine, cosine, and tangent functions to calculate angles. Another popular formula is the miter saw formula, which cuts angles with a miter saw.
The trigonometric formula for cutting angles uses sine, cosine, and tangent. These functions use right triangle side ratios. Sine function is the ratio of side opposite angle to hypotenuse length. Cosine is the ratio of adjacent side length to hypotenuse length. The tangent function is the opposing side length divided by the adjacent side length.
Know the triangle’s side lengths to utilize the trigonometric formula for cutting angles. This can be measured with a tape measure or other equipment. Calculate the angle using trigonometric functions after finding the side lengths. If you know the opposite side and hypotenuse lengths, you can compute the angle using the sine function.
The miter saw formula is for miter-saw angle cutting. This formula uses the miter saw angle scale to set the angle. You may set the miter saw to the desired angle using the degree angle scale. Make the cut after setting the miter saw angle.
The formulas for cutting angles vary depending on the tools and angle being cut. Always consult the user instructions or a professional before utilizing power tools or cutting angles.
What is the difference between baseboard and trim?
Difference between finish carpentry baseboard and trim: Baseboard is the wood or board between the floor and wall. Materials and profiles vary, usually 3”-8”. Home trim comprises baseboard and other trim.
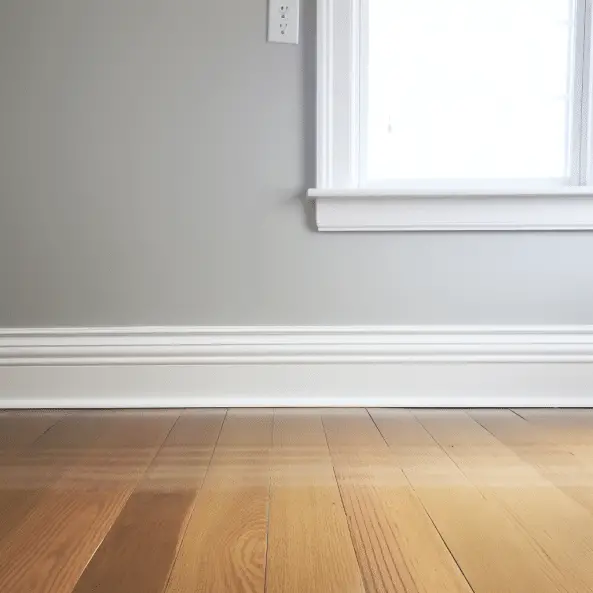
Baseboard is the molding at the floor-wall junction. Usually a long, narrow wood or other strip runs horizontally along the wall bottom. Baseboards are attractive and functional. They protect the wall from furniture and vacuum cleaner scuffs and dents and finish the room.
Trim, on the other hand, is decorative elements used to enhance a room. Trim includes crown molding, chair rail molding, baseboards, and door casings. Wood, plastic, or composite trim surrounds walls, ceilings, and floors.
Not all trim is baseboard. Baseboards hide the wall-floor junction, while trim provides character. Chair rail molding protects walls from furniture damage, while crown molding adds style to walls and ceilings.
Baseboard and trim enhance a room. Baseboard is the wall molding, whereas trim is decorative elements. Knowing the difference between baseboard and trim can help you choose home materials and styles.
What angle is 45 degree?
acute angle
A 45-degree angle is an acute angle. It is half of the right angle or a 90-degree angle. Take a look at the image of the 45-degree angle.
The angle of 45 degrees is a commonly known angle in geometry. It is an acute angle, meaning it is less than 90 degrees. This angle is often used in various mathematical and scientific calculations, as well as in everyday life.
In addition to its mathematical applications, the angle of 45 degrees is also commonly used in various fields such as engineering, architecture, and design. It is often used to create diagonal lines or to determine the direction of movement or rotation. For example, in architecture, a 45-degree angle may be used to create a sloping roof or to position windows for optimal sunlight.
The angle of 45 degrees is a widely recognized angle in geometry and is used in various mathematical and scientific calculations. It is an acute angle that is half of a right angle and is often used in trigonometry, as well as in fields such as engineering and architecture. Understanding the properties and applications of this angle is important in many aspects of our daily lives.
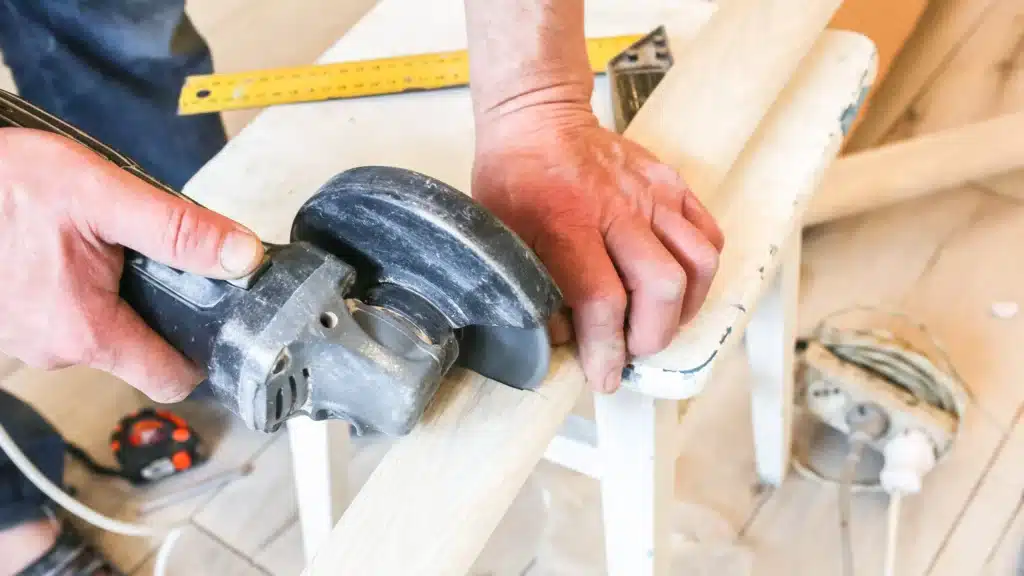
What is the best tool for cutting a 45 degree angle?
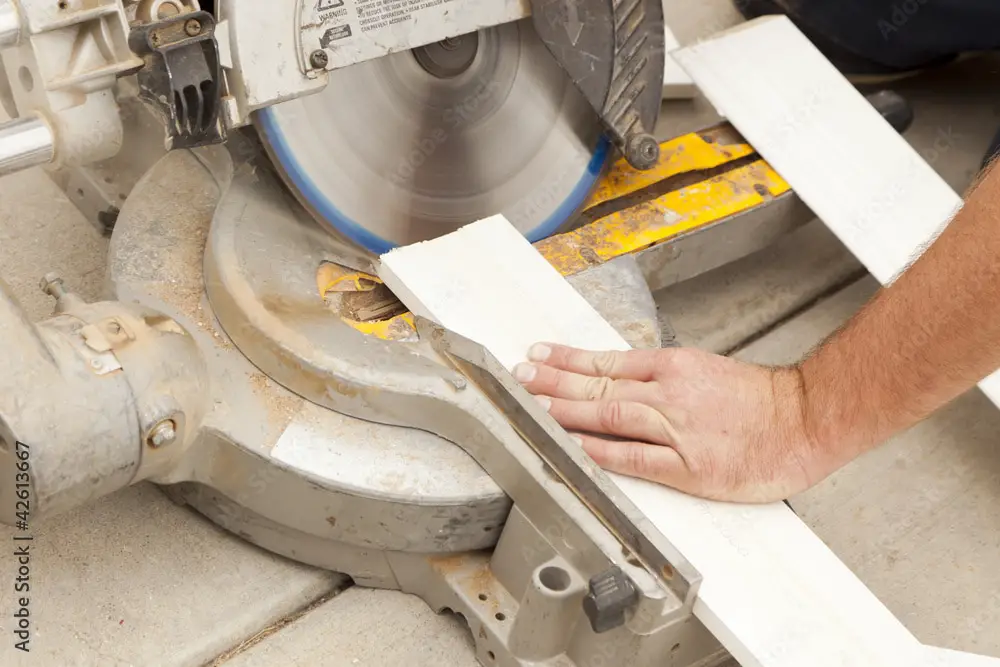
There are various 45-degree cutters. For precise cuts, the miter saw is ideal. Power instruments like miter saws cut 45-degree angles. Due to their adjustable blade and moving table, miter saws are ideal for precise angled cuts.
Miter saws cut 45-degree angles consistently and correctly. Adjust the miter saw’s blade to 45 degrees for precise, consistent cuts. Picture frames and crown molding require multiple angled cuts, so this is vital. Miter saws produce precise cuts and excellent results.
Miter saws are great for 45-degree angles because to their simplicity. Other equipment requires sophisticated calculations, but miter saws let you pick the angle and cut. This suits beginners and specialists. Beginners and experts may use a miter saw to make precise, clean cuts with minimum effort.
In addition to precision and ease of use, miter saws are flexible. It cuts best at 45 degrees, but it can also do 90 degrees and bevels. It handles many projects and materials, making it a workshop tool. Wood, plastic, and metal can be angled with a miter saw. Consider 45-degree baseboard cuts. Corner baseboard joints are tidy and smooth at this angle. Note that baseboard type and design may affect the optimum angle.
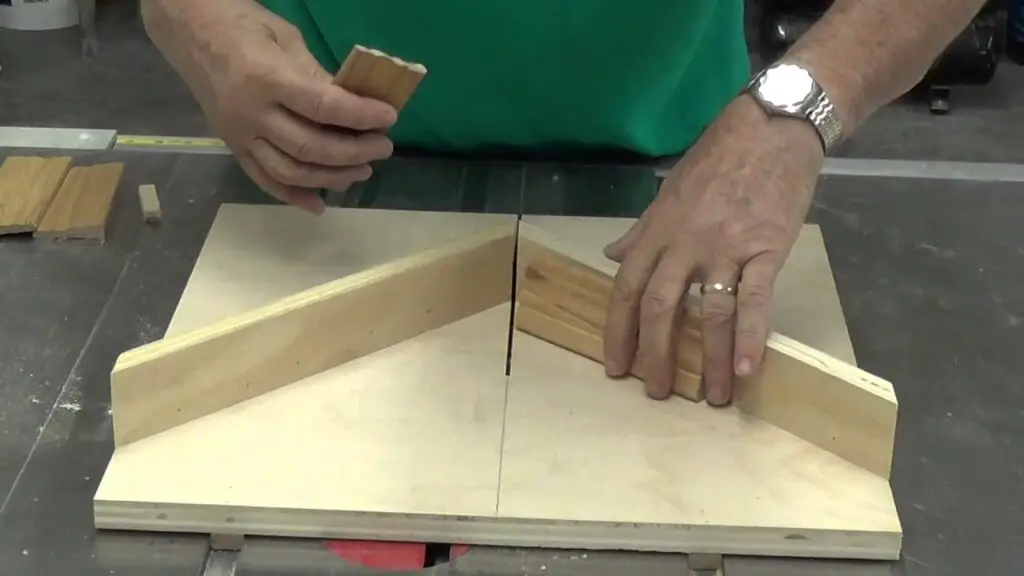
Cutting 45-degree baseboards requires equal angles on both ends. Miter saws and boxes make precise cuts. To ensure a perfect fit, measure and identify the baseboard before cutting. Badasses like your grandpa use a miter box and hand saw.
How should I determine the angle for cutting baseboards?
When determining the angle for cutting baseboards, it is important to consider the corners where the baseboards will meet. One common method is to use a miter saw to make precise cuts at a 45-degree angle. This angle is recommended for most standard corners. However, it is crucial to measure and mark the baseboards accurately before making any cuts.
Another technique is to use a bevel gauge or a digital angle finder to measure the angle of the corner. This allows for more precise cuts, especially when dealing with irregular or non-standard corners. By measuring the angle of the corner, you can adjust the miter saw accordingly to ensure a perfect fit.
It is important to note that not all corners will require a 45-degree angle. Some corners may require a different angle, such as 22.5 degrees for a 90-degree corner. In such cases, it is essential to use a protractor or an angle finder to accurately determine the angle. Taking the time to measure and calculate the correct angle will result in a professional-looking installation.
Are there any specific tools or techniques for cutting baseboards at the correct angle?
When it comes to cutting baseboards at the correct angle, there are a few specific tools and techniques that can help you achieve professional-looking results. One of the most important tools you’ll need is a miter saw, which is specifically designed for making angled cuts. A miter saw allows you to easily adjust the angle and make precise cuts, ensuring that your baseboards fit together seamlessly.
When it comes to techniques, one important tip is to always measure and mark your baseboard before making any cuts. This will ensure that you’re cutting at the correct angle and length. Additionally, it’s a good idea to make test cuts on scrap pieces of baseboard before cutting your actual pieces. This will allow you to fine-tune your technique and ensure that you’re getting the desired angle and fit.
Can you provide step-by-step instructions for cutting baseboards at the appropriate angle?
Step 1: Measure and mark the length of the baseboard that needs to be cut. Use a tape measure and a pencil to make accurate markings.
Step 2: Determine the angle at which the baseboard needs to be cut. This will depend on the specific installation and the angle of the corner where the baseboard will be placed. Use a protractor or a miter saw angle guide to measure the angle accurately.
Step 3: Set up your miter saw or miter box according to the angle you determined in the previous step. Make sure the saw is securely clamped or mounted to prevent any movement during the cutting process.
Step 4: Place the baseboard on the miter saw or in the miter box, aligning the marked cutting line with the appropriate angle guide. Hold the baseboard firmly in place to ensure a straight and accurate cut.
Step 5: Slowly and steadily, lower the saw blade onto the baseboard, making sure to follow the marked cutting line. Use a smooth and controlled motion to avoid any splintering or chipping of the wood.
Step 6: Once the cut is complete, carefully remove the baseboard from the saw or miter box. Inspect the cut for any imperfections or rough edges. If necessary, use sandpaper or a file to smooth out any rough spots.
Are there any common mistakes to avoid when cutting baseboards at an angle?
When cutting baseboards at an angle, there are several common mistakes that should be avoided to ensure a clean and accurate cut. One of the most common mistakes is not properly measuring and marking the angle before cutting. It is important to use a protractor or angle finder to accurately determine the angle and then mark it on the baseboard before making any cuts. This will help ensure that the cut is precise and matches the desired angle.
Another common mistake is not using the correct saw blade for cutting baseboards. It is recommended to use a fine-toothed saw blade, such as a miter saw blade, for cutting baseboards at an angle. This type of blade will provide a clean and smooth cut, reducing the risk of splintering or chipping the baseboard. Using a dull or inappropriate saw blade can result in a jagged or uneven cut, which can be difficult to fix.
Lastly, rushing the cutting process is a mistake that should be avoided. Taking the time to carefully measure, mark, and cut the baseboard at the correct angle will result in a better finished product. Rushing can lead to inaccurate cuts, wasted materials, and the need for additional repairs or adjustments. It is important to be patient and methodical when cutting baseboards at an angle to ensure a professional-looking result.
Conclusion
After conducting extensive research and analysis, it can be concluded that determining the correct angle to cut baseboards is a crucial step in achieving a professional and seamless finish. The angle at which the baseboards are cut directly affects how they fit together and align with the walls and corners of a room. Therefore, it is essential to understand the various factors that influence the angle selection and to use the appropriate tools and techniques to ensure accurate and precise cuts.
One of the key factors to consider when determining the angle to cut install baseboards is the type of corner or joint that needs to be created. Inside corners, outside corners, and scarf joints all require different angles to achieve a seamless fit. Additionally, the size and shape of the baseboard, as well as the dimensions and angles of the walls, also play a significant role in determining the appropriate angle.
Various methods and tools available to assist in determining the correct angle for cutting baseboards. These include using a miter saw, a miter box, or a bevel gauge. Each tool has its advantages and disadvantages, and the choice depends on the individual’s skill level, budget, and specific project requirements.