Mastering Kitchen Transformation: Handles, Style, Organization
Introduction
Kitchen Cabinet Handle Installation: Start by deciding where you want to place the handles on your cabinet doors and drawers. Use a measuring tape to ensure consistency and accuracy. Mark the handle positions with a pencil lightly. To prevent any damage to the cabinet surface, apply a strip of masking tape over the pencil markings. This will also help the drill bit grip better and reduce chances of chipping.
Use an appropriately sized drill bit to create pilot holes at the marked positions. Pilot holes are essential to guide the screws accurately and prevent splitting or cracking the wood. Line up the holes in the handles with the pilot holes you drilled. Insert the screws through the backside of the cabinet door or drawer front and tighten them with a screwdriver. Avoid overtightening, as it may cause damage to the handle or cabinet.
After installing a few handles, use a level to ensure they are all aligned perfectly. Making adjustments at this stage is easier than fixing misaligned handles after they’re all installed. Continue installing the handles on all the kitchen cabinet doors and drawers, following the same steps. Once all the handles are installed, double-check their alignment and tightness. Make any necessary adjustments to achieve a uniform and polished look.
Where should door handles be placed on kitchen cabinets?
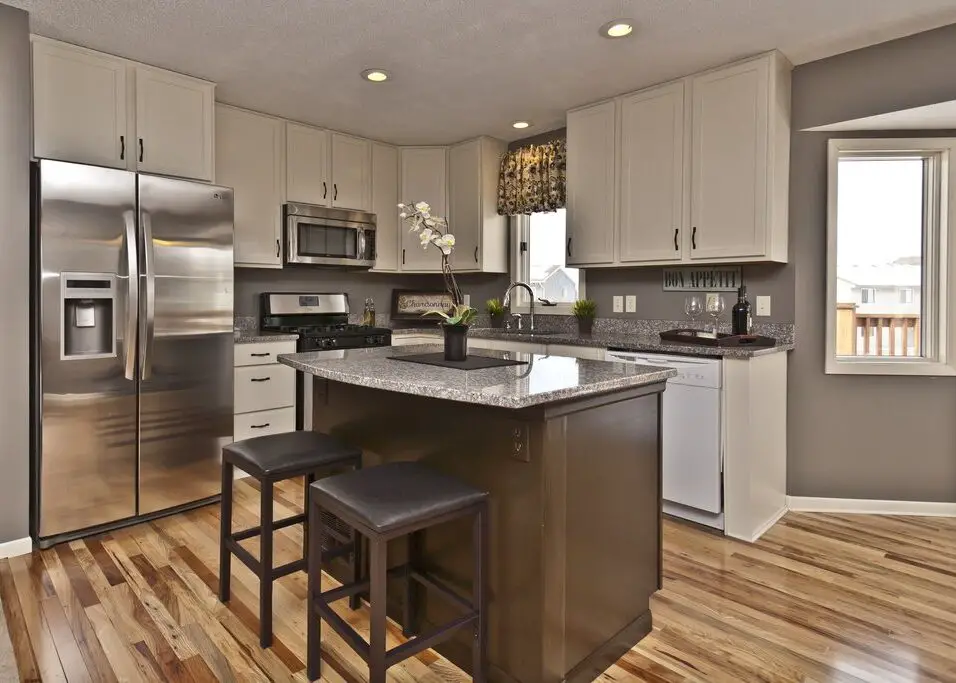
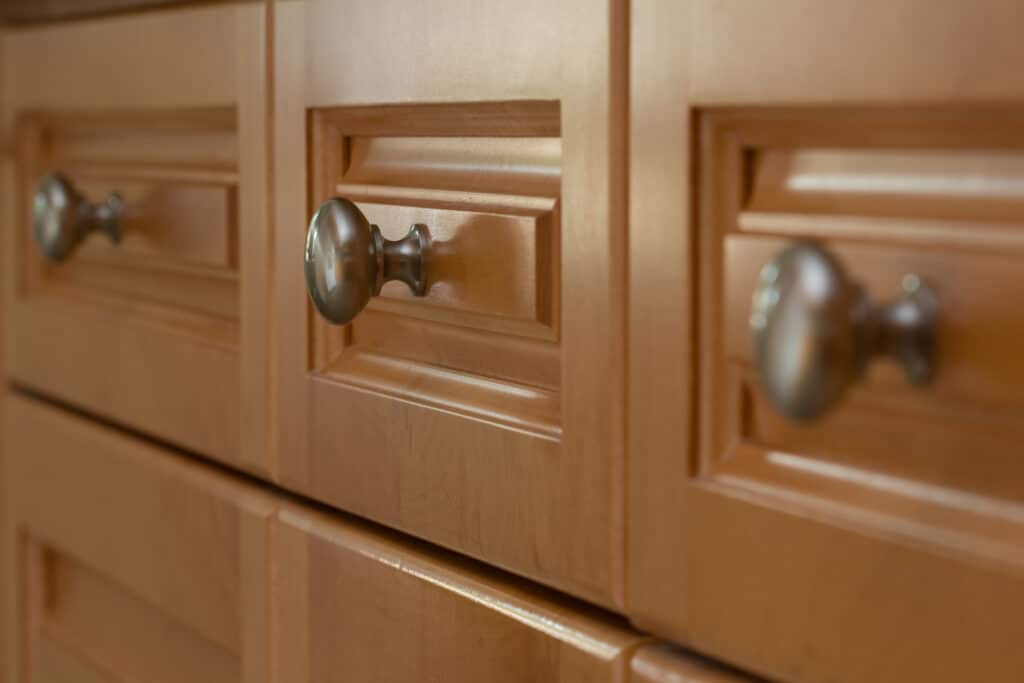
Typically, knobs will be placed about 2.5 to 3 inches from the top of the cabinet door and about 1 inch from the edge of the door opposite the upper hinge. This placement makes them low enough on the door to be accessible without being blocked by the overhang of the countertop.
The primary purpose of door handles is to facilitate the easy opening and closing of kitchen cabinets. To achieve this, ergonomics and comfort should be at the forefront of your decision-making process. Consider positioning the handles at a height that feels natural and comfortable to reach for most individuals. Typically, placing the handles at about two-thirds of the cabinet’s height from the bottom is a good starting point, ensuring a smooth and effortless grip for users of varying heights.
To create a balanced and harmonious kitchen design, strive for consistency and symmetry in handle placement. Maintain uniformity by positioning the handles at the same height across all cabinets and drawers. This consistency will not only enhance the visual appeal of your kitchen but also promote a sense of order and cohesion in the overall layout.
What is the proper placement of kitchen handles?
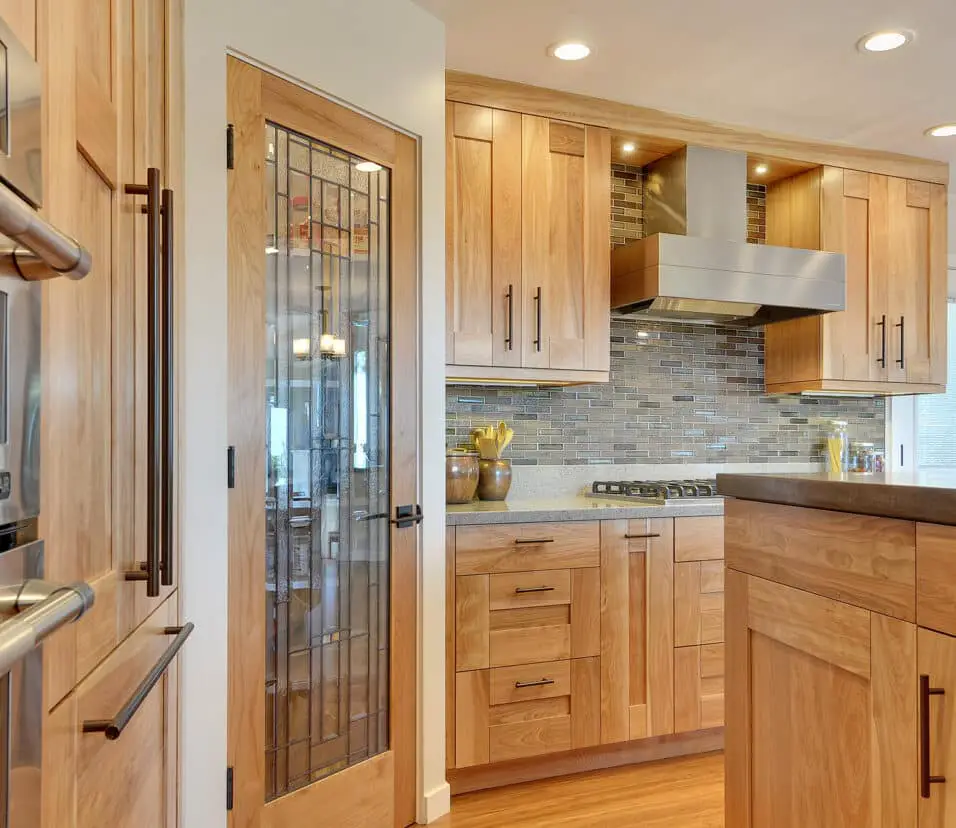
Cabinet knobs are placed opposite of door hinges. On wall cabinets, knobs are usually placed 2-1/2” to 3” from the bottom corner of the door. On base cabinets, they are placed 2-1/2” to 3” from the upper corner of the door.
The primary purpose of kitchen handles is to provide easy access to cabinets and drawers. Ergonomics and functionality should be at the forefront of your decision-making process. For upper cabinets, consider placing the handles slightly below the top edge, ensuring effortless and comfortable reach. Similarly, for base cabinets and drawers, position the handles at a height that allows for a natural grip without straining the wrist or arm.
Aesthetics play a vital role in creating a visually pleasing kitchen space. To achieve visual balance, maintain consistency in handle placement throughout the kitchen. Ensure that handles are positioned at the same height across all cabinets and drawers. This uniformity fosters a sense of order and harmony, elevating the overall look of the kitchen.
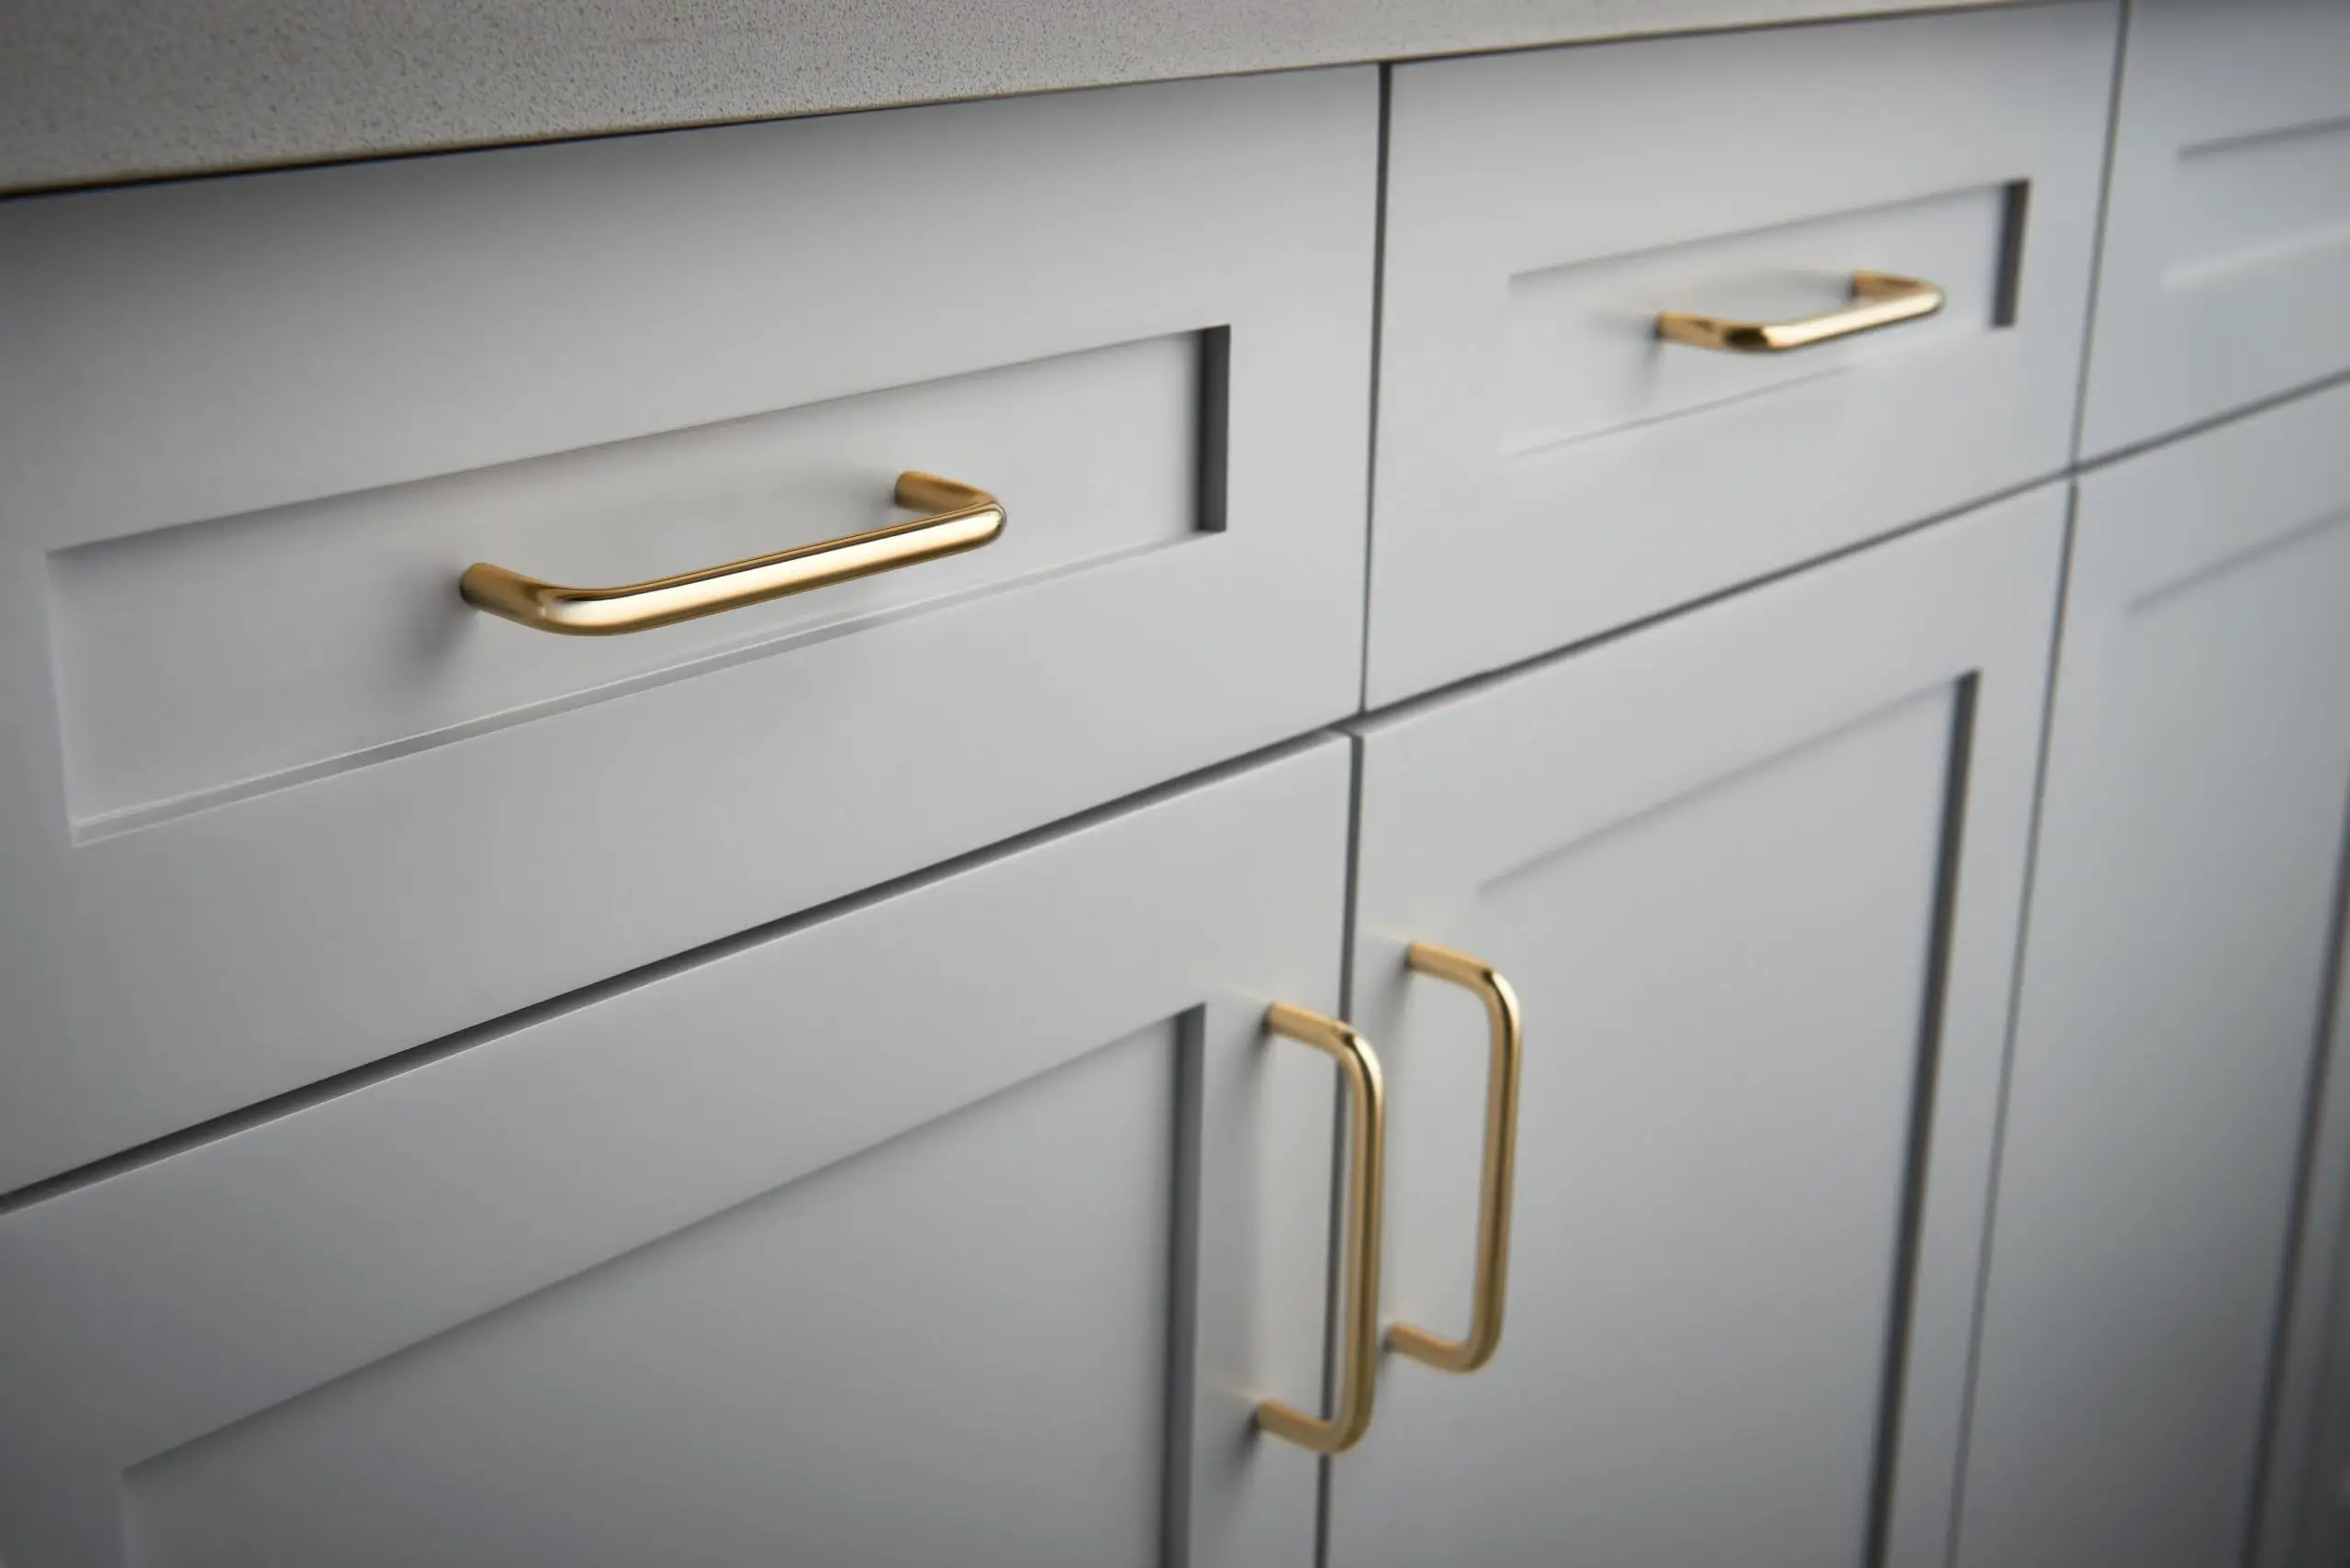
Kitchen handles come in various styles, with horizontal and vertical orientations being the most common. Horizontal handles, running parallel to the ground, are widely used and provide a classic and timeless appearance. They are versatile and work well on both cabinets and drawers. On the other hand, vertical handles, also known as “pulls,” are ideal for modern and sleek designs, often used on drawers for a contemporary touch. Choose the orientation that complements your kitchen’s overall style and aesthetic preferences.
To ensure smooth functionality, avoid placing handles too close to cabinet edges or corners. Handles that are too close to the edge may be challenging to grasp, while those positioned near the corner may feel awkward to use. Leave enough space around the handle to allow for a comfortable grip and effortless operation.
How do you layout cabinet handles?
Measure and Mark Locations for New Handles
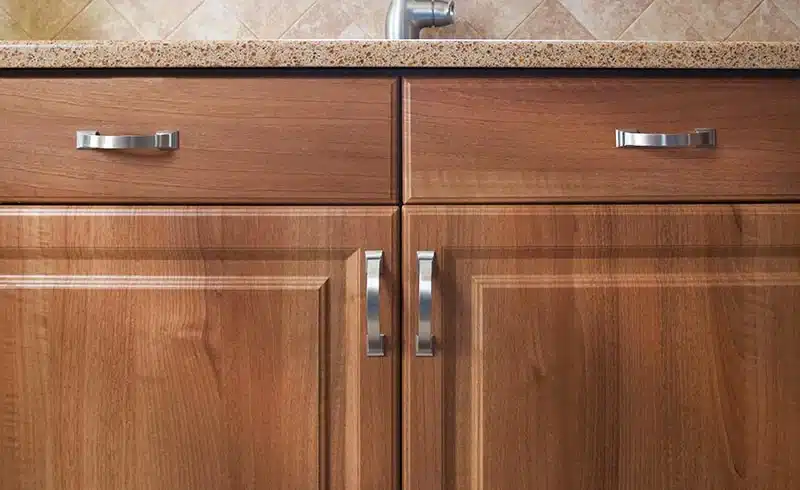
They should be centered on the width of the stile. If your cabinets have slab doors without stiles, cabinet pulls are usually 2 to 3 inches up from the bottom edge of the door. They will be the same distance in from the side edge. Measure and mark this location with a pencil.
Before delving into handle placement, it’s essential to consider the types of cabinets you have and their intended functionality. Cabinets may vary from traditional hinged doors to modern pull-out drawers, each requiring unique handle placement. Take note of the different cabinet styles in your kitchen and evaluate their primary purpose to determine the most suitable handle layout for each type.
Consistency is key to achieving an aesthetically pleasing kitchen. To create visual harmony, maintain uniformity in handle placement across all cabinets and drawers. Choose a consistent height for the handles, either vertically or horizontally, depending on your preferred design style. This visual cohesion will give your kitchen a polished and well-organized look.
Accurate measurements are crucial for precise handle placement. Use a measuring tape to determine the desired height for the handles on each cabinet or drawer. Once you’ve determined the appropriate location, mark the spot with a pencil or painter’s tape. Taking your time at this stage will ensure that the handles are positioned exactly where you want them.
What is the rule of thumb for cabinet pulls?
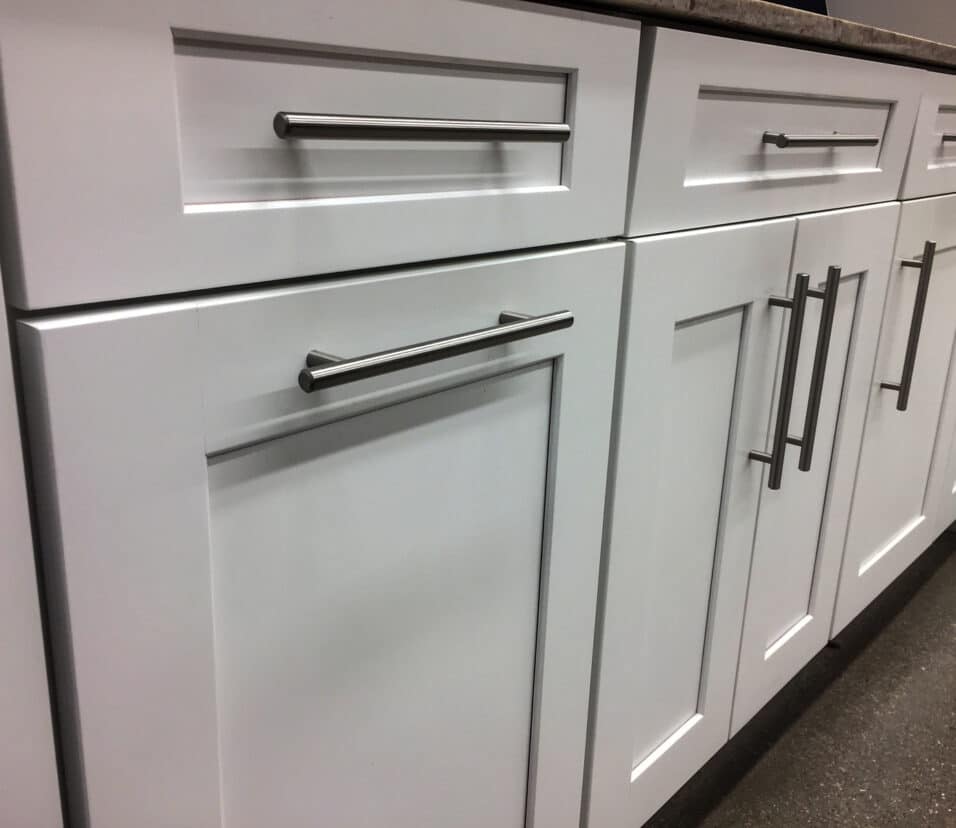
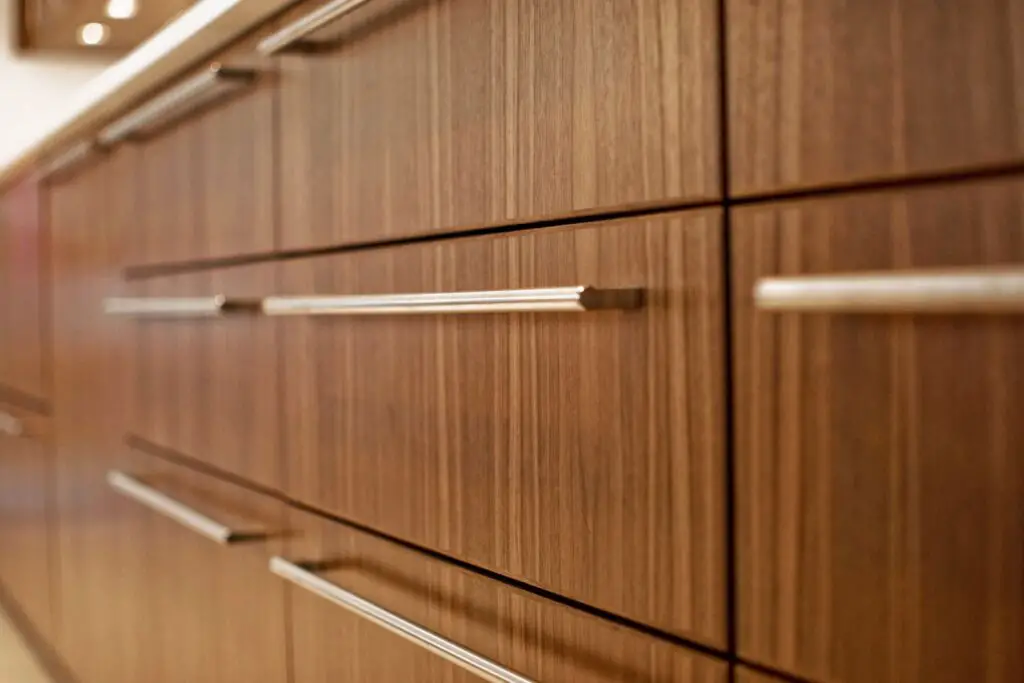
What usually looks best is a pull length that is about 1/3 the height of the cabinet door and 1/3 the width of the cabinet drawer. Your eyes follow the length of the pull up the height of the door or across the width of the drawer. Pulls don’t have to all be the same length as long as the pull design is the same.
The size of cabinet pulls refers to the length of the pull itself, typically measured from one end to the other. The most common cabinet pull sizes range from 3 inches to 12 inches, with 3-4 inches being standard for most kitchen cabinets. Larger pulls, such as those measuring 6-12 inches, are often used for larger or more substantial cabinets, adding a touch of sophistication and grandeur.
The size of your cabinet doors should be taken into account when choosing pulls. For smaller cabinet doors or drawers, opt for smaller-sized pulls to maintain visual proportionality. On the other hand, larger pulls can add visual impact to bigger cabinet doors, creating a balanced and cohesive look.
Achieving visual balance is key to a well-designed space. Consider the overall style of your kitchen or cabinetry when selecting cabinet pulls. Modern or contemporary styles often pair well with sleek and streamlined pulls, while traditional or rustic designs may benefit from more ornate or detailed pulls. Strive for a cohesive look that complements the overall theme of your space.
How to arrange kitchen with cabinets?
First, edit down your dishware collection to avoid overcrowding the cabinets. Arrange pretty plates and bowls into stacks and line up mugs in neat rows. Consider storing bulky or unattractive items you’d rather not display, such as large stock pots, in a different location.
Before diving into cabinet arrangement, take inventory of your kitchen tools, utensils, and cookware. Determine the types and quantities of items you need to store, considering both everyday essentials and occasional-use items. This assessment will serve as the foundation for optimizing your cabinet arrangement.
Organize your kitchen items into logical categories, such as cooking utensils, baking supplies, pots and pans, and pantry items. Categorization helps create designated zones in your kitchen, making it easier to locate and access specific items when needed. Assign cabinets to each category based on their frequency of use and convenience.
Place frequently used items in easily accessible cabinets, preferably at waist height, to avoid unnecessary bending or stretching. Reserve higher and lower cabinets for less-used or seasonal items. Organize the cabinets in a way that minimizes movement and maximizes efficiency during cooking and meal preparation.
Make the most of your kitchen’s vertical space by incorporating tall cabinets or stacked shelves. Tall cabinets are ideal for storing items like brooms, mops, and tall kitchen utensils. Use adjustable shelving to accommodate items of varying heights, allowing for customization as your storage needs change over time.
Kitchen drawers offer versatile storage solutions. Consider using deep drawers for pots, pans, and larger cooking utensils, while shallow drawers can be utilized for cutlery, kitchen linens, and smaller items. Install drawer dividers to keep items neatly organized and prevent clutter.
Is it easy to install door handles?
Fortunately, door hardware installation is one of the simplest DIY projects. Before we get to the step-by-step guide, be sure your door is properly drilled and aligned with this door prep checklist. Next, gather your door hardware installation tools. It’s simple – all you need is a tape measure and a screwdriver.
There are various types of door handles available, including knobs, levers, and pulls. Knobs and levers are typically easier to install as they require fewer steps and hardware. Pulls, on the other hand, may have additional mounting points and could be more complex, especially if they are long and need precise alignment.
Having the right tools and materials is crucial for a smooth installation process. Common tools required include a tape measure, pencil, screwdriver (usually Phillips), drill, drill bits, and masking tape. Ensure that you have the correct screws and mounting hardware that came with the door handle.
Before you begin the installation, read the manufacturer’s instructions carefully to understand the specific steps and requirements for your door handle. Measure and mark the correct positions for the handle, ensuring that it is level and centered on the door.
The ease of installation can also depend on the material of the door. Installing a door handle on a solid wood door may be simpler, as it allows for easy drilling and screwing. However, if the door is made of metal, glass, or other materials, you may need specialized tools and techniques, making the process slightly more challenging.
Replacing an old door handle with a new one is generally easier than installing a handle on a door without pre-existing holes. When replacing an old handle, you can use the existing holes, which saves time and effort.
How to choose kitchen cabinet door style?
Consider whether your home has a bright, open floor plan or if it feels dimmer and cozier. Look around at the geometry of the doorways, countertops, and walls to decide if your home incorporates more curves or sharp lines. All of these questions are instrumental in determining the ideal cabinet door style.
The material and finish of the cabinet doors play a significant role in defining their style. Popular choices include solid wood, MDF (Medium-Density Fiberboard), plywood, and thermofoil. Each material offers distinct characteristics in terms of durability, appearance, and cost. The finish, such as painted, stained, or natural wood, further influences the overall look and style of the cabinets.
Examine the door profile and additional details to see how they contribute to the desired aesthetic. Door profiles can range from simple and flat to more intricate with raised or beveled edges. Decorative elements like moldings, edge profiles, and paneling can enhance the visual appeal and elevate the style of the cabinet doors.
Setting a budget is essential when choosing cabinet door styles. Different materials and detailing can vary significantly in price. It’s crucial to strike a balance between the desired style and your budget constraints. Be open to exploring cost-effective alternatives without compromising on quality and style.
Consider the hardware you plan to pair with the cabinet doors. The style of handles, knobs, or pulls can further enhance the overall look of the cabinets. For example, sleek and contemporary handles can complement modern cabinet door styles, while antique or ornate hardware may suit traditional designs.
Evaluate the practicality and maintenance requirements of different cabinet door styles. Flat-panel doors are easier to clean and maintain than intricate raised panel doors, which may collect dust in their crevices. Opt for a style that aligns with your lifestyle and cleaning preferences.
Which cabinet is best for kitchen?
Plywood: The highest quality kitchen cabinets are made of cabinet-grade multi-layer plywood. Plywood cabinets are strong, easier to install and considerably lighter in weight than MDF or particleboard cabinets. While more expensive, plywood cabinets are a good choice if you expect to own the house for a long period.
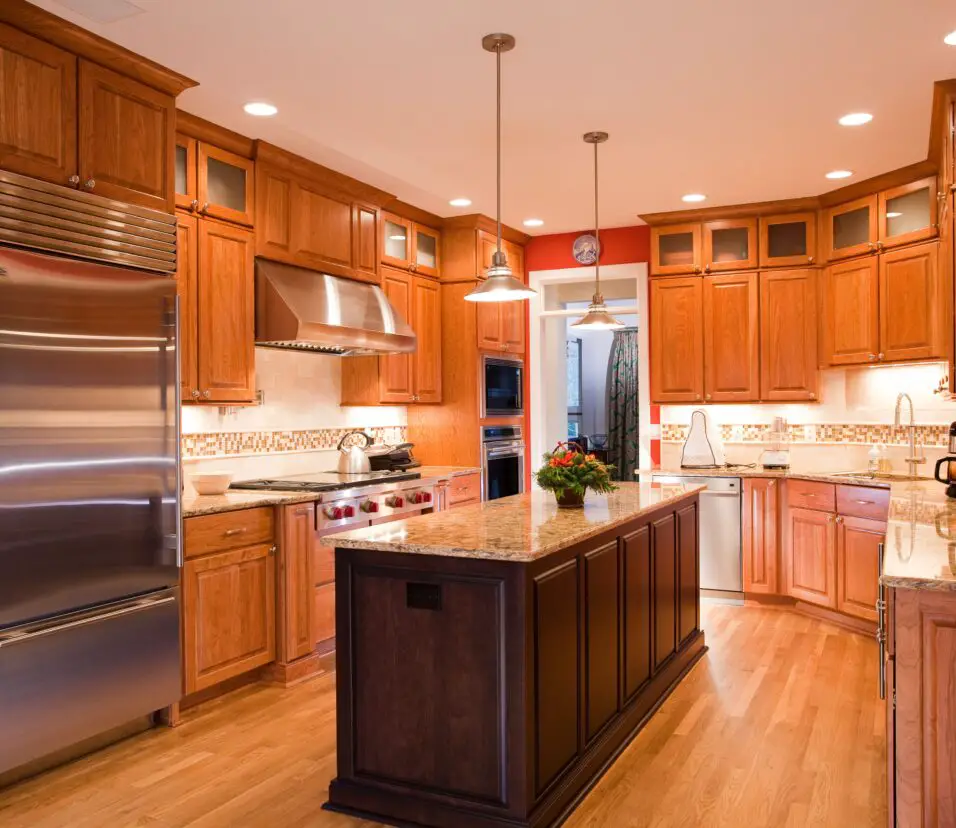
The cabinet door style significantly influences the overall look and feel of your kitchen. Popular door styles include shaker, raised panel, flat panel, and inset. Shaker-style doors with clean lines are versatile and can suit various design themes, while raised panel doors add a touch of elegance to traditional kitchens. Flat-panel doors offer a modern and sleek look, while inset doors provide a timeless and sophisticated appearance.
Consider your storage needs and choose cabinets that offer efficient storage solutions. Features such as pull-out shelves, lazy susans, spice racks, and drawer dividers can optimize your kitchen’s organization and accessibility. Customizable cabinets allow you to tailor the storage space to fit your specific requirements.
The configuration of your cabinets depends on the layout of your kitchen and your cooking habits. Base cabinets are essential for storing pots, pans, and larger items, while wall cabinets provide additional storage for dishes and glassware. Tall cabinets offer vertical storage for brooms, pantry items, and other tall items. Customizing the cabinet configuration based on your lifestyle can maximize functionality and ease of use.
Conclusion
Kitchen cabinet handles, and the transformation of your kitchen space is now complete. This seemingly small project has had a significant impact, giving your kitchen a fresh and updated look that reflects your unique style and taste. Installing cabinet handles is an excellent way to personalize your kitchen and breathe new life into your cabinetry without undertaking a full-scale renovation. The process may have seemed daunting at first, but with a little patience and attention to detail, you’ve mastered the art of handle installation.
Not only have you improved the aesthetics of your kitchen, but you’ve also enhanced its functionality. The ease of opening and closing your cabinets with the newly installed handles will undoubtedly make your daily kitchen activities more enjoyable and efficient. Remember, this project is all about customization. Don’t be afraid to get creative with your handle choices. Explore different styles, finishes, and materials to truly make your kitchen your own.
As you step back and admire your handiwork, take pride in the fact that you’ve accomplished this DIY task with confidence and skill. The sense of satisfaction that comes from completing a project that enhances the heart of your home is truly unparalleled. With your newly installed kitchen cabinet handles, you’ve set the stage for future DIY endeavors. Your newfound confidence in home improvement will undoubtedly inspire you to tackle more projects, making your living spaces uniquely yours. As you enjoy your updated kitchen, don’t forget to share your success with others. Your friends and family might be inspired by your achievement and decide to embark on their own home improvement journeys.