How To Test Plumbing For Leaks
Introduction
How To Test Plumbing For Leaks: A leaky plumbing system can lead to water damage, increased utility bills, and a whole lot of headaches. Whether you suspect a leak or want to ensure your plumbing is in top-notch condition, performing regular leak tests is a crucial maintenance task for any homeowner. The first step in testing plumbing for leaks is to gather the necessary tools.
Start by shutting off all water-consuming appliances, such as faucets, toilets, and washing machines. Next, locate your water meter and record the current reading. Wait for at least 15 minutes without using any water in your house and then check the meter again. If the reading has changed, it indicates a potential leak.
To identify the specific area of the leak, conduct a visual inspection of all exposed pipes, joints, and fixtures. Look for signs of water stains, dampness, or corrosion. If you don’t find any obvious signs, you can perform a dye test. Add a few drops of food coloring or a dye tablet into the toilet tank and wait for about 30 minutes without flushing. If the color appears in the bowl, it suggests a leak in the flapper valve.

How do you pressure test plumbing for leaks?
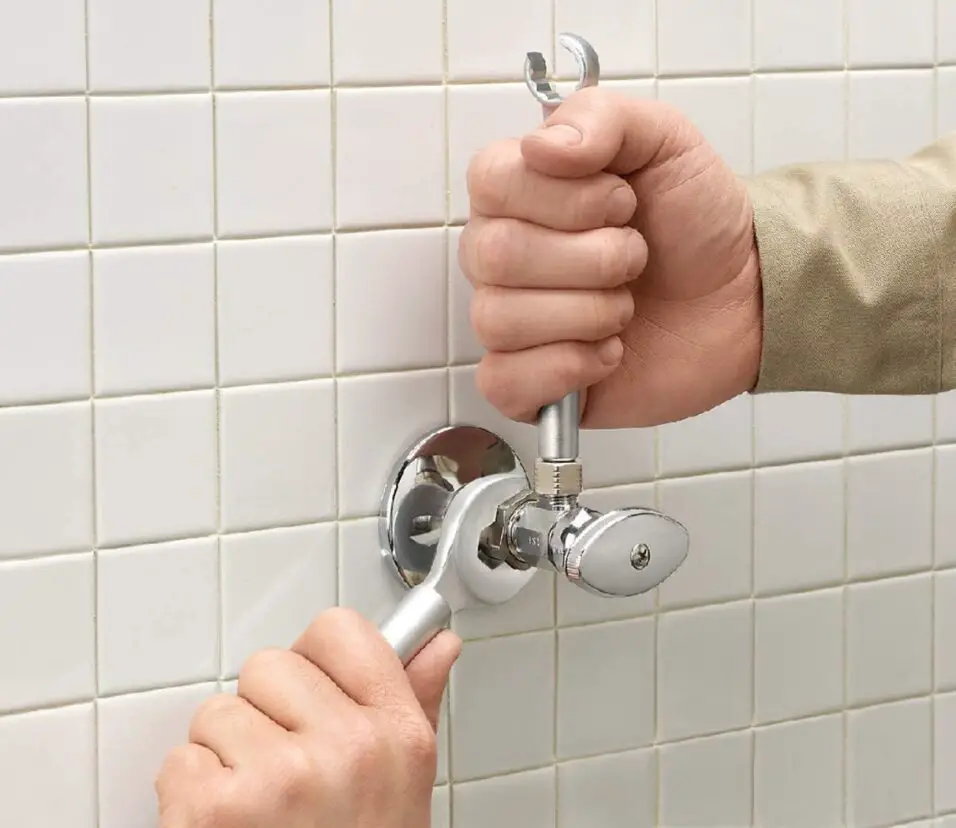
A water pressure gauge is placed on a faucet or fixture connection. The Faucet is turned on to pressurize the gauge. The water meter is then turned off and the pressure on the gauge is observed. No loss and pressure indicate no leaks in the pressure system. Pressure testing plumbing for leaks is an effective method to identify any weaknesses or faults in the system. This test involves pressurizing the plumbing lines with air or water to determine if there are any leaks present. Here’s a step-by-step guide on how to pressure test plumbing for leaks:
Prepare the necessary equipment: You will need a pressure testing gauge, an air compressor or a water pressure testing pump, and a pressure relief valve. Ensure that all the necessary connections and fittings are in good condition.
Before starting the pressure test, shut off the main water supply valve to prevent water from entering the plumbing system. Decide whether you will be using air or water to pressurize the system. Air is commonly used for testing, but water can be used if the system allows for it. Make sure to follow safety guidelines and regulations for either method. Connect the pressure testing gauge to a hose bib or a suitable access point in the plumbing system. The gauge will allow you to monitor the pressure during the test.
What is a step test for water leakage?
Step testing is an effective flow-based method for localizing water loss in zonal distribution systems. It measures water flow into a zone while valves are shut off sequentially. By monitoring water meter readings over time, a step test for water leakage can detect a plumbing system leak. It entails purposely turning off all house water for a specific time and watching the water meter.
Step test for water leakage:
Choose a time frame
Select a time frame for the test, typically ranging from 15 minutes to an hour. The duration should be long enough to provide accurate readings but short enough to minimize any inconvenience caused by the water shut-off.
Record the initial water meter reading
Before starting the test, locate your water meter and note down the current reading. This serves as the baseline measurement.
Shut off water consumption
Turn off all faucets, showers, toilets, washing machines, and any other water-consuming appliances or fixtures in your home. Ensure that no water is being used during the test period.
Throughout the chosen time frame, periodically check the water meter reading at regular intervals. Note any changes or increments in the reading.
Analyze the results
After the test period is complete, compare the final water meter reading with the initial reading. If there is an increase in the meter reading despite no water usage during the test, it suggests the presence of a leak in the plumbing system.
Identify the potential leak
If the test indicates a leak, you will need to conduct further investigations to identify the specific area or component where the leak is occurring. This may involve visual inspections, dye tests, or seeking professional assistance from a plumber.
How is the pipeline tested against leakage?
SCADA systems are pipeline operators’ main leak detection tool. Sensors monitor pressure, flow, temperature, and valve status in this system. Pressure and inspection are used to test pipelines for leaks.
The pipeline is filled with water or another liquid and pressurized to a set level. While monitoring the pipeline for pressure reductions, which indicate leaks, the pressure is maintained for several hours. This test finds leaks in new and old pipes.
Pressurizing the pipeline with air or inert gas replaces water in pneumatic testing. A specific pressure is applied to the pipeline for a set time. Any pressure drop while testing indicates leakage. Pneumatic testing is popular for gas and non-liquid pipelines.
What is a common cause of a plumbing leak?
One of the most well-known causes of water leaks — especially in the winter — are pipes that burst after the water inside them begins to freeze and expand. The pipe eventually ruptures when that pressure becomes too much for it to contain.
A common cause of plumbing leaks is the deterioration or damage of plumbing components over time. Here are some specific factors that can contribute to plumbing leaks:
As pipes age, they can corrode, rust, or develop cracks. This is especially common in older homes with plumbing systems made of galvanized steel or cast iron. Over time, these materials can weaken and become prone to leaks. Excessively high water pressure can put strain on the plumbing system, leading to leaks. The increased pressure can cause pipes, joints, and fittings to develop small cracks or failures, resulting in water leakage.
Pipe joints, where two sections of pipe are connected, are vulnerable areas for leaks. If the joints are not properly sealed or if the seals deteriorate over time, water can seep out. Poor installation practices or improper connections can cause leaks. This can include inadequate pipe supports, improper use of adhesive or soldering, or incorrect fitting assembly.
How do I know if my wall pipe is leaking?
To identify water leakage in your walls, look for signs like musty odors, mold growth, new or worsening stains, peeling or bubbling paint or wallpaper, buckling ceilings and floors, wet or discolored areas, the sound of dripping water or warped sheetrock.Water Stains or Discoloration: Check the walls for any signs of water stains, discoloration, or dampness. Leaking pipes behind the walls can cause water to seep through, resulting in visible marks or changes in the wall’s color.
Excessive moisture from a wall pipe leak can create an ideal environment for mold or mildew to grow. If you notice musty odors, dark spots, or fuzzy growth on the walls, it could be an indication of a hidden leak.
Peeling or Bubbling Paint: When water penetrates through the walls due to a pipe leak, it can cause the paint to peel, bubble, or blister. Keep an eye out for any irregularities in the wall’s paint or wallpaper.
Constant exposure to water can cause the wallboard or drywall to become soft, bulge, or warp. Gently press against the wall to check for any unusual softness or give. If you suspect a wall pipe leak, you can perform a water meter test. Shut off all water-consuming appliances and fixtures, then monitor the water meter. If the meter continues to register water usage, it indicates a potential leak, possibly within the walls.

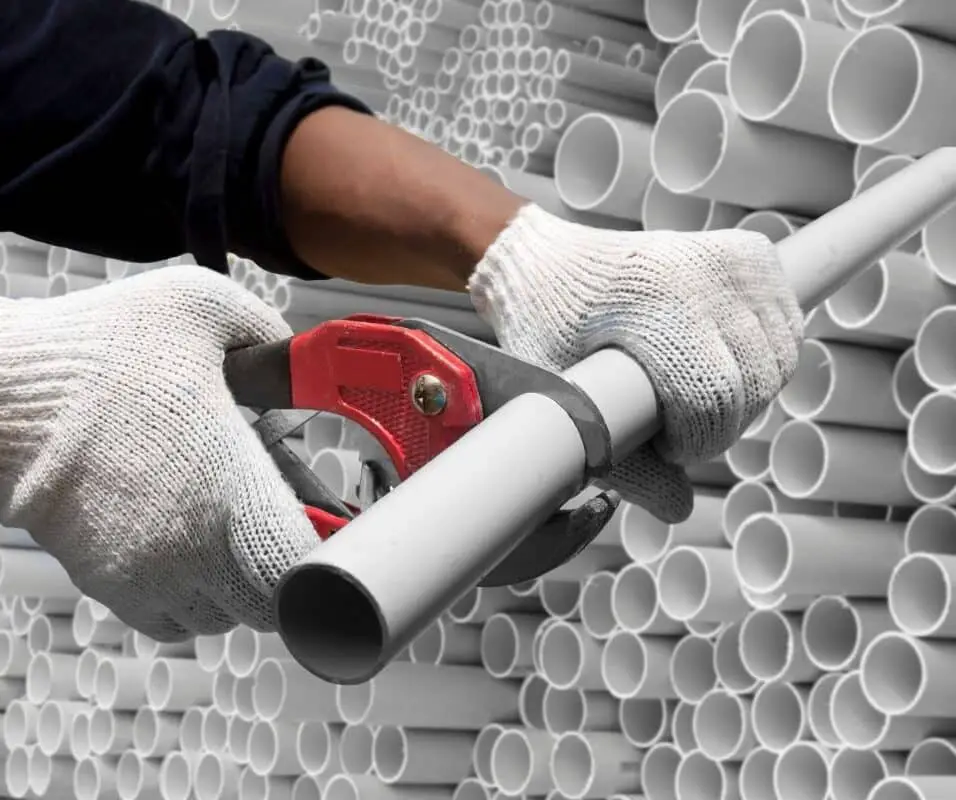
What causes PVC pipe to leak?
This is usually caused by a loose-fitting that allows water to seep through. Wrong adhesive glue—Make sure that you purchase the correct PVC cement so that it doesn’t deteriorate prematurely. Before selecting a glue, read the label to confirm that it’s designed to adhere to PVC. PVC (polyvinyl chloride) pipes are commonly used in plumbing systems due to their durability and resistance to corrosion. However, PVC pipes can still develop leaks under certain circumstances. Here are some common causes of PVC pipe leaks:
PVC pipes can be susceptible to physical damage, such as impact from heavy objects, sharp tools, or accidental drilling or nailing during construction or renovations. These damages can cause cracks or holes in the pipe, resulting in leaks. Excessive water pressure can put stress on PVC pipes, causing joints or fittings to weaken and potentially leak. It’s important to ensure that the water pressure in your plumbing system is within the recommended range.
Age and Wear: Over time, PVC pipes can deteriorate due to aging and wear. This can lead to cracks, brittleness, or degradation of the material, making the pipes more prone to leaks.
What is a dye test, and how is it performed?
A dye test involves adding a few drops of food coloring or a dye tablet into the toilet tank and waiting for about 30 minutes without flushing. If the color appears in the bowl, it suggests a leak in the flapper valve. Gather the necessary materials: You will need a dye solution, such as food coloring (a few drops) or a dye tablet (follow the manufacturer’s instructions), and access to the fixture you want to test (e.g., toilet tank).
If the color from the dye solution appears in the bowl without flushing, it indicates that water is leaking from the tank to the bowl. This can be a sign of a faulty flapper valve that needs to be replaced. Once you have completed the dye test and made your observations, flush the toilet to clear the dye from the tank and bowl. Clean any residual dye from the bowl to avoid staining.
A dye test can help identify leaks in the toilet tank, specifically with the flapper valve. If you notice color transfer during the test, it is recommended to replace the faulty flapper valve or seek assistance from a professional plumber to resolve the issue and prevent further water waste.
How do I check for hidden plumbing leaks?
Check walls, ceilings, and floors for any discoloration, soft spots, or mold growth. Listen for the sound of running water when all appliances are off, which may indicate an underground or hidden pipe leak. Checking for hidden plumbing leaks requires a combination of observation, inspection, and sometimes the use of specialized tools. Here are some steps you can take to check for hidden plumbing leaks:
Look for any visible signs of moisture, water stains, or discoloration on walls, ceilings, or floors near plumbing fixtures or pipes. Pay attention to areas around sinks, toilets, bathtubs, and showers, as well as areas where pipes run through walls or floors.
Excessive moisture from hidden leaks can lead to mold or mildew growth. Look for musty odors, dark spots, or fuzzy growth on walls, ceilings, or floors, especially in areas prone to moisture.
Shut off all water-consuming appliances and fixtures in your home, and then check your water meter. If the meter continues to register water usage despite no water being used, it suggests a potential hidden leak.
What should I do if I discover a plumbing leak during the test?
If you detect a plumbing leak, it is important to address it promptly. Depending on the severity of the leak, you may need to contact a professional plumber to repair or replace the affected pipes, joints, or fixtures. It is also advisable to shut off the water supply using the main shut-off valve until the issue is resolved. Shut Off the Water: Locate the main water shut-off valve for your property and turn it off. This will stop the flow of water and prevent further damage or flooding.
Determine the severity of the leak. If it’s a small drip or minor leak, you may be able to contain it temporarily using a bucket, towels, or a leak containment device. However, for larger or more serious leaks, it’s advisable to seek professional help.
A professional will have the expertise, tools, and experience to address the issue safely and effectively.

Conclusion
Testing your plumbing system for leaks is an essential part of home maintenance that can save you from potential headaches and costly repairs down the line. By following the steps outlined in this guide, you can proactively identify and address plumbing leaks before they escalate into major problems.
Regularly testing your plumbing system not only helps prevent water damage but also allows you to conserve water and reduce your utility bills. Even a small, undetected leak can waste a significant amount of water over time, leading to both financial and environmental consequences. By taking the time to perform simple leak tests, you can ensure that your plumbing system is functioning efficiently and responsibly.
The different methods of leak testing covered in this guide provide a comprehensive approach to identifying leaks in your plumbing system. From visual inspections and dye tests to checking for hidden leaks, these techniques allow you to cover all bases and locate potential issues in various parts of your home.