How To Take Off Baseboards
Introduction
How To Take Off Baseboards: Taking off baseboards may seem like a daunting task, but with the right tools and techniques, it can be a relatively simple process. Whether you are looking to replace your baseboards, install new flooring, or make repairs, removing the is often the first step. Baseboards not only provide a finished look to a room but also serve to protect the walls from damage. However, over time, they may become worn, outdated, or damaged, necessitating their removal.
Removing baseboards requires careful attention to detail and patience to avoid causing any damage to the walls or the themselves. It is important to approach this task with the right tools and a methodical approach to ensure a successful outcome.
Start by preparing the area where you will be working. Clear the space around the, removing any furniture or obstacles that may hinder your progress. This will help prevent any accidental electrical shocks or damage to the wiring.
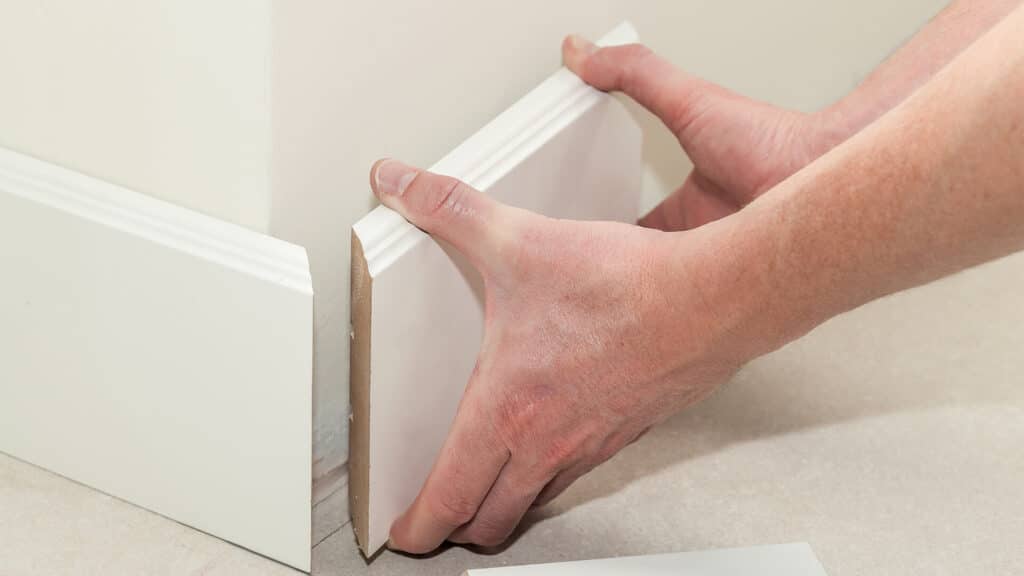
Using a putty knife or a small pry bar, gently insert the tool between the baseboard and the wall. Apply gentle pressure to loosen the baseboard from the wall. Be careful not to apply too much force, as this can cause damage to the wall or the baseboard itself. Work your way along the length of the baseboard, gradually loosening it from the wall.
Can you remove baseboards without damaging the wall?
Use a multipurpose knife to cut baseboard caulk that is attached to the wall. Keeping paint, drywall, and wallpaper on the walls safe. Cut the baseboard along its length to make it easy to take off the wall.
With the right tools, you can take down without hurting the wall. Paint, rebuild, or fix the on the walls and floors. Remove things carefully to avoid damaging the wall.
Are you ready to take down the without hurting the walls? Move things out of the way of the walls. Cover the floor with plastic or a drop cloth to keep it from getting scratched or dirty.
Get the floorboards ready and carefully loosen them. Use a putty knife or a small pry bar to carefully take off the wall borders. Press carefully and evenly on the wall to keep it from getting cracks and dents.
With a utility knife, you can score the caulk off of the edges. Breaking the seal lets you take down wall borders. Do not break the as you take them off.
Carefully remove the baseboards from the walls. Lightly rocking will help you avoid wall pressure. Need to take out hard baseboard screws or nails? Use pliers or a screwdriver to do it.
What is the best tool to remove baseboards?
With the right tools, taking down a baseboard is faster and easier. Baseboards can be taken off with a number of tools that won’t damage the walls. One tool does a great job.
A pry bar is the best tool for removing a baseboard. Use a wrench or wrecking bar to take off the baseboards. Use of force and leverage makes removing the baseboard safe.
Pry bars can get into small spots, which makes removing baseboards easy. It’s harder to use tools when they are close to the floor or wall. With enough force, pry bars are small enough to take off baseboards.
A pry bar’s other benefit is that it can be adjusted. Takes off borders made of plastic or wood. The flat, wide pry bar spreads the tension evenly, which keeps the floor and wall from getting damaged.
It’s faster to take down borders with a pry bar. Use a pry bar to quickly take off the baseboards. The baseboard can be taken off with care.
A pry bar is the best tool for taking down a baseboard. Because it is small, flexible, and easy to use, the baseboard can be removed safely. Pry bars make it faster for both amateurs and professionals to take down baseboards.
Why do walls need baseboards?
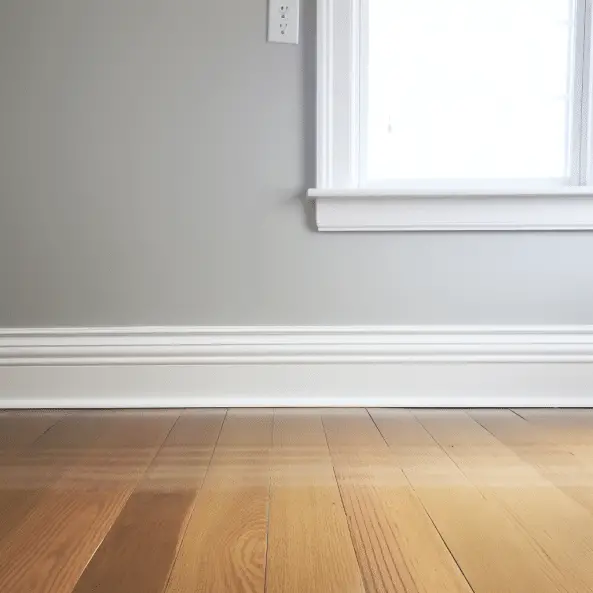
Made to hide the joint between the wall and the floor. It smooths out the ground next to the wall, protects it from furniture, kicks, and wear, and looks great.
Using borders in interior design makes a room look better. At the floor-to-wall transition, they do more than one thing. Walls need borders to keep them safe.
Baseboards protect and look good. The rooms are finished with floors and walls that are built in. Basboards come in a range of sizes, styles, and materials so that they can match any home’s style. Baseboards from the past or present might look better in the room.
Cover up holes between the floor and walls with baseboards. The floors and walls may be a little off while they are being put in. Baseboards hide these flaws and make them look better. They reduce small problems and make you feel better.
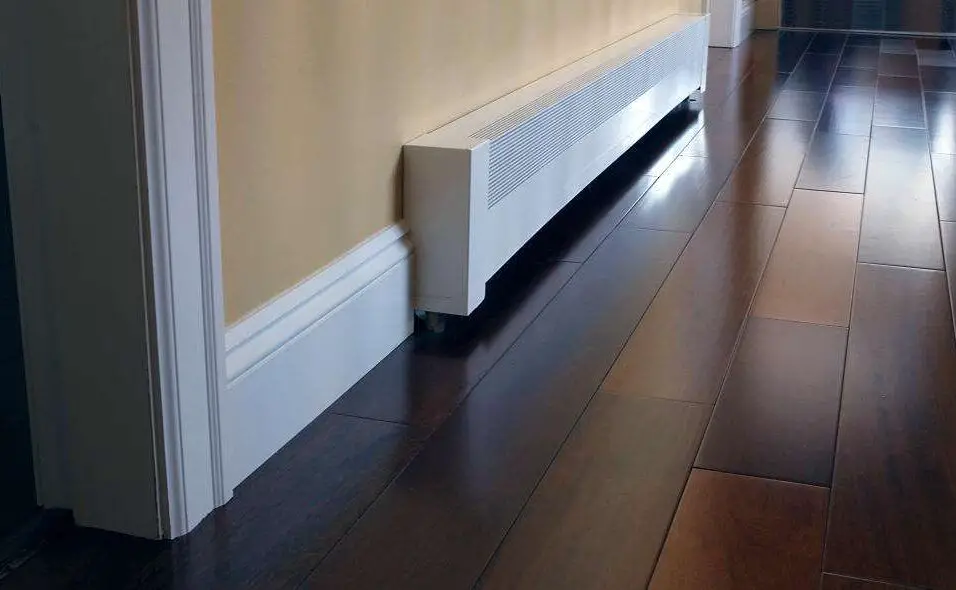
Lines of electricity can go through baseboards. There is a deep groove on the back that lets you hide wires or cables. It helps in places where switches and plugs are on the floor. Baseboards are a stylish and practical way to hide wires.
Are baseboards part of the wall?
Baseboards are an essential part of any room design. They are installed at the joint between the wall surface and the floor and provide an attractive aesthetic element.
Baseboards are an essential component of interior design and play a crucial role in enhancing the overall appearance of a room. They are typically installed at the bottom of walls, where they meet the floor, and serve as a transition between the two surfaces. While baseboards are not technically part of the wall itself, they are considered an integral part of the overall wall design.
Baseboards are often made from wood, although other materials such as vinyl or composite may also be used. They come in various styles and sizes, allowing homeowners to choose the option that best complements their interior decor. Baseboards not only add a decorative element to a room but also serve a functional purpose by protecting the bottom of the wall from damage caused by furniture, vacuum cleaners, or other potential sources of impact.
One of the primary functions of baseboards is to cover the joint between the wall and the floor. This helps to create a clean and finished look, hiding any gaps or imperfections that may exist in this area. Additionally, baseboards can be used to conceal electrical wiring or other utilities that may run along the bottom of the wall, providing a neat and organized appearance.
How do you remove and clean baseboards?
- How to Clean Baseboards: 9 Easy Ways to Remove Dust and Dirt
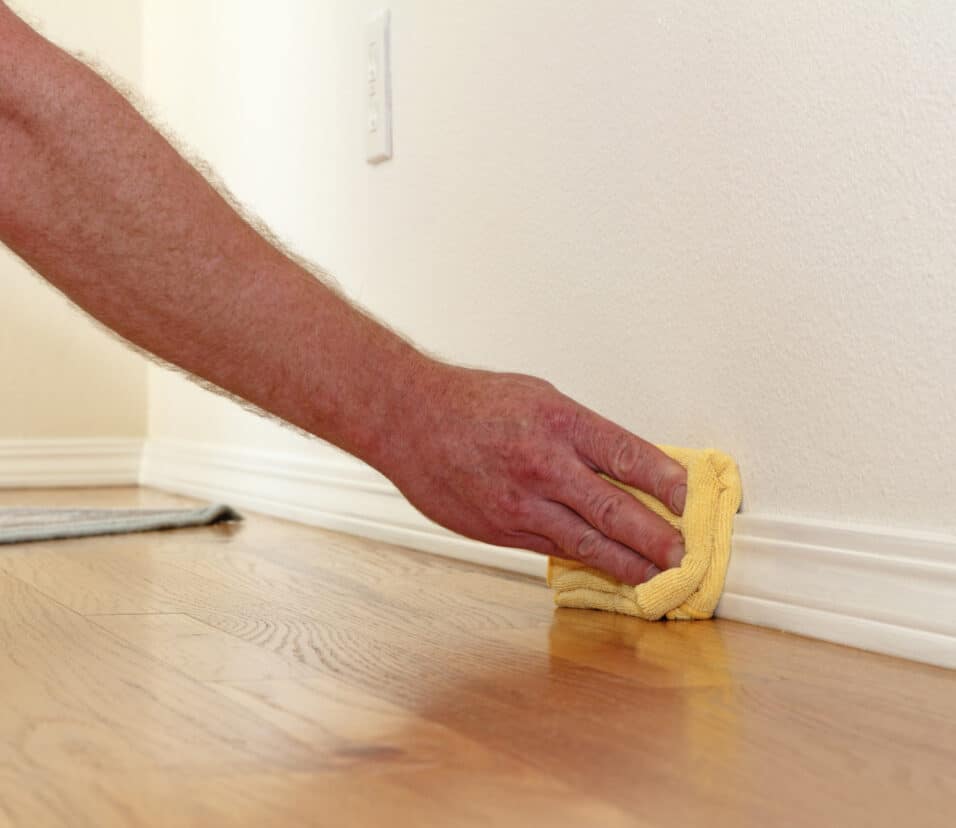
- Dust Baseboards with Microfiber.
- Vacuum Dust from Baseboards.
- Use a Broom to Sweep Baseboards.
- Choose a Telescoping Tool for Dusting.
- Dust with Dryer Sheets.
- Make a DIY Dust Cleaner.
- Degrease Kitchen Baseboards.
- Deep Clean Entryway and Mudroom Baseboards.
Removing and cleaning baseboards is an essential part of maintaining a clean and tidy home. Over time, baseboards can accumulate dust, dirt, and grime, making them look dull and unattractive. Baseboards can also become scuffed or marked, especially in high-traffic areas. Therefore, it is important to regularly remove and clean baseboards to keep them looking their best.
To remove baseboards, you will need a few basic tools:
A putty knife or a small pry bar, a hammer, and a flathead screwdriver. Start by using the putty knife or pry bar to gently loosen the baseboard from the wall. Insert the tool between the baseboard and the wall, and carefully pry it away. Be cautious not to damage the wall or the baseboard during this process. If necessary, use the hammer and screwdriver to remove any stubborn nails or screws holding the baseboard in place.
Once the baseboards are removed, it is time to clean them:
Start by wiping away any loose dust or dirt with a dry cloth or a vacuum cleaner with a brush attachment. Next, prepare a cleaning solution by mixing warm water with a mild detergent or a few drops of dish soap. Dip a sponge or a soft cloth into the cleaning solution, wring out any excess liquid, and gently scrub the baseboards. Pay extra attention to any stubborn stains or marks, and use a bit more pressure if needed.
After cleaning the baseboards, it is important to dry them thoroughly:
Use a clean, dry cloth to wipe away any remaining moisture. This step is crucial to prevent water damage or warping of the baseboards. Once the baseboards are dry, you can also consider applying a coat of paint or a wood polish to restore their original shine and protect them from future damage.
Removing and cleaning baseboards is a relatively simple task that can greatly improve the appearance of your home. By following these steps and regularly maintaining your baseboards, you can ensure that they stay clean, attractive, and in good condition for years to come.
To safely remove baseboards, you will need a few essential tools. Firstly, a pry bar or a flathead screwdriver will be necessary to gently pry the baseboards away from the wall. It is important to use a tool with a flat edge to avoid damaging the baseboards or the wall. Additionally, a utility knife will come in handy to score the caulk or paint along the top edge of the baseboards, making it easier to remove them. A small hammer can be useful for tapping the pry bar or screwdriver into place and providing leverage. Finally, a putty knife or a scraper can be used to remove any remaining caulk or adhesive from the wall after the baseboards have been taken off.
When using these tools, it is crucial to exercise caution and work slowly to prevent any accidents or damage. It is also advisable to wear protective gloves and safety glasses to protect yourself from any potential injuries. By having these tools on hand and using them properly, you can safely remove baseboards without causing any harm to yourself or the surrounding surfaces.
Are there any precautions to take before starting the baseboard removal process?
Before starting the baseboard removal process, it is important to take certain precautions to ensure a safe and successful project. Firstly, it is crucial to turn off the power supply to any electrical outlets or switches located on the baseboards. This can be done by switching off the circuit breaker that controls the specific area where the baseboards are being removed. Failure to do so can result in electrical shock or damage to the wiring.
It is recommended to wear protective gear such as safety goggles and gloves to prevent any injuries. Baseboards can have sharp edges or nails that may cause cuts or punctures. By wearing the appropriate protective gear, you can minimize the risk of accidents and ensure your safety throughout the process.
Can you provide step-by-step instructions on how to take off baseboards?
Start by preparing the area. Clear the space around the baseboards and remove any furniture or obstacles that may get in the way. This will ensure you have enough room to work and prevent any accidental damage.
Next, use a utility knife to score along the top edge of the baseboard where it meets the wall. This will help break the paint or caulk seal and make it easier to remove the baseboard without causing damage to the wall.
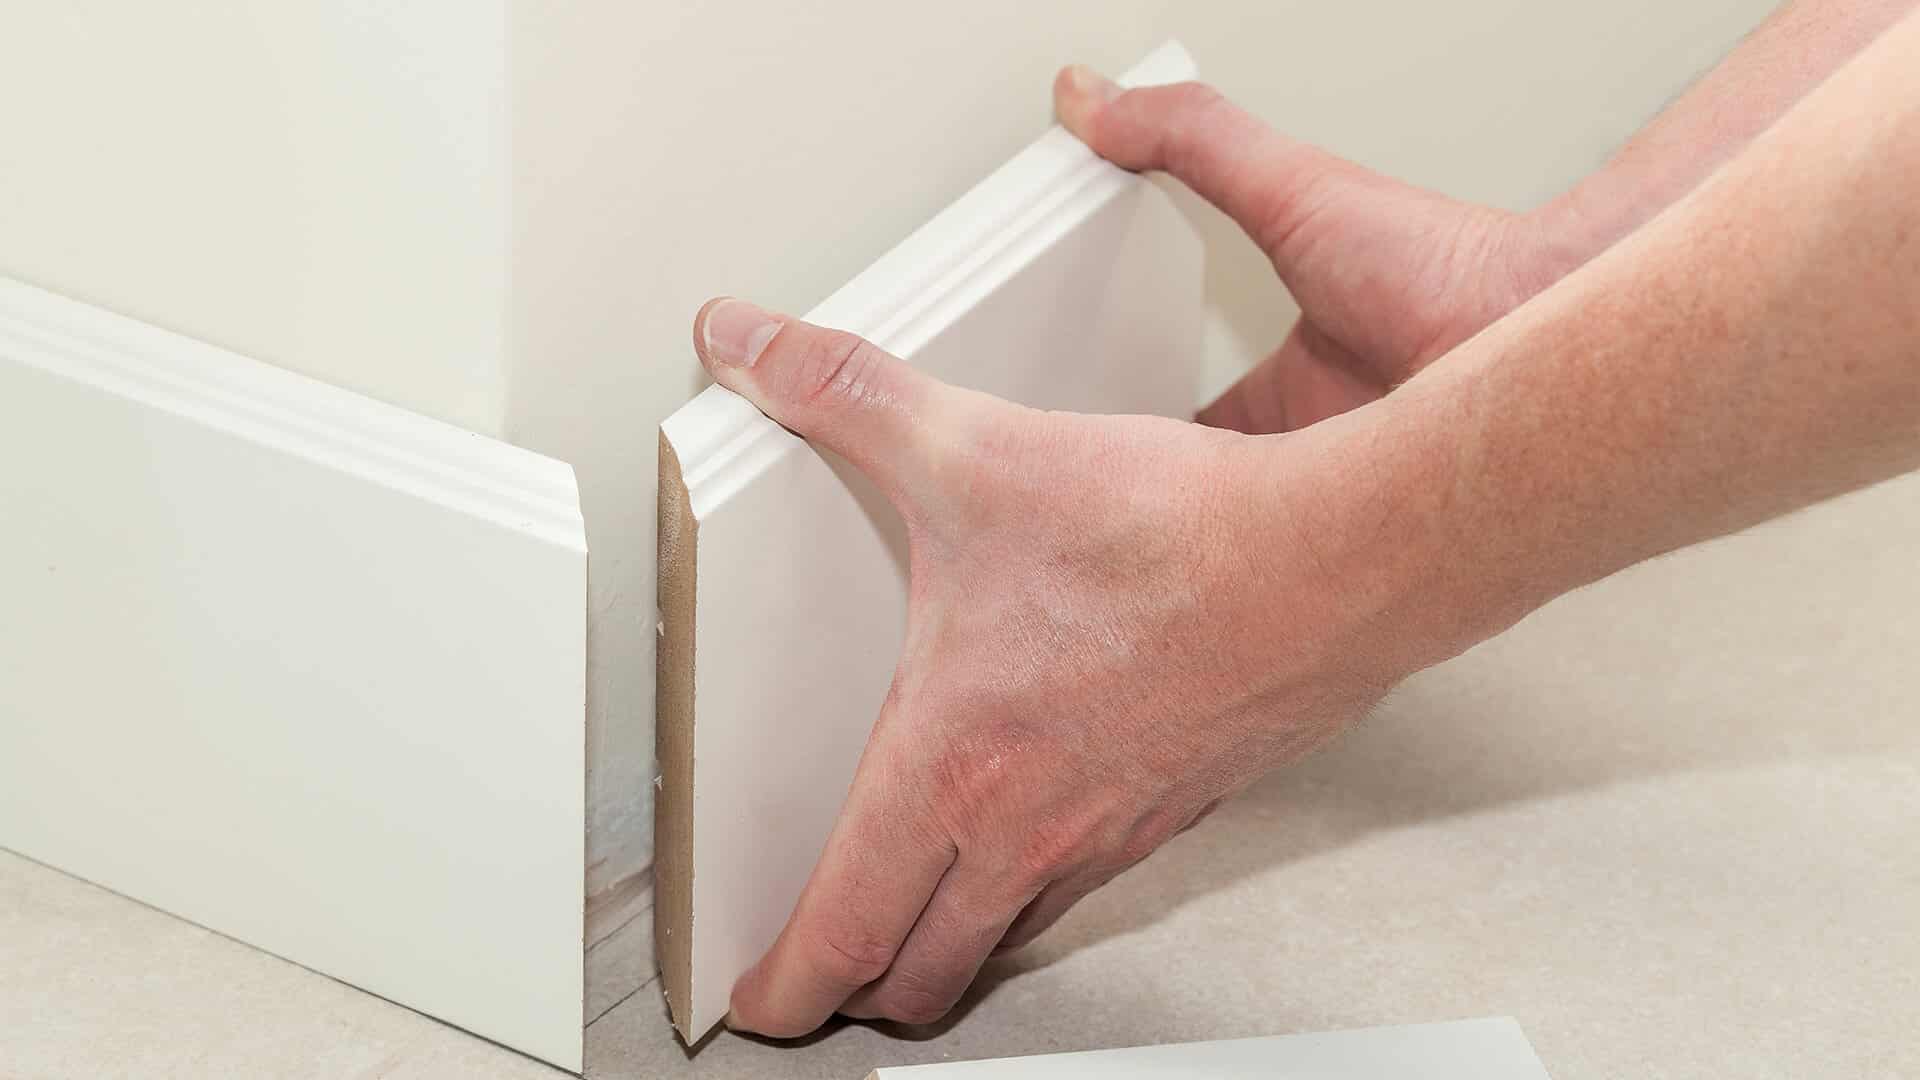
Once the baseboard is scored, insert a putty knife or a pry bar between the baseboard and the wall. Gently pry the baseboard away from the wall, starting at one end and working your way along the length of the baseboard. Be careful not to apply too much force, as this can cause the baseboard to crack or break.
As you remove the baseboard, use a small block of wood or a pry bar to protect the wall from any damage. Place the block or pry bar against the wall and use it as a leverage point to pry the baseboard away.
Once the baseboard is completely removed, inspect it for any nails or staples that may still be attached. Use pliers or a nail puller to remove any remaining fasteners.
Finally, clean the area where the baseboard was removed. Remove any excess caulk or adhesive from the wall and floor, and patch any holes or damage that may have occurred during the removal process.
Are there any common mistakes to avoid when removing baseboards?
When removing baseboards, it is important to be aware of common mistakes that can occur. One common mistake is using too much force when prying the baseboards off the wall. This can result in damage to both the baseboard and the wall. It is important to use a gentle and controlled approach when removing baseboards to avoid any unnecessary damage.
Another common mistake is not properly labeling or organizing the baseboards during the removal process. It can be easy to mix up the baseboards or forget where they belong once they have been removed. To avoid this mistake, it is recommended to label each baseboard with a corresponding number or letter and to keep them organized in a safe location.
It is important to avoid using the wrong tools when removing baseboards. Using the wrong tools can not only make the process more difficult, but it can also cause damage to the baseboards or the surrounding area. It is recommended to use a pry bar or a putty knife specifically designed for baseboard removal to ensure a smooth and damage-free process.
What are some tips for ensuring the baseboards are removed without causing damage to the walls or flooring?
When removing baseboards, it is important to take certain precautions to prevent any damage to the walls or flooring. Here are some tips to ensure a safe and damage-free baseboard removal process.
Use a putty knife or pry bar: Before starting the removal process, use a putty knife or pry bar to gently loosen the baseboards from the wall. Insert the tool between the baseboard and the wall, and carefully pry it away. Avoid using excessive force to prevent any wall or flooring damage.
Protect the walls: To protect the walls from scratches or dents, place a thin piece of cardboard or a scrap of wood between the pry bar and the wall. This will act as a buffer and minimize the risk of any damage to the wall surface.
Lift the baseboards: Once the baseboards are loosened, lift them away from the wall slowly and carefully. It is important to lift them straight out to avoid any unnecessary pressure on the walls or flooring. If the baseboards are stuck, use a small block of wood and gently tap it with a hammer to loosen them.

Conclusion
Taking off baseboards can be a daunting task, but with the right tools and techniques, it can be done efficiently and without causing any damage. By following the step-by-step process outlined in this guide, you can successfully remove baseboards and prepare them for any necessary repairs or renovations.
First and foremost, it is important to gather all the necessary tools before starting the process. These tools include a pry bar, a putty knife, a hammer, a utility knife, and a small block of wood. Having these tools readily available will make the task much easier and prevent any unnecessary delays or frustrations.
Once you have the tools, it is crucial to take the necessary precautions to protect the surrounding area. This can be done by placing a drop cloth or a piece of cardboard on the floor to catch any debris or nails that may fall during the removal process. Additionally, it is advisable to wear safety goggles and gloves to protect yourself from any potential injuries.
When you are ready to start removing the baseboards, begin by using the putty knife to gently pry the baseboard away from the wall. Insert the putty knife between the baseboard and the wall, and slowly work your way along the length of the baseboard, applying gentle pressure to loosen it. Once the baseboard is loosened, use the pry bar and the small block of wood to carefully pry it away from the wall. Be sure to place the block of wood between the pry bar and the wall to prevent any damage to the wall surface.