How To Take Off Accent Wall Acnh
Introduction
Tired of your accent wall? Remove it. You found it! Remove an accent wall in your home easily with our strategy. Repainting or remodeling your room starts with removing the accent wall. Recently, accent walls have become popular for adding visual dimension to a room. You may wish to remove the accent wall to create a more harmonious space when trends and personal preferences change. It may be daunting, but with the right tools and expertise, you can turn your space into a blank canvas for your next creative project.
Assess the accent wall’s materials and condition before removing it. The wallpaper, paint, or other wall covering and the wall underlying determine the process. The best technique to remove the accent wall without damaging the building depends on these factors. Set up and gather tools. Before starting, cover nearby surfaces with drop cloths or plastic. It prevents removal accidents. You need a putty knife, scraper, sandpaper, and garbage bucket.
Remove any wall coverings. If your accent wall is covered with wallpaper, start by peeling off the top layer using a putty knife or scraper. Once the top layer is removed, dampen the remaining wallpaper with warm water and gently scrape it off. If the accent wall is painted, you can skip this step and proceed to the next one.
How do I remove an accent wall from my house?
HOW TO REMOVE AN ACCENT WALL AND REPAIR DRYWALL DAMAGE
- Remove Accent Wall Trim.
- Evaluate the Damage.
- Spackle Holes and Drywall Tears.
- Cover Everything in the Room.
- Sand the Wall.
- Clean Up the Sanding Dust.
- Prime the Wall.
- Paint.
Starting off:
Accent walls make homes look nice and draw attention to certain areas. To fix up the room, the decorative wall can be taken down. Taking down an accent wall is hard, but it can be done quickly with the right tools.
Get the room ready
Get the room ready before you take down the accent wall. Take everything off the walls and the floor with a drop cloth to keep dust from getting on it. To keep yourself safe, turn off all wall plugs and switched.
After that, take off the borders and trim.
Take down the trim and baseboards after taking down the feature wall. Use a pry bar or putty knife to carefully take off the wall trim and borders. Take off the wall trim one end at a time. Keep walls and furniture from getting damaged.
Cut the wall.
After taking off the trim and borders, score the wall. Use a pocket knife to cut the wall across. By breaking the link, this makes it easier to take down wallpaper or paint. Pressure should make deep scores that don’t cut through the walls.
Take down the wall paper
After scoring, take down the wall covering. Use a scraper or putty knife to add a little accent wall paint. A wallpaper cleaner might break up the glue before you take it down. Slow down so you don’t damage the wall.
Fifth: Fix things and paint
Taking off the covering could hurt the wall. Sand the wall after fixing any cracks. Prime the wall all over. Finally, paint the wall the color you picked to finish the job.
It takes some time and the right tools and skills to take down an accent wall. These steps will get rid of an accent wall and make the room look normal again.
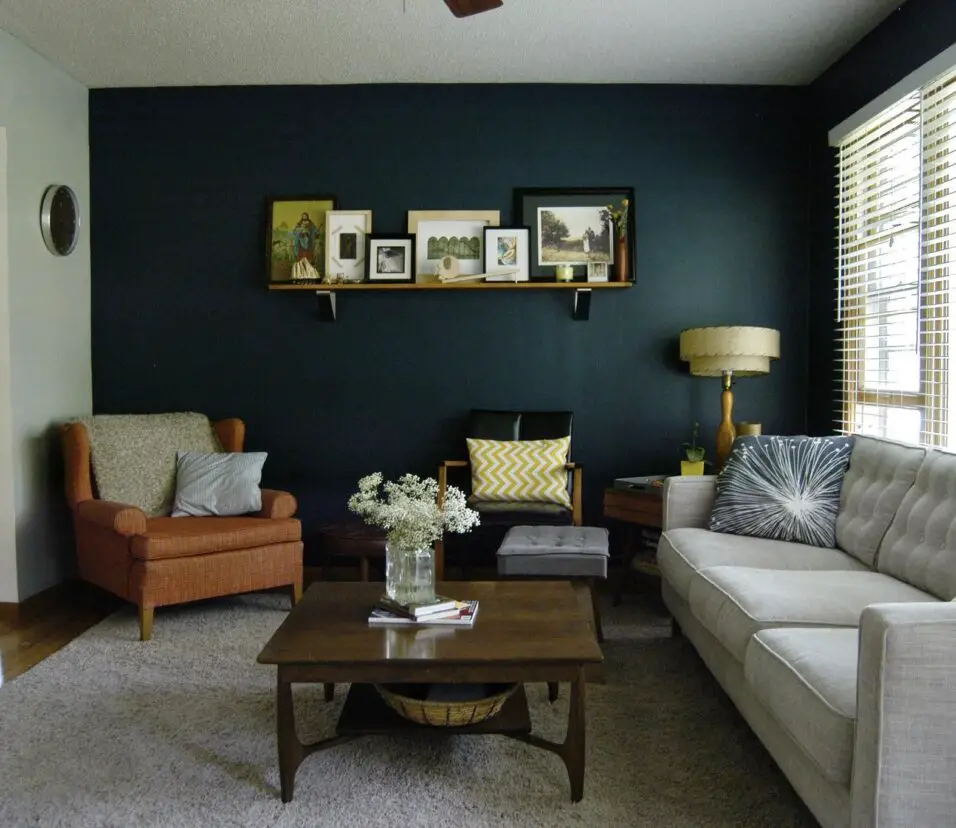
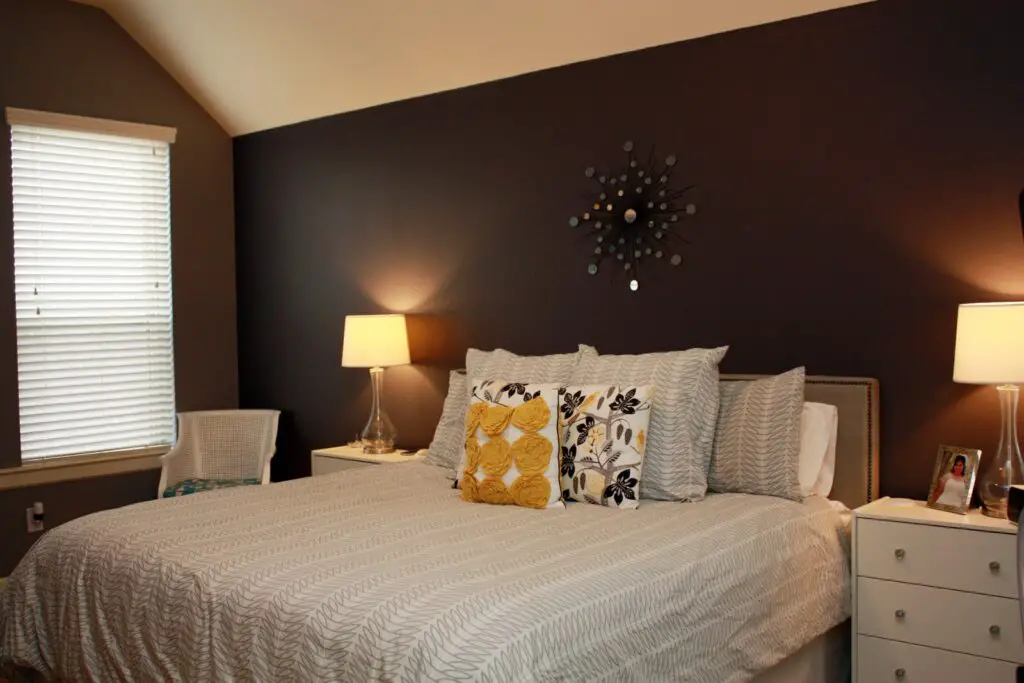
Are painted feature walls out?
Paint feature walls have been used by interior artists for a long time. People notice them and think the room is nicer. Feature walls that are painted have been in style before, so check to see if they’re still popular.
Changes in Painted Accent Walls
Before, feature walls with bright paint were all the rage. People and designers gave one wall a unique color or pattern to make it stand out. This style was popular in eating rooms, living rooms, and bedrooms.
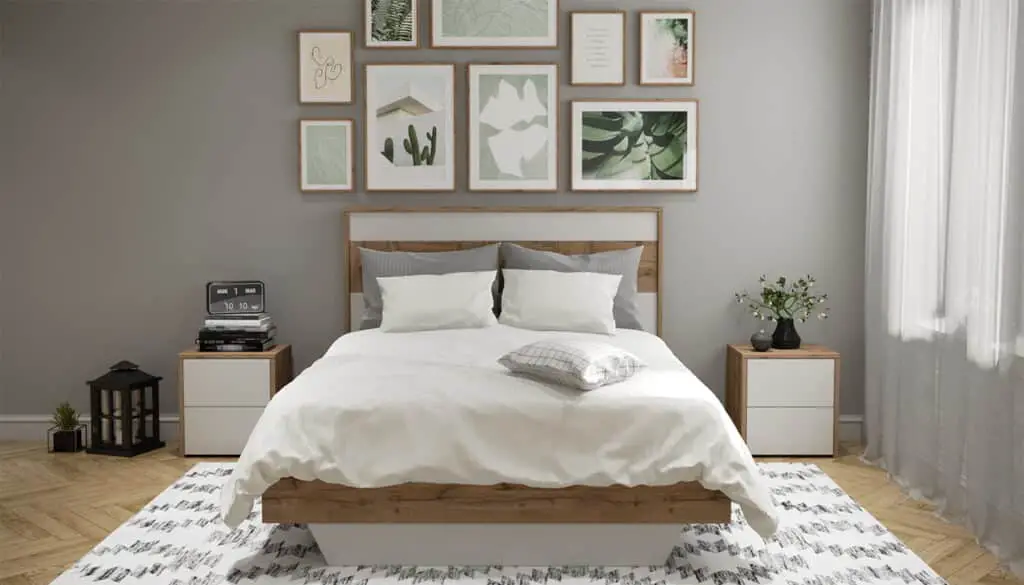
As design tastes have moved toward simplicity and unity, painted feature walls are becoming less popular. A lot of interior designers use neutral colors or textured fabrics to add depth and warmth to a room without making it too busy.
The Rise of Different Wall Coverings:
Painting feature walls is popular, even though it’s not common. Some homes and interior designers say that a feature wall painted well can change the look of a room. But beautiful new wall coverings are coming out.
Wallpaper has come back in a new way recently, with new colors, patterns, and textures. Wall paper can be interesting without drawing. Reclaimed wood, stone veneer, and fabric panels are all beautiful options to painted feature walls.
Can you have more than one accent wall Animal Crossing?
And accent walls let you use two kinds of wallpaper in the same room. Just one color wall in every room. Animal Crossing is a popular strategy game where players can make their own virtual world. There are accent walls in the game that are different from the other walls in terms of style or color. A lot of people who play Animal Crossing want a lot of accent walls. This page talks about it.
Animal Crossing only lets you have one accent wall per room, which is a shame. You can only have one accent wall with a different color or design. This rule was set by the people who made the game and can’t be changed.
Animal Crossing has a lot of ways to change other parts of the game, which may annoy gamers who want different accent walls. Players can change the wallpaper, floors, and furniture in their rooms to make them unique.
Some other image choices:
You can arrange Animal Crossing rooms in other ways besides accent walls. Set off different parts of a room with different floors or wallpaper. Putting patterned wallpaper on one side of the room and plain color wallpaper on the other will help divide it.
Parts of a room can be made stand out by placing furniture and decorations in a smart way. A colorful rug or one-of-a-kind piece of furniture can make a boring wall look better without adding accent walls.
Even though Animal Crossing doesn’t have accent walls, you can still design and make it your own in many other ways. Pick out your own walls, floors, and furniture to make your virtual home unique.
What is the maximum amount of villagers you can have in Animal Crossing?
10
The maximum number of villagers you can have living on your island is 10.
Nintendo makes the well-known live simulation game Animal Crossing. The game depends on animal neighbors in the player’s virtual hamlet that look like people. These people are very important to the game’s community. Players of Animal Crossing can bring in more people, which begs the question, “How many?”
Town can have up to ten people Animal Crossing:
New Horizons and New Leaf are both limited by this. As a player gets better, they can invite more towns.
Keep in mind that players can’t fully control who joins the town. They only move into plots that aren’t already claimed. For new players, they can start with three or four stories. Once these plots are full, players have to wait for the people to leave before they can invite new ones.
Villagers can leave a player’s town in a lot of different ways. Players can either support or free villagers who want to leave. If you avoid the villagers for too long, they might leave. People in the village can leave at any time.
Users can invite people to their town, even if they already have a lot of locals, by using amiibo cards or figures. Scan the amiibo to invite a villager to your campground. If the villager meets the standards, they can move in. After going over the limit, players can keep their favorite people in their town.
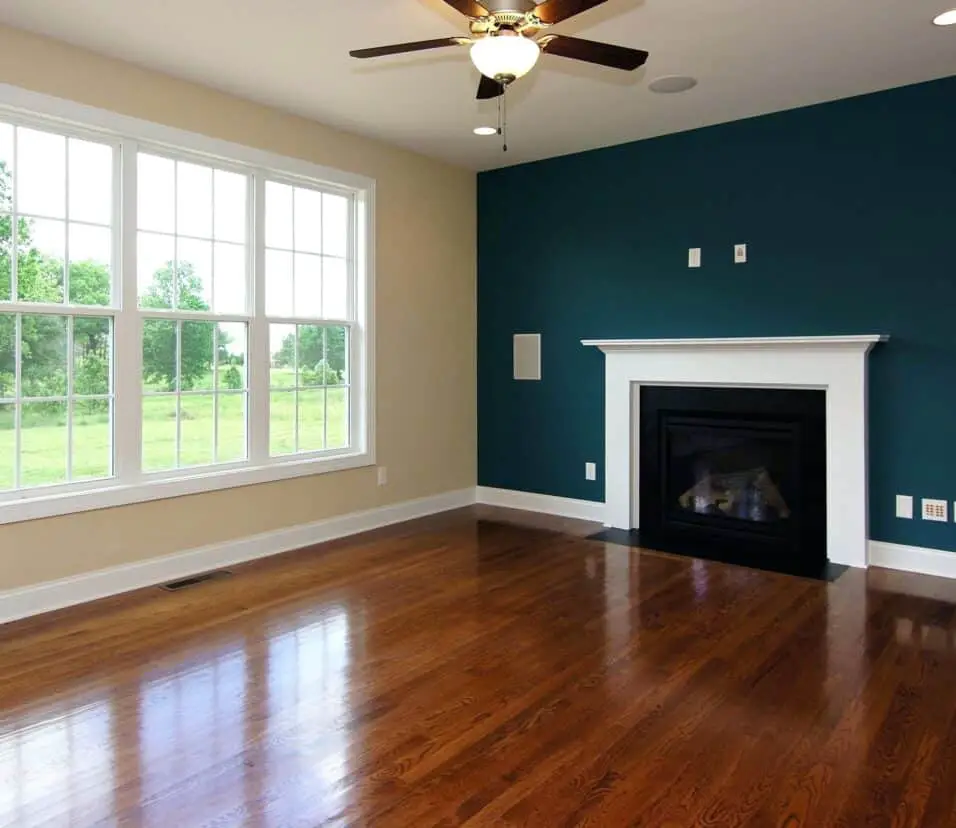
Can you have 2 feature walls?
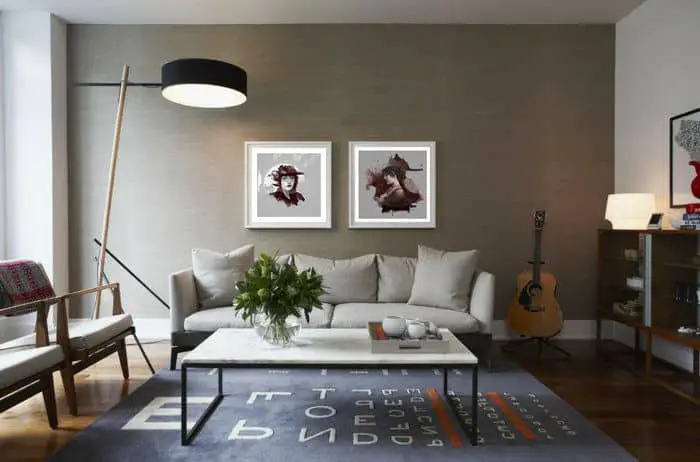
Your eye is automatically drawn to an accent wall upon entering a room. It becomes the defining feature of the room. Because it is the room’s focal point, you cannot have two accent walls. An accent wall, if done correctly, can significantly enhance the aesthetic appeal of a room.
When it comes to interior design, feature walls have become a popular trend in recent years. These walls are designed to stand out and create a focal point in a room. They can be adorned with various materials, colors, and patterns to add visual interest and personality to a space. However, a common question that arises is whether it is possible to have two feature walls in a single room. In this article, we will explore the concept of having multiple feature walls and discuss its feasibility and potential impact on the overall aesthetics of a room.
Exploring the concept of multiple feature walls:
Traditionally, a feature wall is created by selecting one wall in a room and giving it special treatment to make it visually distinct from the other walls. This can be achieved through the use of bold paint colors, textured wallpapers, decorative panels, or even a combination of these elements. The purpose of a feature wall is to draw attention and create a sense of drama or focal point within the space.
While having one feature wall is a common approach, there is no hard and fast rule that restricts the number of feature walls in a room. In fact, having two feature walls can be a creative way to add depth and visual interest to a space. However, it is important to consider the size and layout of the room, as well as the overall design scheme, before deciding to incorporate multiple feature walls.
Considerations for incorporating two feature walls:
Two feature walls should compliment each other rather than compete for attention. Try to balance the two walls so they complement one other and improve the room’s beauty. Choose complementary colors, patterns, or materials to link the walls.
Another consideration is room size. In smaller areas, two feature walls may overwhelm. Assess the room’s proportions and decide if additional feature walls will enhance or detract from the design. Two feature walls can generate symmetry and equilibrium in bigger areas.
Two feature walls are possible in a room, but size, arrangement, and design must be considered. When done well, many feature walls give depth and visual appeal. Two feature walls can be successfully integrated into an interior design plan by choosing complimentary colors, patterns, or materials and ensuring they function together.
The Animal Crossing: New Horizons array “”how to take off accent wall acnh”” provides steps for removing an accent wall. Players can use this array as a search query or combination of keywords to obtain gaming lessons or information about removing accent walls.
ACNH accent wall removal may be needed for numerous reasons. Players may want to change the look of their in-game house or room, try different wall designs, or return to the default. Finding this array gives ACNH players step-by-step directions for removing accent walls.
How can one remove an accent wall in the game Animal Crossing: New Horizons?
In Animal Crossing: New Horizons, removing an accent wall can be done by following a few simple steps. First, you need to ensure that you have the necessary tools to carry out the task. The primary tool you will need is a clay shovel, which can be obtained by purchasing it from the in-game shop or crafting it using clay. Once you have the clay shovel, you can proceed with the removal process.
To remove an accent wall, start by accessing the construction mode in the game. This can be done by pressing the “”+”” button on your Nintendo Switch controller and selecting the construction icon. Once in construction mode, navigate to the accent wall you wish to remove and stand in front of it. Use your clay shovel to dig up the wall by pressing the “”A”” button. This will remove the accent wall and leave behind a blank space.
It is important to note that removing an accent wall in Animal Crossing: New Horizons does not have any negative consequences or effects on your gameplay. It simply allows you to change the appearance of your in-game house or room. So, feel free to experiment with different wall designs and remove accent walls as you desire to create a space that truly reflects your personal style.
What are the steps involved in taking off an accent wall in ACNH?
Removing an accent wall in Animal Crossing: New Horizons involves a few simple steps. First, you need to ensure that you have the necessary tools for the job. While there are no specific tools required, having a ladder and a reliable source of light can make the process easier. Once you have the tools ready, follow these steps:
Step 1: Assess the accent wall – Take a close look at the accent wall you wish to remove. Determine its size, shape, and any additional features such as wallpaper or decorations. This will help you plan the removal process accordingly.
Step 2: Gather materials – Before you start removing the accent wall, make sure you have enough storage space in your inventory. You will need to collect the wallpaper, decorations, and any other items attached to the wall. It’s also a good idea to have some spare wallpaper or flooring ready to replace the removed accent wall.
Step 3: Remove the wallpaper – Use your ladder to reach the accent wall and interact with it to remove the wallpaper. This will reveal the bare wall underneath. Be careful not to damage any surrounding furniture or items while doing this.
Step 4: Remove decorations – If there are any decorations attached to the accent wall, interact with them to remove and collect them. These can be placed back later if desired.
Step 5: Replace with new wallpaper or flooring – Once the accent wall is completely bare, you can choose to replace it with a new wallpaper or flooring. Simply interact with the wall and select the desired option from your inventory.
By following these steps, you can successfully remove an accent wall in Animal Crossing: New Horizons and customize your in-game home according to your preferences.
Are there any specific tools or items required to successfully remove an accent wall in the game?
When it comes to removing an accent wall in Animal Crossing: New Horizons, there are a few specific tools and items that can make the process easier and more efficient. One essential tool you will need is a clay shovel. This shovel is specifically designed for digging up and removing wall sections in the game. It allows you to carefully excavate the accent wall without causing any damage to the surrounding area.
In addition to the clay shovel, you may also want to have a construction helmet on hand. While not necessary for the actual removal process, wearing a construction helmet adds a fun and immersive element to the task. It can make you feel like a professional contractor as you work to dismantle the accent wall in your virtual home.
Lastly, it is important to have a storage box nearby. As you remove the accent wall, you will need a place to store the wall sections and any other items that were attached to it. The storage box provides a convenient and organized way to keep everything together until you decide what to do with them.
Are there any potential consequences or effects of removing an accent wall in ACNH?
When it comes to removing an accent wall in Animal Crossing: New Horizons (ACNH), there are a few potential consequences and effects to consider. Firstly, removing an accent wall will result in the loss of any custom designs or patterns that were applied to it. This means that if you had spent time creating or downloading a unique design for your accent wall, it will no longer be accessible once the wall is removed. It’s important to make sure you have saved any designs you want to keep before proceeding with the removal.
Additionally, removing an accent wall may affect the overall aesthetic and balance of your in-game home. Accent walls are often used to add visual interest and create focal points within a room. By removing an accent wall, you may find that the room feels less dynamic or lacks a certain level of visual appeal. It’s important to consider how the removal of the accent wall will impact the overall design and atmosphere of your virtual home.
Conclusion
After conducting extensive research on the topic of “”how to take off accent wall acnh,”” it is clear that there are several effective methods available for removing an accent wall in Animal Crossing: New Horizons. Whether you have grown tired of the current design or simply want to change things up, these instructions will guide you through the process step by step.
Once you have located the accent wall, you can begin the removal process. This usually involves digging up the tiles or panels that make up the wall using a shovel. It is important to be careful during this step to avoid damaging any surrounding structures or items. Once the tiles are remove accent, you can then proceed to dismantle any supporting structures or frames that may be present.
Finally, after removing all the necessary components, you can clean up the area and restore it to its original state or create a new design altogether. This may involve planting new trees or flowers, adding new furniture or decorations, or simply leaving the space empty for a fresh start. The choice is yours!