How To Trim Shiplap Accent Wall
Introduction
How To Trim Shiplap Accent Wall: Shiplap accent walls have become increasingly. Popular in interior design, adding a touch of rustic charm and character to any space. Whether you’re looking to create a cozy farmhouse aesthetic or add. A unique focal point to your room, a shiplap accent wall can be the perfect solution. However, before diving into the process of trimming a shiplap accent wall. It’s essential to understand the basics and gather the necessary tools and materials.
Shiplap refers to a type of wooden board that is commonly used in the construction of barns and sheds. Its distinctive design features overlapping grooves, creating a tight and weather-resistant seal. In recent years, shiplap has transitioned from functional building material to a trendy interior design element. Its adaptability makes it suitable for a wide range of applications, including as a feature wall.
Trimming a shiplap accent wall involves carefully measuring and cutting the boards to fit your desired space. It requires precision and attention to detail to ensure a seamless and professional-looking result. Additionally, choosing the right tools and materials is crucial for a successful project. From measuring tapes and saws to nails and adhesive, each component plays a vital role in achieving a polished finish.
Before embarking on your shiplap accent wall journey. It’s important to consider the overall style and aesthetic you wish to achieve. You may paint shiplap any color you like, or you can leave it in its raw wood state. Allowing you to customize the look to suit your personal taste. Shiplap can be modified to fit in with either a contemporary, minimalist aesthetic or a more conventional, rustic one.
Now that you have a basic understanding of shiplap and its potential as an accent wall. It’s time to delve into the process of trimming and installing this popular design element. By following the step-by-step instructions and utilizing the right tools and materials. You’ll be well on your way to creating a stunning shiplap accent wall that will transform your space.
How do you cut shiplap for a wall?
Cut Shiplap Strips
Using the same width for all your boards will make this job much easier. Tip: A table saw blade is 1/8” wide. If you cut your plywood into 5-7/8” strips, you’ll use the entire sheet without any waste. Set your table saw to the desired width and don’t forget your safety glasses.
Shiplap is a popular choice for wall paneling due to its rustic and timeless appeal. It adds character and warmth to any space, making it a sought-after design element in both traditional and contemporary interiors. If you’re considering installing shiplap on your walls, it’s essential to know how to cut it properly. To achieve a seamless and professional-looking result.
Firstly, you’ll need to gather the necessary tools and materials. These include a tape measure, pencil, circular saw or miter saw, safety goggles, and a workbench or sawhorses. It’s crucial to prioritize safety when working with power tools. So make sure to wear protective eyewear and follow all safety guidelines.
Before cutting the shiplap, measure the wall where you plan to install it. Take accurate measurements to determine the length and width of each piece you’ll need. It’s advisable to add a small amount of extra length. To account for any discrepancies or mistakes during the installation process.
Once you have your measurements, mark the shiplap accordingly using a pencil. Ensure that the marked lines are visible and easily distinguishable. This step will help you maintain accuracy and precision when cutting the shiplap.
When it comes to cutting the shiplap, you have two main options: using a circular saw or a miter saw. A circular saw is a versatile tool that allows you to make straight cuts. While a miter saw is ideal for making angled cuts, such as for corners or edges. Choose the appropriate tool based on your specific needs and the design of your space.
Verify your measurements are accurate and the saw blade is properly positioned before beginning cutting. This will help prevent any errors or inaccuracies during the cutting process. It’s also a good idea to practice on a scrap piece of shiplap before cutting. The actual pieces to ensure you’re comfortable and confident with the tool.
When cutting with a circular saw, position the shiplap on a stable workbench or sawhorses. Hold the saw firmly and guide it along the marked line, applying steady pressure to ensure a clean and straight cut. Take your time and maintain a steady pace to avoid any mistakes or accidents.
If using a miter saw, adjust the blade angle according to your desired cut. Place the shiplap securely against the saw’s fence and hold it firmly in place. Activate the saw and carefully guide the blade through the marked line. Maintaining a steady motion until the cut is complete.
Remember to always prioritize safety when working with power tools. Wear appropriate protective gear, follow the manufacturer’s instructions, and take necessary precautions to prevent accidents or injuries. With the right tools, measurements, and techniques, you can confidently cut shiplap for your walls and create. A stunning, visually appealing space.
Do you remove trim for shiplap?
The first step in your diy shiplap accent wall: remove everything. Take everything off the wall, including any nails. Use a putty knife to gently pry off and remove baseboards, crown molding and trim. Remove wall plates and outlet covers.
Shiplap has become an increasingly popular choice for interior design, adding a touch of rustic charm to any space. However, when it comes to installing shiplap, one common question that arises is whether or not to remove the trim. In this article, we will explore this topic in detail and provide you with a comprehensive answer.
Firstly, it is important to understand what shiplap is. Shiplap is a form of timber plank typically used for exterior wall construction. But it has also gained popularity as an interior wall covering. The boards overlap in a unique fashion that serves to seal the joints between them. This not only adds visual interest to a room but also provides additional insulation.
When it comes to installing shiplap, the decision to remove trim largely depends. On personal preference and the specific circumstances of the project. In some cases, removing the trim can create a cleaner and more seamless look. This is especially true if the trim is old, damaged, or does not match the aesthetic of the shiplap. By removing the trim, you can ensure that the shiplap installation appears more cohesive and visually appealing.
However, there are instances where removing the trim may not be necessary or even advisable. If the trim is in good condition and complements the shiplap, it can be left in place. This is particularly true if the trim has intricate details or is an integral part of the room’s design. In such cases, the trim can serve as a frame for the shiplap, enhancing its overall appearance.
Another factor to consider is the practicality of removing the trim If there are multiple layers of paint or caulk. Additionally, removing the trim may result in damage to the surrounding walls or require additional repairs. Therefore, it is important to weigh the benefits of removing the trim against the potential drawbacks before making a decision. Whether or not to remove trim for shiplap installation depends on various factors such as personal preference. The condition of the trim and the overall design goals. While removing the trim can create a cleaner and more cohesive look, it may not always be necessary or practical. Ultimately, the decision should be based on careful consideration of the specific circumstances and desired outcome of the project.
How do you hide gaps in shiplap?
Fill Shiplap Seams With Caulk
To Just like you would fill in nail holes with wood filler when affixing shiplap. Caulking the edges will create clean lines and a finished look.
Shiplap is a popular choice for adding a rustic and charming touch to interior walls. However, one common issue that arises when installing shiplap is the presence of gaps between the boards. These gaps can be unsightly and may compromise the overall aesthetic appeal of the shiplap. Fortunately, there are several effective methods to hide these gaps and achieve a seamless look.
One simple solution to hide gaps in shiplap is to use a wood filler. It fills in the spaces and creates a smooth surface, effectively concealing the gaps. Before applying the wood filler, it is important to clean the gaps thoroughly and remove any debris or dust. Wood filler can be applied using a putty knife once the cracks are accessible. When the filler has dry, the boards can be nailed together, and the spaces in between can be sanded smooth. It adheres well to wood and provides a durable and long-lasting solution. Before applying the caulk, it is important to ensure that the gaps are clean and dry. When caulk is loaded into a caulking gun, it can be injected into the crevices automatically. Once the caulk is dry, it can be painted over to match the shiplap. Further enhancing the seamless appearance.
In addition to wood filler and caulk, another option to hide gaps in shiplap is to use trim. There are various types of trim available, such as quarter round or cove molding. It’s adaptable to the taste of the homeowner and the style of the space.The molding can be permanently and imperceptibly fastened with glue or nails.
Overall, whether you choose to use wood filler, caulk or trim. There are several effective methods to hide gaps in shiplap. These solutions not only improve the appearance of the shiplap but also provide a more polished and professional finish. By following these methods, you can achieve a seamless and visually appealing look for your shiplap walls.
How can I make my shiplap look better?
How to Pull Off Shiplap Walls, According to Top Designers
- Embrace Its Versatility.
- Keep Spacing Uniform.
- ALWAYS Paint It.
- Get ‘Em Glossy.
- Try It In Small Doses.
- Blend It With Other Materials.
- Mix The Width Of The Boards.
Shiplap is a popular choice for adding a rustic and charming touch to interior walls. However, sometimes the installation or finishing of shiplap may not turn out as expected, leaving you wondering how to make it look better. Fortunately, there are several steps you can take to enhance the appearance of your shiplap and achieve the desired aesthetic. In this article, we will explore some tips and techniques to help you make your shiplap look better.
Sand and smooth the surface: One common issue with shiplap is rough edges or uneven surfaces. To address this, start by sanding the shiplap boards using a fine-grit sandpaper. This will help to smooth out any imperfections and create a more polished look. Be sure to sand in the direction of the wood grain to avoid causing any damage.
Fill in gaps and nail holes: Over time, shiplap boards may shrink or expand, resulting in gaps between them. Additionally, nail holes used for installation can be unsightly. To fix these issues, use a wood filler that matches the color of your shiplap. Apply the filler to the gaps and nail holes, then smooth it out with a putty knife. Once dry, sand the filled areas to ensure a seamless finish.
Apply a fresh coat of paint: Painting your shiplap can dramatically improve its appearance. Choose a paint color that complements your overall interior design scheme. Before painting, make sure to clean the shiplap thoroughly to remove any dust or dirt. Apply a primer to create a smooth surface, then follow with your chosen paint color. Consider using a brush or roller with a textured nap to achieve a more rustic look.
Add decorative elements: To further enhance the look of your shiplap, consider adding decorative elements such as trim or molding. This can help to create a more finished and polished appearance. Choose trim or molding that complements the style of your shiplap and install it around the edges or corners. This can add visual interest and give your shiplap a more refined look.
Experiment with different finishes: If you’re looking for a unique and eye-catching look, consider experimenting with different finishes for your shiplap. Options include whitewashing, staining, or even using a colored wash. These techniques can add depth and character to your shiplap, making it stand out as a focal point in your space.
By following these tips and techniques, you can make your shiplap look better and achieve the desired aesthetic for your interior walls. Remember to take your time, pay attention to detail, and experiment with different options to find the best approach for your specific shiplap project.
What is the best finish for shiplap walls?
A matte finish looks great on shiplap, but it can be difficult to clean. If you are painting a wall in a high-traffic area, such as the kitchen or entryway, a semi-gloss finish would be easier to clean.
When it comes to shiplap walls, choosing the right finish is crucial to achieve the desired aesthetic and durability. The finish not only enhances the appearance of the walls but also protects them from moisture, dirt, and wear and tear. With a wide range of options available, it can be overwhelming to determine the best finish for shiplap walls. However, by considering factors such as the desired look, maintenance requirements, and the room’s purpose, you can make an informed decision.
One popular finish for shiplap walls is paint. Painting shiplap walls allows for endless color possibilities, making it a versatile choice for any interior design style. Whether you prefer a classic white or a bold statement color, paint can transform the look of your shiplap walls. Additionally, paint provides a protective layer that helps to seal the wood and prevent moisture damage. However, it’s important to note that painted shiplap walls may require regular touch-ups to maintain their appearance.
If you prefer a more natural look, staining is an excellent option for shiplap walls. Stains enhance the natural beauty of the wood grain, giving the walls a warm and rustic feel. Whether you choose a light or dark stain, it can add depth and character to your space. Stained shiplap walls also require less maintenance compared to painted walls, as they don’t show scratches or chips as prominently. However, it’s essential to properly prepare the wood surface before applying the stain to ensure an even and long-lasting finish.
For those who want to preserve the natural appearance of the wood while adding a layer of protection, a clear sealant is a suitable choice. Clear sealants, such as polyurethane or varnish, provide a glossy or matte finish that enhances the wood’s natural color and texture. This finish option is ideal for shiplap walls in high-traffic areas or rooms prone to moisture, as it creates a barrier against damage. However, it’s important to note that clear sealants may slightly alter the wood’s appearance, potentially darkening or yellowing it over time.
Another option for finishing shiplap walls is whitewashing or limewashing. These techniques involve applying a diluted paint or lime mixture to the wood, resulting in a soft, washed-out look. Whitewashing creates a subtle, beachy vibe, while limewashing offers a more aged and weathered appearance. Both finishes allow the wood grain to show through, adding texture and visual interest to the walls. However, it’s crucial to properly prepare the wood surface and test the mixture on a small area before applying it to the entire wall to achieve the desired effect.
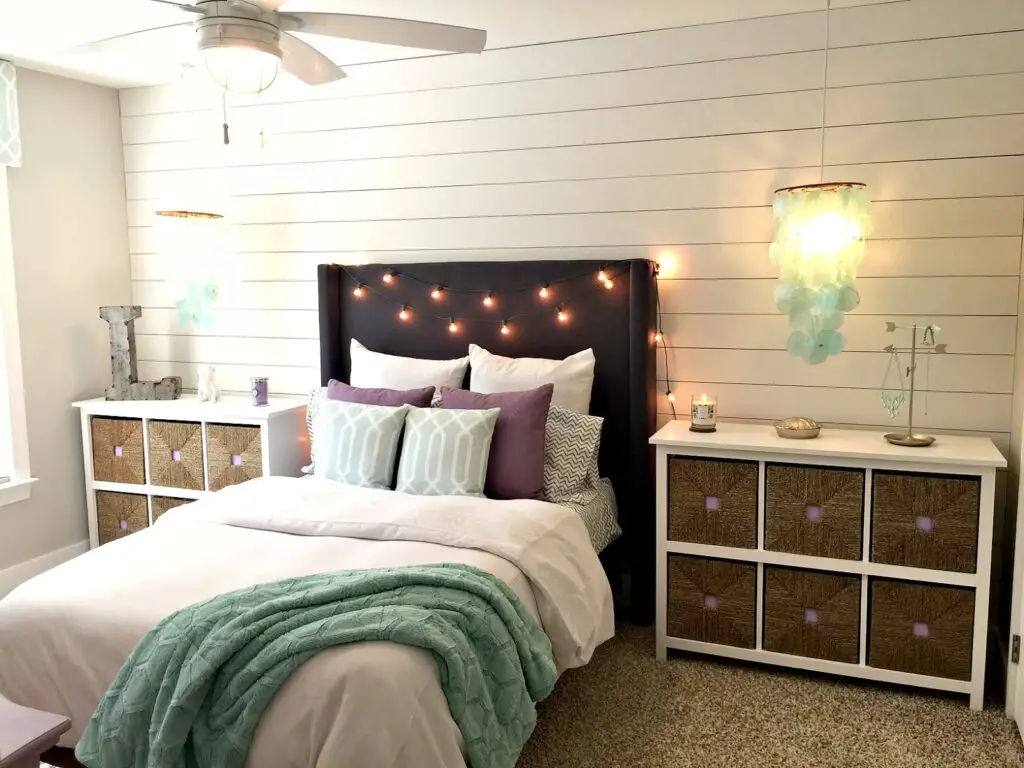
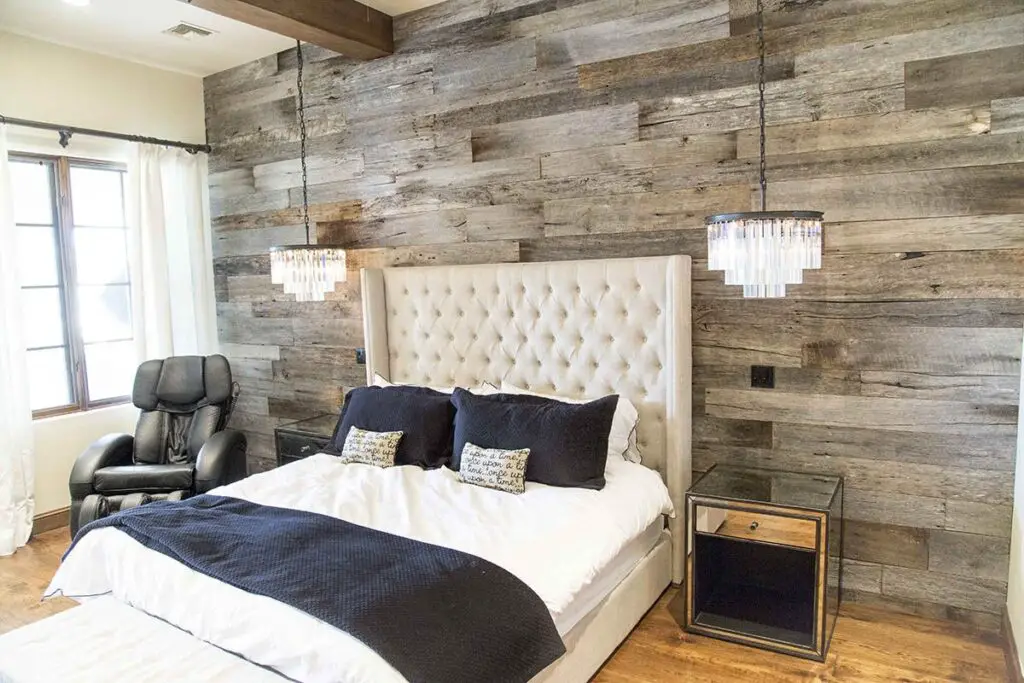
Shiplap is a type of wooden board that is commonly used in creating accent walls. It is characterized by its distinctive overlapping design, where the edges of each board fit into a groove on the adjacent board. This creates a tight and seamless appearance when the boards are installed together.
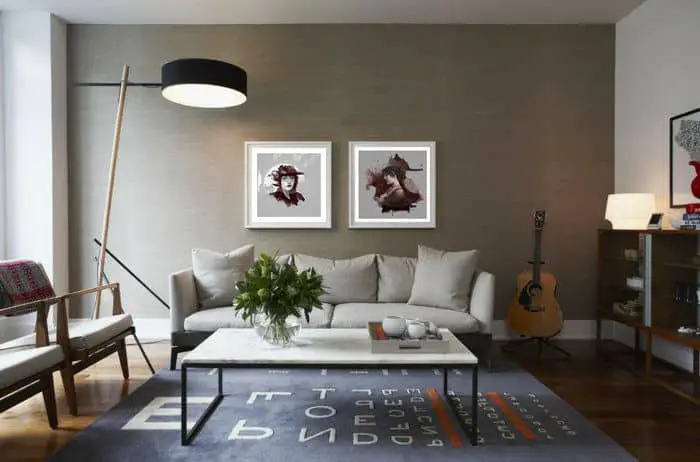
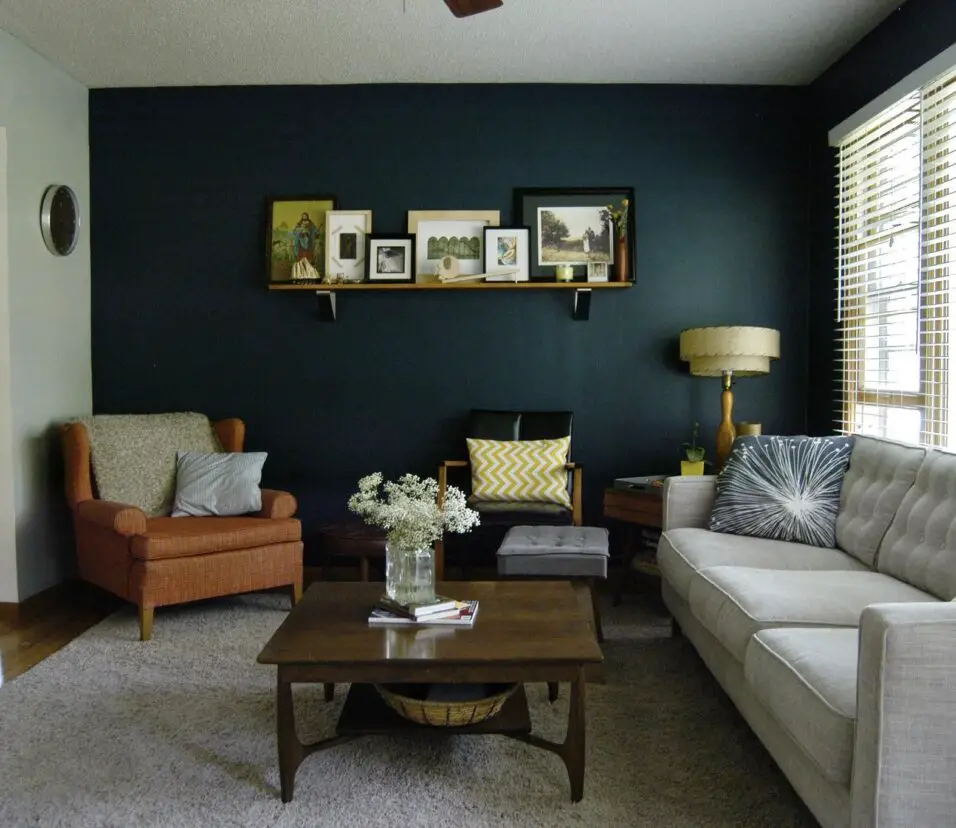
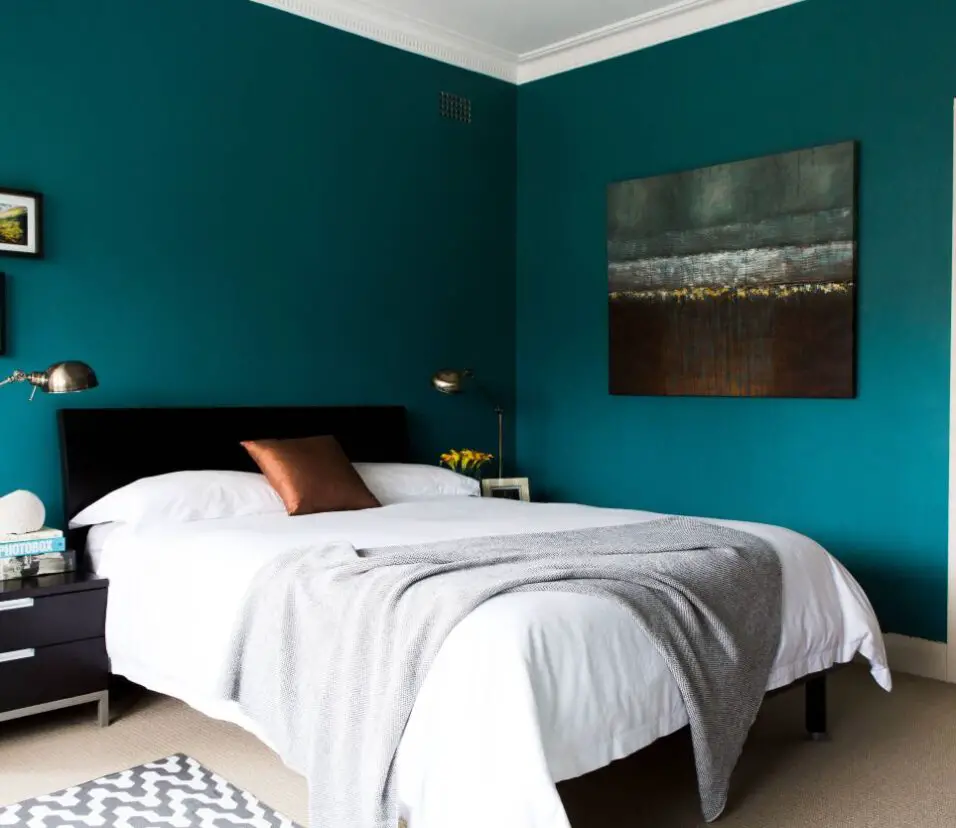
Shiplap accent walls have gained popularity in interior design due to their rustic and charming aesthetic. They add texture, depth, and visual interest to a space, making it a focal point in the room. Shiplap can be used in various areas of the home, such as living rooms, bedrooms, or even bathrooms, to create a cozy and inviting atmosphere.
When installing a shiplap accent wall, it is important to choose high-quality boards that are properly treated and finished to ensure durability. The boards are typically nailed or glued directly onto the wall, starting from the bottom and working upwards. The overlapping design of shiplap allows for easy installation and provides a seamless look once completed.
What tools and materials are needed to trim a shiplap accent wall?
When it comes to trimming a shiplap accent wall, there are several essential tools and materials that you will need to ensure a successful and professional-looking result. These include:
Tape Measure: A tape measure is crucial for accurately measuring the dimensions of your shiplap boards and determining the length of trim pieces needed.
Miter Saw: A miter saw is an essential tool for making precise angled cuts on the shiplap boards and trim pieces. It allows you to achieve clean and seamless joints.
Nail Gun: A nail gun is the most efficient and effective way to secure the shiplap boards and trim pieces to the wall. It ensures a strong and durable hold.
Level: A level is necessary to ensure that your shiplap accent wall is straight and properly aligned. It helps you avoid any uneven or crooked installations.
Sandpaper: Sandpaper is essential for smoothing out any rough edges or imperfections on the shiplap boards and trim pieces. It helps create a polished and finished look.
Paint or Stain: Depending on your desired finish, you will need paint or stain to add color and protection to your shiplap accent wall. Choose a high-quality product that complements your overall design scheme.
By having these tools and materials on hand, you will be well-equipped to trim your shiplap accent wall with precision and achieve a professional result.
Are there any specific techniques or tips for achieving clean and precise cuts when trimming shiplap?
When it comes to achieving clean and precise cuts when trimming shiplap, there are a few techniques and tips that can greatly improve the outcome of your project. Firstly, it is crucial to use the right tools for the job. A miter saw or a circular saw with a fine-toothed blade is ideal for making accurate cuts on shiplap boards. These tools provide clean and smooth cuts, ensuring a professional finish.
Another important technique is to measure and mark your cuts carefully. Take accurate measurements and use a pencil or a marking tool to clearly indicate where the cuts should be made. This will help you maintain consistency and avoid any unnecessary mistakes. Additionally, using a square or a straight edge can assist in ensuring that your cuts are perfectly straight and aligned.
Furthermore, it is recommended to make test cuts on scrap pieces of shiplap before cutting the actual boards. This allows you to fine-tune your cutting technique and make any necessary adjustments before working on the main project. Taking your time and being patient during the cutting process is also crucial for achieving clean and precise cuts. Rushing through the cuts can lead to inaccuracies and imperfections.
How long does it typically take to trim a shiplap accent wall, and what level of difficulty is involved?
Trimming a shiplap accent wall can vary in terms of time and difficulty depending on several factors. The time it takes to complete the project will depend on the size of the wall, the complexity of the design, and the experience level of the person doing the trimming. On average, it can take anywhere from a few hours to a full day to trim a shiplap accent wall.
The level of difficulty involved in trimming a shiplap accent wall is generally considered to be moderate. While it does require some basic carpentry skills, it is a project that can be accomplished by DIY enthusiasts with the right tools and materials. However, it is important to note that precision and attention to detail are crucial when working with shiplap, as any mistakes can be easily noticeable.
When trimming a shiplap accent wall, it is essential to measure and cut each piece accurately to ensure a seamless and professional-looking finish. Taking the time to properly plan the layout and design of the wall can also contribute to a smoother and more efficient trimming process. Overall, with patience, careful planning, and the right tools, trimming a shiplap accent wall can be a rewarding and achievable project for those looking to add a touch of rustic charm to their space.
Are there any potential challenges or common mistakes to avoid when trimming a shiplap accent wall?
When trimming a shiplap accent wall, there are a few potential challenges and common mistakes that you should be aware of in order to achieve the best results. One common mistake is not properly measuring and planning the layout of the shiplap boards. It is crucial to accurately measure the wall and calculate the number of boards needed, taking into account any corners or obstacles that may require additional cuts or adjustments. Failing to do so can result in uneven spacing or gaps between the boards, which can significantly affect the overall appearance of the accent wall.
Another challenge is achieving clean and precise cuts when trimming the shiplap boards. It is important to use the right tools, such as a miter saw or a circular saw with a fine-toothed blade, to ensure smooth and accurate cuts. Additionally, taking the time to properly mark the boards before cutting and using a guide or clamp to keep the boards steady can help prevent any mistakes or uneven cuts.
Furthermore, it is essential to pay attention to the direction of the wood grain when installing the shiplap boards. Aligning the boards in the same direction ensures a cohesive and visually appealing look. Neglecting to consider the wood grain can result in a disjointed and unprofessional finish. Lastly, it is important to take your time and work carefully, as rushing through the process can lead to errors and imperfections in the final result.
Conclusion
Trimming a shiplap accent wall is a straightforward process that can greatly enhance the overall aesthetic appeal of any space. By following the instructions provided, homeowners can achieve a polished and professional look that adds character and charm to their interior design. Whether it’s for a rustic farmhouse style or a modern coastal theme, shiplap trim can be customized to suit any decor.
One of the key benefits of trimming a shiplap accent wall is the versatility it offers. With various sizes and finishes available, homeowners can choose the perfect shiplap trim to complement their existing decor. Whether opting for a natural wood finish or a painted look, shiplap trim can be easily customized to match any color scheme or design preference.
Furthermore, trimming a shiplap accent wall is a relatively simple DIY project that can be completed by homeowners with basic carpentry skills. By following the step-by-step instructions provided, individuals can confidently tackle this project and achieve professional-looking results. Additionally, shiplap trim is readily available at most home improvement stores, making it easily accessible for those looking to embark on this project.
Lastly, a shiplap accent wall not only adds visual interest to a space but also provides practical benefits. The horizontal lines created by the shiplap trim can make a room appear larger and more spacious. Additionally, shiplap trim can help to conceal imperfections on the wall surface, providing a clean and seamless look. This makes it an ideal choice for homeowners looking to update their space without the need for extensive renovations.
Trimming a shiplap accent wall is a versatile and accessible DIY project that can transform the look and feel of any room. With its customizable options and ease of installation, shiplap trim offers homeowners the opportunity to add character and charm to their interior design. Whether aiming for a rustic or modern aesthetic, a shiplap accent wall is a timeless and stylish choice that can enhance the overall ambiance of any space.