How To Smooth Out Interior Stucco Walls
Introduction
How to Smooth inside Stucco Walls: Smoothing and polishing inside stucco walls can improve the look and feel of your home. The adaptable and durable stucco adds texture and character to walls, but a flawless finish demands careful skill. This instruction will help you achieve smooth stucco walls for any renovation or interior makeover.
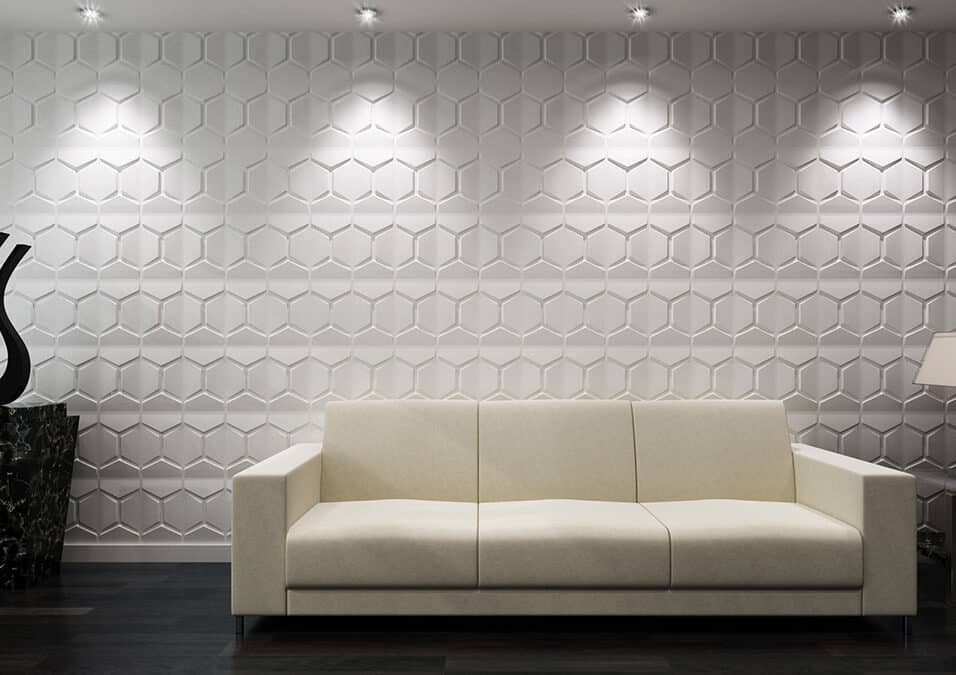
Smooth stucco walls look clean and modern and are a great canvas for paintings, wall-mounted fixtures, and accent items. Get stucco mix, trowels, sandpaper, a level, protective clothing, and painter’s tape before starting.
The process of achieving smooth stucco interior walls involves several key steps. First, prepare the existing stucco surface by cleaning it thoroughly and repairing any cracks or imperfections. Next, apply a new layer of stucco using the appropriate techniques, ensuring an even and consistent application. After the stucco has dried slightly, use trowels to carefully flatten and level the surface.
To achieve the desired smoothness, sand the dried stucco gently using fine-grit sandpaper. This step is crucial for eliminating any remaining imperfections and creating a seamless finish. Remember to work systematically and patiently, paying attention to details as you progress.
We will explain each step in detail and offer experienced advice to help you obtain professional-looking smooth stucco walls. This book will help you turn your interior spaces into stylish, inviting, modern-chic places, whether you’re a DIYer or not.
Can stucco be used on interior walls?
Interior stucco application involves preparing the wall surface by cleaning and priming it. Then, a stucco mixture is applied using trowels to create the desired texture. The texture can range from smooth to highly textured, depending on personal preference.
The benefits of using stucco on interior walls include its durability, sound-absorbing properties, and the ability to hide minor imperfections. However, it’s important to note that proper preparation and application techniques are crucial to achieving the desired result.
What is interior stucco made of?
The basic composition of both stucco and plaster is water, sand and binder (typically lime, clay and/or cement). Traditional recipes and increasing numbers of modern systems use lime and /or clay instead of cement. Adding lime to a modern mix can increase its workability. The exact composition can vary based on the specific requirements and desired finish.
Cement serves as the binder in interior stucco, providing strength and stability to the mixture. Sand is added to give the stucco texture and to help prevent cracking. The type and size of sand used can influence the final texture of the stucco.
The proportions of these ingredients can be adjusted to achieve different textures, from a smoother finish to a more heavily textured look. It’s important to carefully mix and apply the stucco mixture to ensure a consistent and visually appealing result on interior walls. Proper preparation, application, and finishing techniques are crucial to achieving the desired aesthetic and durability of the interior stucco.
What is stucco wall?
Stucco is a cement-type mixture made of Portland cement, lime, sand and water. It is a thin finish coat that goes on the outermost layer of residential and commercial constructions. Modern stucco has polymers and other
Stucco serves not only as a decorative element but also as a protective layer for buildings. It shields underlying structures from moisture, wind, and other environmental factors, thereby enhancing the longevity of the construction. Stucco walls are commonly used in both residential and commercial buildings, providing an aesthetically pleasing and functional solution.
The application of stucco involves multiple steps, including surface preparation, the application of the stucco mixture, shaping and texturing, and finally, curing and potentially painting. Proper application techniques are essential to ensure a durable and visually appealing stucco wall that can withstand the elements and contribute to the overall architectural character of the building.
What is the thickness of interior stucco?
Traditional hard coat stucco usually follows the thickness requirement of building codes, falling at around ⅞ inches thick. The most common type of stucco, the traditional hard coat is usually applied in 3 layers: A ⅜ inch scratch coat, a ⅜ inch brown coat and a ⅛ inch finish coat.
The thickness of interior stucco can vary depending on factors such as the desired texture, the type of substrate, and the specific application. Generally, interior stucco layers can range from about 1/8 inch to 1/2 inch (3mm to 13mm) in thickness. These thicker layers might involve a coarser stucco mix and allow for greater manipulation to create intricate textures.
The underlying substrate also plays a role in determining the thickness. Stucco can be applied to a variety of surfaces such as drywall, plaster, or masonry. The substrate’s condition and stability can influence how thick the stucco layer should be to ensure proper adhesion and longevity.
It’s important to note that while thicker layers can provide more texture and visual interest, they can also pose challenges in terms of drying time and cracking. Achieving the right thickness and proper application techniques are crucial for creating a durable and visually appealing interior stucco finish.
Could you explain the step-by-step process of preparing the existing stucco surface before applying a new layer for a smoother finish?
The process of preparing the existing stucco surface before applying a new layer for a smoother finish involves several crucial steps to ensure optimal adhesion and a polished result. Here’s a step-by-step guide:
Clean the Surface: Thoroughly clean the existing stucco surface to remove dirt, dust, and any loose particles. A clean surface provides a solid foundation for the new layer.
Inspect for Damage: Carefully inspect the stucco for cracks, holes, or other imperfections. Repair any damage using an appropriate patching compound or stucco repair mixture. Allow the repairs to fully cure before proceeding.
Remove Loose Stucco: If you encounter areas of stucco that are loose or not firmly adhered, carefully remove these sections using a chisel or other suitable tool.
Apply a Bonding Agent: To enhance adhesion between the old and new stucco layers, apply a bonding agent to the cleaned surface. Follow the manufacturer’s instructions for proper application and drying time.
Moisten the Surface: Before applying the new layer, dampen the existing stucco surface with water. This helps prevent the old stucco from absorbing water from the new layer too quickly, which could lead to inadequate bonding.
Mix the Stucco: Prepare the stucco mixture according to the manufacturer’s instructions. The consistency should be workable and free of lumps.
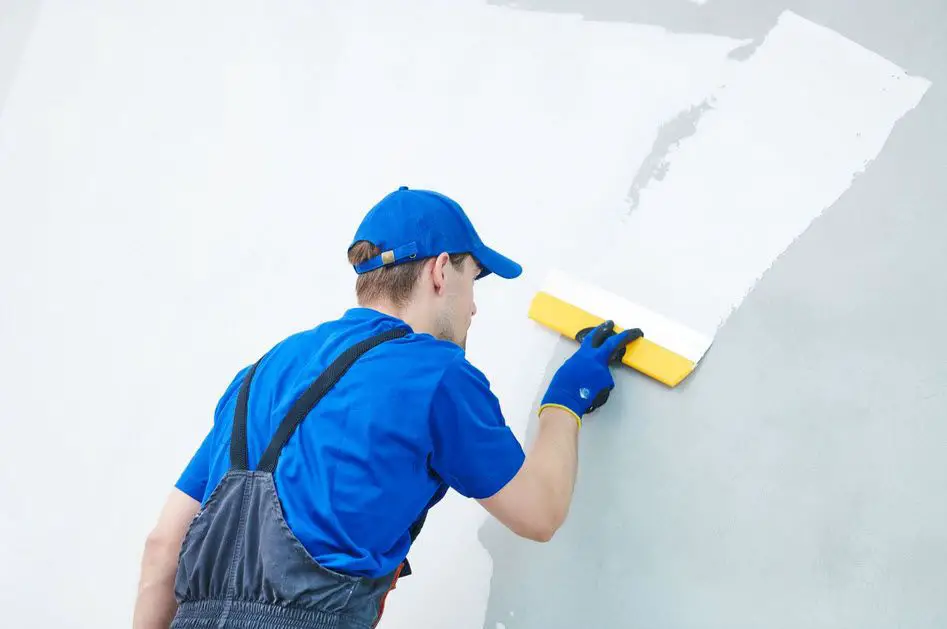
Apply the New Layer: Using a trowel, apply the new stucco layer onto the dampened surface. Work in small sections, spreading the mixture evenly and maintaining the desired thickness.
Shape and Smooth: As you apply the stucco, use trowels to shape and smooth the surface. Ensure an even distribution and maintain a consistent texture.
Cure and Dampen: Allow the new stucco layer to cure for the recommended time, keeping it damp by lightly misting it with water. This gradual drying process helps prevent cracking.
You’ll establish a solid foundation for the new stucco layer, ensuring optimal adhesion and creating the basis for achieving a flawlessly smooth finish on your interior stucco walls.
What techniques should be employed to ensure an even and consistent application of the new layer of stucco on interior walls?
To achieve an even and consistent application of the new layer of stucco on interior walls, employing proper techniques is essential for a polished and professional finish. Here are the key strategies to follow:
Divide the Surface: Divide the wall into manageable sections to work on one area at a time. This prevents the stucco from drying before you have a chance to shape and smooth it.
Apply an Even Coat: Use a trowel to spread the stucco mixture evenly across the wall. Maintain a consistent thickness to prevent variations in texture and finish.
Overlap Strokes: When applying the stucco, overlap your trowel strokes slightly to ensure a uniform distribution of the mixture. This helps eliminate noticeable lines or irregularities.
Work Vertically and Horizontally: Alternate between vertical and horizontal trowel strokes to evenly distribute the stucco and prevent a noticeable pattern. This technique blends the texture seamlessly.
Feathering Edges: Feather the edges of each section as you work. This involves gently thinning out the stucco toward the edges to create a smooth transition between sections, minimizing visible lines.
Maintain Consistent Pressure: Apply consistent pressure on the trowel throughout the application process. This helps control the thickness of the stucco layer and prevents uneven patches.
Check for Smoothness: Periodically step back and assess the smoothness of the applied stucco. If you notice any inconsistencies or bumps, address them immediately before the stucco begins to set.
Use Light Trowel Pressure: To create a smoother finish, use a light touch with the trowel when shaping and smoothing the stucco. Too much pressure can compress the stucco and create an uneven texture.
By employing these techniques diligently, you’ll ensure a seamless and visually pleasing result when applying a new layer of stucco to interior walls. Consistency in application, along with attention to detail, is key to achieving the desired smooth and polished finish.
How can one use trowels effectively during the process of flattening and leveling the stucco surface?
Using trowels effectively during the process of flattening and leveling the stucco surface is essential to achieve a smooth and uniform result. Here’s how to wield trowels with precision for optimal outcomes:
Select the Right Trowel: Choose trowels with the appropriate size and shape for the task. A larger trowel covers more area, while a smaller one is ideal for detailed work. A straight-edge trowel is typically used for flattening and leveling.
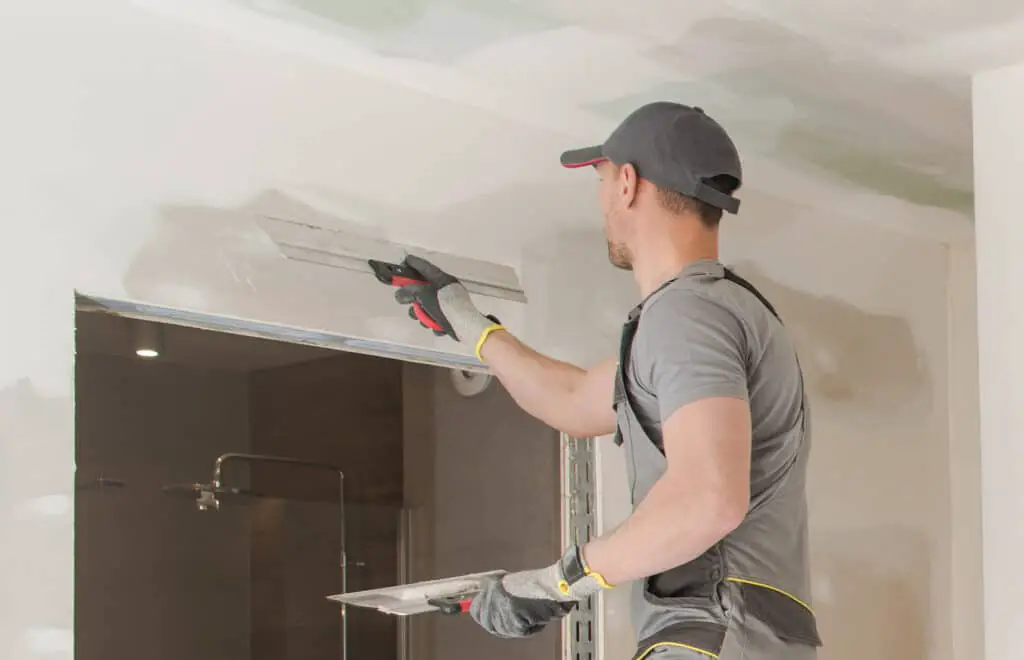
Begin with a Skim Coat: After applying the stucco, start by gently skimming the surface with the trowel. Hold the trowel at a slight angle to the wall and use smooth, sweeping motions to create an initial flat layer.
Maintain a Consistent Angle: Keep the trowel at a consistent angle to ensure an even application of pressure. This prevents uneven spots and promotes a uniform surface.
Use Light Pressure: Apply light to moderate pressure when using the trowel. Excessive pressure can push the stucco around, causing inconsistencies in thickness.
Crosshatch Technique: Once you’ve skimmed the surface, use a crosshatch technique. Gently drag the trowel across the stucco in both vertical and horizontal directions to further level and flatten the surface.
Check for Level: Regularly use a level to check the flatness and evenness of the stucco surface. Make adjustments as needed, focusing on areas that require more attention.
Feather Edges: When working near the edges of the stucco application, feather the edges with the trowel. This helps create a smooth transition between the new layer and the existing surface.
Address Imperfections: If you notice any ridges or uneven spots, use the trowel to gently blend and smooth them out. Work patiently and take your time to achieve the desired result.
Clean Trowel Regularly: As you work, periodically clean the trowel to prevent dried stucco from building up and affecting the quality of your smoothing process.
By mastering these trowel techniques, you’ll be able to effectively flatten and level the stucco surface, ensuring a consistent and polished finish that enhances the overall appearance of your interior walls.
What considerations should be taken into account when choosing between a highly textured or a smoother stucco finish for interior walls?
Choosing between a highly textured or a smoother stucco finish for interior walls involves considering several key factors that can influence the overall aesthetics, functionality, and design intent of your space.
Aesthetic Preferences: Your personal style and design preferences play a significant role. Highly textured finishes add depth and visual interest, creating a rustic or dramatic ambiance, while smoother finishes provide a sleek, modern look.
Room Size and Lighting: Consider the size of the room and the available lighting. Smoother finishes can make a small room feel more open and airy, while textured finishes can add coziness and warmth to larger spaces.
Maintenance and Cleaning: Highly textured finishes can trap dust and be more challenging to clean. Smoother finishes are easier to maintain and wipe clean, making them suitable for high-traffic areas or spaces prone to dirt accumulation.
Interior Design Theme: The overall theme of your interior design should align with the chosen stucco finish. A highly textured finish might complement a rustic or traditional theme, while a smoother finish can harmonize with contemporary or minimalist designs.
Furniture and Decor: Consider the type of furniture and decor you plan to use. Highly textured walls might clash with intricate furniture designs, while smoother finishes can provide a versatile backdrop for a variety of decor styles.
Acoustic Properties: Textured finishes can offer acoustic benefits by reducing sound reflection and absorption. If sound management is a priority, a textured finish might be more suitable.
Budget and Timeline: Textured finishes often require more material and labor, potentially increasing costs and installation time. Smoother finishes could be more budget-friendly and quicker to apply.
Personal Comfort: Consider how the texture will feel against your skin when touching the walls. Highly textured finishes might have a tactile appeal, while smoother finishes offer a more polished touch.
Ultimately, the choice between a highly textured or smoother stucco finish should align with your aesthetic preferences, lifestyle, and the functionality of the space. By carefully evaluating these considerations, you can make an informed decision that enhances the overall design and ambiance of your interior environment.

Conclusion
Mastering the art of smoothing out interior stucco walls can significantly elevate the aesthetics and atmosphere of your living spaces. By diligently following the steps outlined in this guide, you can transform rough and textured surfaces into sleek, polished canvases that enhance the overall design of your home.
Remember that patience and attention to detail are paramount throughout the process. Each step, from surface preparation to the final sanding, contributes to the ultimate smoothness of the stucco. As you progress, take the time to assess your work, making necessary adjustments to ensure a flawless outcome.
Smooth stucco walls not only offer a visually pleasing backdrop but also serve as a foundation for your creativity. Once you’ve achieved the desired smoothness, you can explore various interior design options, from vibrant color choices to tasteful decorations, to showcase your personal style.
Ultimately, the journey of transforming textured stucco smooth walls into elegant, refined surfaces is a rewarding endeavor. The time and effort invested will yield a space that exudes sophistication and comfort, creating an inviting environment that you and your guests will enjoy for years to come. So, embrace the process, apply the knowledge you’ve gained, and relish the gratification of admiring the seamless beauty you’ve brought to your home.