How To Remove Baseboard Without Damaging Wall
Introduction
How To Remove Baseboard Without Damaging Wall: Baseboards not only add a decorative touch to your walls but also serve as a functional barrier between the flooring and the wall. Whether you’re looking to update your interior design or making way for renovations, learning how to remove baseboards properly will prove invaluable. Whether you encounter stubborn nails or tough-to-remove adhesive, we’ll have you covered with expert advice to navigate any obstacles along the way.
Additionally, we’ll explore the importance of making precise cuts and using caution while prying the repaint baseboards off the wall. Understanding how the baseboards are attached to the wall, whether with nails or adhesive. Will guide you in choosing the most suitable removal technique for your specific situation.
We’ll also touch upon some helpful tips and tricks, like using a thin piece of scrap wood between the pry bar and the wall to prevent damage or gently tapping the baseboard with a rubber mallet to loosen it before removal. These simple yet effective methods will ensure a smooth and successful removal process. Furthermore, we’ll address potential challenges that may arise during the task and provide troubleshooting tips to overcome them.
Can you remove baseboards without damaging the wall?
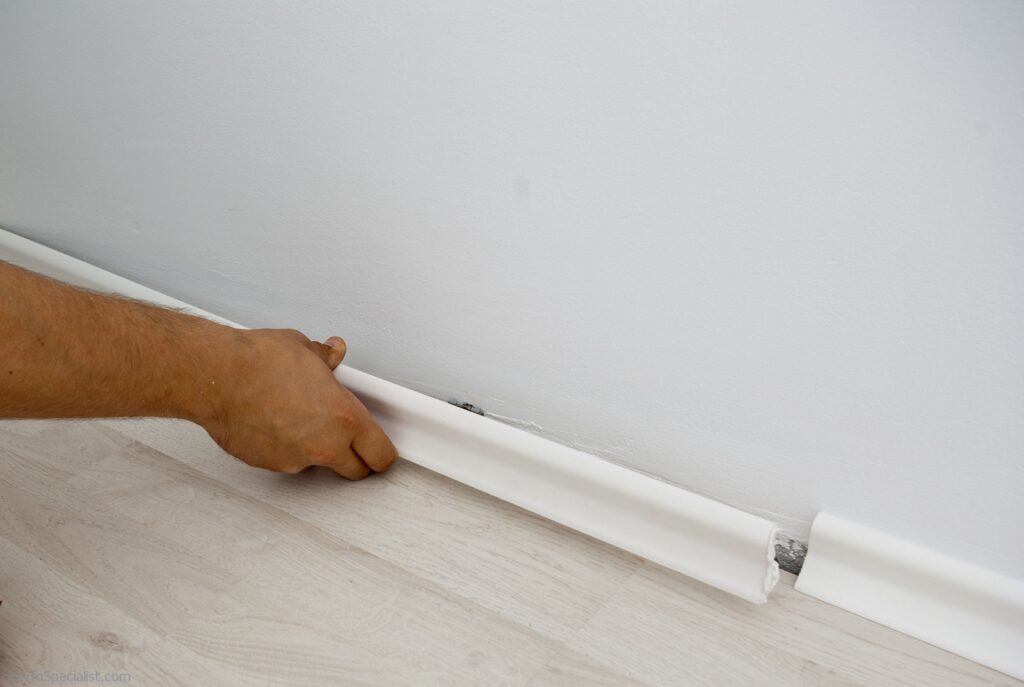
Cut any caulk along the baseboard with your utility knife, right where it meets the wall. This well help you avoid destroying any paint, drywall, or wallpaper on the wall. Make sure to score along the complete length of the baseboard so that it will detach more easily from the wall in the later steps.
Before starting the baseboard removal process, ensure you have the necessary tools readily available. These typically include a utility knife, a pry bar or crowbar. A rubber mallet, a putty knife, a flathead screwdriver, a hammer, and safety gear such as gloves and safety glasses.
The first step in safely removing baseboards is to determine the attachment method used. Baseboards are usually secured to the wall with either nails or adhesive. Identifying the attachment method will guide you in choosing the appropriate technique for removal.
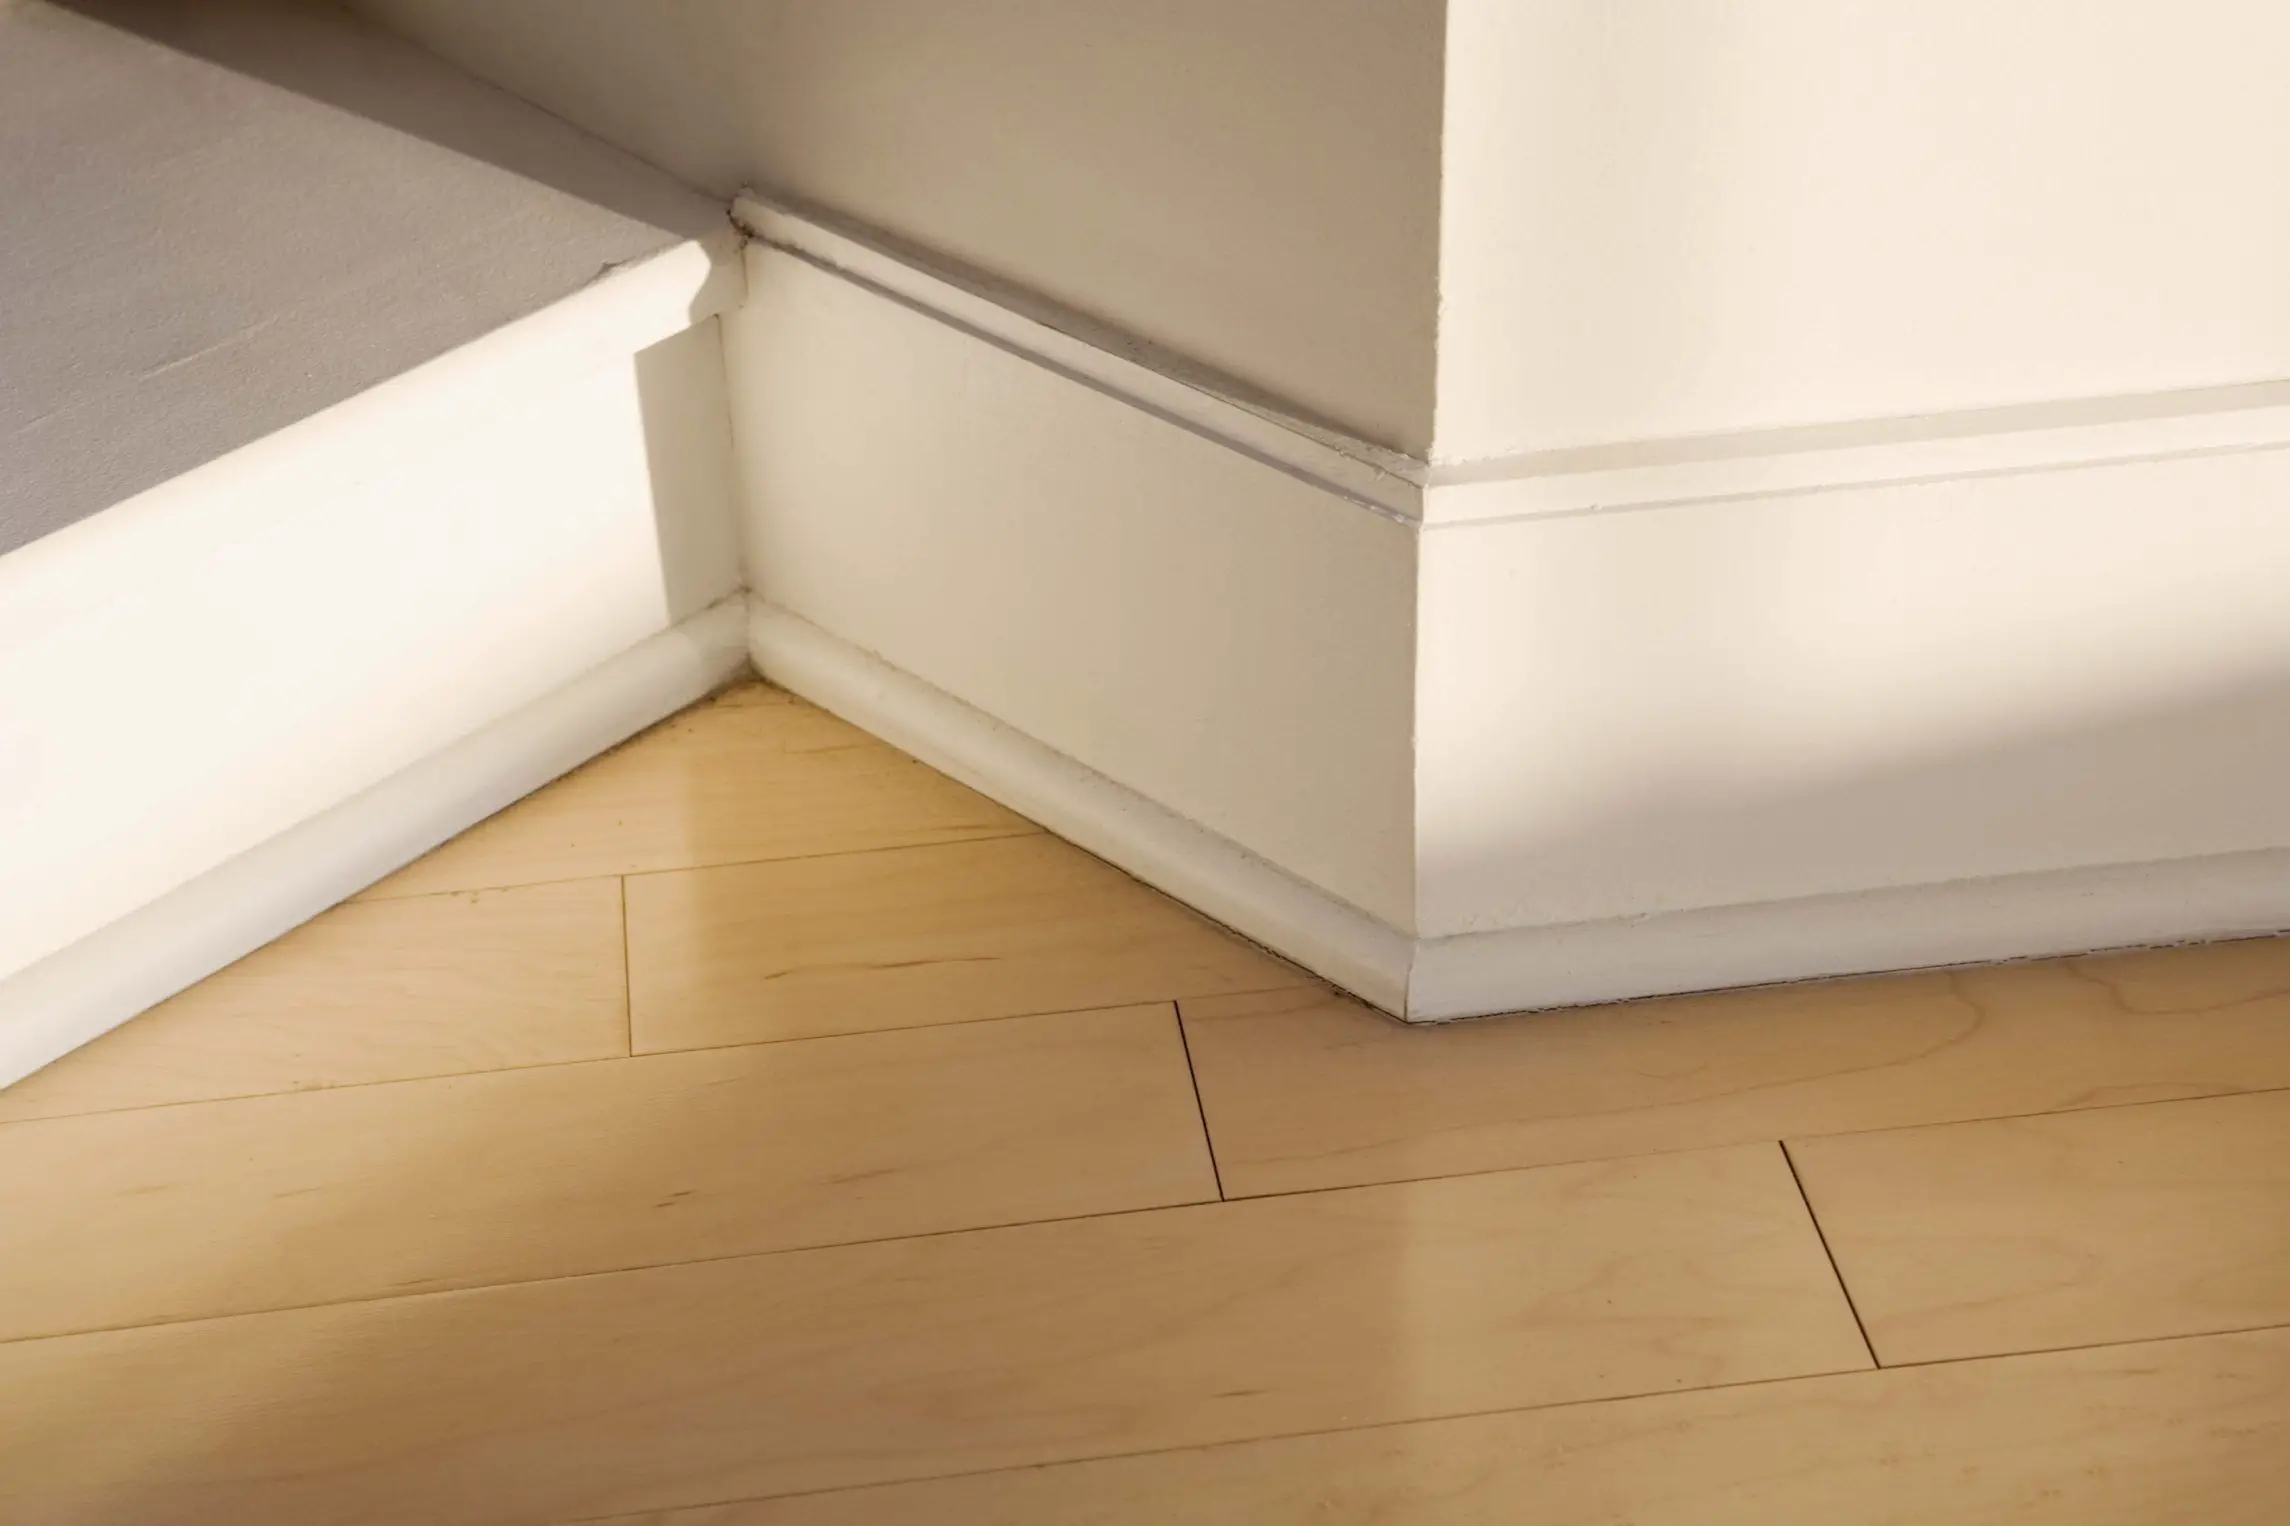
When dealing with corners or areas with tight spaces, use caution and precision to avoid damaging adjacent walls or surfaces. Take your time and use a combination of tools. Such as a utility knife and a smaller pry bar, to carefully detach the baseboard. Removing baseboards without damaging the wall is an achievable task with the right approach and the proper tools.
By following the step-by-step process outlined in this guide, you can confidently undertake baseboard removal projects, revamping your living space with minimal impact on the walls. Always prioritize safety, patience, and precision, and don’t hesitate to seek inspiration and advice from fellow DIY enthusiasts.
Is it OK to remove baseboards?
Most flooring applications do not require you to remove existing baseboards. However, you may choose to remove the baseboards and replace them at the same time as flooring installation if you want to switch to a different baseboard height or change the style to match the overall look of your remodel.
One of the most common reasons for removing baseboards is during home renovations. Whether you’re remodeling a room, installing new flooring, or updating the interior design, removing baseboards can be a necessary step to achieve a polished look. In such cases, it is perfectly okay to remove baseboards temporarily to facilitate the renovation process.
Some homeowners may choose to replace their existing baseboards with more modern or stylish options. Upgrading baseboards can dramatically enhance the overall appearance of a room and complement new interior design choices. If you have a specific vision for your living space, it is acceptable to remove the current baseboards to make way for the upgraded ones.
Baseboards, like any other element in a home, can suffer wear and tear over time. Scratches, dents, or chipping paint can diminish their aesthetic appeal. In such cases, removing and replacing damaged baseboards is entirely acceptable and can restore the room’s appearance.
When installing larger appliances, built-in shelving, or other fixtures that require precise fitting against the wall. Removing baseboards might be necessary. Creating a seamless fit with such installations may require temporary removal of the baseboards.
There are instances where access to the wall behind the baseboard is needed. For example, in electrical work or plumbing repairs, removing baseboards can provide necessary access to the wall without causing unnecessary damage.
What is the best tool to remove baseboards?
Trim Puller
The Trim Puller is designed specifically to safely and easily remove baseboards, molding, door casings and decorative panels without damage to the trim or to the wall and without the need for a shim or small board spacer.
A utility knife is another essential tool for baseboard removal. Before using the pry bar, it’s crucial to score along the top edge of the baseboard where it meets the wall. This scoring creates a separation between the baseboard and the wall. Reducing the risk of damaging the wall’s surface or tearing paint or wallpaper.
A rubber mallet can be helpful in loosening the baseboard before using the pry bar. Gently tapping the baseboard with a rubber mallet helps to loosen any adhesive. Paint bond, making it easier to remove the baseboard without causing damage.
A putty knife or a flathead screwdriver is useful for prying the baseboard away from the wall initially. It can be inserted between the baseboard and the wall. To create a starting point for the pry bar.
If the baseboard is nailed to the wall, a nail punch is beneficial for driving the nails slightly deeper into the baseboard before removal. This prevents the nail head from tearing the surface as you pry it out.
In cases where baseboards are attached with strong adhesive. A heat gun can be used to soften the adhesive, making it easier to remove the baseboard. However, caution must be exercised not to overheat or damage the wall surface.
How much does it cost to remove baseboards?
Cost to Remove Baseboard
Removing existing baseboards will usually cost between $50 to $100 per hour in labor. This will typically include debris removal, but you may need an additional removal service for around $20.
Utilize Corners
If you decide to remove the baseboards yourself, the cost will primarily be associated with the tools and materials required for the task. Basic tools like a utility knife, pry bar, rubber mallet, and putty knife can be purchased for relatively affordable prices, typically ranging from $20 to $50 or more, depending on the quality and brand of the tools.
Hiring a professional to remove baseboards can be a convenient option. Especially if you’re uncertain about how to proceed or have concerns about potential damage. The cost of professional baseboard removal will depend on the contractor’s rates, location, and the complexity of the project. Contractors may charge an hourly rate or provide a flat fee for the entire project.
Consider Traffic Flow
On average, professional baseboard removal can cost anywhere from $100 to $300 or more, depending on the size of the project and the contractor’s rates. Keep in mind that some contractors may include baseboard removal as part of a larger home improvement or renovation package, which could affect the overall cost.
If the baseboards are damaged or need repair, you may need to budget for replacement baseboards or repairs, which can range from $1 to $3 per linear foot or more, depending on the material and design.
Floating Furniture
After removing the baseboards, you may need to address any adhesive residue left on the walls. The cost of adhesive removers or cleaning solutions is relatively minimal, ranging from $5 to $20, depending on the product.
If you’re planning to replace the baseboards with new ones, you’ll need to budget for the cost of the new baseboards themselves, which can vary widely based on the material, style, and length. Baseboards typically range from $1 to $10 or more per linear foot.
What tool removes baseboard trim?
The Trim Puller removes baseboards, molding, door casings, and ornamental panels without damaging the trim or wall or requiring a shim or tiny board spacer.
Remove any impediments from the baseboard trim before commencing. Remove any obstructions.
Carefully score the baseboard trim’s top edge where it meets the wall with a utility knife. This scoring separates trim and wall. Easier trim removal without harm.
Put the flat end of the pry bar behind the baseboard trim near a nail or edge.
For even pressure, use the pry bar’s length to lever it away from the wall. Avoid excessive force to protect the wall and trim.
Insert the pry bar at intervals and pry the baseboard trim away from the wall until it is free.
Long pry bars provide leverage, making trim removal easy without force.
When used properly, a pry bar reduces wall and baseboard trim damage during removal.
Pry bars are handy tools for homeowners and DIYers because they can be used for more than baseboard trim.
Do baseboards make a difference?
Something that is small but can truly make a difference in your home is trim and baseboards. If your current trim and/or baseboards are poorly installed or damaged, it creates the appearance of the “old and cheap” look.
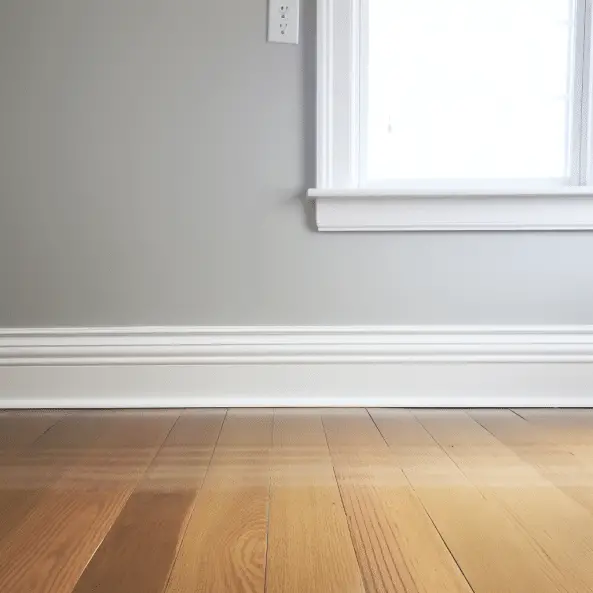
Baseboards add a finishing touch to walls, creating a clean and polished look to any room. They serve as a transition between the floor and the wall, providing a defined boundary that frames the space. The right choice of baseboard design, material, and color can complement the overall interior design, tying together various elements and enhancing the room’s aesthetic appeal.
Baseboards come in a wide range of styles, from simple and understated to ornate and decorative. Choosing the appropriate baseboard style can help define the overall style of the room, whether it’s modern, traditional, rustic, or contemporary. This element of customization allows homeowners to create a cohesive and harmonious interior design that aligns with their preferences and the room’s purpose.
Baseboards are especially useful for concealing gaps and imperfections between the floor and the wall. They cover the joint where the two surfaces meet, hiding any irregularities or uneven edges. This not only improves the room’s appearance but also provides a seamless transition between the floor and the wall, giving the space a more refined and polished look.
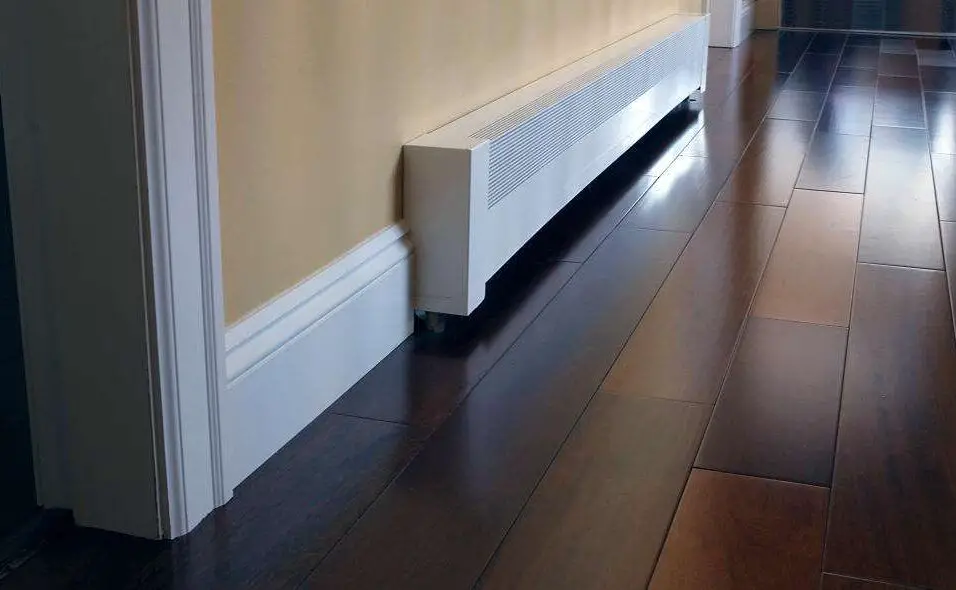
In high-traffic areas, such as hallways and entryways, baseboards offer protection to the walls against scuffs, scratches, and marks caused by shoes, furniture, or other objects. They act as a barrier, absorbing impact and preventing direct contact with the wall surface, ultimately prolonging the life and maintaining the condition of the walls.
What happens if you don’t have baseboards?
Opting to not have any baseboards will keep your design simple and modern. The only downside is a loss of protection for your walls from brooms and vacuums. That said if you don’t expect too much horseplay around your house, being able to have a bookshelf flush against your wall is a real upside.
The most apparent consequence of not having baseboards is the exposed gap between the floor and the wall. Without baseboards, the seam where the floor meets the wall is left exposed, which can create an unfinished and unpolished look in the room. This gap can also accumulate dust and debris, making it more challenging to keep the area clean.
Baseboards add a finishing touch to walls, giving them a sense of completeness. Without baseboards, walls may appear bare and lacking definition, especially in rooms with different flooring materials or wall finishes. This can detract from the overall aesthetic appeal of the space.
The absence of baseboards can leave walls more susceptible to damage from furniture, vacuum cleaners, and other objects. Without the protective barrier provided by baseboards, walls are at greater risk of getting scratched, scuffed, or chipped over time, particularly in high-traffic areas.
Baseboards can contribute to the overall interior design by tying together various elements in the room. They can complement the style of the flooring, the wall color, and other architectural features. Without baseboards, this design element is missing, and the room may lack the sense of harmony that baseboards can provide.
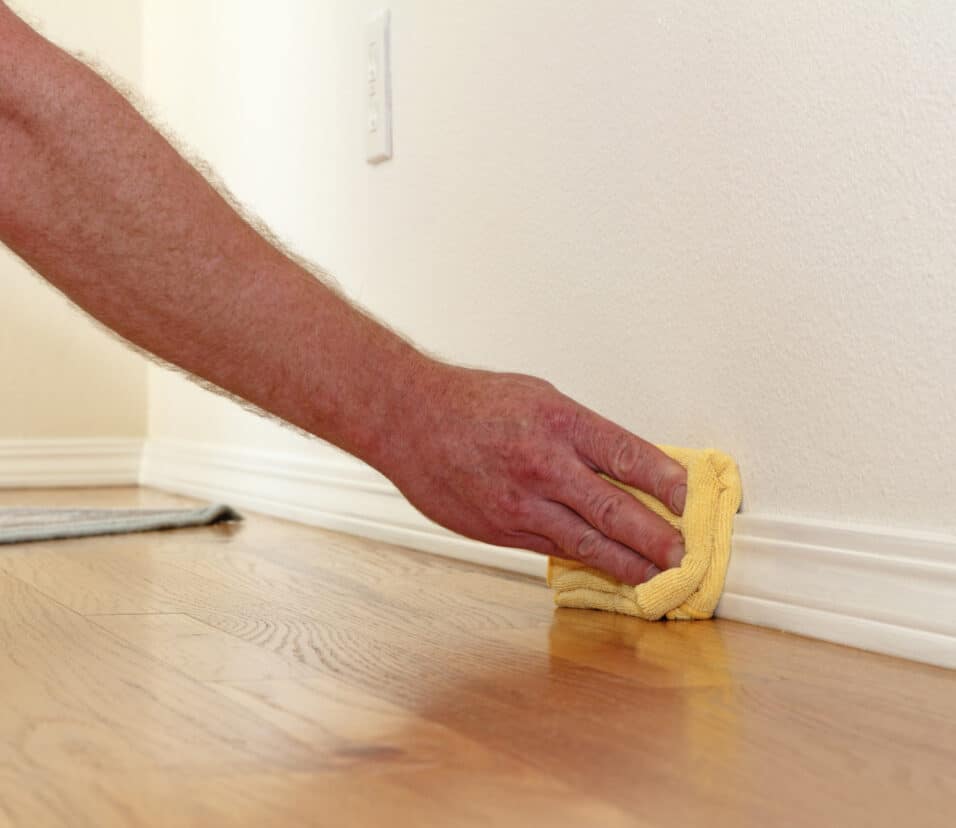
How do you remove and clean baseboards?
Create a cleaning solution by mixing a gallon of warm water with a couple of teaspoons of dish soap. Dip a microfiber cloth or microfiber sponge into the solution and wipe the baseboards to remove stuck-on dirt and discoloration. Use a Mr. Clean Magic Eraser to remove any remaining scuff marks or difficult stains.
Gather the Necessary Tools: Before starting, gather the essential tools, including a utility knife, a pry bar or crowbar, a rubber mallet, and a putty knife. Additionally, wear safety gear like gloves and safety glasses.
Score Along the Top Edge: Use a utility knife to score along the top edge of the baseboard where it meets the wall. This creates a separation between the baseboard and the wall, making it easier to remove without damaging the wall surface.
Insert the Pry Bar: Insert the flat end of the pry bar or crowbar between the baseboard and the wall at one end. Gently leverage the pry bar away from the wall to loosen the baseboard.
Work Along the Baseboard: Move the pry bar along the baseboard, gradually prying it away from the wall. Use a rubber mallet to gently tap the baseboard if it feels stuck, but exercise caution to avoid causing damage.
Remove Nails or Adhesive: As you remove the baseboard, be prepared to encounter nails or adhesive used to secure it to the wall. For nails, use a nail punch to drive them slightly deeper into the baseboard before prying them out. For adhesive, gently tap with a rubber mallet to loosen it or use a heat gun to soften it if necessary.

Conclusion
Remember, the key to a successful remove baseboard lies in preparation and attention to detail. Taking the time to identify the attachment method, whether nails or adhesive, and applying the suitable removal technique ensures a seamless transition from old to new, whether you’re updating your interior design or preparing for renovations.
Moreover, you’ve gained valuable knowledge in troubleshooting potential challenges, such as dealing with stubborn nails or tricky adhesive, allowing you to overcome any obstacles that may arise during the process. With this newfound skill, you’ll feel confident and empowered to take on future home improvement projects, transforming your living space to reflect your unique style and preferences. Prepare a solution of warm water and a mild detergent or dish soap. Dip a clean cloth or sponge into the soapy water and wring it out until it’s damp, not soaking wet.
Keep in mind that each home improvement project is an opportunity to learn and grow. As you tackle different tasks, you’ll encounter unique challenges and solutions, further enhancing your expertise. Don’t be afraid to experiment and explore new ideas, as it’s through these experiences that you’ll develop your craftsmanship. Before cleaning, dust the baseboards with a soft cloth or microfiber duster to remove any loose dirt or debris. Follow up by vacuuming the baseboards using a soft brush attachment.