How To Put Plumbing Tape On
Introduction
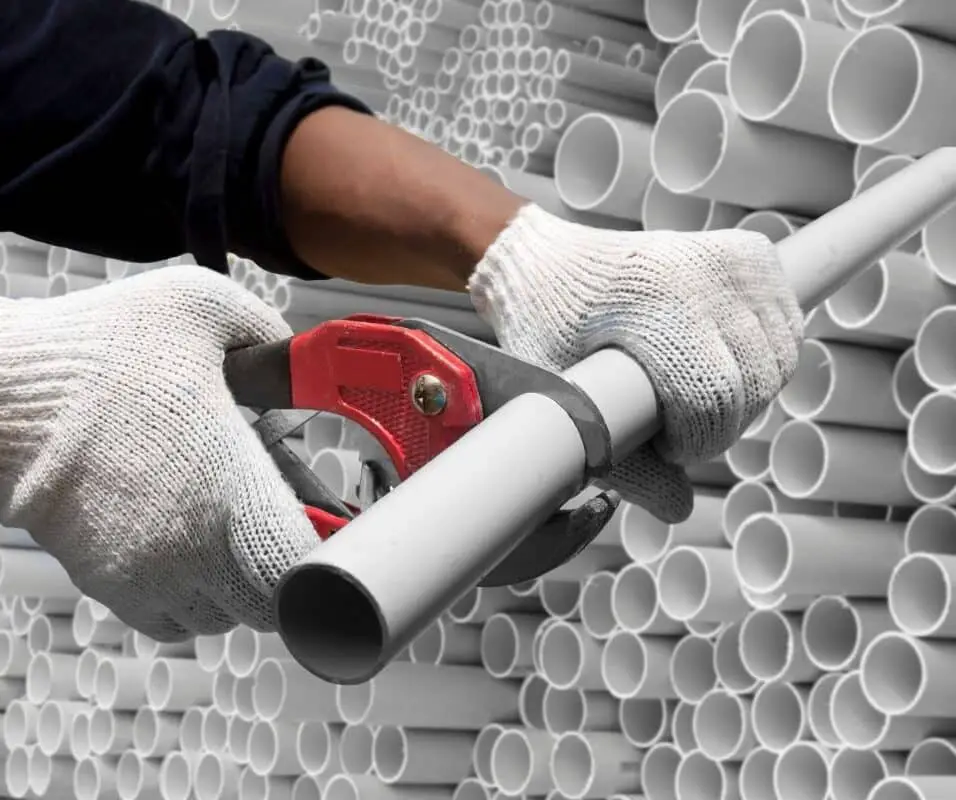
Plumbing tape, also known as Teflon tape or thread seal tape, is an essential tool used in plumbing installations and repairs. It is a thin, white tape that is highly versatile and widely used to create watertight seals on threaded pipe fittings and connections. Whether you are a seasoned DIY enthusiast or a novice homeowner, knowing how to properly apply plumbing tape can save you from leaks and ensure the longevity of your plumbing system. The materials needed, the preparation required, and the proper technique to achieve an effective seal.
By following these instructions, you will gain the confidence and skills needed to tackle various plumbing projects with ease. The different types of plumbing tape available and provide guidance on choosing the right one for your specific needs. The necessary preparations, such as cleaning and drying the threaded connections, to ensure the tape adheres properly.
The correct method of applying the tape, including the direction and number of wraps required for optimal sealing. Additionally, we will address common mistakes to avoid and offer troubleshooting tips for any challenges you may encounter. If you can get the hang of using plumbing tape, you’ll be ready to tackle any number of plumbing jobs, from joining pipes to installing shower heads and faucets.

How Does Plumbers Tape Stick?
Pipe leak tape works by forming a watertight seal when it is applied to the pipe. The adhesive on the tape creates a bond that will not break or leak.
Plumber’s tape, often called Teflon tape or thread seal tape, seals two mating threads in pipes or fittings. Plumber’s tape lubricates and seals, not sticks.
For plumber’s tape, synthetic fluoropolymer polytetrafluoroethylene (PTFE) is used due of its heat, chemical, and abrasion resistance. To prevent leaks, this thin, flexible tape is applied across pipe fitting threads before screwing them together. The tape lubricates the connections, making tightening simpler without harming the threads.
Plumber’s tape fills gaps and seals well. The tape seals leaks by conforming to surface flaws as it wraps around the threads. The non-stick characteristics of PTFE help avoid leaks by lowering thread friction.
Tightening the threaded fittings compresses the plumber’s tape into the cracks to seal the leaks. The tape prevents threads from seizing or sticking, making connections easier to disassemble.
How Many Times Do You Wrap Plumber’s Tape?
PTFE tape sealants with a minimum thickness of 2.5 mil ensure a good seal and reduce tape waste. Wrap tape along threads for a good seal. Only 2-3 wraps of tape are needed; thinner tape may need 4-5.
Number of times plumber’s tape is wrapped around a threaded pipe or fitting depends on thread size, application, and personal preference. Wrap the tape 3–5 times around the threads, but there is no set number.
Plumber’s tape creates a leak-proof barrier and makes fitting installation and removal easier. Wrapping the tape many times thickens the material, filling gaps and improving seals.
Smaller threads in home plumbing only need 3 wraps of plumber’s tape. Wrapping the tape several times may make the fittings too thick to tighten due to the finer pitch of these threads.
Larger industrial or commercial threads may require 4 or 5 plumber’s tape wraps. The coarser pitch and greater gaps of these threads require more wraps to close.
Does Plumbers Tape Go On Clockwise?
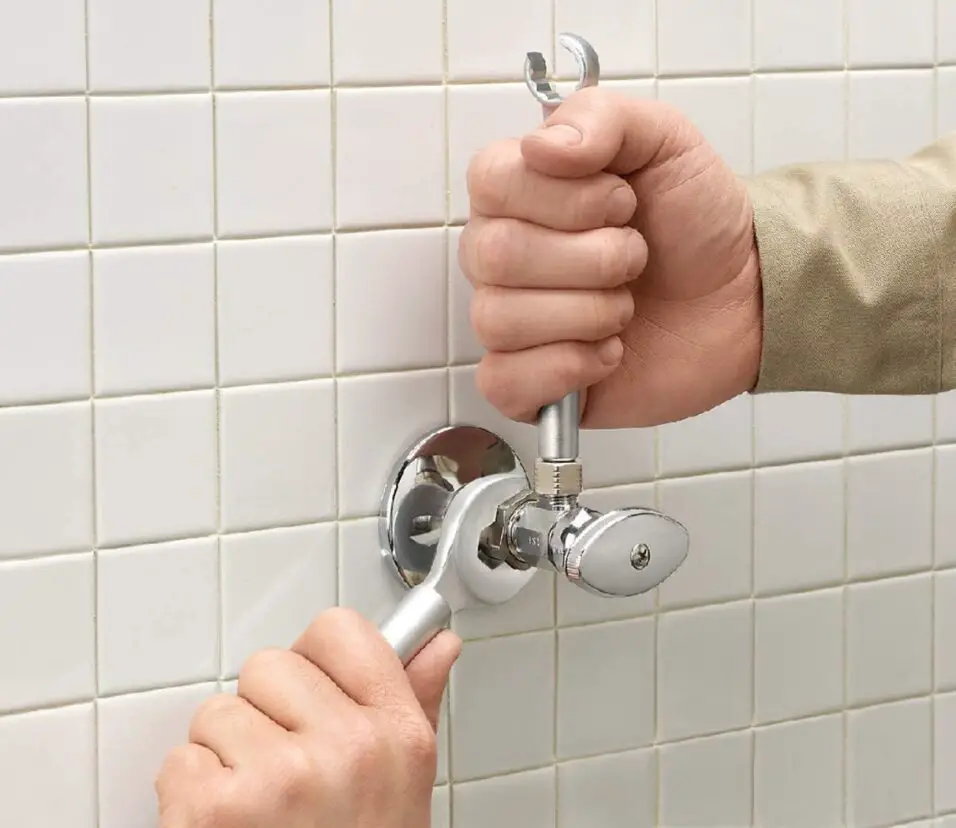
You must apply thread tape by turning it clockwise around the thread. When the fitting is connected, the fitting is installed the same clockwise direction, sealing the fitting & not pealing back.
Yes, plumber’s tape should be applied in a clockwise direction when wrapping it around threaded pipes or fittings. This is an important step to ensure proper installation and effectiveness of the tape.
Plumber’s tape faces the bolts being tightened when applied clockwise. While secured, tape holds the parts together.
Applying plumber’s tape clockwise helps keep it tight around the threads. Turning the fitting clockwise during installation forces the tape into the threads, creating a watertight seal.
In Australia and New Zealand, local plumbing practices require counterclockwise tape wrapping. Most plumbers and manufacturers advocate clockwise plumber’s tape application.
Does Plumbers Tape Need To Dry?
Allow the threads to dry
Plumber’s tape works best when applied to a dry surface, so do your best to remove any moisture from the threads that will be mated together for a more successful seal.
Plumber’s tape, also known as Teflon tape or thread seal tape, does not require any drying time. Once applied to the threaded pipes or fittings, it is ready for immediate use.
Polytetrafluoroethylene (PTFE) plumber’s tape is a thin, flexible tape that is non-reactive and non-absorbent. Unlike adhesives or sealants that need time to cure or dry, plumber’s tape functions primarily as a lubricant and sealant.
Installing and tightening the fittings is simplified by first wrapping the tape clockwise around the threads to create a greased surface. The tape is compressed as the threaded connections are tightened, which helps to produce a tight seal and prevent leaks.
Since plumber’s tape is not adhesive, it does not require any drying or curing process. If applied properly and wrapped around the threads, its effects are instantaneous. To prevent it from coming untied during the installation process, it must be wrapped around the threads in the correct direction (clockwise).

Is Plumbing Tape Waterproof?
If a plumbing pipe leaks from the middle rather than a joint, it’s likely a fracture. Silicone plumbing tape can temporarily stop water leaks while you find a permanent fix.
Plumber’s or Teflon tape is waterproof. Its main purpose is to seal plumbing systems against water. PTFE is used to produce plumbing tape because it resists water and other liquids. Plumber’s tape is waterproof because PTFE repels water.
Plumber’s tape keeps water from entering threaded connections when applied properly. When wrapped around threads, the tape conforms to surface flaws and voids, preventing leaks. A fully functional and leak-free plumbing system requires it and other components like pipe threads and fittings.
How Long Does Plumbing Tape Last?
Silicone tape can help form a temporary waterproof seal and prevent water from leaking until you replace the pipe. How Long Does Pipe Leak Tape Last? Pipe thread tape can last for years. As long as the joint isn’t leaking, you can consider it a long-term solution.
The quality, circumstances, and frequency of usage of plumbing tape, commonly known as plumber’s tape or Teflon tape, might affect its lifespan. However, plumbing tape usually lasts years.
Plumbing tape is made to last. Polytetrafluoroethylene (PTFE) resists heat, solvents, and corrosion. Plumbing tape lasts longer since PTFE is stable and doesn’t deteriorate.
Plumbing tape’s longevity depends on its environment. In a plumbing system with extreme temperatures, high pressure, or harsh chemicals, the tape may wear out faster. Plumber’s tape can withstand years in household or commercial plumbing applications.
Plumber’s tape may lose effectiveness owing to thread wear, lubrication degradation, or connection loosening. Replace tape if it leaks, gets brittle, or discolors to maintain a seal.
Can You Reuse Plumbers Tape?
Teflon tape is a one-time use item. It’s sole purpose is to deform and tear itself into the threading of the pipe to prevent water from getting through the threads. Clean the old tape off as much as possible.
The primary purpose of plumber’s tape is to create a tight seal between threaded pipes and fittings, preventing leaks. However, during the disassembly process, the tape can become stretched, torn, or damaged, reducing its effectiveness.
Additionally, reusing plumber’s tape can compromise the integrity of the seal. The tape may lose its lubricating properties or fail to conform properly to the threads, leading to potential leaks or difficulties in tightening the connections.
To ensure a reliable and leak-free seal, it is generally recommended to apply fresh plumber’s tape each time the connections are taken apart and reassembled. This ensures that the tape is in optimal condition, providing proper lubrication and sealing capabilities.
How Many Layers Of Plumbers Tape?
In most cases for a new joint you should apply only two or three wraps of tape. The number of layers of plumber’s tape, also known as Teflon tape or thread seal tape, to apply to threaded pipes or fittings can vary depending on several factors, including the size of the threads, the type of application, and personal preference. While there is no fixed rule regarding the exact number of layers, a common guideline is to use 2 to 3 layers of tape.
Applying multiple layers of plumber’s tape helps create a more secure and effective seal. The layers of tape add thickness, which helps fill gaps and ensures a tighter fit between the threads, minimizing the risk of leaks.
For smaller threads, such as those found in residential plumbing, 2 layers of plumber’s tape are typically sufficient. These threads have a finer pitch and may not require as much tape to create a proper seal.
On the other hand, larger threads, such as those used in industrial or commercial applications, may benefit from 3 layers of tape. These threads have a coarser pitch and may have larger gaps, necessitating additional layers of tape to achieve a secure seal.

Conclusion
Knowing how to put plumbing tape on correctly is an essential skill for anyone involved in plumbing installations or repairs. By following the step-by-step process, you can ensure watertight seals, prevent leaks, and maintain the integrity of your plumbing system. The importance of choosing the right type of plumbing tape for your specific needs, as well as the significance of preparing the threaded connections by cleaning and drying them thoroughly. These preliminary steps are crucial in ensuring a strong and durable seal.
We then covered the proper technique of applying the tape, including the direction and number of wraps necessary to achieve an effective seal. Understanding these guidelines and following them diligently will help prevent leaks and promote the smooth flow of water through your plumbing system. Moreover, we addressed common mistakes to avoid, such as over-tightening the connections or using too much tape, which can lead to leaks or damage. By being aware of these pitfalls, you can confidently navigate any plumbing project with greater success.
By mastering the art of putting plumbing tape on, you can tackle a wide range of plumbing tasks with confidence and competence. From simple repairs to complex installations, you now have the knowledge and skills to handle various plumbing projects effectively. Remember, practice makes perfect. As you gain more experience, you will become more proficient in using plumbing tape and achieve better results. So, roll up your sleeves, gather your tools, and start putting your newfound knowledge into practice. Enjoy the satisfaction of leak-free plumbing connections and the peace of mind that comes with a well-maintained plumbing system.