How To Prepare Walls For Painting Interior
Introduction
How To Prepare Walls For Painting Interior: When it comes to painting the interior of your home, one of the most important steps is preparing the walls. Properly preparing the walls before painting can make a significant difference in the final result. It ensures that the paint adheres well, provides a smooth and even finish, and helps the paint last longer. Whether you are a seasoned DIY enthusiast or a beginner, understanding how to prepare walls for painting is essential.
You need to start by assessing the condition of the walls. Look for any cracks, holes, or imperfections that need to be repaired. Use a putty knife to fill in any small cracks or holes with spackling compound. For larger holes, you may need to use a interior paint patching kit. Once the compound is dry, sand it down until it is smooth and level with the wall surface. This step ensures that the walls are free from any visible blemishes before painting
You need to protect the surrounding areas before painting. Cover the floors with drop cloths or plastic sheets to prevent any paint splatters or spills. Use painter’s tape to mask off any trim, windows, or other areas that you do not want to be painted. This step ensures that the paint only goes where it is intended and makes the cleanup process much easier. Taking the time to properly protect the surrounding areas will save you from potential headaches and extra work in the long run.
Do you need to prep interior walls before painting?
Yes, it is important to prep interior walls before painting. Prepping the walls ensures that the paint adheres properly and provides a smooth and long-lasting finish. Without proper preparation, the paint may not adhere well to the walls, resulting in peeling, cracking, or uneven coverage.
One of the first steps in prepping interior walls is to clean them thoroughly. Dust, dirt, and grease can accumulate on the walls over time, and if not removed, they can interfere with the paint’s ability to adhere. Use a mild detergent and water solution to clean the walls, and make sure to rinse them thoroughly to remove any residue.
After cleaning, it is important to repair any damage or imperfections on the walls. This includes filling in any holes or cracks with spackling compound and sanding down any rough areas. This step ensures that the walls are smooth and even, providing a better surface for the paint to adhere to.
Once the walls are clean and repaired, it is recommended to prime them before painting. Priming helps to seal the surface and provides a better base for the paint. It also helps to hide any stains or discoloration on the walls. Choose a primer that is suitable for the type of paint you will be using.
In addition to cleaning, repairing, and priming, it is also important to protect the surrounding areas before painting. Cover the floors and furniture with drop cloths or plastic sheets to prevent any accidental spills or splatters. Use painter’s tape to mask off any areas that you do not want to be painted, such as trim or windows.
“
Is it necessary to sand walls before painting?
Yes, it is necessary to sand walls before painting. Sanding walls is an important step in the painting process as it helps to create a smooth and even surface for the paint to adhere to. Without sanding, the paint may not adhere properly to the walls, resulting in a less professional and durable finish.
Sanding walls before painting also helps to remove any imperfections or blemishes on the surface. Over time, walls can develop small cracks, dents, or uneven areas, which can be easily noticed once the paint is applied. By sanding the walls, these imperfections can be smoothed out, ensuring a flawless finish.
In addition, sanding walls helps to remove any existing paint or wallpaper residue. If the walls have been previously painted or wallpapered, sanding can help to remove any loose or peeling paint, as well as any remnants of wallpaper adhesive. This is important as it allows the new paint to properly bond with the wall surface.
Furthermore, sanding walls can also help to improve the overall appearance of the paint job. By creating a smooth surface, the paint will be able to reflect light more evenly, resulting in a more visually appealing finish. It also helps to prevent the paint from appearing blotchy or uneven, especially when using lighter or glossier paint colors.
Sanding walls before painting is a necessary step to ensure a professional and long-lasting finish. It helps to create a smooth and even surface, removes imperfections, eliminates paint or wallpaper residue, and improves the overall appearance of the paint job. Therefore, it is highly recommended to sand walls before painting to achieve the best results.
What is the best prep for walls before painting?
Preparing walls before painting is crucial to ensure a smooth and long-lasting finish. The best prep for walls before painting involves several steps that help to create a clean and even surface for the paint to adhere to. By following these steps, you can achieve professional-looking results and avoid issues such as peeling or uneven paint.
The first step in prepping walls for painting is to clean them thoroughly. This involves removing any dirt, dust, or grease that may be present on the surface. You can use a mild detergent and water solution to clean the walls, or you can opt for a specialized wall cleaner. It is important to rinse the walls thoroughly after cleaning to remove any residue.
After cleaning, the next step is to repair any imperfections on the walls.
This includes filling in any holes, cracks, or dents with spackling compound or joint compound. Once the compound is dry, you can sand it down to create a smooth surface.
Once the walls are clean and repaired, the next step is to prime them. Priming helps to seal the surface and create a uniform base for the paint. It also helps to improve the adhesion of the paint and prevent it from soaking into the wall. You can choose a primer that is suitable for your specific wall type, such as drywall or plaster. Apply the primer evenly using a roller or brush, and allow it to dry completely before painting.
Finally, before painting, it is important to protect the surrounding areas. Cover the floors and furniture with drop cloths or plastic sheets to prevent any paint splatters or spills. You can also use painter’s tape to mask off areas that you do not want to paint, such as trim or windows. Taking these precautions will help to ensure a clean and professional-looking paint job.
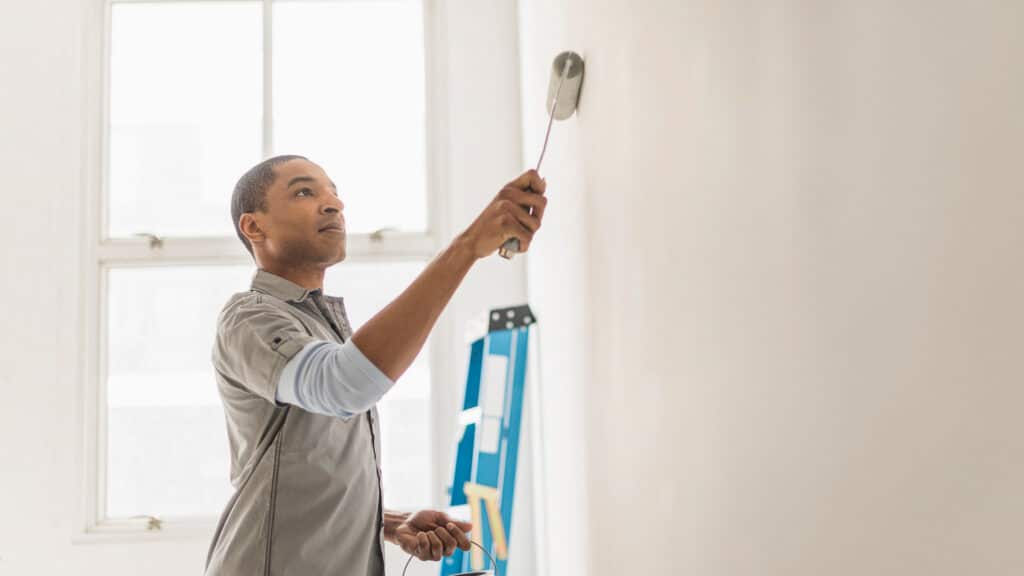
Do I need to prime walls before painting?
Yes, it is generally recommended to prime walls before painting them. Important step in the painting process that helps to ensure a smooth and long-lasting finish. Priming prepares the surface of the walls by creating a uniform base for the paint to adhere to.
Priming is particularly important when painting over bare drywall or new plaster. These surfaces are porous and can absorb paint unevenly, resulting in a patchy or streaky finish. By applying a coat of primer first, you create a barrier that helps the paint to adhere evenly and provides a consistent surface for the topcoat.
Priming is also beneficial when painting over surfaces that have been previously painted, especially if the existing paint is glossy or oil-based. The primer helps to create a bond between the old and new paint layers, ensuring better adhesion and reducing the risk of peeling or flaking.
Additionally, priming can help to hide imperfections on the walls, such as small cracks, dents, or stains. The primer fills in these imperfections and creates a smooth surface for the paint to be applied. It also helps to even out the color and sheen of the walls, especially when transitioning from a dark color to a lighter one.
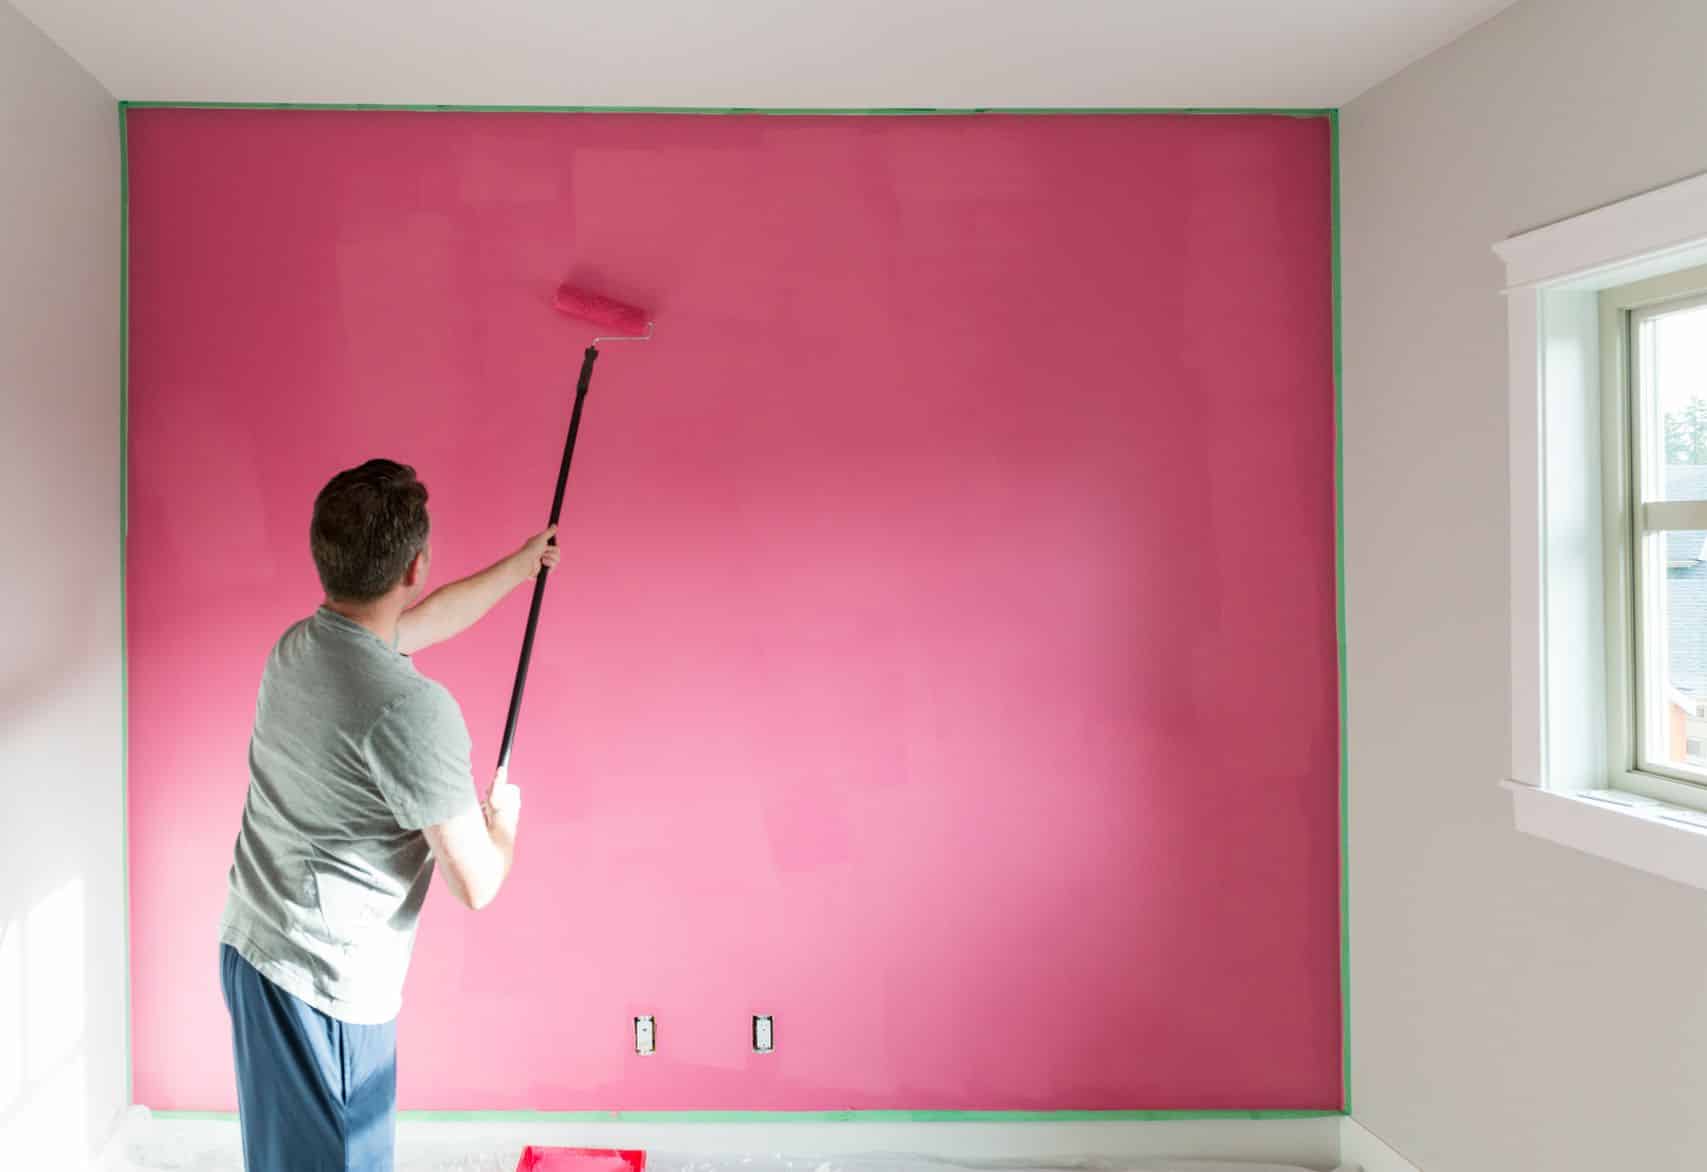
What comes first when painting a wall?
When painting a wall, there are several important steps that need to be followed in order to achieve a professional and long-lasting finish. One of the first things that needs to be done is to prepare the surface of the wall. This involves cleaning the wall to remove any dirt, dust, or grease that may be present. It is also important to repair any cracks or holes in the wall before painting
This will help keep the wall from getting lines or uneven color. It’s important to clean up any paint drips or spills and take off any painter’s tape that was used to protect trim or other areas after the last coat of paint has set. This will help make the finish look clean and professional. Getting the walls ready for painting is an important step that will ensure a smooth finish that lasts. The first thing you need to do is take down any wallpaper or paint that is already on the walls.
The next step is to repair any cracks or holes in the walls. This can be done by using a spackling compound or a joint compound, depending on the size of the damage. Apply the compound using a putty knife, and make sure to smooth it out evenly. Once the compound is dry, sand it down to create a smooth surface. After repairing, it is important to prime the walls before painting. Priming helps to seal the surface and provides a better adhesion for the paint. Finally, before applying the paint, make sure to protect the surrounding areas with painter’s tape and drop cloths to avoid any accidental spills or splatters.
Are there any specific tools or materials required for wall preparation before painting?
Yes, there are specific tools and materials that are necessary for wall preparation before painting. It is important to use high-quality tools and materials to ensure a professional-looking finish.
Are there any specific tools or materials required for wall preparation before painting?
When preparing walls for interior painting, there are several specific tools and materials that are necessary to ensure a successful and professional-looking result. These tools and materials include:
1. Sandpaper: Sandpaper is essential for smoothing out any rough or uneven areas on the walls. It helps to create a smooth surface for the paint to adhere to.
2. Putty knife: A putty knife is used for scraping off any loose paint or wallpaper, as well as for applying spackling or joint compound to fill in cracks and holes.
3. Spackling or joint compound: Spackling or joint compound is used to fill in any cracks, holes, or damaged areas on the walls. It should be applied with a putty knife and then sanded down to create a smooth surface.
4. Painter’s tape: Painter’s tape is used to protect areas that you don’t want to be painted, such as trim, windows, and doors. It creates clean and crisp lines.
5. Drop cloths or plastic sheeting: Drop cloths or plastic sheeting should be used to protect the floor and any furniture or fixtures in the room from paint splatters or spills.
By using these specific tools and materials, you can ensure that your walls are properly prepared for painting, resulting in a professional and long-lasting finish.
How can I ensure that the walls are clean and free from dust or debris before painting?
Ensuring that the walls are clean and free from dust or debris is an essential step in preparing them for interior painting. This is because any dirt or particles on the walls can affect the adhesion of the paint and result in an uneven finish. To achieve a clean surface, there are several steps you can follow.
Firstly, start by removing any loose dirt or cobwebs from the walls using a broom or a vacuum cleaner with a brush attachment. This will help eliminate any large particles that may be present. Next, use a damp cloth or sponge to wipe down the walls and remove any remaining dust or grime. Be sure to wring out the cloth or sponge well to avoid saturating the walls with water.
For stubborn stains or grease marks, you may need to use a mild detergent or cleaning solution. Mix a small amount of the detergent with water and gently scrub the affected areas using a soft brush or sponge. Rinse the walls thoroughly with clean water to remove any residue from the cleaning solution. Allow the walls to dry completely before proceeding with the painting process.
Are there any recommended techniques for filling cracks or repairing damaged areas on the walls prior to painting?
Yes, there are several recommended techniques for filling cracks or repairing damaged areas on the walls before painting. One common technique is to use a spackling compound or joint compound to fill in the cracks or damaged areas. Start by cleaning the area thoroughly and removing any loose debris or paint. Then, apply the compound using a putty knife, making sure to fill the crack or damaged area completely. Smooth out the compound with the putty knife and let it dry according to the manufacturer’s instructions. Once dry, sand the area lightly to create a smooth surface.
Another technique is to use self-adhesive mesh tape for larger cracks or areas with significant damage. Apply the tape over the crack or damaged area, pressing it firmly into place. Then, apply a thin layer of joint compound over the tape, making sure to cover it completely. Smooth out the compound with a putty knife and let it dry. Once dry, sand the area lightly to achieve a smooth finish.
What are some tips for achieving a smooth and even surface on the walls before applying paint?
When it comes to achieving a smooth and even surface on your walls before painting, there are a few key tips to keep in mind. Firstly, it’s important to properly prepare the surface by cleaning it thoroughly and removing any loose or flaking paint. This can be done using a scraper or sandpaper to smooth out any rough areas. Additionally, filling in any cracks or holes with a suitable filler and allowing it to dry completely before sanding it down will help to create a seamless finish.
Another important tip is to use a high-quality primer before applying the paint. Primer helps to create a smooth surface by filling in any imperfections and providing a good base for the paint to adhere to. Applying multiple thin coats of paint, rather than one thick coat, can also help to achieve a smoother finish. It’s important to allow each coat to dry completely before applying the next one.
Conclusion
Overall, getting the walls ready to be painted inside is an important step for getting a skilled finish that will last. By doing the right things, like cleaning, fixing, and painting the walls, homeowners can make sure the paint sticks well and gives the room a smooth, perfect look. Taking the time to properly prepare the walls can also help keep problems like paint peeling or breaking from happening in the future.
After cleaning the walls painting, it is important to inspect them for any damage or imperfections. This may include cracks, holes, or uneven surfaces. By repairing these issues before painting, homeowners can ensure that the final result is smooth and flawless. This may involve filling in cracks or holes with spackle or joint compound, and sanding down any rough areas. Taking the time to properly repair the walls can make a significant difference in the overall appearance of the paint job.
Finally, priming the walls is an important step in preparing them for painting interior. Priming helps to create a smooth and even surface for the paint to adhere to, and can also help to seal any repairs or imperfections. Additionally, using a primer can also help to prevent the paint from soaking into the wall, resulting in a more vibrant and long-lasting color. By applying a coat of primer before painting, homeowners can ensure that their paint job looks professional and lasts for years to come.