How To Prep Exterior Trim For Painting
Introduction
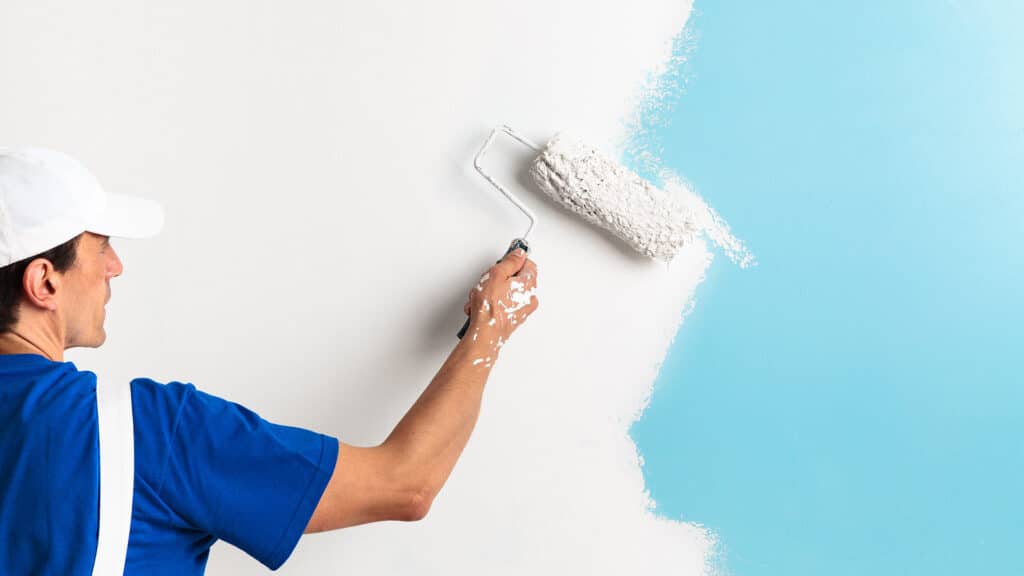
How To Prep Exterior Trim For Painting: The exterior window trim is a crucial first step in achieving a flawless and long-lasting paint job for your home. Whether your trim is weathered, peeling, or simply in need of a refresh, proper preparation sets the foundation for a professional finish. In this guide, we’ll walk you through the essential steps and techniques to prep exterior trim for painting. By investing time in this vital process, you’ll ensure that your paint adheres beautifully and maintains its charm for years to come. Let’s delve into the art of prepping exterior trim to elevate your home’s curb appeal. Enhancing your home’s curb appeal begins with the finer details, and that’s where the exterior trim takes center stage. Before you embark on the exciting journey of revitalizing your home’s exterior, it’s essential to lay down a solid groundwork.
Painting outside trim requires careful preparation, but the results are worth it. Our comprehensive guide will help you clean and repair surfaces, choose the correct tools and materials, and guarantee your painting project looks great and lasts. Join us as we learn how to prepare exterior trim to maximize your home’s façade. Every paintbrush stroke may revitalize your home’s exterior, starting with proper trim preparation. Trim condition affects paint job integrity beyond aesthetics. Mastering preparation processes creates a finish that’s beautiful and weatherproof. The detailed steps needed to prepare outside trim for painting are covered in the following instruction. From sanding and priming to fixing defects, this trip will help you build a beautiful and durable exterior that lasts. Consider your home’s exterior a blank canvas waiting for a vivid coat of paint.
The Secrets To a Beautiful Finish
To create a masterpiece, the canvas’ outside trim must be meticulously prepared. Beyond looks, adequate preparation is the key to a long-lasting paint job. This detailed guide on painting outside trim reveals the secrets to a beautiful finish. This tutorial will help you negotiate the complex world of exterior trim transformation, from cleaning and sanding to smart priming. Join us as we combine careful preparation with paint to create a charming, long-lasting exterior. Painting your old house requires careful frame preparation to ensure the longevity and appeal of the story. Our guide will help you on your artistic journey. We do everything to get a perfect paint job, from cleaning and fixing to priming and preparing. Every step in prepping exterior trim is a brushstroke toward a masterpiece that will beautify your home for years to come.
Do you need to prime exterior trim before painting?
You’ll need to properly prep the surface by sanding down any rough edges and cleaning off any dirt or grime. Once that’s done, you’ll need to apply primer before painting so the new color will adhere properly and look its best.
Enhanced Adhesion
Priming creates a secure bond between the paint and the surface, ensuring that the paint adheres effectively and evenly. Exterior trim surfaces can be porous, uneven, or exposed to various weather conditions, making them less receptive to paint. Primer acts as an intermediary layer that promotes adhesion, reducing the likelihood of paint peeling, cracking, or blistering over time.
Sealing and Protection
Primer seals the surface, preventing moisture, contaminants, and tannins (natural compounds found in wood) from infiltrating the wood or other materials. This barrier is especially crucial in exterior environments where rain, humidity, and temperature fluctuations can wreak havoc on unprotected surfaces. By sealing the surface, primer safeguards the integrity of the trim, contributing to its longevity.
Uniform Appearance
Applying paint directly to unprimed trim can result in an uneven finish. Some areas might absorb more paint than others, leading to color variations and an overall unprofessional appearance. Primer evens out the porosity of the surface, creating a consistent base for the paint to adhere to. This results in a uniform and smooth finish that enhances your home’s aesthetic appeal.
Improved Paint Coverage
Using primer allows you to achieve better coverage with fewer coats of paint. Since primer provides a neutral base color that’s consistent across the trim, the subsequent paint layers require less effort to achieve the desired color intensity. This can save you time, money, and effort in the long run.
What do you clean exterior trim before painting?
Once all the loose paint is removed, you should scrub the surface to remove dirt and any oil film. The exhaust from cars and trucks (diesels) can build up on the exterior of your house. Special wood cleaners are the best, but a strong solution of dishwashing liquid is also effective and costs less.
Gather Your Supplies
Before you begin, gather the necessary cleaning supplies. You’ll need a bucket, mild detergent, a scrub brush or sponge, water hose, rags or towels, and safety gear such as gloves and safety goggles.
Remove Dirt and Debris
Start by removing loose dirt, dust, cobwebs, and any debris from the trim surface. Use a dry cloth or brush to gently sweep away larger particles. This step is important to ensure that the cleaning solution can penetrate effectively.
Prepare the Cleaning Solution
Mix a solution of mild detergent and water in a bucket. Avoid using harsh chemicals that could damage the surface or harm nearby plants. A mixture of a few tablespoons of detergent per gallon of water should suffice.
Test in a Small Area
Before applying the cleaning solution to the entire trim, test it in a small, inconspicuous area to ensure it doesn’t cause any adverse reactions or discoloration.
What is the best way to paint exterior trim?
For Best Results:
Start at the corner and use a smooth motion to brush or roll the project area. Use a brush for painting in small panels and over the entire surface to avoid the appearance of roller stipple. Allow enough time for the paint to dry fully before putting doors and windows back into use.
Prepare the Surface
Before you pick up a paintbrush, prepare the trim surface meticulously. Clean the trim to remove dirt, debris, and contaminants. Repair any damaged or rotten areas and sand any rough patches to create a smooth canvas for painting.
Choose the Right Paint
Selecting the appropriate paint is crucial for exterior trim. Opt for high-quality paint designed specifically for outdoor use. Choose a finish that suits your aesthetic preference and the architectural style of your home. Semi-gloss or satin finishes are commonly used for trim as they provide a durable and easy-to-clean surface.
Gather Your Supplies
Ensure you have all the necessary supplies before you begin. This includes paint, brushes, rollers, painter’s tape, drop cloths, trays, and a sturdy ladder. Having everything on hand will streamline the process and prevent interruptions.
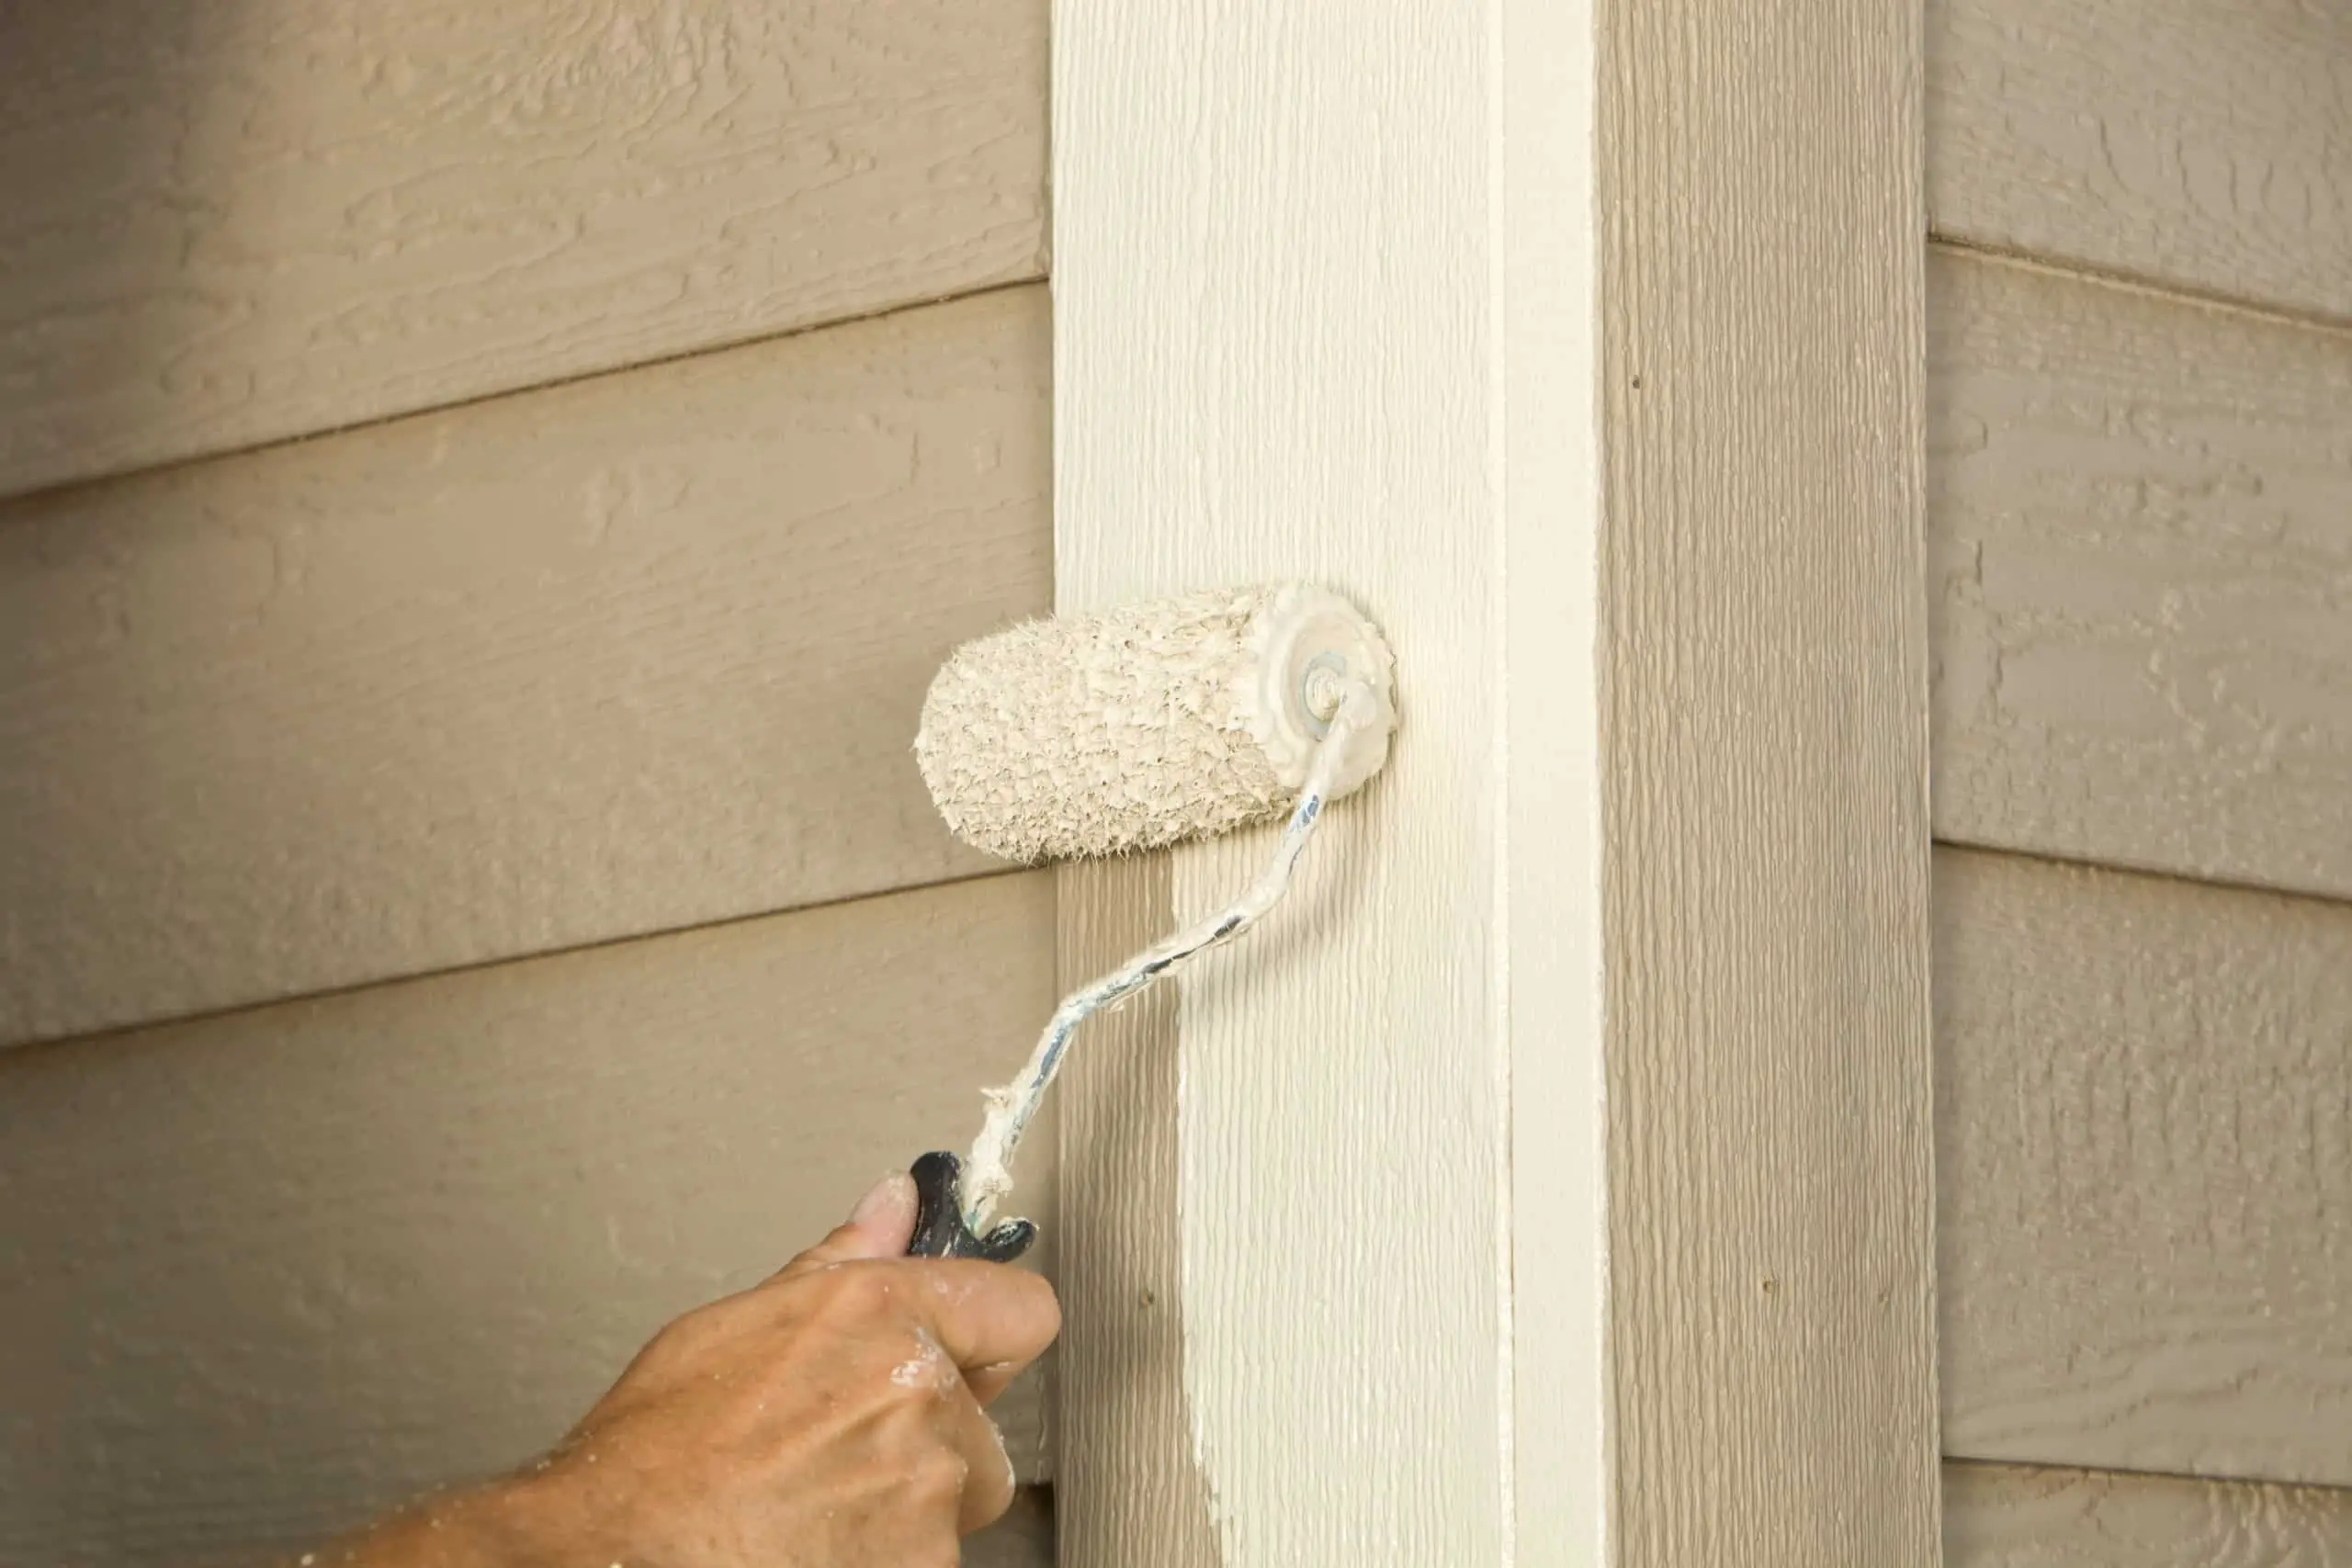
Use Primer
Unless you’re using a paint that includes primer, it’s advisable to apply a high-quality primer before painting. Primer enhances adhesion, evens out the surface, and provides a consistent base for the paint.
What happens if you don’t use primer before painting?
Unpainted wood and drywall can pose huge adherence problems for coatings without primer. With fresh drywall, the substrate actually absorbs a coating really well, like a sponge. However, because it absorbs so well, without a primer coat, you’ll experience uneven coverage, especially along drywall seams.
Poor Adhesion
One of the primary functions of primer is to create a strong bond between the surface and the paint. Without primer, the paint might not adhere properly to the surface, leading to issues like peeling, cracking, and chipping over time. This can result in an uneven and unsightly finish that requires frequent touch-ups.
Uneven Finish
Primer helps to even out the porosity of the surface, ensuring that the paint is applied uniformly. Without primer, the paint may be absorbed differently by various areas of the surface, leading to an uneven finish with noticeable variations in color and texture.
Reduced Durability
Primer provides a protective barrier that shields the surface from moisture, contaminants, and other external factors. Without this barrier, the paint might not be able to withstand the elements as effectively, resulting in faster deterioration, fading, and a shorter lifespan for your paint job.
More Coats Required
Using primer allows you to achieve better coverage with fewer coats of paint. Without primer, you may need to apply multiple coats of paint to achieve the desired color and finish. This not only requires more time and effort but also increases the cost of the project.
Is primer necessary for exterior painting?
So next time you are thinking about taking on an exterior project, and are tempted to skip priming, remember that what you put down first will be the base for any future paintjobs as well – so why not use a dedicated primer, guarantee your long-lasting results, and Paint Smarter.
Improved Adhesion
Primer acts as a bridge between the surface and the paint, creating a strong bond that enhances adhesion. This is particularly important for exterior surfaces that might be weathered, uneven, or exposed to various elements. Proper adhesion prevents paint from peeling, cracking, or blistering over time, ensuring a smooth and lasting finish.
Surface Sealing
Primer seals the surface, preventing moisture, contaminants, and tannins (natural compounds found in wood) from penetrating the material. Sealing the surface is especially crucial in exterior environments where rain, humidity, and temperature fluctuations are common. By blocking these elements, primer helps protect the integrity of the surface and the paint.
Stain Blocking
Primer has the ability to block stains, knots, and discolorations that can bleed through paint. This is especially important when painting over areas with water stains, smoke damage, or knots in the wood. Using primer ensures that these imperfections won’t affect the appearance of the finished paint job.
Even Finish
Primer creates a consistent base for the paint to adhere to, ensuring that the paint is applied evenly and uniformly. Without primer, paint can be absorbed differently by different parts of the surface, leading to an uneven and patchy finish.
Can you paint over old exterior paint?
The short answer is no. You do not need to remove all exterior paint before repainting. However, there are some situations where removing all exterior paint is necessary. If the old paint is peeling or flaking, then it is best to remove all the paint.
Surface Inspection: Before proceeding, carefully inspect the old exterior paint. Look for signs of peeling, cracking, or blistering. If the existing paint is in good condition, with no significant damage or adhesion issues, it’s generally safe to paint over it.
Cleaning and Preparation: Proper preparation is key to a successful paint job. Clean the surface thoroughly to remove dirt, grime, and contaminants. If there are areas with loose or peeling paint, scrape them off and sand the edges to create a smooth transition between the old and new paint.
Priming: Using a primer is highly recommended when painting over old exterior paint. Primer helps improve adhesion and creates a uniform surface for the new paint to adhere to. It also helps prevent any stains or discolorations from bleeding through the new paint.
Choosing the Right Paint: Select a high-quality exterior paint that is specifically designed for the type of surface you’re painting. If you’re unsure about compatibility, consult with a paint professional or follow the manufacturer’s recommendations.
What cleaning solution for trim?
CLEANERS FOR BASEBOARDS & TRIM
If painted, your wood trim requires mild soap and water. Use a mild, natural wood cleaner on clear-coated or stained wood trim. If the wood has excessive buildup, add paint thinner to your solution to help, according to This Old House Magazine.
Mild Detergent and Water
A simple and effective cleaning solution for most exterior trim surfaces is a mixture of mild detergent and water. Use a few tablespoons of mild liquid dish soap or a specially formulated exterior cleaner per gallon of water. This solution is gentle enough to remove dirt, grime, and some stains without damaging the surface.
Vinegar and Water
For areas with mold or mildew growth, a solution of white vinegar and water can be effective. Mix equal parts of water and white vinegar and apply it to the affected areas. Let the solution sit for a few minutes before scrubbing and rinsing.
TSP (Trisodium Phosphate) Solution
TSP is a strong cleaner that can tackle more stubborn stains and contaminants. Mix TSP with water according to the manufacturer’s instructions. Be cautious when using TSP, as it can be harmful to plants and may require protective gear like gloves and goggles.
Oxygen Bleach Solution
Oxygen bleach is an eco-friendly alternative to chlorine bleach and can be effective in removing stains, mold, and mildew. Follow the manufacturer’s instructions for mixing and applying the solution.
What kind of primer do you use on exterior wood?
Acrylic sealing primers, usually 100 percent acrylic, hide stains and seal tannins. Some acrylics seal out moisture and mildew or block odors as well. “These primers are ideal for delivering the best appearance of flats and enamels on doors, trim and exterior siding,” according to Revnew.
Type of Exterior Wood: Consider the type of wood you’re working with. Common exterior wood types include cedar, redwood, pine, and pressure-treated wood. Different wood types have varying levels of natural oils, tannins, and porosity, which can influence your choice of primer.
Water-Based Primer: Water-based or latex primers are a popular choice for exterior wood. They are easy to clean up, dry quickly, and provide good adhesion. Water-based primers are suitable for most exterior wood surfaces and are less likely to cause wood grain to swell or raise.
Oil-Based Primer: Oil-based primers are known for their superior adhesion and stain-blocking capabilities. They are an excellent choice for wood surfaces prone to bleeding tannins or stains. However, oil-based primers can take longer to dry, have a strong odor, and may cause wood grain to swell in certain conditions.
Stain-Blocking Primer: If you’re working with wood that has knots, sap, or water stains, consider using a stain-blocking primer. These primers prevent these imperfections from bleeding through the paint and marring the finished appearance.
Conclusion
The journey of prepping exterior trim for painting is not just about the steps you’ve followed, but the passion and care you’ve invested in your project. With a solid foundation laid through meticulous cleaning, repairing, and priming, you’ve set the stage for a paint job that will not only enhance curb appeal but also endure the tests of time. As you pick up your brush and bring your chosen paint to life, remember that the dedication you put into preparation will shine through every brushstroke.
As you step back to admire the results of your hard work, take pride in knowing that you’ve not only elevated your home’s curb appeal but also embraced the art of preparation. Your home’s exterior is now a canvas of beauty and resilience, ready to captivate all who behold it. As the final brushstroke of this guide, you’ve uncovered the art behind prepping exterior trim for painting, and you’re now poised to embark on your home’s visual rebirth.
Your home’s exterior is undergoing a bright rebirth, with every detail reflecting your care. Paint will beautify and last with a firm foundation. Grab your paintbrush and create your masterpiece. Your commitment to preparation is the key to a stunning finish. You’ve launched a metamorphosis that will improve your home’s beauty and weatherproof it by methodically cleaning, fixing, and priming your trim. Consider the brilliant hues that will shortly cover your carefully prepared canvas. Your great attention to detail has written a story of restored charm and longevity for your home’s façade. So, paint your vision and watch your home’s outside become a masterpiece.