How To Install Stone Veneer Interior Wall
Introduction
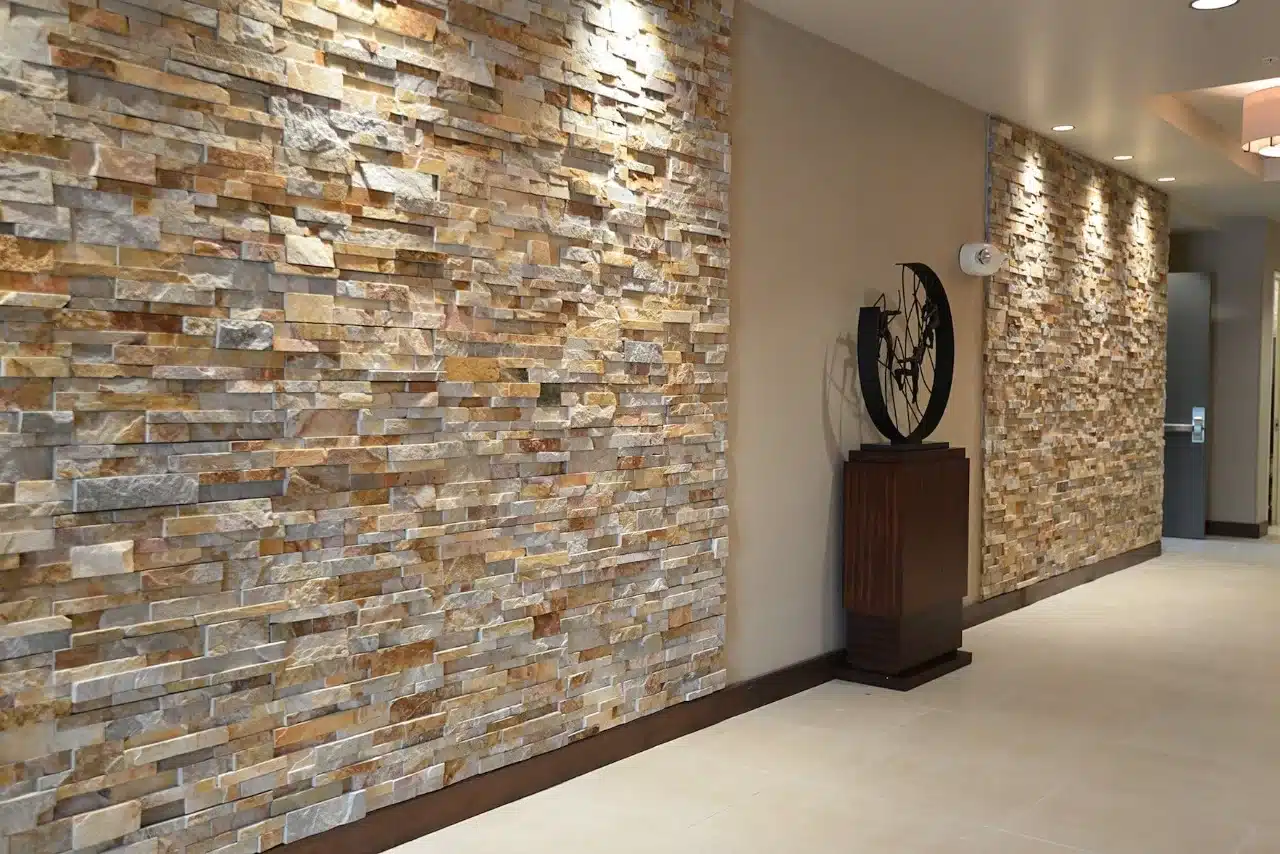
How To Install Stone Veneer Interior Wall: Stone veneer is a popular choice for interior walls as it adds a touch of elegance and sophistication to any space. Whether you want to create a rustic look in your living room or add a modern twist to your kitchen, installing stone veneer can transform the overall aesthetic of your home. However, the installation process can be quite daunting for beginners. In this article, we will guide you through the step-by-step process of installing stone veneer on an interior wall.
Understanding Stone Veneer: Before diving into the installation process, it is important to understand what stone veneer Interior Wall is. Stone veneer is a thin layer of natural or manufactured stone that is applied to a surface to mimic the appearance of a solid stone wall. It is much lighter and easier to install compared to traditional stone walls, making it a popular choice for both DIY enthusiasts and professional contractors.
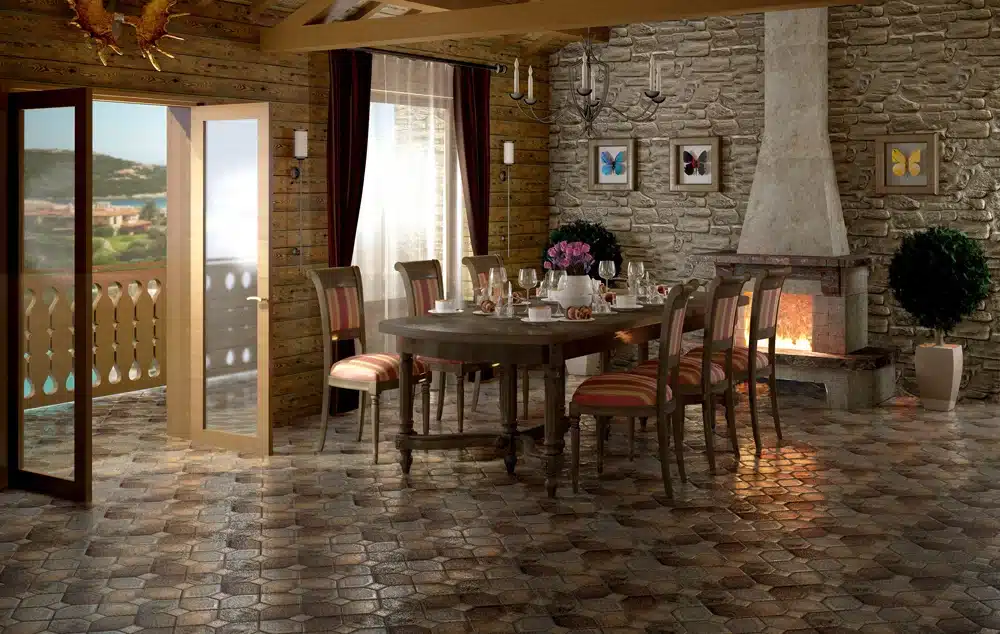
How do you attach veneer stone to interior walls?
So, to install these panels on your walls, follow the below process.
1 – Calculation is Important.
2 – Preparation of the Surface.
3 – Applying the Scratch Coat.
4 – Preparing the Stone Veneer Pieces.
5 – Installing the Stone Veneer Panels.
6 – Grouting the Joints.
Attaching veneer stone to interior walls
Popular way to add a touch of elegance and sophistication to any space. It is a cost-effective alternative to natural stone, as it is lighter and easier to install. There are several methods for attaching veneer stone to interior walls, each with its own advantages and disadvantages.
One common method for attaching veneer stone to interior walls is using mortar. Mortar is a mixture of cement, sand, and water that is used to bond the stone to the wall. The mortar is applied to the back of the stone and then pressed firmly against the wall. This method is relatively simple and can be done by a DIY enthusiast with some basic tools and materials. However, it can be time-consuming and messy, as the mortar needs to be mixed and applied carefully to ensure a strong bond.
Another method for attaching veneer stone to interior walls is using adhesive. Adhesive is a type of glue that is specifically designed for bonding stone to walls. It is applied to the back of the stone and then pressed firmly against the wall. Adhesive is a quick and easy method, as it does not require any mixing or drying time. However, it may not be as strong as mortar and may not be suitable for heavy or large stones.
Some people also choose to attach veneer stone to interior walls using a combination of mortar and adhesive. This method involves applying a layer of mortar to the wall and then using adhesive to attach the stone. This provides a strong bond and ensures that the stone is securely attached to the wall. However, it can be more time-consuming and may require more materials.
Can you glue stone veneer to plywood?
Can plywood be covered with imitation stone veneer? Stone veneer on plywood is easy with Be. On Stone panels!
Yes, plywood can hold stone veneer. Natural or artificial stone veneer offers walls, fireplaces, and countertops the appearance of actual stone. It is popular for adding class to indoor and outdoor spaces. Stone veneer is commonly applied to masonry, however plywood can be glued.
Superior adhesive is needed to glue stone veneer to plywood. The adhesive should hold the stone veneer to the plywood and withstand weight. Use an indoor-outdoor building adhesive.
Before applying glue, plywood must be cleaned, dried, and dust-free. Apply adhesive with a trowel or notched trowel after prepping plywood.
What adhesive do I use for stone veneer?
For a strong bond, it’s important to use the right glue when putting down stone veneer. Many times, stone veneer is used to improve the look of both indoor and outdoor areas. But the surface might not stick well without the right glue, which could cause it to come loose or get damaged over time.
A lot of people choose polymer-modified glue to stick stone veneer together. This glue can be used to attach stone veneer to a lot of different things, like, board, and drywall.
A glue used for building can also be used to stick stone veneer down. This kind of glue is usually used to attach heavy things to a base, like natural stone or brick. Construction sealants are great for use both inside and outside because they are very strong and last a long time.
It is very important to read and follow the picking out and using a glue for stone veneer. Make sure you have the right glue for the job by reading the package carefully and following the steps given by the maker. It’s also important that the surface is properly prepared and cleaned before applying the glue.
What is the best adhesive for stone cladding?
Picking the right glue for stone siding is very important for making sure the bond is strong and lasts a long time. What makes a glue the best for stone cladding depends on things like the type of stone, the surface it will be attached to, and the weather it will be in. This piece will talk about some of the best adhesives that are often used for stone cladding.
Epoxy glues are often thought to be the best choice for stone walls because they are very strong and last a long time. A lot of people know that epoxy glue can stick to many things, even stone. The glues make a strong bond that can stand up to heavy loads and bad weather. Also, epoxy glues don’t react badly with water, chemicals, or changes in temperature, so they can be used on stone walls outside.
Polyurethane sealants are also used by many to cover stones. They work well on stone of all types because they stick to smooth and rough surfaces well. People know that polyurethane adhesives are bendable, which means that they can handle movement without letting the bond weaken. You can use them for stone wall projects inside or outside because they don’t get damaged by water or weather.
When it’s important to be able to bend, stone walls often use modified silicone glue. These glues stick really well to a lot of different surfaces, even stone. They also don’t fade or break easily in UV light or bad weather. Another great thing about modified silicone glue is that they are very bendable. This means they won’t break or lose their stickiness when they bend or move.
Can you apply stone veneer directly to cement board?
When used inside, stone veneer can be put down over cement board, plywood, and any of those materials.
You can put stone veneer right on top of cement board, yes. Many people choose cement board for both inside and outside projects because it is strong and doesn’t absorb water. It gives a stable and strong base for installing stone veneer, which results in a finish that lasts and looks good.
It is important to properly prepare the area before putting stone veneer on top of cement board so that the two materials stick together well. The cement board needs to be dry, clean, and free of any dirt or dust. Before installation, any parts that are broken or loose should be fixed or replaced.
A layer of mortar or glue should be put on the cement board before the stone veneer is put on. The stone veneer will stay in place because of the strong bond that will be made between the two elements. The mortar or glue should be spread out evenly and according to the directions on the package.
Which results in a finish that lasts and looks good.
The stone layer can be put in place after the mortar or glue has been put down. Make sure the stones are lined up and spaced out correctly before putting them in the pattern you want. To get a finish that looks expert, you should be careful and follow a plan.
You can put stone veneer right on top of cement board. You can make a beautiful and long-lasting stone veneer installation by making sure the area is ready and using the right mortar or adhesive. Stone veneer is a beautiful and useful choice that can be used to improve the outside of your home or add a touch of class to an inner room.
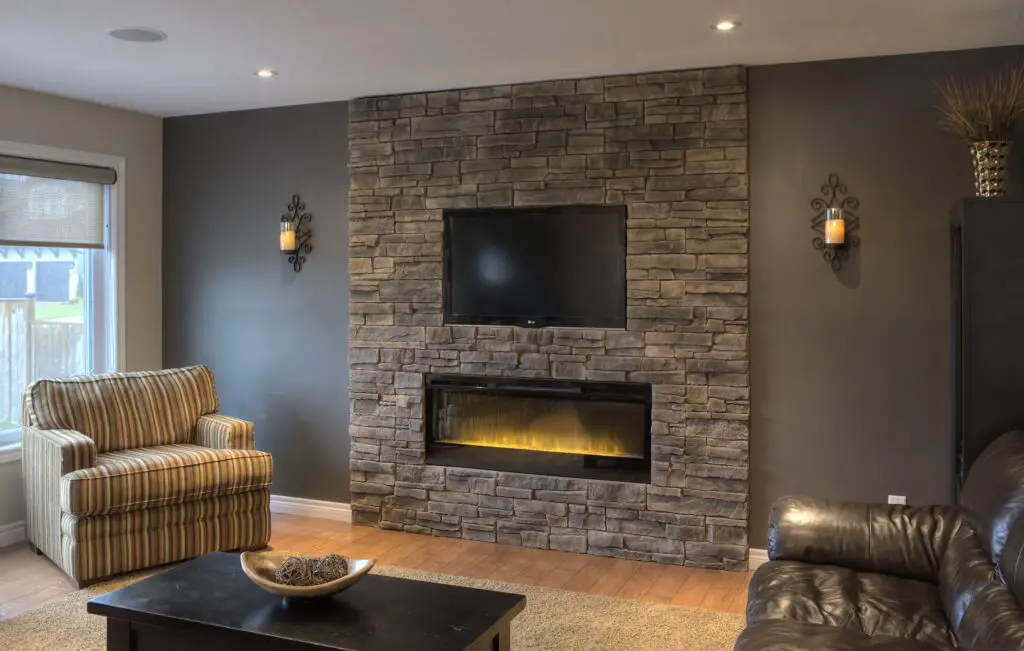
Putting stone veneer on a wall inside your home is a lovely way to make it look more elegant and natural.
Here are the steps involved in the installation process:
Step 1: Prepare the wall – Start by ensuring that the wall is clean, dry, and free from any loose debris. If necessary, repair any cracks or imperfections in the wall surface.
Step 2: Apply a moisture barrier – To prevent moisture from seeping through the wall, apply a moisture barrier such as a waterproofing membrane. This will help protect the stone veneer and ensure its longevity.
Step 3: Mix the mortar – Follow the manufacturer’s instructions to mix the mortar. It should have a consistency similar to peanut butter.
Step 4: Apply the mortar – Using a trowel, apply a layer of mortar to the back of each stone veneer piece. Press the stone firmly onto the wall, making sure it is level and properly aligned with the surrounding stones.
Step 5: Fill the gaps – Once the stones are in place, use a grout bag or a trowel to fill the gaps between the stones with mortar. Smooth out the mortar with a jointing tool for a clean and finished look.
Step 6: Clean the surface – After the mortar has dried, use a damp sponge to clean off any excess mortar from the surface of the stones. This will help enhance the appearance of the stone veneer.
By following these steps, you can achieve a professional-looking installation of stone veneer on your interior wall.
What materials and tools are needed for installing stone veneer on an interior wall?
When it comes to installing stone veneer on an interior wall, there are several materials and tools that you will need to ensure a successful installation. Firstly, you will need the stone veneer itself, which can be purchased in various styles and colors to suit your desired aesthetic. It is important to choose a high-quality stone veneer that is specifically designed for interior use.
In addition to the stone veneer, you will also need a few other materials. These include a bonding agent or adhesive, which will be used to secure the stone veneer to the wall. It is important to choose a bonding agent that is suitable for use with stone veneer and that provides a strong and durable bond.
Are there any specific techniques or tips for ensuring a successful installation of stone veneer on an interior wall?
When it comes to installing stone veneer on an interior wall, there are several techniques and tips that can help ensure a successful installation. Here are some important considerations to keep in mind:
1. Proper surface preparation: Before installing the stone veneer, it is crucial to prepare the interior wall surface properly. This includes cleaning the wall thoroughly to remove any dirt, dust, or debris. Additionally, it is important to ensure that the wall is structurally sound and free from any cracks or damage. If necessary, repair any imperfections before proceeding with the installation.
2. Use the right adhesive: Choosing the correct adhesive is essential for a successful installation. It is recommended to use a high-quality, polymer-modified thinset mortar specifically designed for stone veneer. This type of adhesive provides excellent bonding strength and flexibility, ensuring that the veneer stays securely in place.
3. Properly mix the mortar: When mixing the mortar, it is important to follow the manufacturer’s instructions carefully. Use the correct ratio of water to mortar powder and mix until you achieve a smooth, lump-free consistency. Avoid adding too much water, as this can weaken the adhesive’s bonding strength.
Are there any potential challenges or common mistakes to avoid when installing stone veneer on an interior wall?
When installing stone veneer on an interior wall, there are a few potential challenges and common mistakes that you should be aware of in order to ensure a successful installation. One common mistake is not properly preparing the wall surface before applying the veneer. It is important to clean the wall thoroughly and remove any dirt, dust, or loose paint.
Another challenge to consider is the weight of the stone veneer. If the wall is not strong enough, it may be necessary to reinforce it with additional framing or support. Additionally, it is important to use the correct adhesive or mortar for the specific type of stone veneer being installed. Using the wrong adhesive can result in a weak bond or even cause the veneer to detach from the wall over time.
Are there any alternative methods or products that can be used for achieving a similar aesthetic to stone veneer on an interior wall?
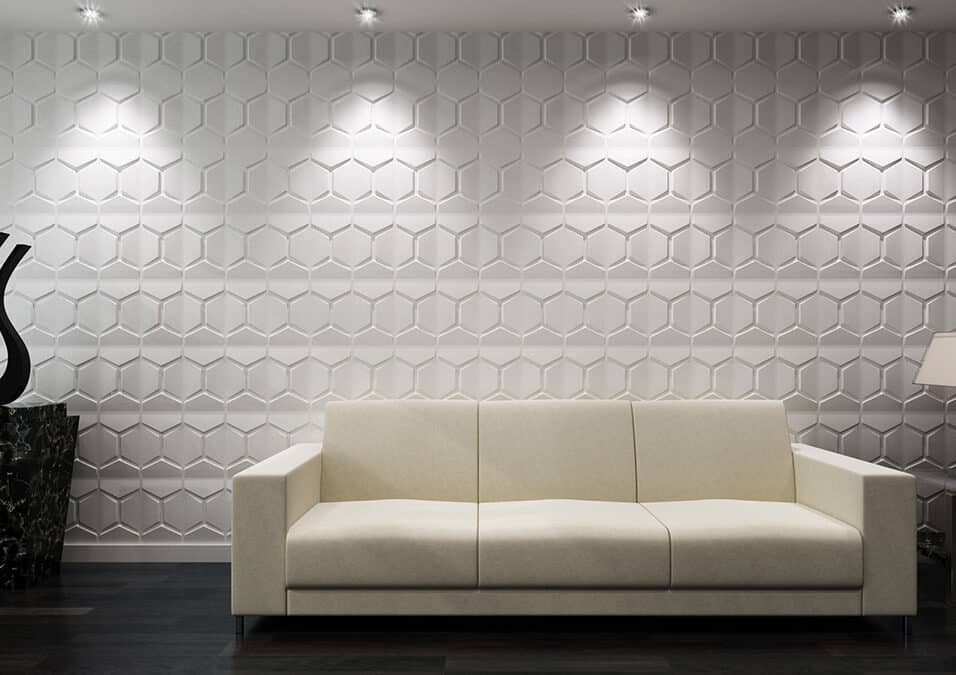
Yes, there are alternative methods and products that can be used to achieve a similar aesthetic to stone veneer on an interior wall. One option is using faux stone panels, which are made from high-density polyurethane and designed to mimic the look of real stone. These panels are lightweight, easy to install, and come in a variety of styles and colors. They can be attached directly to the wall using adhesive or screws, and the joints can be filled with caulk or grout to create a seamless appearance.
Another alternative is using stone wallpaper or wall decals. These products are made from vinyl or paper and feature realistic stone patterns and textures. They are typically applied like regular wallpaper, using adhesive or water, and can be easily removed or replaced if desired.
Conclusion
First and foremost, it is important to prepare the wall surface before installing the stone veneer. This involves cleaning the wall thoroughly and ensuring that it is free from any dirt, dust, or debris.
Once the wall is prepared, the next step is to apply a layer of mortar to the wall using a trowel. This will serve as the adhesive for the stone veneer. It is important to apply the mortar evenly and in a thickness that is appropriate for the size and weight of the stone veneer being used. After applying the mortar, the stone veneer can be pressed firmly into place, ensuring that it is level and aligned with the surrounding stones.
Finally, once all the stone veneer has been installed, it is important to allow the mortar to dry and cure for the recommended amount of time. This will ensure that the stone veneer is securely attached to the wall and will not shift or come loose over time. Once the mortar is fully cured, any excess mortar can be removed using a brush or sponge, and the wall can be cleaned and sealed to protect the stone veneer and enhance its appearance.


