How To Install Kitchen Base Cabinets
Introduction
How To Install Kitchen Base Cabinets: Installing kitchen base cabinets is an essential part of any kitchen renovation or remodeling project. These cabinets not only provide functional storage space but also contribute to the overall aesthetic appeal of the kitchen. Whether you are a seasoned DIY enthusiast or a beginner looking to tackle a home improvement project, with the right tools, materials, and careful planning, you can successfully install base cabinets to create a beautiful and organized kitchen.
Remember, while installing base kitchen cabinets can be a rewarding project, it requires attention to detail and precision. Lastly, safety should always be a priority during any DIY project. Use appropriate safety gear, follow manufacturer guidelines, and be cautious when working with tools or lifting heavy objects.
Can I install base cabinets myself?
Cabinets are such a fixture of any kitchen that it’s hard to imagine installing them yourself. While it’s true that it does take a bit of skill, some time, and a couple pairs of helpful hands, it’s totally possible for even first-time homeowners to DIY a kitchen cabinet installation.
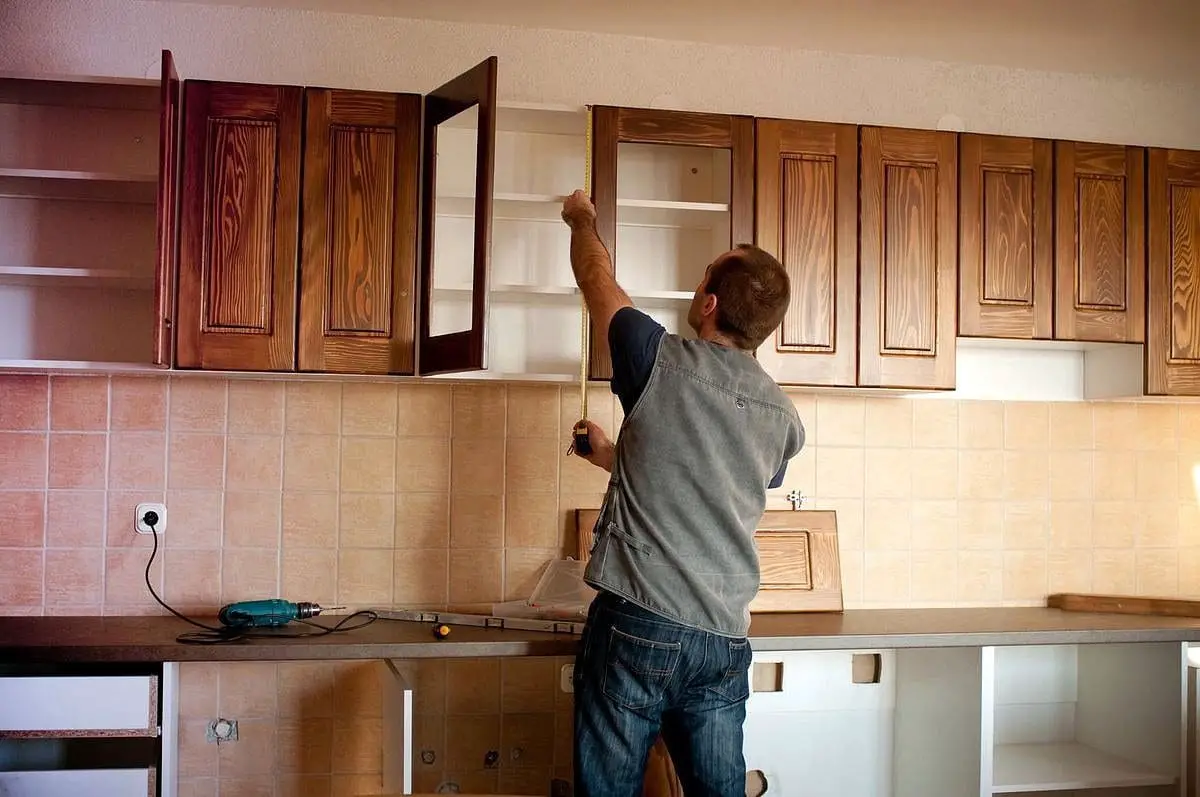
Before embarking on the cabinet installation journey, meticulous preparation is crucial. Start by creating a detailed plan, including accurate measurements of the kitchen space and cabinets. Consider the layout you desire, the positioning of appliances, and any potential obstacles that might affect the installation process. Proper planning sets the foundation for a smooth installation experience.
To ensure a successful installation, gather all the required tools and materials. Common tools include a level, measuring tape, screwdriver, drill, stud finder, and safety equipment.
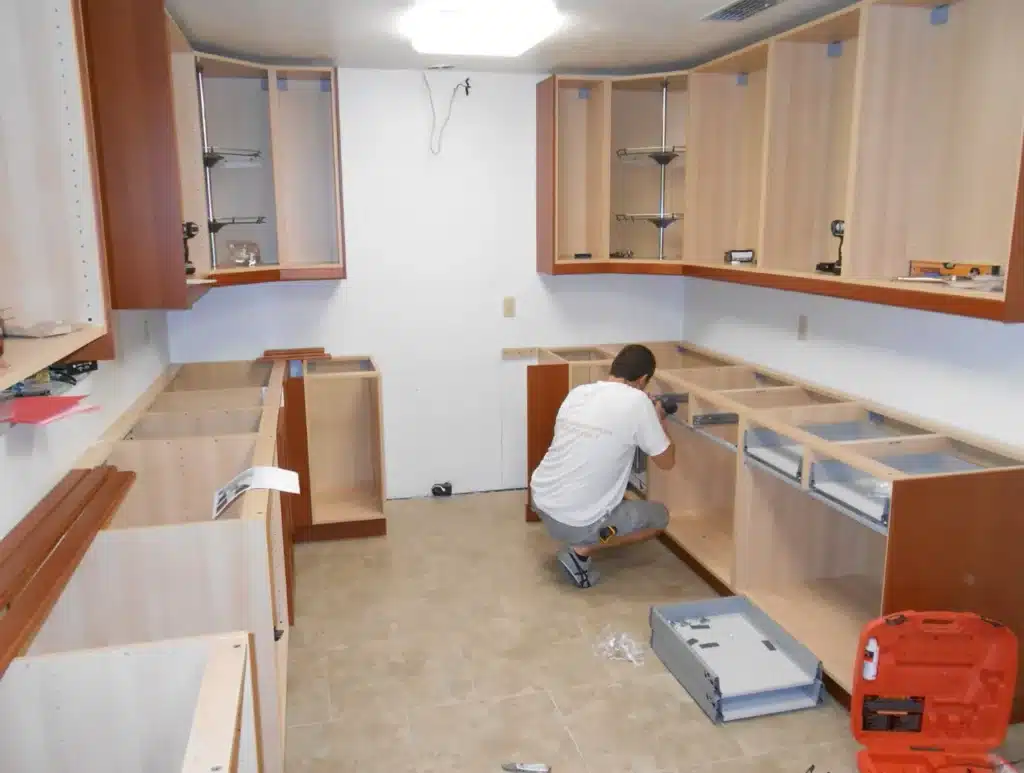
If you are replacing old cabinets, begin by carefully removing them. Disconnect any plumbing or electrical connections, and remember to turn off the water supply before handling pipes. It’s essential to exercise caution during this step, as damage to walls or flooring could impact the installation of the new base cabinets.
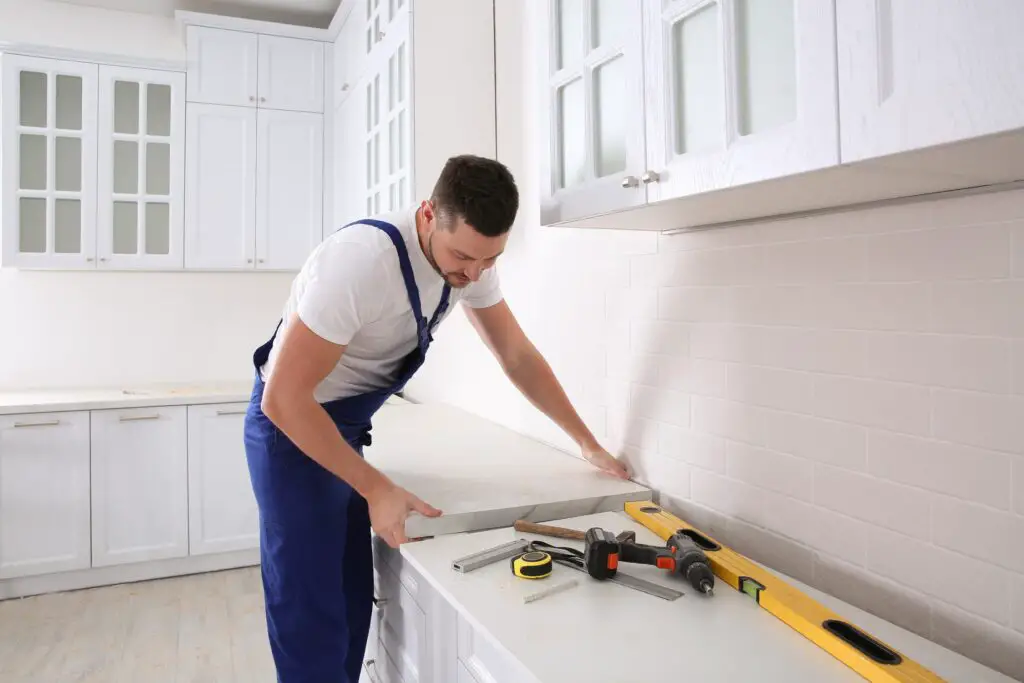
Leveling the cabinets is perhaps the most critical aspect of the installation process. Use a level to ensure the cabinets are straight and even, as this guarantees proper functionality and avoids future issues with doors and drawers. Secure the cabinets firmly to the wall studs using screws, ensuring a sturdy and safe installation.
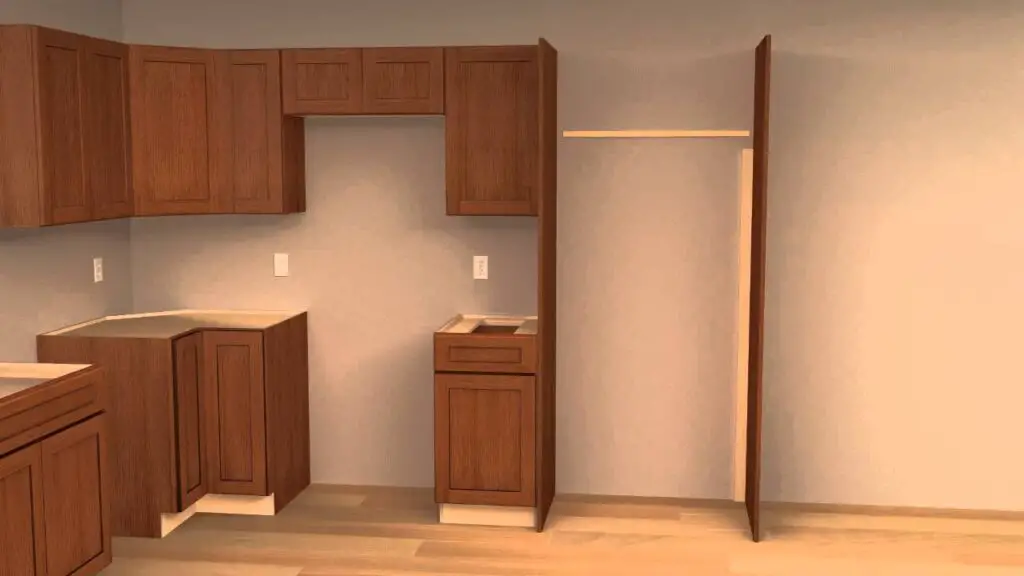
Achieving a seamless look involves aligning the base cabinets accurately. Check that the cabinets are flush with each other and maintain consistent gaps between them to create a harmonious and visually appealing kitchen design.
Do you screw base cabinets to the floor?
Traditional cabinets that lay against a supporting wall do not get attached to the floor. Accidental tipping could lead to serious injuries and damage to the cabinets, flooring, or nearby appliances.
Screwing base cabinets to the floor helps maintain proper leveling and alignment. It ensures that all cabinets are on the same level, creating a seamless and aesthetically pleasing kitchen design.
Base cabinets play a crucial role in supporting the weight of kitchen countertops. This support is especially important for heavy materials like granite or quartz.
How many screws in base cabinets?
Attach the cabinets to the studs with at least two screws in each mounting rail, while attaching the cabinets to each other with at least four drywall screws.
When attaching base cabinets to the floor, it is essential to use at least two screws per cabinet. These screws are usually driven through the cabinet’s bottom and into the floor. As with wall attachment, larger and heavier cabinets may require more screws to ensure stability and prevent any movement or tipping hazards.
A typical base cabinet installation might require a minimum of four screws per cabinet—two for wall attachment and two for floor attachment. However, depending on the size, weight, and specific requirements of the installation, the number of screws can increase. It is not uncommon to use six or more screws for larger or heavier cabinets to ensure a robust and reliable installation.
When screwing base cabinets to the wall, it is crucial to locate and attach the screws to wall studs for the best support. Use a stud finder to locate the studs and mark their positions before driving the screws.
Choose screws that are appropriate for the material of both the cabinet and the wall/floor. The length of the screws should be long enough to penetrate the cabinet material and have a secure hold in the wall studs or floor.
Distribute the screws evenly across the back of the cabinet for wall attachment and the bottom for floor attachment. This helps distribute the weight evenly and prevents any warping or unevenness in the cabinet over time.
Ensure the base cabinets are level before securing them in place. Use shims if needed to level the cabinets and prevent any tilting or misalignment.
What goes under kitchen cabinets?
In most cases, the cabinets are installed before the floor covering but after the subfloor and underlayment. The floor covering or finish is usually cut to fit and butted against the cabinets, with a small gap between the two that is covered by nailing a shoe molding or baseboard to the bottom of the base cabinets.
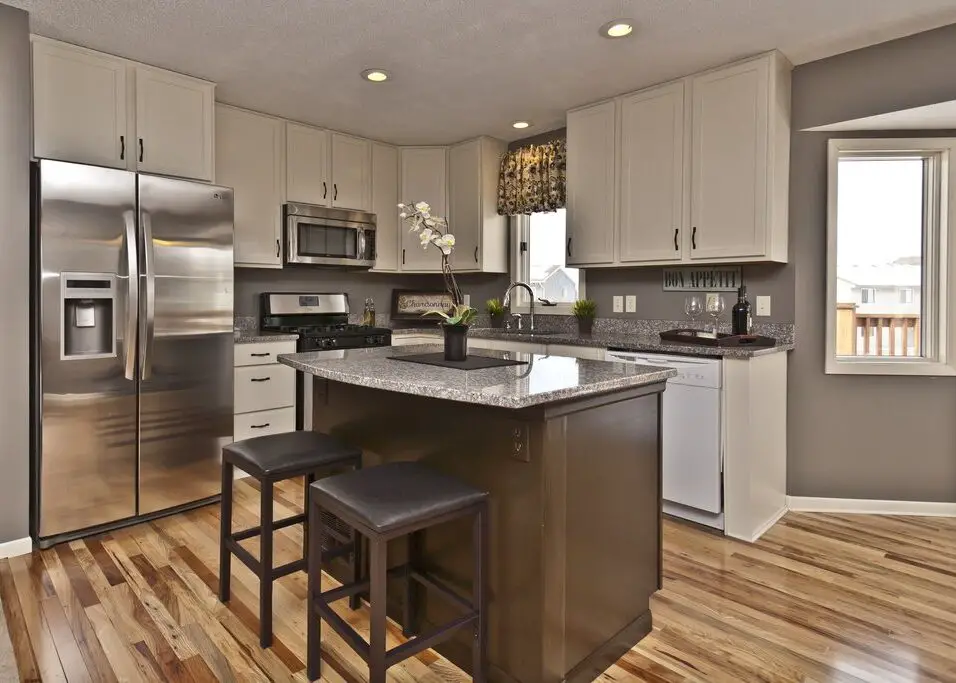
The toe kick, also known as a toe space, is the recessed area at the bottom of base cabinets, just above the floor. It allows ample space for your toes while standing close to the cabinets, making kitchen tasks more comfortable and ergonomic. The standard height of a toe kick is around 3 to 4 inches, but this measurement can vary depending on personal preference and the cabinet style. Toe kicks are often finished with the same material as the cabinet doors for a cohesive look.
Base or cabinet levelers are adjustable feet or legs located underneath base cabinets.
These levelers allow for fine-tuning the height and leveling of the cabinets to ensure they are stable and even on uneven floors. They are especially beneficial when dealing with floors that may have slight variations or slopes. Using levelers ensures that the base cabinets are aligned correctly and prevents any potential issues with door or drawer alignment.
The cabinet base or platform is a solid structure that the base cabinets sit on. This base provides structural support and ensures that the cabinets are elevated from direct contact with the floor. Elevating the cabinets helps protect them from potential water damage, especially in the case of spills or floor cleaning.
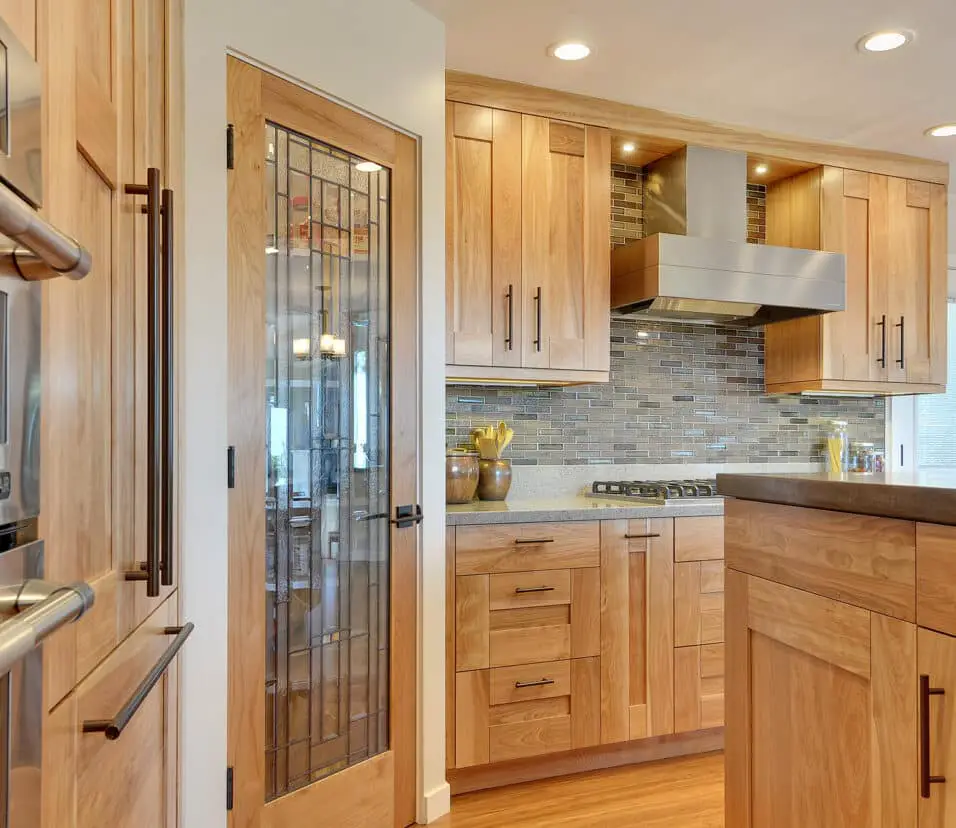
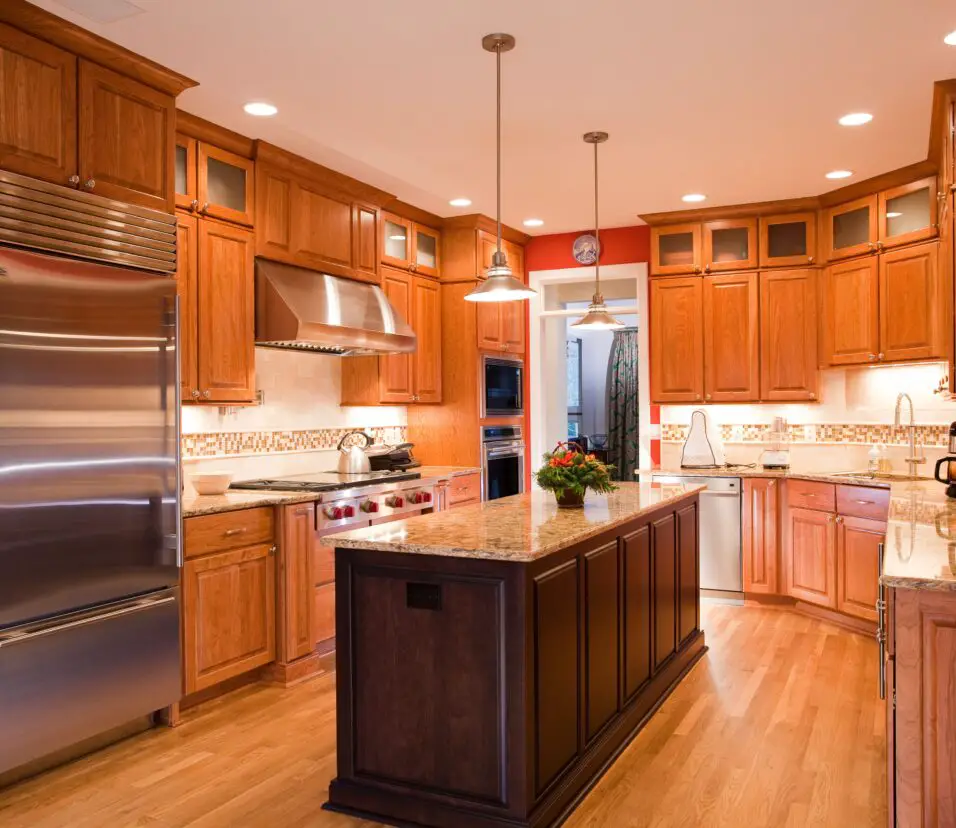
Under kitchen cabinets, you will find the flooring material that extends beneath the base cabinets. The flooring should be installed before the cabinets to provide a seamless and cohesive appearance. Common flooring options include hardwood, tile, vinyl, laminate, and engineered wood. The type of flooring chosen should be durable, water-resistant, and easy to clean to withstand the high-traffic and potential spills in a kitchen environment.
Do kitchen cabinets go over flooring?
Because of that installation process, cabinets should go in before floating floors. Cabinets, especially with heavy stone countertops, could damage your floating floors. These types of floors also shift, expand, contract and settle after installation, causing the cabinets on top of them to move. Installing kitchen cabinets over the flooring creates a seamless and cohesive appearance. This aesthetic advantage enhances the overall visual appeal of the kitchen.
Installing the flooring first and then the kitchen cabinets can be a challenging and time-consuming process. It requires precise measurements and careful planning to ensure that the cabinets fit correctly over the flooring.
Placing the kitchen cabinets directly on the floor provides a stable and level foundation. The cabinets rest securely on the floor, minimizing any potential movement or shifting over time. This stability is essential for ensuring the longevity and performance of the cabinets.
Another benefit of installing kitchen cabinets over the flooring is the flexibility it offers for future changes or renovations. If you ever decide to replace the cabinets or make adjustments to the kitchen layout, it is much easier to do so without the constraints of the flooring already in place.
Do kitchen cabinets go on top of tile?
Types of Kitchen Flooring and When to Install Them
However, many carpenters install this thicker flooring on top of the subfloor to help achieve standard heights. Tile: Tile flooring should go under the kitchen cabinets, and should be treated the same as hardwood, depending on the finished cabinet height.
Opting to install cabinets on top of existing tile can be a time-saving and efficient method. This approach eliminates the need to remove the existing tile, which can be a labor-intensive and messy process. By avoiding tile removal, you can complete the kitchen renovation or installation more quickly, minimizing disruption to your daily routine.
Placing the cabinets on top of the tile provides a stable and level foundation. The cabinets rest securely on the tile surface, minimizing any potential movement or shifting over time. This stability is essential for ensuring the longevity and performance of the cabinets.
How deep is a base cabinet?
24 inches
A standard base cabinet should be 24 inches or 61 cm in depth. Since refrigerator manufacturers now make deeper fridges, it directly creates a need for deeper countertops or cabinets.
The depth of the base cabinet should complement the overall kitchen layout and size. Conversely, in larger kitchens with ample space, deeper base cabinets can offer increased storage capacity and accommodate larger kitchen appliances.
While the standard depth of a base cabinet is 24 inches, there are customization options available if you have specific requirements or preferences. Some kitchen cabinet manufacturers offer modular or semi-custom cabinets that allow you to choose different depths based on your needs. Additionally, for certain kitchen layouts or specialized storage requirements, custom cabinets can be designed with depths outside the standard range.
Why is there space under kitchen cabinets?
What is sometimes called a “kick space”, is notched out at the bottom of your base cabinets, allowing you to get closer to the countertop without having to hunch over. It is typically 3” – 4” deep by 4 ½” high. It’s either painted or stained to match your cabinets.
The name “toe kick” is derived from its function of providing a dedicated space for your toes. The toe kick ensures a safe and injury-free working environment in the kitchen.
The space under kitchen cabinets allows for the concealment of utilities, such as electrical outlets, plumbing connections, and wiring. These utilities are often routed through the toe kick area, keeping them hidden from view and ensuring a clean and uncluttered appearance on the front of the cabinets.
From an aesthetic standpoint, the toe kick space contributes to the overall visual appeal of the kitchen. It creates a sense of openness and lightness, making the cabinets appear visually lighter and less bulky. The recessed area also adds a touch of elegance and sophistication to the cabinet design.
Under-cabinet lighting is a popular feature in modern kitchens, providing task lighting for food preparation and cooking activities. The toe kick space provides a discreet area to install under-cabinet lighting fixtures, illuminating the countertop and enhancing the ambiance of the kitchen.
Conclusion
Kitchen base cabinets may seem like a daunting task at first, but with careful planning, attention to detail, and the right tools, it can be a rewarding and satisfying DIY project. Throughout this guide, we have explored the step-by-step process of installing base cabinets, covering crucial aspects such as measuring and marking, cabinet layout, leveling, and securing. By following these guidelines, you can ensure that your base cabinets are installed securely and accurately, providing a strong foundation for your kitchen’s functionality and aesthetics. Remember to take your time and double-check measurements and alignment to avoid potential issues down the road.
Moreover, don’t hesitate to seek assistance from friends or family members when handling heavy cabinets or complex tasks. Teamwork can make the installation process more manageable and enjoyable. Lastly, safety should always be a priority during any DIY project. Use appropriate safety gear, follow manufacturer guidelines, and be cautious when working with tools or lifting heavy objects.
As you complete the installation of your kitchen base cabinets, take pride in the transformation you have made to your living space. The newfound storage and organization they bring will undoubtedly enhance your daily kitchen routines and add value to your home. If you encounter any challenges during the installation, don’t hesitate to consult with professionals or watch online tutorials for additional guidance. With determination and patience, you can achieve a beautifully functional kitchen that reflects your personal style and serves as the heart of your home for years to come.