How To Hook Up A Baseboard Heater
Introduction
How To Hook Up A Baseboard Heater: Are you tired of shivering in the cold during the winter months? Do you want to find a cost-effective and efficient way to heat your home? Look no further than a baseboard heater. Baseboard heaters are a popular choice for homeowners looking to add supplemental heat to their living spaces. In this article, we will guide you through the process of hooking up a baseboard heater, ensuring that you stay warm and cozy all winter long.
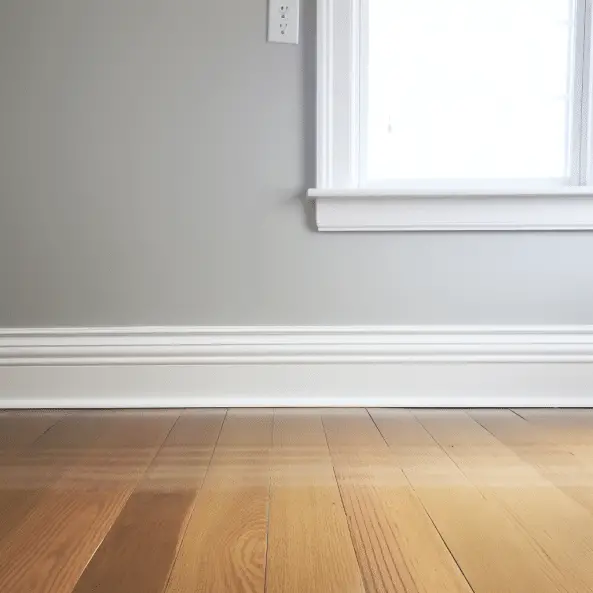
Firstly, it is important to understand the basics of how a baseboard heater works. Unlike traditional forced-air heating systems, baseboard heaters use convection to distribute heat. They are typically installed along the baseboard of a room, hence the name. As the heater warms up, the air around it rises, creating a natural flow of warm air throughout the space. This makes baseboard heaters an excellent choice for rooms that are difficult to heat or for individuals who prefer a more consistent and even heat source.
Before you begin the installation process, it is crucial to ensure that you have the necessary tools and materials. You will need a baseboard heater unit, a thermostat, electrical wire, wire connectors, a screwdriver, and a voltage tester. It is also important to check your local building codes and regulations to ensure that you are following the proper guidelines for installation.
Once you have gathered all the necessary materials, you can begin the installation process. Start by turning off the power to the circuit you will be working on. This can be done by flipping the corresponding breaker in your electrical panel. Use a voltage tester to double-check that the power is indeed off before proceeding. Safety should always be a top priority when working with electricity.
How are baseboard heaters connected?
The two hot wires on the cable leading to the heater connect to the two “load” wires on the thermostat. Both white circuit wires should be labeled as “hot” with a band of black or red tape. The bare ground wires connect to the ground screw or ground wire on the thermostat, via a pigtail wire.
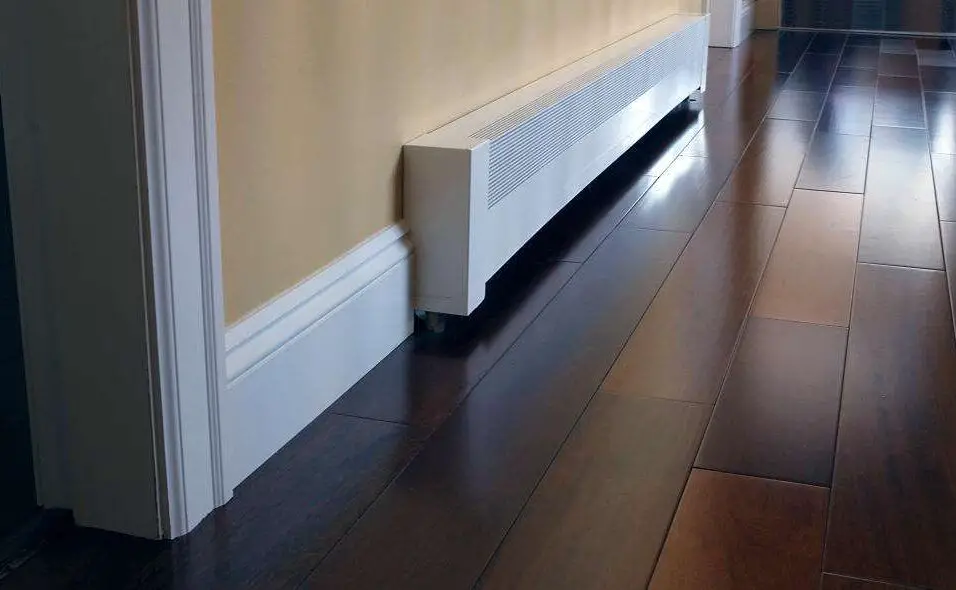
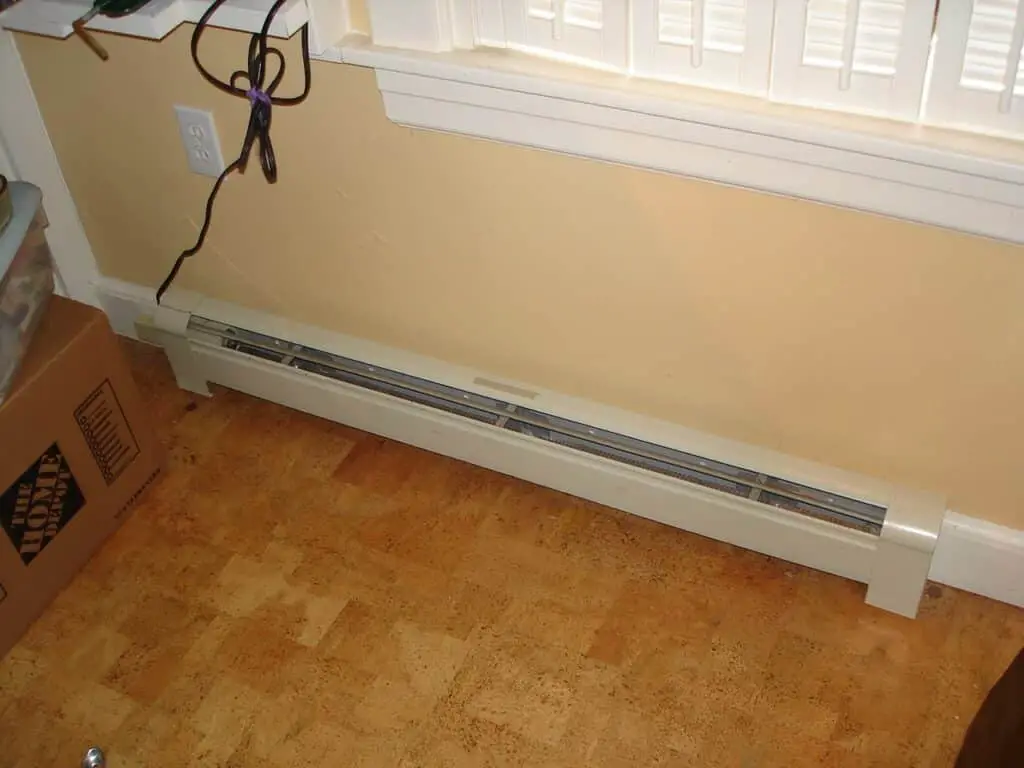
Baseboard heaters are a popular choice for heating individual rooms or small spaces. They are typically installed along the baseboard of a wall and provide a steady, even heat. But how exactly are these heaters connected? Let’s take a closer look.
Firstly, it’s important to note that baseboard heaters are electric heaters, meaning they rely on electricity to generate heat. This is in contrast to other types of heaters, such as gas or oil heaters, which require a fuel source.
Electric nature of baseboard heaters makes them relatively easy to connect and install.
When it comes to connecting baseboard heaters, there are a few key components involved. The first is the electrical circuit, which supplies power to the heater. This circuit typically consists of a dedicated circuit breaker in the electrical panel, which is connected to the heater via electrical wiring. The circuit breaker acts as a safety measure, protecting the heater from electrical overload.
Once the electrical circuit is in place, the next step is to connect the heater itself. Baseboard heaters typically have two wires, a black wire and a white wire. The black wire is the hot wire, carrying the electrical current, while the white wire is the neutral wire, completing the circuit. These wires are connected to the corresponding wires in the electrical circuit, ensuring a proper flow of electricity.
It’s worth noting that baseboard heaters may also have a ground wire, which is typically green or bare copper. This wire is connected to the grounding system of the building, providing an additional safety measure. The ground wire helps to prevent electrical shocks and ensures that any electrical faults are safely directed away from the heater.
How do I install a baseboard heater?
Instructions
- Install a Wall Box for the Thermostat. Make a cutout for the line-voltage thermostat and install a wall box
- Run Cable for the Circuit
- Mount the Baseboard Heater
- Make the Wire Connections at the Heater
- Make the Wire Connections at the Thermostat
- Connect the Circuit Breaker
- Test the Heater
Installing a baseboard heater is a relatively simple process that can provide efficient and effective heating for your home. Whether you are replacing an old heater or installing a new one, it is important to follow the proper steps to ensure a safe and successful installation. This guide will walk you through the process of installing a baseboard heater, from choosing the right size and location to wiring and mounting the unit.
Choose the right size and location
Before you begin the installation process, it is important to determine the appropriate size and location for your baseboard heater. The size of the heater will depend on the square footage of the room you are heating, as well as the insulation and other factors. It is recommended to consult with a professional or refer to the manufacturer’s guidelines to ensure you choose the right size for your needs.
Gather the necessary tools and materials
Once you have determined the size and location of your baseboard heater, gather all the necessary tools and materials for the installation. This may include a screwdriver, wire strippers, electrical tape, mounting brackets, and the heater itself. It is important to have all the necessary tools and materials on hand before you begin the installation process.
Turn off the power
Before you begin any electrical work, it is crucial to turn off the power to the area where you will be installing the baseboard heater. Locate the circuit breaker or fuse box and switch off the power to the room. This will help prevent any accidents or injuries during the installation process.
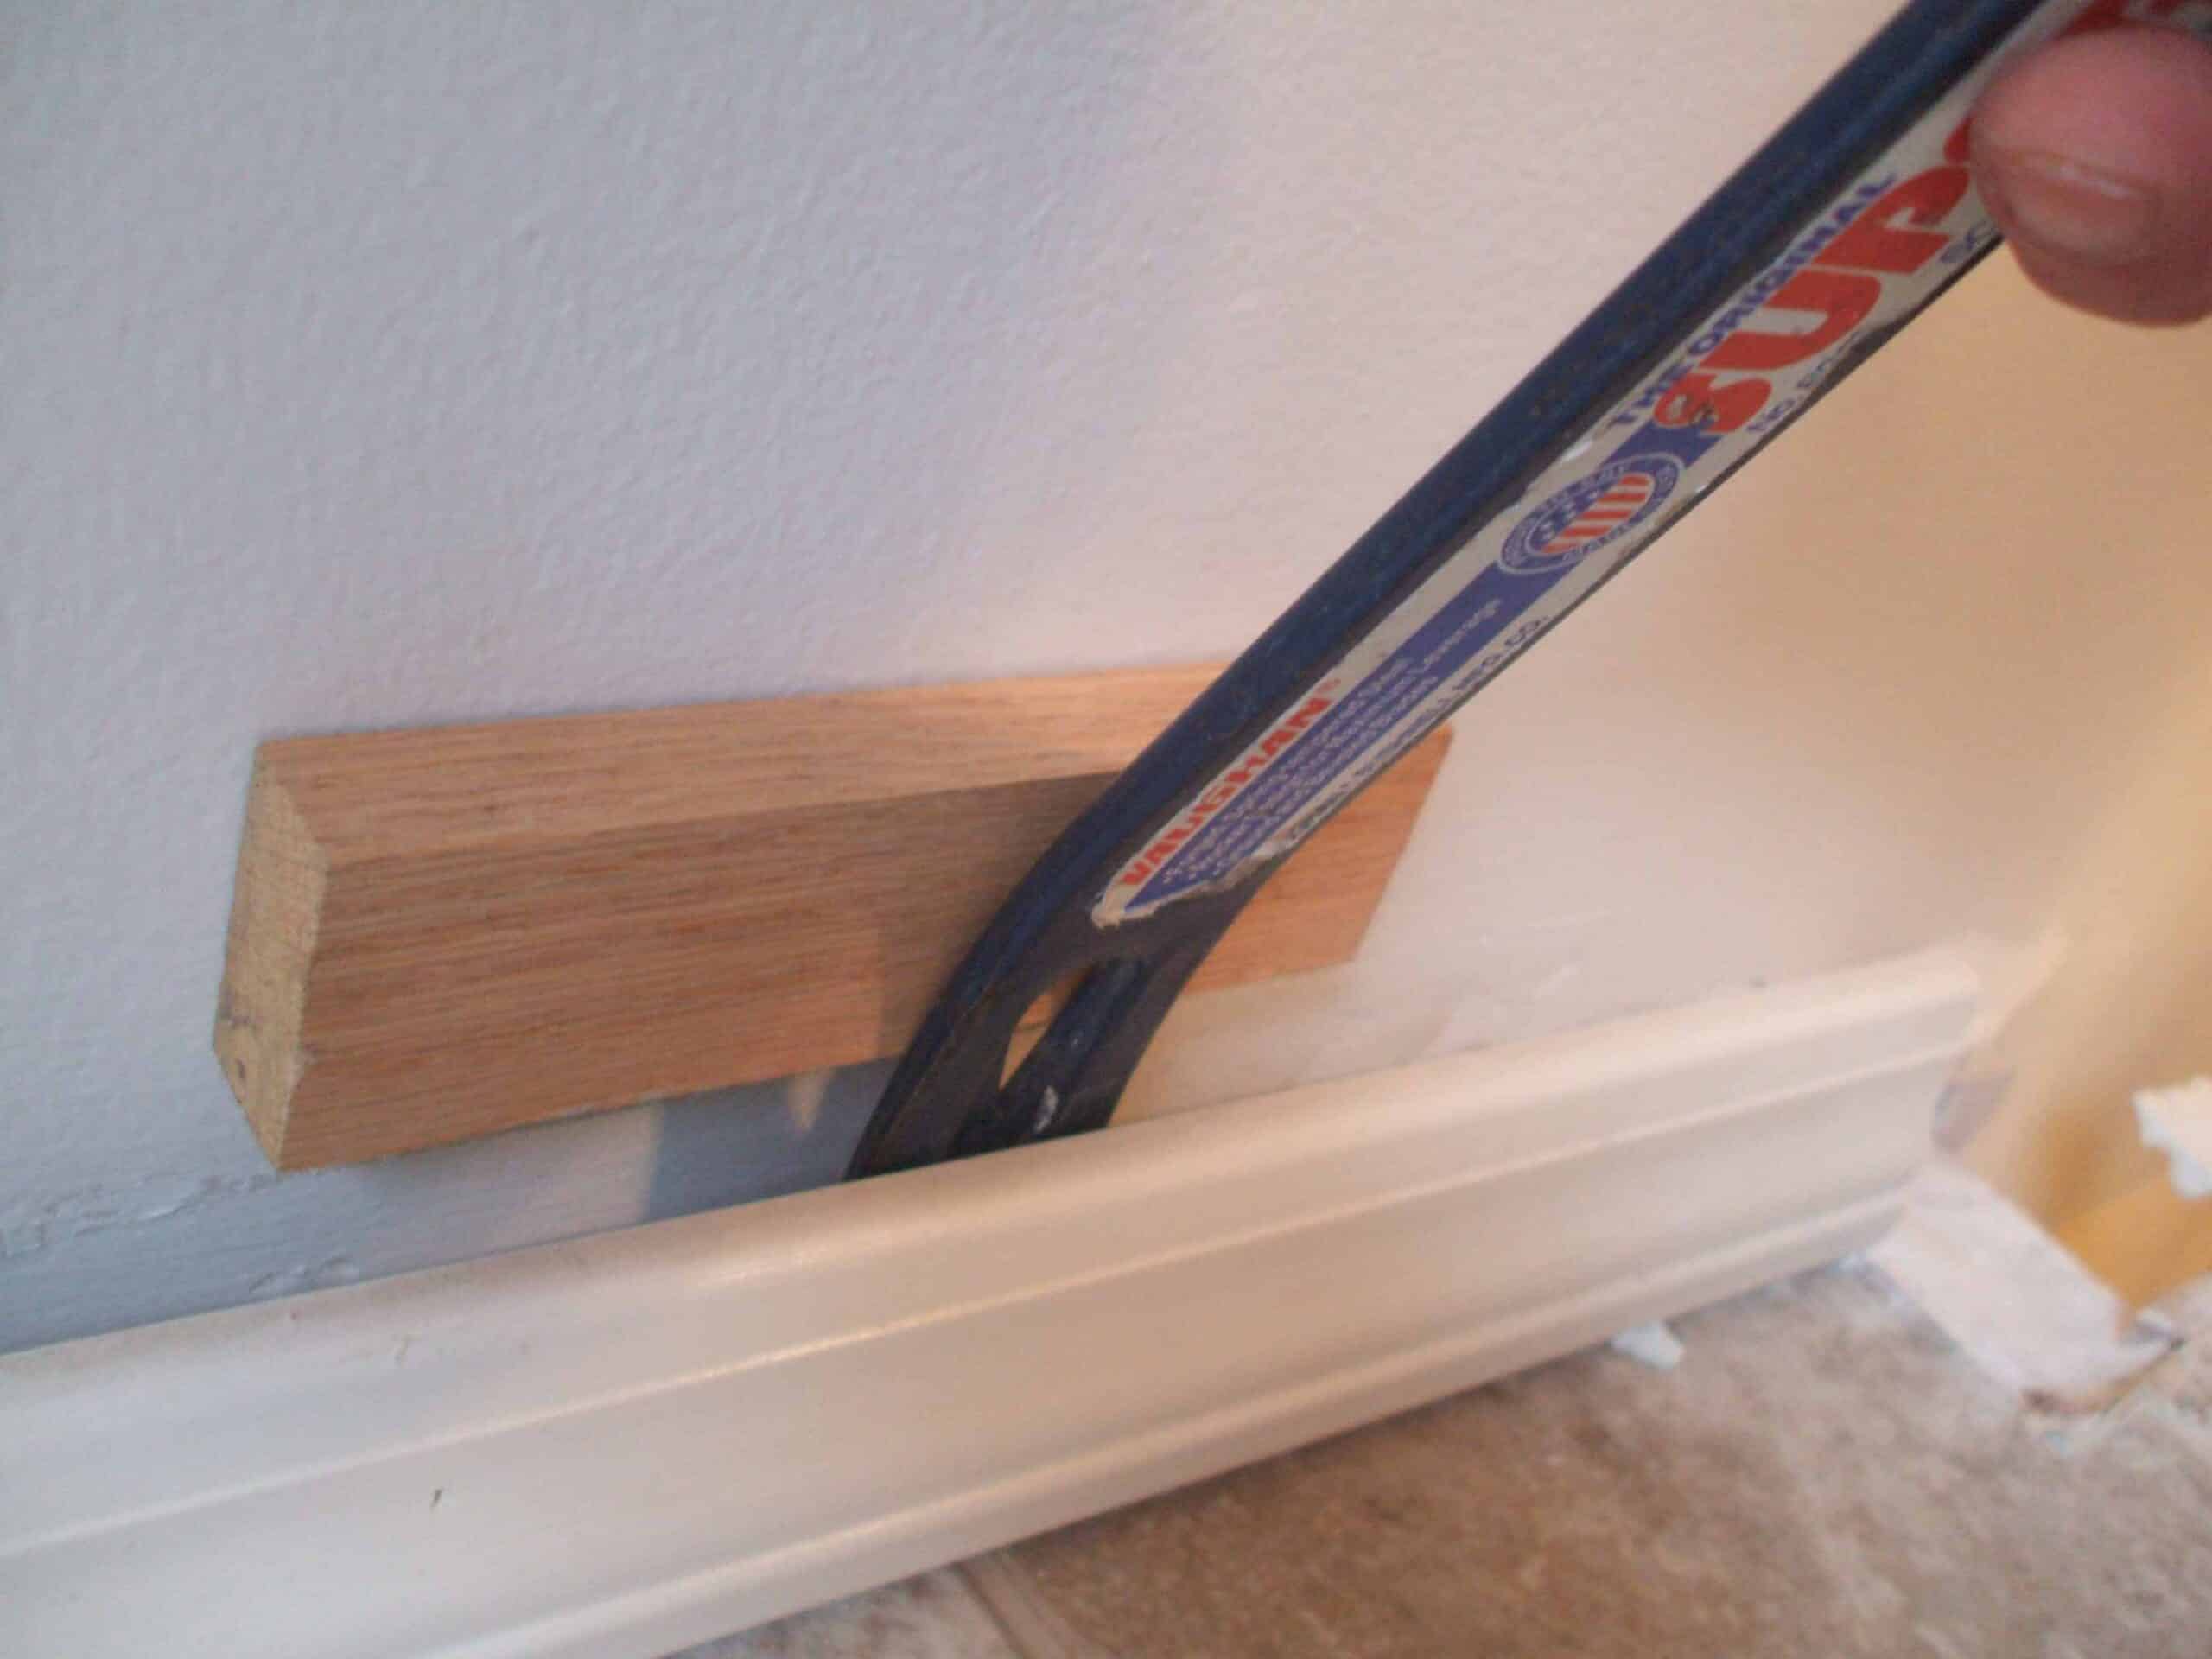
Mount the heater
Once the power is turned off, you can begin mounting the baseboard heater. Use the mounting brackets provided with the heater to secure it to the wall. Make sure the heater is level and securely attached before proceeding to the next step.
Do baseboard heaters need to be plugged in?
Electric baseboard heaters today have a heating element inside that makes heat and sends it out to the room to warm it. Most of the time, electric baseboard heaters are connected into the house. But some electric baseboard heaters are small enough to move around and can be put into any wall outlet.
You don’t have to put in a baseboard heater. The electrical system of a house usually has wires going to them. In other words, they are directly linked to the power source and don’t need a plug and outlet like other electronics. Instead, baseboard heaters are hooked up to a special circuit breaker in the electrical panel. This gives them the power they need to work.
Several benefits to hardwiring floor heaters.
For starters, it gets rid of the need for a plug and outlet, which can look bad and take up space on the wall. Baseboard heaters can be easily added to the design of a room because they are directly related to the electricity. In addition, hardwiring makes sure that the heaters always have power because there is no chance of the plug coming loose or the port being too full.
It is important to hire a qualified electrician to make sure that the baseboard heaters are properly wired and connected to the power grid. Based on how much power the heaters need, the electrician will choose the right size circuit breaker and wire thickness. They will also make sure that the wiring is done correctly and safely according to the rules in your area.
It is important to know that some portable baseboard heaters may come with a plug and cord that can be used for short periods of time. It’s easy to move these heaters from one room to another and plug them into a normal wall outlet. For a more professional and effective setting, it is best to hardwire the baseboard heaters if you want to leave them there for good.
How hard is it to install baseboard heaters?
Easy to set up: Baseboard heaters are simple to set up because they don’t need ducting. Put them on the wall and connect them directly to the home’s power wires. It is harder to set up a hydronic heater than a regular convection electricity baseboard because the tubing has to run inside the wall.
How hard it is to install baseboard heaters depends on how much experience you have and the specifics of your installation. Some people are good at doing things on their own, so they can install baseboard heaters themselves. However, it is safer and more correctly done to hire a professional plumber.
Baseboard heaters are electric devices that heat a room by moving warm air around using convection. They are often put up along the baseboard of a wall and are a popular way to add extra heat to homes. There are several steps to installing heaters: measuring and deciding where to put them, running electrical wires, and connecting the heaters to a power source.
Electrical work and feel confident in your abilities
You might be able to install baseboard heaters yourself if you know how to work with electricity and are sure of your skills. But keep in mind that electrical work can be dangerous if it’s not done right. For any electrical repairs or installations, you should always hire a professional electrician.
It is important to get all of the tools and materials you will need before you start the installation process. The baseboard heaters themselves, a level, a knife, wire strippers, and electrical tape may be in this list. Before you start the installation, you should also make sure you have the right permits and know the local building rules.
The first thing that needs to be done to put the baseboard heaters is to measure and plan where they will go. This includes choosing the right size and power of heaters for the room and figuring out where to put them in the best way. When deciding where to put the heaters, it’s important to think about things like where to put furniture, how to get to the electricity, and how much space you need.
Do baseboard heaters use a lot of electricity?
Many electric baseboard heaters can account for as much as 44% of your yearly power bill if they are the main way you heat your home. But there are many things you can do to make your floor heaters work better and save money on your winter heating bills.
Zone heating is what baseboard heaters do—they heat specific rooms in the house. This enables you heat only the rooms in use, conserving energy. Baseboard heaters save electricity by avoiding wasting heat in unused rooms.
The room’s protection is something else to think about. Rooms that are well sealed will keep heat in better, so the heater won’t have to run all the time. Baseboard heaters can use a lot less energy if they are properly insulated. This makes them more cost-effective and efficient.
Baseboard heaters use variable amounts of electricity depending on their setup and operation. Programmable thermostats or lower thermostats can maximize energy savings. Changing the temperature based on who is home and the time of day saves energy without sacrificing comfort. You must follow many steps to connect a baseboard heater and ensure it works.
Here is a step-by-step guide to help you:
Next, measure and mark the spot where you want to put the baseboard heater. Make sure you pick a spot that doesn’t have anything in the way and lets air move freely.
Once you know where to put the baseboard heater, use the brackets or screws that came with it to attach it tightly to the wall. Make sure it’s straight and level.
It’s time to connect the wires for electricity. First, take off the heater’s cover plate to get to the wiring area. To connect the lines correctly, follow the manufacturer’s instructions and make sure the colors match up right.
Carefully put the cover plate back on and secure it in place once the wiring is linked. Make sure that all of the links are tight and safe a second time.
Finally, put the power back on at the electrical switch and check the baseboard heater to make sure it works. Make any necessary changes to the thermostat to get the temperature you want.
Can you provide a detailed guide on how to hook up a baseboard heater
Get the tools and ingredients you’ll need. Make sure you have all the tools and materials you need before you start the work. To make sure the work is safe and goes smoothly, you need to have the right tools.
Turn off the electricity. When working with electrical parts, safety should always come first. To keep yourself safe from electrical dangers, turn off the power at the circuit breaker before you connect the baseboard heater. Before you do anything else, use a voltage monitor to make sure that the power is truly off.
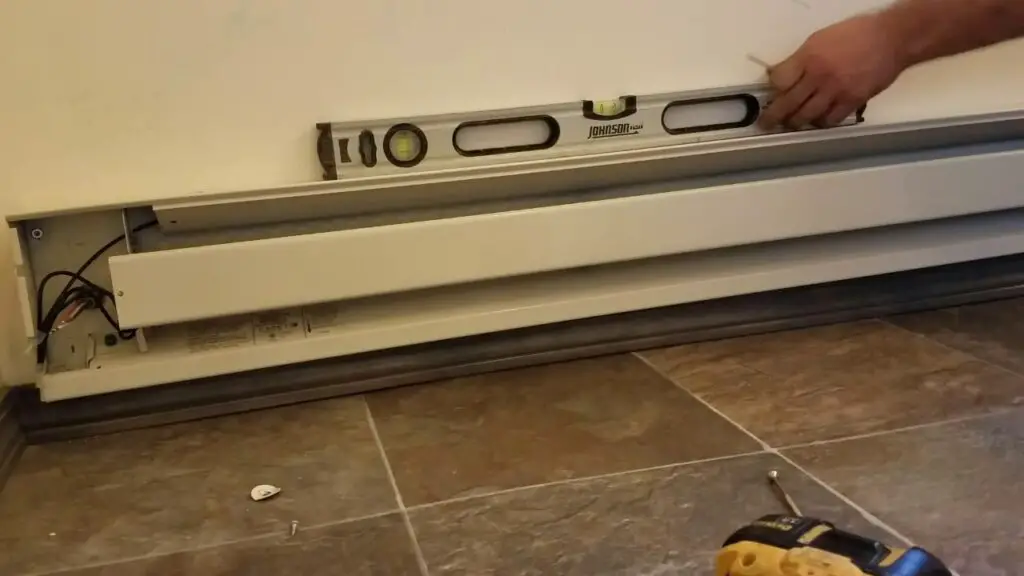
Put the baseboard heater in place. Place the baseboard heater against the wall where you want to put it. Make sure it’s straight with a level and mark where the mounting clamps will go. Use screws to connect the brackets to the wall and make sure they are securely in place.
Hook up the wires. Carefully follow the instructions that came with the baseboard heater to wire it. Usually, this is done by using wire connectors to connect the supply lines to the heater’s wiring compartment. As you strip the wires, make sure you do it right and firmly connect them. To keep the wires from shorting out, use electrical tape to cover them.
Make sure the heater works. Check the baseboard heater after the wiring is done. Turn the power back on at the circuit switch. Look for any signs that something is wrong or acting strangely. You have successfully connected your baseboard heater if everything seems to be working as it should.
What tools and materials are required for the installation of a baseboard heater?
When it comes to installing a baseboard heater, there are several tools and materials that you will need to have on hand. These include:
Screwdriver: A screwdriver is essential for removing the cover of the baseboard heater and securing it in place.
Wire cutters/strippers: You will need wire cutters or strippers to cut and strip the wires that will be connected to the heater.
Electrical tape: Electrical tape is used to secure the wires and prevent any potential electrical hazards.
Wire nuts: Wire nuts are used to connect the wires together and ensure a secure and safe connection.
Level: A level is necessary to ensure that the baseboard heater is installed straight and level.
Mounting brackets: Mounting brackets are used to secure the baseboard heater to the wall.
Drill: A drill is needed to create holes in the wall for the mounting brackets.
By having these tools and materials on hand, you will be well-prepared to install a baseboard heater and ensure a safe and efficient heating system in your home.
Are there any specific safety precautions to consider when connecting a baseboard heater?
When connecting a baseboard heater, it is crucial to prioritize safety to prevent any potential hazards or accidents. Here are some specific safety precautions to consider:
Turn off the power: Before starting any work on the baseboard heater, make sure to turn off the power at the circuit breaker. This will ensure that you are not working with live electrical currents, reducing the risk of electric shock.
Use proper wiring: It is essential to use the correct gauge of wiring for the baseboard heater. Consult the manufacturer’s instructions or a professional electrician to determine the appropriate wire size. Using the wrong wire gauge can lead to overheating and potential fire hazards.
Insulate the wiring: To further enhance safety, it is recommended to insulate the wiring connections with electrical tape or wire nuts. This will protect the connections from accidental contact and minimize the risk of electrical shorts.
Maintain proper clearance: Ensure that the baseboard heater has sufficient clearance from any combustible materials, such as furniture, curtains, or carpets. This will prevent the risk of fire and allow for proper heat dissipation.
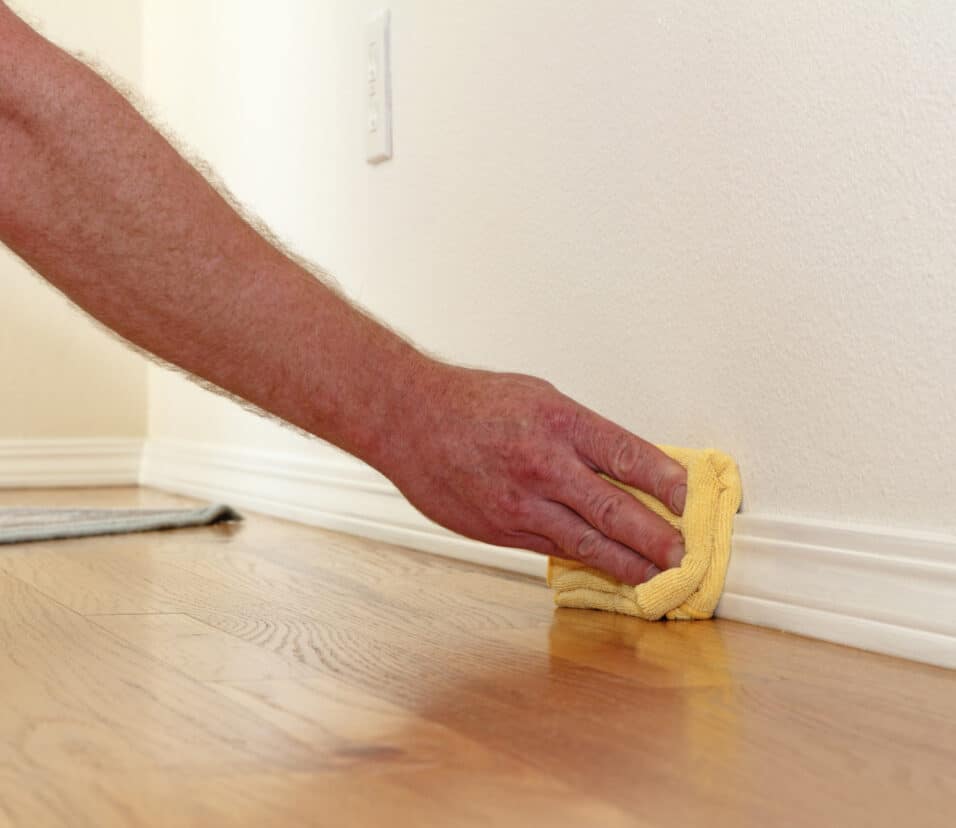
Regular maintenance: Once the baseboard heater is connected, it is important to perform regular maintenance checks. Inspect the unit for any signs of damage, such as frayed wires or loose connections. Additionally, keep the surrounding area clean and free from dust or debris to prevent overheating.
By following these safety precautions, you can ensure a secure and reliable connection for your baseboard heater, providing warmth and comfort while minimizing any potential risks.
Are there any recommended resources or tutorials available for beginners to learn how to hook up a baseboard heater?
Yes, there are a lot of tools and tutorials that can help people who are just starting out learn how to connect a baseboard heater. These sites can give you step-by-step instructions and useful advice to make sure the installation goes smoothly.
Read and follow the manual to ensure proper work and avoid safety hazards.
In addition to the manufacturer’s instructions, internet lessons and movies can help baseboard heater novices. Experts in baseboard heater installation publish tutorials on YouTube and DIY communities.
Conclusion
Hooking up a baseboard heater is a relatively simple process that can be done by following a few key steps. First, it is important to gather all the necessary tools and materials, such as a screwdriver, wire nuts, and electrical tape. Next, the baseboard heater should be properly positioned and mounted on the wall, ensuring that it is securely attached. Once the heater is in place, the electrical wiring can be connected, making sure to follow the manufacturer’s instructions and local electrical codes.
After the wiring is complete, it is crucial to test the heater to ensure it is functioning correctly and safely. This can be done by turning on the power and adjusting the thermostat to the desired temperature. If any issues or malfunctions are detected, it is important to troubleshoot and address them promptly to prevent any potential hazards.
Overall, hooking up a install baseboard heater can provide an efficient and effective way to heat a room or space. People can enjoy baseboard heater warmth and comfort by following proper installation and safety precautions. If someone is unfamiliar with electrical work, they should hire a professional to guarantee it’s done correctly and safely.