How To Extend Kitchen Cabinets
Introduction
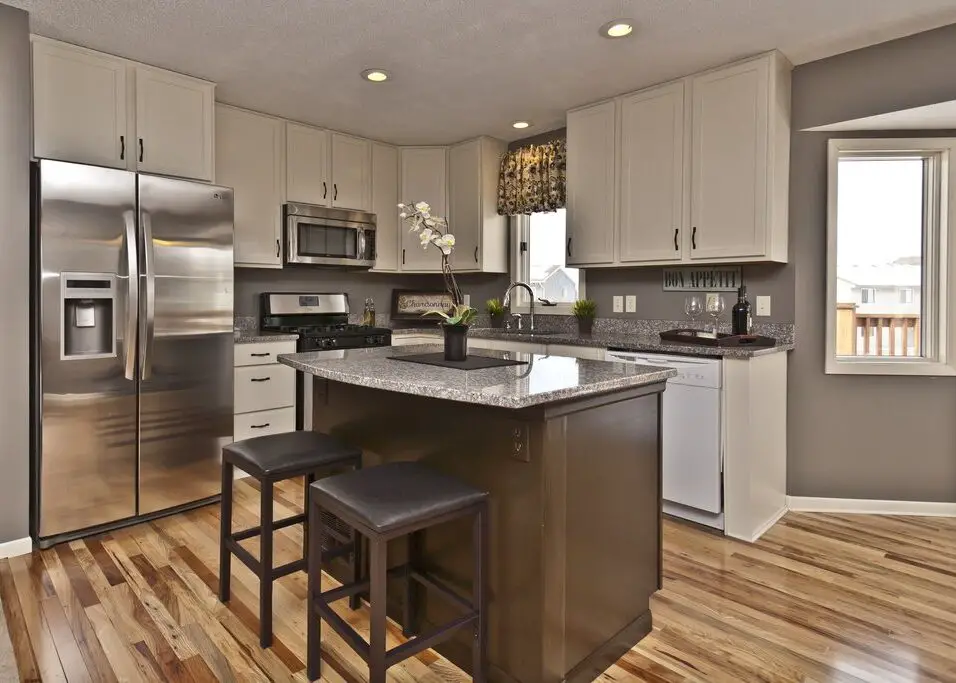
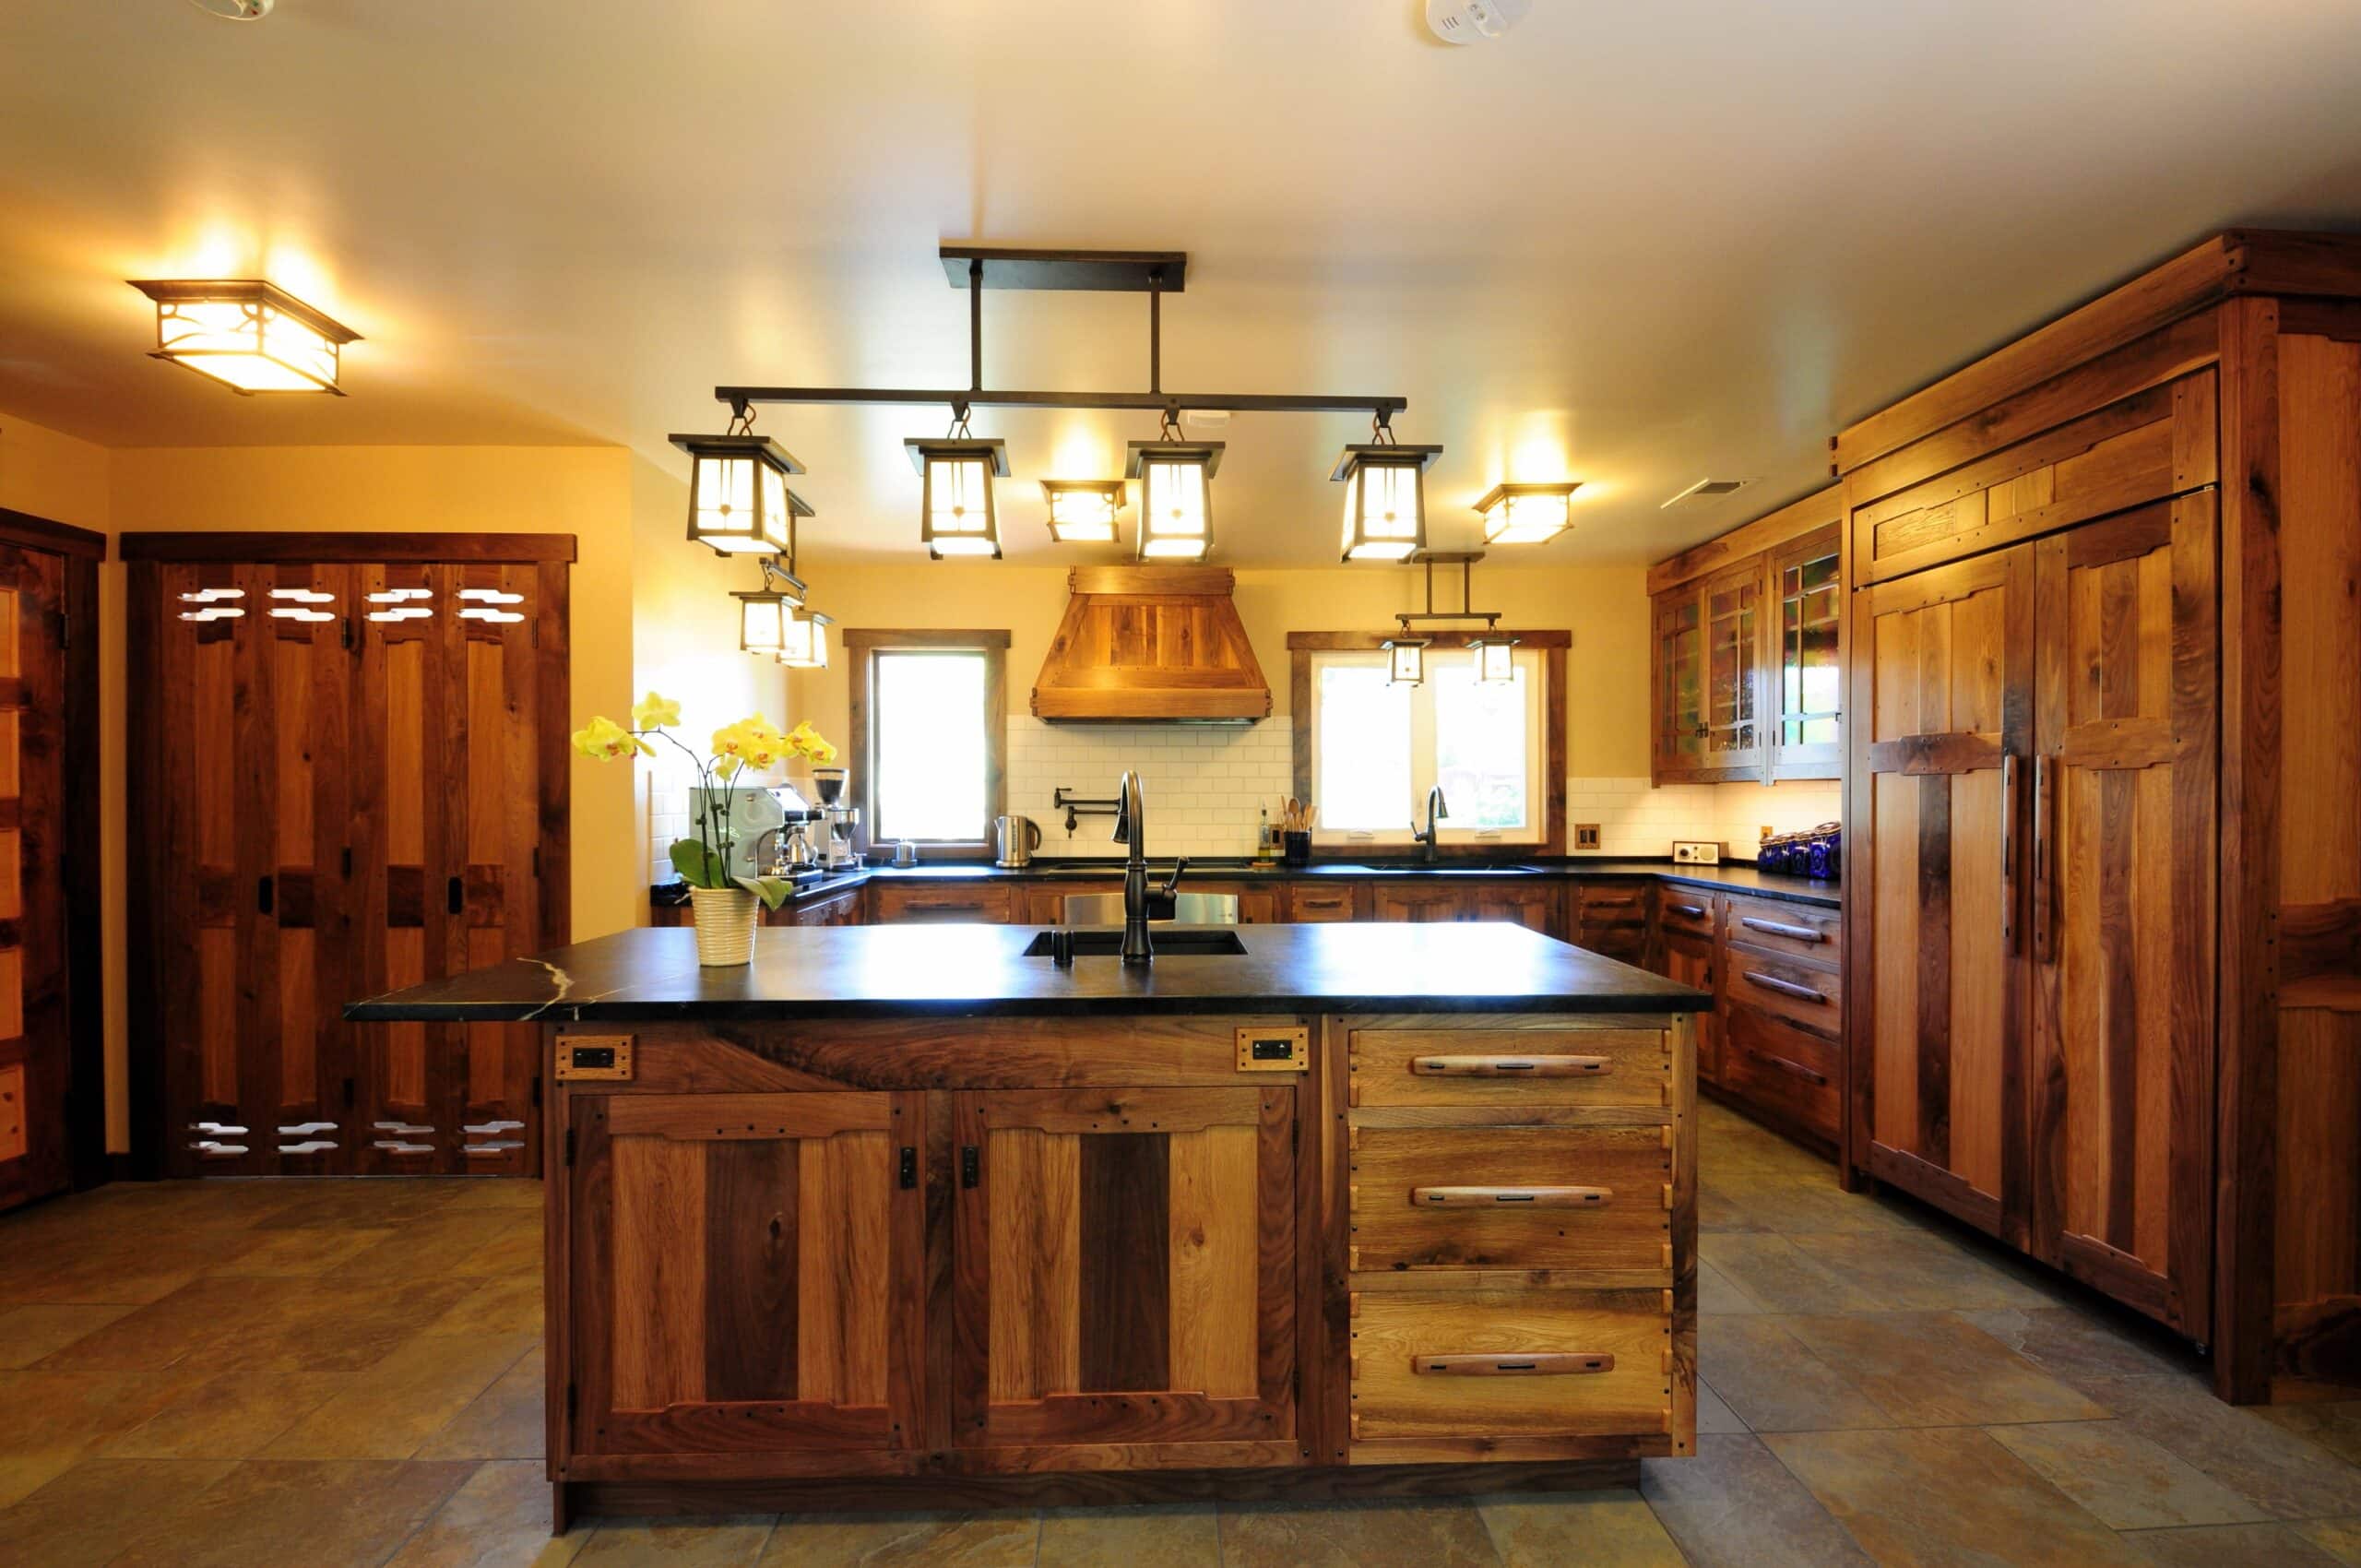
How To Extend Kitchen Cabinets: Extending kitchen cabinets is a fantastic way to create additional storage for your growing culinary collection, add extra shelving for displaying decorative items, or even accommodate larger appliances seamlessly. By extending your existing cabinets, you not only enhance the functionality of your kitchen but also have the opportunity to refresh the overall aesthetics, giving your cooking space a brand-new look without a complete overhaul.
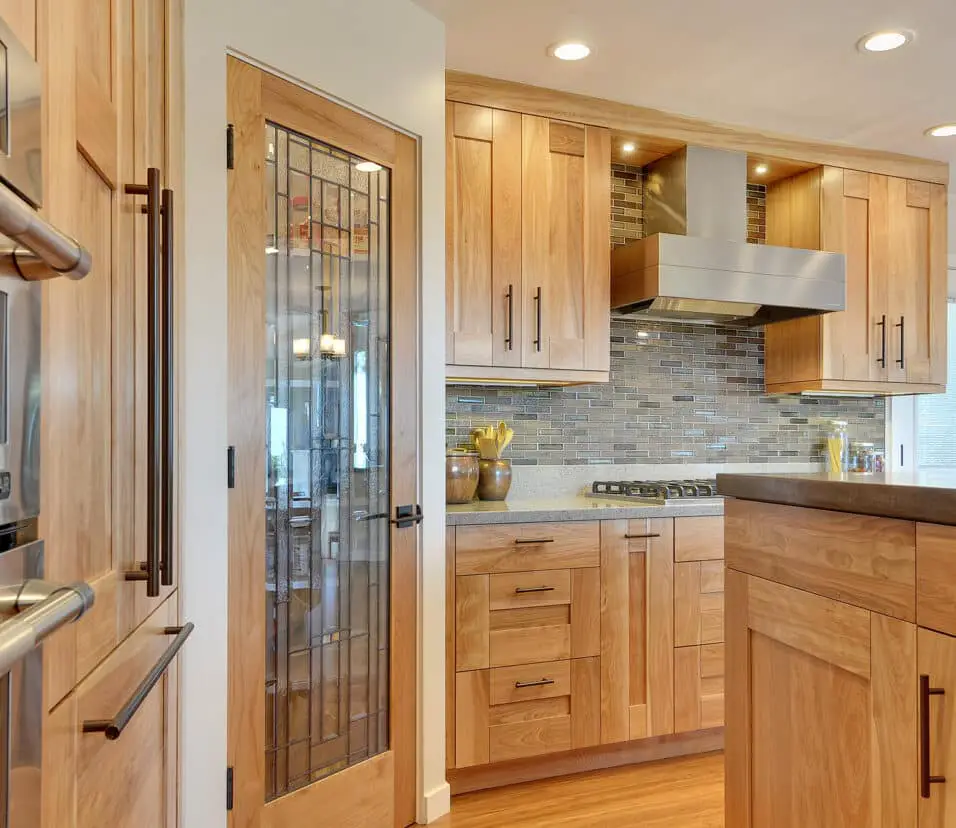
Explore various methods of extending oak kitchen cabinets, from simple approaches such as adding open shelves to more complex tasks like installing new cabinet units. Whether your cabinets are made of wood, metal, or any other material, we’ve got you covered with essential tips and tricks to ensure your project goes smoothly. Whether you’re an avid DIY enthusiast or a homeowner seeking professional assistance, walk you through the steps and considerations involved in extending your kitchen cabinets.
Before diving into the process, it’s crucial to assess your specific needs, budget, and skill level. From understanding the right tools required to making precise measurements, this guide will equip you with the knowledge to embark on your kitchen cabinet extension journey with confidence. To optimize storage space or add a touch of personal flair to your kitchen, extending kitchen cabinets might just be the solution you’re seeking.
Can you extend existing kitchen cabinets?
Good news! Yes, you can extend your kitchen cabinets up to the ceiling and no, you don’t have to remove your existing cabinets! We’ll get into the “how to” later on, but for now let’s step back and take a look at why you should (or shouldn’t) extend your kitchen cabinets to your ceiling!
Proper preparation is key to the success of any cabinet extension project. Start by creating a detailed plan that includes measurements, materials, and a clear vision of the final outcome. Consider consulting with a professional or utilizing design software to visualize how the extended cabinets will integrate with your kitchen’s layout.
Depending on the complexity of your extension project, you’ll need a variety of tools and materials. These may include a measuring tape, level, drill, screws, cabinet hardware, and the chosen cabinet materials. Ensuring you have all the required supplies before starting will streamline the process.
The decision to extend kitchen cabinets as a DIY project or seek professional assistance depends on your level of experience and the complexity of the task. Simple projects like adding open shelves may be suitable for enthusiastic DIYers, while complex installations may require the expertise of a professional contractor or carpenter.
Extending existing kitchen cabinets is a practical and rewarding endeavor that opens up a world of possibilities for your culinary haven. Whether you choose to add open shelves, extend upper cabinets, or install entirely new units, careful planning and execution will ensure a successful outcome.
How do you lengthen cabinets?
Four popular ways to extend kitchen cabinets to the ceiling are:
- Double-Stacked Cabinets.
- Bulkhead Trim and Crown Moulding.
- Bulkhead Trim Only.
- Multi-Panel Doors.
Once you’ve decided on the method, gather the required tools and materials for the project. Common tools include a measuring tape, level, saw, drill, screws, and screwdriver. For cabinet extension, you’ll need additional cabinet boxes, shelves, or standalone units.
If you’re extending existing cabinets, start by removing the doors and hardware to access the interior. This step will make it easier to attach new cabinet sections or shelves.
For extending existing cabinets, construct new cabinet sections that match the style and finish of the current ones. Ensure they align precisely with the existing cabinets to maintain a seamless appearance. If adding standalone cabinets, assemble and install them according to the manufacturer’s instructions.
Whether extending existing cabinets or adding standalone ones, securely attach the new cabinets to the wall or the existing cabinet boxes. Use a level to ensure the new units are straight and properly aligned.
If your extension includes shelves, install them securely inside the new cabinet sections. For standalone cabinets, add shelves and any necessary cabinet hardware, such as drawer sliders and handles.
To achieve a cohesive look, paint or stain the new cabinets to match the existing ones. Reattach cabinet doors and hardware to complete the extension. Throughout the process, prioritize safety by using appropriate protective gear and following tool and equipment guidelines. If you’re unsure about certain steps, seek assistance from someone with experience or consider hiring a professional.
How can I extend my kitchen storage?
- Add dividers to give cabinets order.
- Use pull-out shelves.
- Rack and stack baking sheets and cutting boards. .
- Organize lids with dividers.
- Employ a lazy Susan for a kitchen cabinet or countertop.
- Use a divider to stack pots and pans.
- Add a rolling can holder.
- Use risers to get more storage in each shelf.
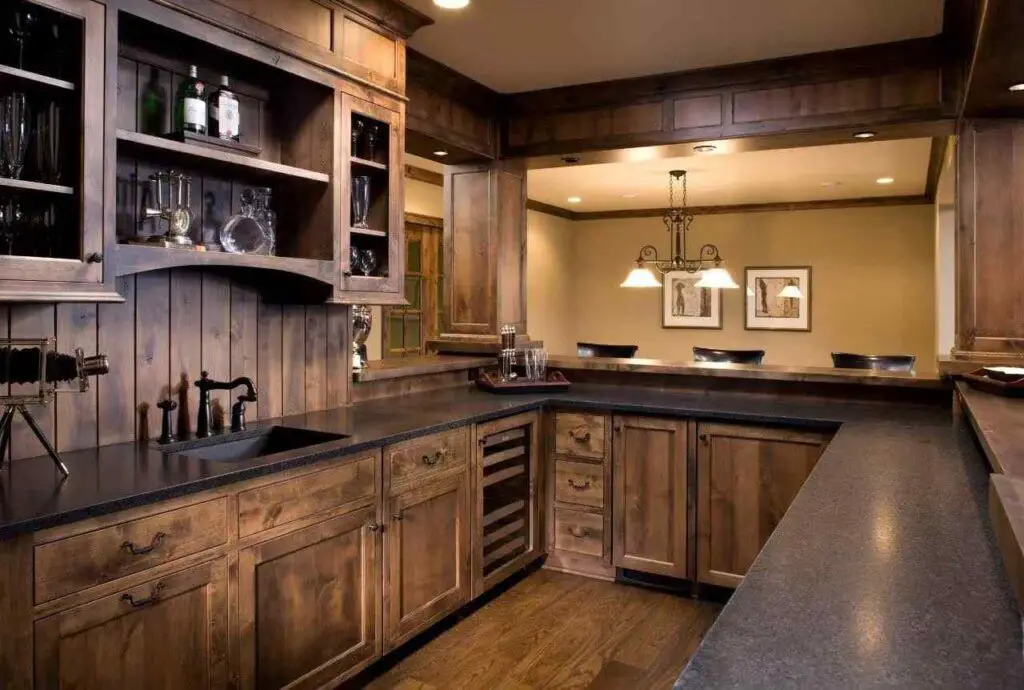
Strength and Durability
Start by assessing your current storage situation. Identify areas where you experience the most clutter and determine what types of items need better organization. Understanding your specific storage needs will guide you in implementing the most effective solutions.
Utilize your existing cabinet space more efficiently by incorporating organizers and inserts. Add pull-out shelves, drawer dividers, and lazy susans to optimize access to items. Consider utilizing the vertical space by installing under-shelf racks or hooks for additional storage.
Stability
Introducing open shelves can be a stylish and practical way to extend kitchen storage. Install open shelves on empty walls, above countertops, or even between cabinets. These shelves not only offer extra storage but also create a space to showcase decorative items and frequently used kitchenware.
Take advantage of the vertical space on your kitchen walls by installing wall-mounted racks, pegboards, or magnetic strips. These versatile solutions allow you to hang pots, pans, cooking utensils, and other frequently used items, keeping them within easy reach while freeing up cabinet space.
Cost-Effective
Kitchen carts and islands are excellent additions to enhance storage and workspace. Choose a cart with shelves, drawers, and cabinets to hold kitchen essentials and provide additional counter space for meal preparation. The mobility of these units allows you to move them around as needed.
If you have a pantry, make the most of its space with clever organizers. Install adjustable shelving, stackable containers, and door-mounted racks to keep your pantry items neat and accessible. Consider utilizing clear containers to easily identify the contents and keep them fresh.
How do you fill gaps between cabinets and ceilings?
- Fill in the space with trim. If the gap between your upper cabinets and the ceiling isn’t particularly large, you can fill it in with trim running along the top of your upper cabinets.
- Fill in the space with a furr down. Furr down?
- Fill the space with trim in a contrasting color.
- Install really tall upper cabinets.
Before proceeding, accurately measure the gaps between the top of your cabinets and the ceiling. Note any irregularities in the gap width along the length of the cabinets, as these measurements will guide your approach in filling the spaces.
Crown Molding
Crown molding is a popular and elegant solution to bridge the gap between cabinets and the ceiling. It not only fills the void but also adds a touch of sophistication to the entire kitchen. Choose a crown molding style that complements your cabinetry and the overall decor of your home. Ensure the molding is cut to fit precisely along the length of the cabinets and install it using nails or adhesive.
Filler panels are custom-cut pieces of wood or matching material that can be inserted between the cabinets and the ceiling to close the gap. These panels can be stained or painted to match the cabinetry, making them blend seamlessly into the design. Measure and cut the filler panels to fit snugly in the gaps, securing them in place with screws or adhesive.
Scribe Molding
If the gaps are relatively small and uniform, consider extending the height of your cabinets to meet the ceiling. This option involves adding a filler piece to the top of the cabinets, which is then covered with crown molding or a matching trim to create a smooth transition. Professional cabinetmakers can assist with this modification for a seamless finish.
In some cases, a soffit can be constructed to close the gaps between the cabinets and the ceiling. A soffit is a lowered portion of the ceiling that extends over the top of the cabinets, effectively filling the space. While this option may reduce the perception of height in the room, it provides an opportunity to incorporate additional lighting or ventilation if desired.
Filler Panels
For a unique and creative touch, consider installing decorative paneling or beadboard on the exposed portion of the gap. This option can add texture and character to your kitchen while closing the space between the cabinets and the ceiling.
If the gaps are minimal and consistent, you can simply paint or wallpaper the exposed area to match the cabinets and blend it with the rest of the kitchen. This option works best when the gaps are relatively small and don’t require structural modifications.
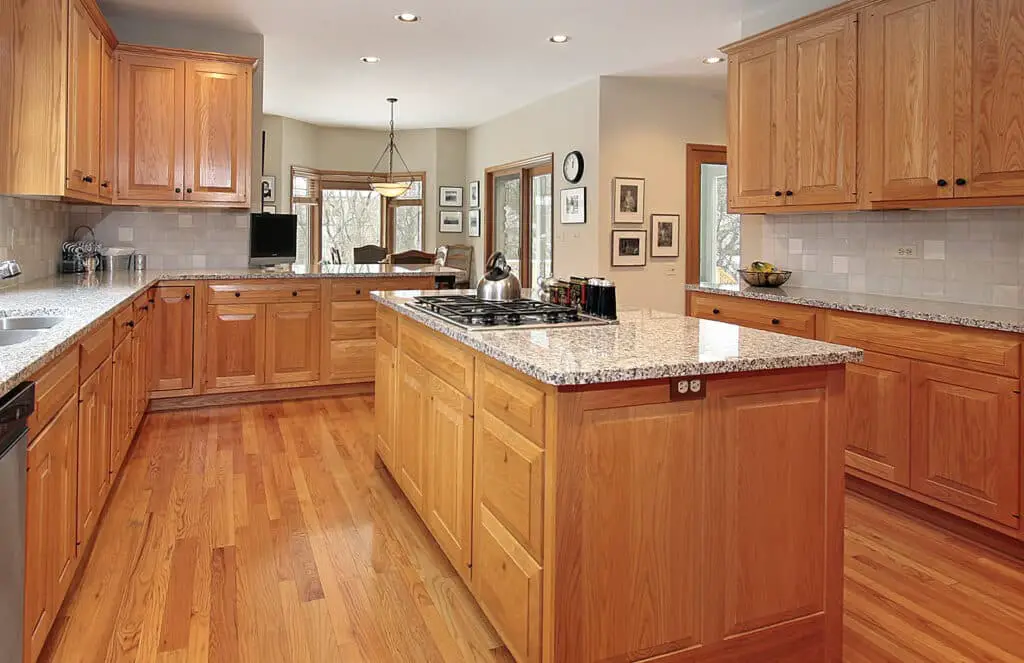
Can you add height to existing cabinets?
If ceilings are eight feet high, we can extend the structure of your existing cabinets rather than building them completely new. Once the structure is extended, we reface the cabinets in order to hide any seams and structural changes so they are essentially brand new, taller cabinets with new doors.
Before proceeding with any modifications, carefully inspect your existing cabinets. Evaluate their construction, materials, and overall condition to ensure they are sturdy and suitable for the height extension. If you have doubts about the cabinets’ structural integrity, consult with a professional before proceeding.
One of the simplest ways to add height to existing cabinets is by replacing the current cabinet doors with taller ones. Select doors that match the style and finish of your existing cabinets and fit the new desired height. This method is cost-effective and provides an instant lift to your kitchen’s appearance.
Crown Molding or Trim
Crown molding is a popular option for extending the height of cabinets and creating a seamless transition between the cabinets and the ceiling. Install the crown molding along the top edge of the cabinets to give the illusion of added height. Choose a crown molding style that complements your cabinetry and the overall design of your kitchen.
Filler panels are custom-cut pieces of wood or matching material that can be inserted between the top of the cabinets and the ceiling to fill the gap. These panels can be stained or painted to match the existing cabinets, ensuring a cohesive look. Measure and cut the filler panels to fit precisely, securing them in place with screws or adhesive.
Scribe Molding or Filler Panels
For a more comprehensive height extension, you can build custom cabinet extensions that match your existing cabinets. This option involves constructing additional cabinet boxes to fit on top of the current ones. Ensure that the new cabinets blend seamlessly with the original ones in terms of style, finish, and hardware.
Consider using decorative paneling or beadboard to add height to your cabinets. This option not only serves a functional purpose but also adds texture and character to your kitchen’s design. Paint or stain the paneling to match your existing cabinets for a cohesive appearance.
What is it called when kitchen cabinets go to the ceiling?
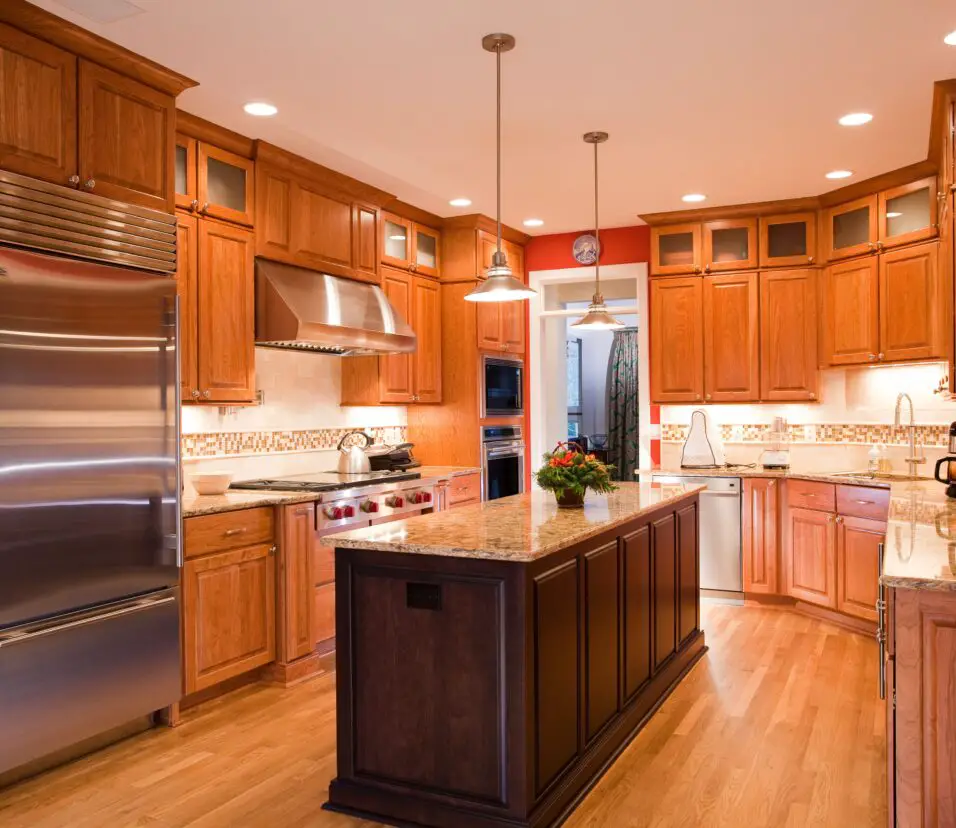
Ceiling-high kitchen cabinets reach the ceiling in your kitchen. Some kitchen cabinetry stops a foot or two before the ceiling. But when you install ceiling-height cabinets, you get no room at the top. The cabinets continue on a smooth line until they meet the ceiling.
One of the primary benefits of ceiling-height cabinets is the significant increase in storage capacity. By utilizing the vertical space, you can store infrequently used items or large kitchenware that might otherwise clutter the countertops.
Floor-to-ceiling cabinets create a visually clean and cohesive look in the kitchen. The uninterrupted lines draw the eye upward, making the room feel taller and more open.
This design feature adds a touch of elegance and sophistication to the kitchen. The tall cabinets create a sense of luxury, especially when paired with high-quality materials and stylish hardware. Ceiling-height cabinets can be a practical solution for hiding any irregularities in the walls or gaps between the cabinets and the ceiling. They provide a seamless transition, creating a polished and finished look.
Consider the practicality of accessing the uppermost shelves. If you’re vertically challenged or have limited mobility, you may need a step stool or pull-out shelves for convenience. With the cabinets extending all the way to the ceiling, cleaning the topmost surfaces might be challenging. To make maintenance easier, consider using smooth, easy-to-clean materials.
The added height of ceiling-height cabinets might create shadows over the countertops. Incorporate adequate lighting, such as under-cabinet lighting or pendant lights, to ensure a well-lit workspace. Ceiling-height cabinets may require custom design and installation, which can be more expensive than standard cabinets. Factor this into your budget and consult with a professional to ensure a proper fit and finish.
Can you modify existing cabinets?
New doors, a different finish, on-trend handles or some smart lighting can all help you achieve a new look. You can paint kitchen cabinets to change their color or, if they’re made from wood you might choose to refinish kitchen cabinets, or stain them.
Before starting any modifications, assess your specific needs and identify the changes you want to make to your cabinets. Consider factors such as storage requirements, functionality, aesthetics, and budget.
One of the simplest and most transformative modifications is repainting or refinishing your existing cabinets. A fresh coat of paint or new stain can instantly update the look of your kitchen or cabinetry. Giving it a more modern or classic appearance.
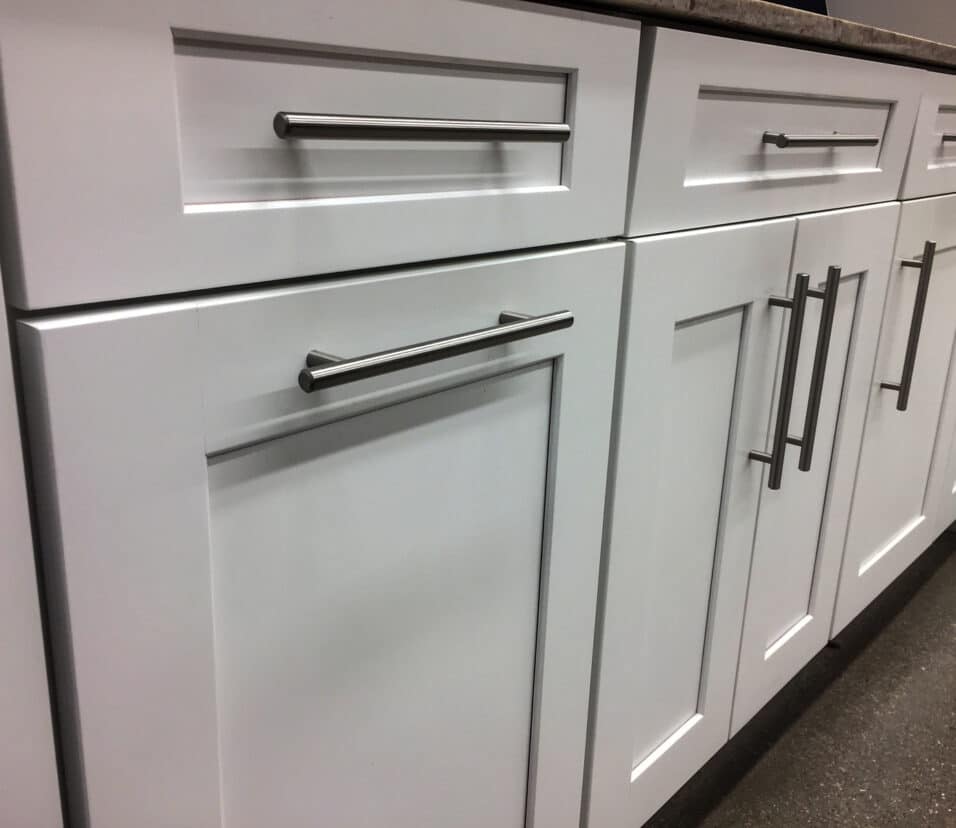
If the cabinet boxes are in good condition, consider replacing the cabinet doors and hardware. Upgrading to new doors with a different style or finish can dramatically alter the overall look of your kitchen. Swapping out old hardware for new knobs, handles, or pulls can also make a noticeable difference.
Modify your existing cabinets by adding new drawers or shelves to improve storage efficiency. Pull-out shelves, drawer dividers, or roll-out trays can make accessing items more convenient and organized.
Depending on your kitchen’s layout and your storage needs. You can add new cabinets to expand storage space. Remove cabinets to create a more open and spacious feel.
Introduce glass panels into your cabinet doors to create a more open and visually appealing display area. Glass doors also provide an opportunity to showcase beautiful dishes, glassware, or decorative items.
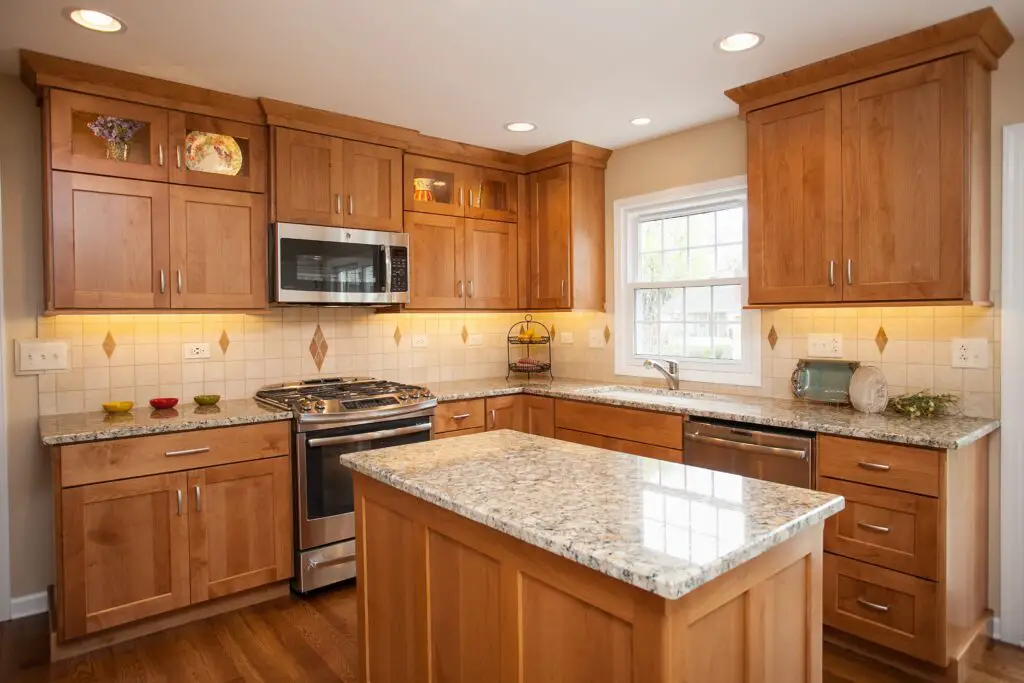
Why is there space between kitchen cabinets and ceiling?
Most homes have kitchen cabinets that are 32 or 36 inches tall, with an interval of 1 to 2 feet between the tops of the cabinets and the ceiling. There’s a valid reason for this: most people can reach wall cabinets with this capacity while standing on the floor or using a ladder.
In many homes, especially older ones, ceilings are not perfectly level or even. Leaving space between the cabinets and the ceiling allows for adjustments to accommodate these irregularities. By doing so, the cabinets can be installed level and plumb, resulting in a neater and more professional appearance.
Accessibility and Cleaning
In some cases, the space between the cabinets and the ceiling is intentional to allow for ventilation and air circulation. When kitchen cabinets extend all the way to the ceiling, it can restrict the flow of air, leading to potential issues with moisture and odors. Leaving a gap facilitates better airflow and reduces the risk of mold or mildew formation.
Having a gap between the cabinets and the ceiling provides easier access for cleaning and maintenance. It prevents dust and debris from accumulating on top of the cabinets, making it more convenient to keep the kitchen clean and tidy.
Uniformity and Aesthetics
The space between the cabinets and the ceiling also provides a decorative opportunity. Many homeowners use this area to showcase decorative items, such as plants, artwork, or decorative baskets, adding personality and character to the kitchen.
Leaving space between the cabinets and the ceiling can be a cost-effective design choice. Fully extending the cabinets to the ceiling would require additional materials and labor, increasing the overall cost of the kitchen installation. By leaving a gap, you can achieve a stylish and modern look without exceeding your budget.
The space between the cabinets and the ceiling makes cabinet installation more straightforward and efficient. It allows for easier handling and positioning of the cabinets during the installation process, especially in kitchens with standard ceiling heights.
Conclusion
Extending kitchen cabinets opens up a world of possibilities, allowing you to optimize storage, personalize your kitchen’s design, and accommodate the changing needs of your household. By following the steps outlined in this guide, you’ve ensured that the process was well-planned, properly executed, and resulted in a satisfying outcome. Preparation and precise measurements are the foundation of a successful cabinet extension project.
Whether you added open shelves, extended existing cabinets, or installed new units altogether, your decisions have likely elevated the efficiency and beauty of your kitchen. Moreover, the experience of extending kitchen cabinets may have sparked your creativity and inspired you to explore further home improvement endeavors. As you continue to customize your living spaces, you’ll find that the satisfaction of crafting a home that truly reflects your style and needs is immeasurable.
However, even with a successful project, it’s essential to remember that the kitchen cabinets is the heart of the home, and practicality should always go hand-in-hand with aesthetics. Keep in mind the daily usage of your kitchen and ensure that the extended cabinets remain user-friendly and easy to maintain in the long run. As you move forward, consider sharing your newfound expertise with friends and family, offering them guidance and encouragement as they embark on their own kitchen renovation journeys. Together, we can create spaces that not only serve us practically but also bring joy and comfort to our everyday lives.