How To Clean Interior Walls Before Painting
Introduction
How To Clean Interior Walls Before Painting: A fresh coat of paint can rejuvenate the atmosphere of any room, breathing new life into its appearance. However, to ensure a flawless and lasting paint job, proper preparation is essential. Cleaning interior walls before painting is a crucial step that often goes overlooked, but it lays the foundation for a smooth and professional finish. Dust, dirt, grime, and even subtle residues can mar the final result if not properly addressed. This introduction will guide you through the fundamental steps to effectively clean your interior walls before embarking on your painting project.
Before you pick up a paintbrush, it’s important to prepare the canvas – in this case, your walls. Cleaning not only enhances the paint’s adhesion but also guarantees a uniform color distribution. Additionally, it helps eliminate potential allergens and promotes a healthier indoor environment. This process might seem daunting, but with the right approach and tools, it can be surprisingly straightforward.
We will cover the essential techniques and materials required to clean your interior walls effectively. From assessing the type of paint finish to choosing the appropriate cleaning solution, each step is designed to optimize the paint’s bonding and ensure a stunning, long-lasting finish. Whether you’re dealing with stains, grease, or general grime, this guide will equip you with the knowledge to tackle various cleaning challenges.
By investing a bit of time in pre-painting preparation, you can save yourself from the frustration of having to redo a paint job due to inadequate cleaning. So, let’s dive into the specifics of cleaning interior walls before painting, ensuring your project results in a beautifully refreshed space that reflects your style and attention to detail.

What is the best thing to wash walls with before painting?
Stick with Warm Water or Mild Soap
Flat or matte paint: White vinegar or plain water. Glossy paint: All-purpose cleaner or dish soap and water. White paint: Baking soda and water.
Stick with Warm Water or Mild Soap:
When it comes to cleaning interior walls before painting, simplicity often reigns supreme. Opting for warm water or a mild soap solution is a wise choice, as harsh chemicals can potentially affect paint adhesion and overall finish quality. Warm water alone can effectively remove dust, dirt, and some light stains. It’s gentle on most paint finishes and won’t compromise the integrity of the surface.
In cases where a bit more cleaning power is required, a mild soap solution can be a valuable ally. Mixing a small amount of gentle dish soap or a pH-neutral cleaner with warm water creates a safe and effective cleaning solution. Remember, the goal is not to scrub aggressively, but to gently cleanse the surface. Be sure to rinse the walls thoroughly to remove any soap residue.
By sticking with warm water or a mild soap solution, you’re choosing a path that prioritizes both cleanliness and the preservation of your wall’s existing paint. This approach sets the stage for a successful painting project, ensuring that your fresh coat of paint adheres flawlessly and yields a professionally finished look.
Do painters clean interior walls before painting?
If you’ve hired a professional to paint your walls, don’t expect them to wash beforehand. Most professional painters don’t — so you’ll either want to hire a cleaner or do this step yourself before they start working (otherwise, you may have just paid for a paint job that will just need to be redone).
Yes, professional painters typically clean interior walls before starting the painting process. Cleaning the walls is a fundamental step that contributes to the overall quality and longevity of the paint job. Before applying any new coat of paint, it’s crucial to ensure that the surface is free from dirt, dust, oils, and other contaminants that could hinder proper adhesion.
Professional painters often use a combination of warm water and mild detergent or a specialized wall-cleaning solution. This gentle mixture helps remove accumulated grime, fingerprints, and other residues that may have accumulated over time. By cleaning the walls, painters create a clean canvas for the new paint, allowing it to adhere evenly and provide a smooth and professional finish.
Moreover, cleaning the walls before painting helps in achieving consistent color coverage and prevents potential issues such as paint peeling, flaking, or bubbling due to poor adhesion. This extra effort in preparing the surface pays off in the form of a more attractive and longer-lasting paint job. Ultimately, a clean and properly prepped surface sets the stage for a successful painting project that meets both aesthetic and functional expectations.
What is the best way to clean interior walls?
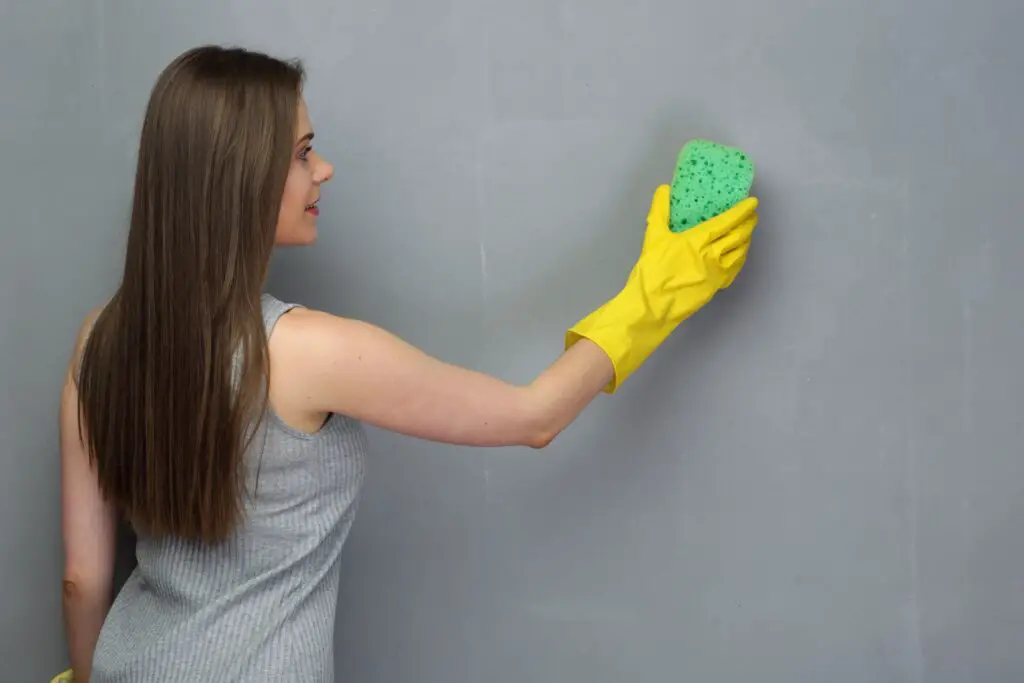
Paint your walls with latex paint. Clean them with warm water and an all-purpose cleaner. Use a soft sponge and a safe, all-purpose cleaner like water, dish soap, and white vinegar that has been drained to clean this kind of paint. Wipe your wall clean with a clean brush that has been dipped in the wall cleaner.
To clean inner walls properly, you should be careful and follow a methodical process. This will get rid of dirt and grime without damaging the surface. To get rid of loose dust, start by wiping down the walls with a microfibre cloth or a soft brush. A soft sponge or cloth can be used to apply a mixture of warm water and a light dish soap or a pH-neutral cleaner for general cleaning.
The cleaning solution should be wet on the sponge or cloth. Carefully wipe the walls down in parts, starting at the top and working your way down. To keep the paint or finish from getting damaged, don’t scrub too hard. Pay extra attention to spots or stains that you can see, and if you need to, use a slightly stronger touch. Clean the walls, then wipe them down with a clean, damp cloth to get rid of any soapy residue.
It’s important to remember that cleaning different types of paint may need different methods. Before cleaning the whole wall, you should always do a spot test in an area that won’t be seen to make sure it works. Also, while you’re cleaning, make sure to keep electrical plugs, switches, and baseboards away from too much water.
Finding the right mix between cleaning well and being gentle on the walls’ finish to keep their look and quality is the key to the best way to clean interior walls.
What soap to use to wash walls before painting?
What’s the best way to clean the walls before painting? Using light dish soap and warm water is always a good idea. Keep TSP for walls that are really dirty.
When getting ready to paint, it’s best to use a light soap to wash the walls so that you don’t damage the old paint or make it harder for the new paint to stick. Choose a mild dish soap or a cleaner with no pH. These choices are less likely to have strong chemicals in them that could react badly with the paint.
A lot of people choose dish soap, especially ones that say “gentle” or “mild” on the box. It should be mixed with warm water in the right way to make a washing solution. pH-neutral cleaners are also great choices because they are made to be gentle on surfaces while still getting rid of dirt and grime well.
To make sure that the soap doesn’t damage the paint or finish, do a small spot test in an area that won’t be seen before adding the soap solution to the whole wall. After cleaning the walls, it’s also important to rinse them well with clean water to get rid of any soap residue that could make it harder for the paint to stick.
Selecting a gentle soap like dish soap or a pH-neutral cleaner will help you clean your walls well before painting, with the least amount of damage to the surface and interference with the painting job.
Could you provide guidance on selecting the appropriate cleaning solution for different types of paint finishes?
Selecting the appropriate cleaning solution for different types of paint finishes is crucial to maintain the integrity of the existing paint while effectively preparing the walls for a new coat. Here’s a comprehensive guide to help you navigate this process:
Flat or Matte Finishes: These finishes are more sensitive to moisture and abrasion. Opt for a mild soap solution using a gentle dish soap or a pH-neutral cleaner mixed with warm water. This approach minimizes the risk of damaging the delicate finish while effectively cleaning dirt and stains.
Eggshell and Satin Finishes: These finishes are more durable than flat/matte and can withstand slightly more cleaning. Still, it’s best to stick with a mild soap solution or a specialized wall-cleaning product to ensure the paint’s longevity.
Semi-Gloss and Gloss Finishes: These finishes are the most durable and can handle slightly more aggressive cleaning. A mild soap solution is suitable for removing grime and stains. If necessary, you can use a slightly firmer touch, but avoid scrubbing vigorously to prevent surface damage.
Specialized Paints (e.g., washable, stain-resistant): If your walls have specialty paints, consult the manufacturer’s guidelines for cleaning. They might recommend specific cleaning products or methods to maintain the unique properties of the paint.
Remember, regardless of the finish, always conduct a spot test in an inconspicuous area before cleaning the entire wall. This precaution ensures that the chosen cleaning solution doesn’t adversely affect the paint. Additionally, rinse the walls thoroughly after cleaning to remove any residue that might interfere with paint adhesion.
What steps should be taken to ensure the removal of dust and dirt from interior walls prior to painting?
Properly removing dust and dirt from interior walls before painting is essential for achieving a flawless finish. Here’s a step-by-step guide to ensure effective cleaning:
Gather Supplies: Collect a soft-bristle brush, microfiber cloths, and a vacuum with a brush attachment.
Dust: Begin by gently using the brush to remove loose dust and cobwebs from the walls. Start from the top and work your way down to prevent dust from settling on cleaned areas.
Vacuum: Use the vacuum with the brush attachment to suck up any remaining dust from the walls, paying attention to corners and crevices.
Microfiber Wipe Down: Dampen a microfiber cloth with clean water and wring it out well. Gently wipe the walls in sections, again working from top to bottom. This will pick up any remaining dust particles and lightly dampen the surface in preparation for cleaning.
Spot Cleaning: For stubborn dirt or marks, use a mild soap solution or a pH-neutral cleaner. Dampen a clean cloth with the solution and gently blot or wipe the affected areas. Avoid excessive scrubbing, which could damage the paint.
Rinse: After spot cleaning, dampen another clean cloth with clean water and wipe the areas where you used the soap solution to remove any residue.
Drying Time: Allow the walls to air dry thoroughly before proceeding with painting. Proper drying ensures that the new paint adheres evenly and effectively.
By following these steps, you’ll create a clean canvas for your paint job, enhancing adhesion and ensuring a polished final result.
How can you effectively address stains or marks on interior walls without damaging the paint?
Effectively addressing stains or marks on interior walls requires a delicate approach to prevent damaging the paint while achieving successful stain removal. Here’s how to tackle this task:
Identify the Stain: Determine the nature of the stain – whether it’s grease, crayon, ink, or other substances – to choose the appropriate cleaning method.
Test in a Hidden Area: Before applying any cleaning solution to the stain, perform a spot test in an inconspicuous area to ensure it won’t cause paint discoloration or damage.
Gentle Blotting: For fresh stains, gently blot the area with a clean, dry cloth to absorb as much of the substance as possible. Avoid rubbing, which can spread the stain.
Spot Cleaning Solution: Mix a mild soap solution or a pH-neutral cleaner with water. Dampen a clean cloth with the solution and gently blot the stained area. Gradually increase pressure if the stain persists, but never scrub aggressively.
Rinse and Dry: After successfully removing the stain, dampen a clean cloth with plain water and gently wipe the area to remove any soap residue. Allow the wall to air dry completely before painting.
Specialized Stain Removers: If the stain is particularly stubborn, consider using a specialized stain remover, but always follow the product’s instructions and test it in an inconspicuous area first.
Remember, patience is key when addressing stains. By adopting a cautious approach and gradually increasing pressure, you can effectively remove stains without compromising the integrity of the paint on your interior walls.
Could you explain the significance of rinsing walls thoroughly after cleaning them before painting?
Thoroughly rinsing walls after cleaning them before painting holds substantial importance in ensuring a successful and lasting paint job. This step plays a critical role in maintaining the integrity of the surface and promoting optimal paint adhesion.
When you clean walls with a cleaning solution, whether it’s a mild soap solution or a specialized cleaner, there is a possibility of leaving behind trace amounts of the cleaning agent. If these residues are not properly removed, they can interfere with the bonding process of the new paint. Paint might not adhere evenly, leading to potential issues like peeling, bubbling, or an uneven finish.
Rinsing the walls with clean water effectively removes any remaining cleaning solution and residues. This ensures that the wall surface is free from any substances that could hinder the paint’s ability to adhere uniformly. A clean and residue-free surface allows the new paint to bond seamlessly, resulting in a smoother, more professional-looking finish that will stand the test of time.
In summary, thorough rinsing after cleaning is a crucial step that guarantees the success of your painting project. It prepares the walls for optimal paint adhesion, setting the stage for a paint job that not only looks great but also remains durable over the long term.
Conclusion
In the journey to transform your living spaces with a fresh coat of paint, the importance of cleaning interior walls cannot be overstated. As we conclude this guide, remember that a well-prepared surface is the canvas upon which your new color scheme will come to life. By investing the time and effort to properly clean your walls, you’re setting the stage for a painting project that will yield impeccable and enduring results.
From selecting the appropriate cleaning solutions to using the right tools, you’ve learned how to address a variety of cleaning challenges that might be present on your walls. By removing dust, grime, and residues, you’re ensuring optimal paint adhesion, uniform color distribution, and a healthier indoor environment. What might have seemed like a daunting task at first is now well within your capabilities.
As you embark on your wall painting journey, take pride in the preparation process. With your walls meticulously cleaned, the paint you apply will not only look stunning but will also stand the test of time. So, go ahead and bring your vision to life, armed with the knowledge and confidence that you’ve laid the groundwork for a remarkable transformation. Your well-prepared walls will serve as a testament to your dedication to achieving a flawless finish and a home that truly reflects your style and care.