How To Add An Interior Wall
Introduction
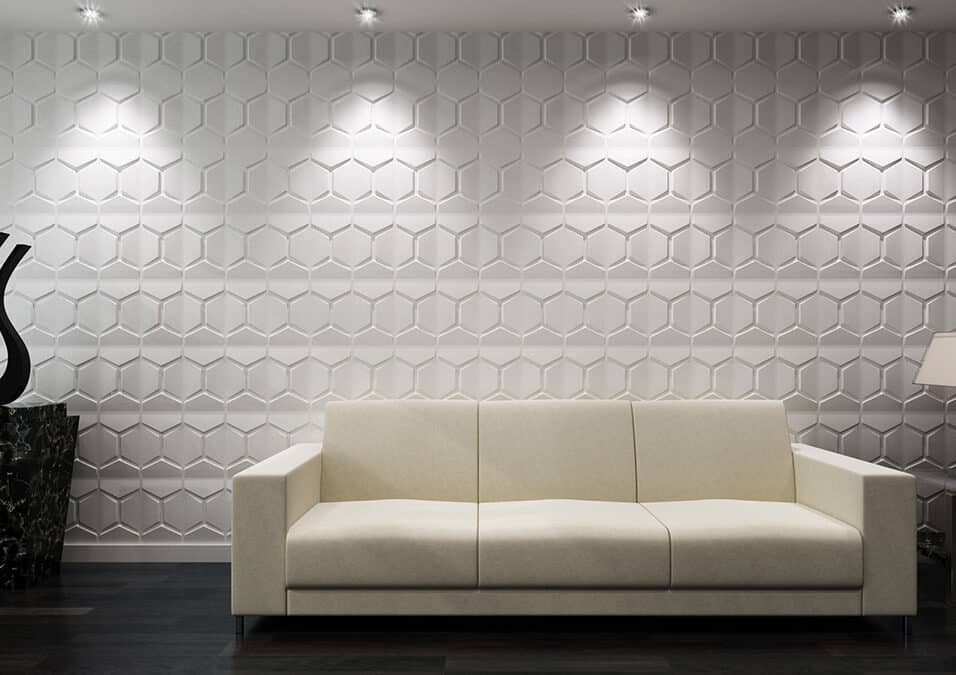
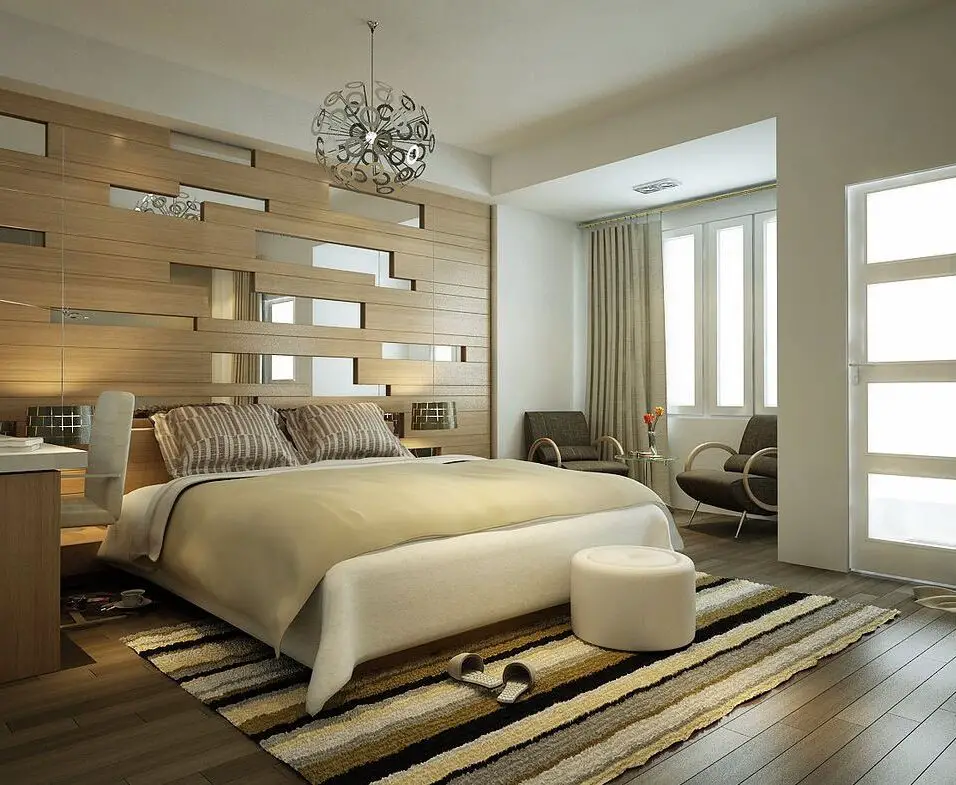
How To Add An Interior Wall: Whether you’re looking to create a private office, divide a large area into smaller sections, or simply enhance the visual appeal of your home, adding an interior wall is a rewarding project that requires careful planning and execution. This guide will walk you through the essential steps to successfully install an interior wall, helping you achieve the desired outcome while maintaining the structural integrity of your space.
Before you embark on this endeavor, take time to consider your objectives. Identify the purpose of the new wall and its location within the room. This initial step will guide your decisions on materials, dimensions, and design. Once you have a clear vision, gather all the necessary tools and materials, including studs, drywall, nails, a level, a tape measure, a saw, and safety gear.
The next crucial step is to measure and mark the wall’s layout on the floor and ceiling. Accurate measurements are essential to ensure a precise fit and proper alignment. Once the layout is marked, you’ll begin installing the wall’s framework, including the vertical studs and horizontal plates. This framework provides the foundation for the wall’s stability and support.
With the framework in place, it’s time to hang the drywall panels, ensuring a smooth and seamless surface. Secure the drywall using nails or screws, and proceed to tape, mud, and sand the seams to create a uniform appearance. The final steps involve finishing touches such as painting or adding texture to match the existing interior walls, seamlessly integrating the new addition into the room’s overall design.
Adding an interior wall is a gratifying project that can enhance your living space’s functionality and aesthetics. By following this guide and paying attention to detail, you can successfully create a new partition that not only adds value to your home but also reflects your personal style and preferences.

How do you add internal walls?
- How an Interior Wall Is Built ©Don Vandervort, HomeTips.
- Mark wall stud locations on the top and bottom plates, using a combination square.
- Nail the top plate to ceiling joists at the new wall’s location.
- Use a plumb bob to mark the bottom plate’s location directly below the top plate.
Adding internal walls is a multi-step process that involves careful planning, precise measurements, and skilled execution. Begin by determining the purpose and location of the new wall. Once you have a clear vision, gather the necessary tools and materials, including studs, drywall, nails, a tape measure, a level, and safety gear.
Measure and mark the wall’s layout on the floor and ceiling, ensuring accuracy to achieve a precise fit. Install the wall’s framework, consisting of vertical studs and horizontal plates, to provide stability and support. Attach drywall panels using nails or screws, then tape, mud, and sand the seams to create a seamless surface.
Ensure safety by wearing appropriate gear and adhering to guidelines. Seek professional assistance if needed, especially when dealing with load-bearing walls or complex structural changes.
Adding internal walls requires meticulous planning, proper measurements, and skilled execution. Following the outlined steps while prioritizing safety will result in a functional and aesthetically pleasing addition to your living space.
Can I build my own interior wall?
Codes and Regulations. Even with a non-load-bearing wall, many municipalities require you to apply for a building permit before executing the project. The interior wall needs to be built up to code, with studs spaced every 16 inches on-center. Check with codes in your area to tailor the wall to community requirements.
Yes, you can certainly build your own interior wall with the right tools, materials, and careful execution. While constructing an interior wall might seem daunting, it’s a manageable project with the right preparation.
Begin by understanding the purpose and location of the wall. Plan out the dimensions and layout, considering factors such as room flow and structural integrity. Gather the necessary tools like a tape measure, level, saw, hammer, and safety equipment.
Frame the wall using vertical studs and horizontal plates, ensuring they’re level and plumb. Attach drywall panels to the frame using screws or nails, and then proceed to tape, mud, and sand the seams for a seamless appearance.
However, keep in mind that certain situations might require professional assistance. If you’re dealing with load-bearing walls, electrical or plumbing work, or any complex structural changes, it’s wise to consult or hire a professional to ensure safety and compliance with building codes.
Overall, building an interior wall is achievable with careful planning, proper tools, and attention to detail. It’s a satisfying project that can enhance the functionality and aesthetics of your living space.
What is the cheapest way to do interior walls?
Plywood. If you’re looking to install wall panels quickly, plywood is inexpensive, easy to install, and durable. The wood grain will warm up a space and can be stained or painted to coordinate with any decor.
The most cost-effective way to create interior walls is by using basic materials and DIY techniques. One budget-friendly approach is to use standard wooden studs and drywall. Wooden studs are affordable and readily available, while drywall is a cost-effective option for covering the framework.
Consider opting for 2×4 studs instead of larger sizes, as they are less expensive and still provide adequate support for non-load-bearing walls. Additionally, choose standard drywall thicknesses to minimize costs.
To further reduce expenses, handle the installation yourself. With basic carpentry skills and tools, you can frame the wall, hang the drywall, and finish the seams with joint compound. Painting the walls yourself is also a cost-saving measure.
However, keep in mind that cutting corners too much can compromise the quality and longevity of the wall. It’s important to ensure proper structural integrity and follow safety guidelines, even when on a budget. If you lack experience, consider seeking advice from professionals or tutorials to ensure a successful outcome without compromising safety or functionality.
How much does it cost to build an interior wall?
You can expect a finished wall, including framing, drywall, and electrical, to cost around $20 to $30 per linear foot. Half-walls cost $10 to $20 per linear foot and are useful for dividing areas in bathrooms, kitchens, living rooms, and more.
The cost of building an interior wall can vary widely based on factors such as the size of the wall, the materials used, your location, and whether you hire professionals or do the work yourself. On average, the cost can range from $500 to $2,000 or more.
Basic materials for a simple interior wall include wooden studs, drywall, nails or screws, joint compound, and paint. The cost of these materials can add up depending on the size of the wall and the quality of the materials you choose.
If you hire a professional contractor to build the wall, labor costs will be a significant factor. Labor costs can vary based on the complexity of the project, local labor rates, and the contractor’s experience. Contractors may charge a flat fee or an hourly rate for their services.
If you’re doing the work yourself, you can save on labor costs but should still consider the cost of tools and equipment if you don’t already have them.
It’s important to get accurate estimates based on your specific project before starting. You can consult with contractors or visit home improvement stores to get an idea of material costs in your area. Keep in mind that unexpected issues or customization can also impact the final cost.
What are the initial considerations you should make before adding an interior wall to your living space?
Before embarking on the project of adding an interior wall to your living space, it’s crucial to carefully consider several key factors. First and foremost, determine the purpose of the wall. Are you creating a new room, dividing a large space, or simply enhancing aesthetics? Clarifying this objective will guide decisions regarding location, dimensions, and design.
Next, assess the structural feasibility of your plan. Identify if the wall will be load-bearing or non-load-bearing, as load-bearing walls require more intricate planning and might necessitate professional consultation. Check for existing electrical wiring, plumbing, or HVAC systems in the wall’s proposed location. If present, you’ll need to reroute or account for these elements.
Budget is another critical consideration. Outline a budget that includes materials, tools, and potential professional assistance. Determine whether you’ll undertake the project yourself or hire contractors, considering the associated costs.
Lastly, evaluate local building codes and permits. Depending on your area, you may need to obtain permits for structural changes or modifications. Adhering to these regulations ensures the project’s legality and safety.
By thoroughly addressing these initial considerations, you set the foundation for a successful interior wall addition that aligns with your goals, space, and budget, while also avoiding potential setbacks and ensuring compliance with regulations.
How can you ensure accurate measurements and precise placement of the interior wall’s framework?
Ensuring accurate measurements and precise placement of the interior wall’s framework is essential for a successful wall addition project. Begin by using a reliable tape measure and level to mark the desired location on both the floor and ceiling. This guarantees alignment and prevents the wall from skewing during installation.
Next, utilize layout tools such as chalk lines to create clear visual guides for the wall’s framework. Measure and mark the positions of vertical studs, ensuring they are evenly spaced according to standard measurements, typically 16 or 24 inches apart.
Plumb the studs with a level, both vertically and horizontally, to guarantee they are perfectly straight and aligned. This meticulous attention to detail prevents the wall from leaning or appearing uneven once completed.
Consider building a temporary brace or support system to hold the framework in place as you secure the studs to the floor and ceiling. This further ensures the accurate placement of the framework while you work.
Regularly re-measure and cross-check your measurements to catch any discrepancies before proceeding. Precision in measuring and placement during this stage will save you time and potential errors down the line.
By employing these strategies and maintaining meticulous attention to detail, you can achieve the accurate measurements and precise placement necessary for a sturdy and seamlessly integrated interior wall framework.
What are the primary components of an interior wall’s framework, and how do they contribute to the wall’s stability?
The primary components of an interior wall’s framework include vertical studs, horizontal plates, and top and bottom plates. These components work in concert to provide structural integrity and stability to the interior wall.
Vertical studs, typically made of wood, are the vertical supports that form the backbone of the wall. They are placed at regular intervals along the wall’s length and provide vertical strength and support. These studs contribute to the wall’s stability by bearing the weight of the wall itself and any loads applied to it.
Horizontal plates include the top plate and bottom plate. The top plate runs horizontally along the top of the wall, connecting the vertical studs and creating a cohesive unit. The bottom plate serves a similar purpose at the base of the wall. These plates help distribute the weight of the wall evenly across the studs, ensuring stability and preventing bowing or warping.
Together, these components create a sturdy framework that forms the basis of the interior wall’s structure. The vertical studs resist lateral forces, the horizontal plates distribute weight, and the entire framework provides support for attaching drywall and other finishes. Properly assembled and secured, these components guarantee the stability and durability of the interior wall, allowing it to fulfill its intended purpose seamlessly within the living space.
Can you provide guidance on addressing load-bearing walls or incorporating electrical and plumbing considerations while adding an interior wall?
Addressing load-bearing walls and incorporating electrical and plumbing considerations are crucial aspects when adding an interior wall. When dealing with load-bearing walls, it’s essential to consult a structural engineer or a professional contractor. Identifying load-bearing walls correctly is vital to avoid compromising the structural integrity of the building. If the wall is load-bearing, you’ll need to create a temporary support structure while installing the new wall, ensuring a smooth transition of loads.
When it comes to electrical and plumbing considerations, identify any existing wiring, outlets, switches, or plumbing lines in the proposed wall area. Plan to reroute or reconfigure these elements if necessary, ensuring they comply with local building codes and safety standards. Consult with licensed electricians and plumbers to handle these modifications safely and correctly.
Remember that improper handling of load-bearing walls, electrical, or plumbing work can lead to safety hazards and code violations. It’s often advisable to seek professional assistance to navigate these complexities effectively, ensuring the integrity of the building’s structure and the safety of its occupants.

Conclusion
The process of adding an interior wall offers a world of creative possibilities for transforming your living space. By following the steps outlined in this guide, you can undertake this project with confidence, knowing that careful planning and precise execution are the keys to success.
Remember that each stage, from conceptualization to completion, demands your attention to detail. Choosing the right location, materials, and dimensions ensures that the new wall aligns harmoniously with your room’s layout. A well-constructed framework guarantees structural integrity, while skillful installation of drywall results in a polished finish that seamlessly integrates into the existing environment.
Throughout this journey, safety should always remain a priority. Utilize proper safety equipment, follow recommended guidelines, and consider seeking professional assistance if you’re uncertain about any aspect of the process.
As you stand back and admire your completed interior wall, take pride in the accomplishment of adding both functional and aesthetic value to your home. The new space you’ve created can serve a multitude of purposes, from providing privacy to defining different zones within a room. Ultimately, your vision and dedication have yielded a tangible transformation that enhances your living environment.
In embracing the art of adding an interior wall, you’ve not only expanded your home’s potential but also acquired valuable skills that can be applied to future projects. With newfound confidence, you’re ready to explore further possibilities in home improvement, making your living space a true reflection of your tastes and aspirations.