How To Paint Exterior Wood Siding
Introduction
How To Paint Exterior Wood Siding: The ultimate guide on transforming your home’s paint exterior with a fresh coat of paint! Painting exterior wood siding not only enhances your home’s curb appeal but also provides protection against the elements. Whether you’re a seasoned DIY enthusiast or just starting your home improvement journey, this comprehensive guide will walk you through the step-by-step process of achieving a professional-looking finish on your exterior wood siding. From preparation and choosing the right tools to applying the paint with precision, you’ll gain the knowledge and confidence needed to revitalize your home’s appearance and ensure lasting beauty. Let’s dive into the world of exterior wood siding painting and unleash the true potential of your home’s façade. Transformative journey that will revitalize your home’s exterior and boost its curb appeal: the art of painting exterior wood siding. Your home’s outer shell deserves not only protection from the elements but also a touch of aesthetic excellence. This comprehensive guide is your companion to mastering the craft, whether you’re a seasoned DIY enthusiast or just picking up the brush for the first time.
We’ll clean, fix, and prime your canvas before painting to ensure it’s perfect. Our step-by-step instructions will simplify painting from brush loading to clean, uniform strokes. Discover your color palette and expert recommendations for matching your environment and style. Remember, this is about protecting your wood siding from the elements and extending its life, not just appearances. Our guide is for all DIYers, from beginners to those looking to improve their home’s appearance and value. As we paint external wood siding, let’s learn, create, and transform. New look for your home begins here.
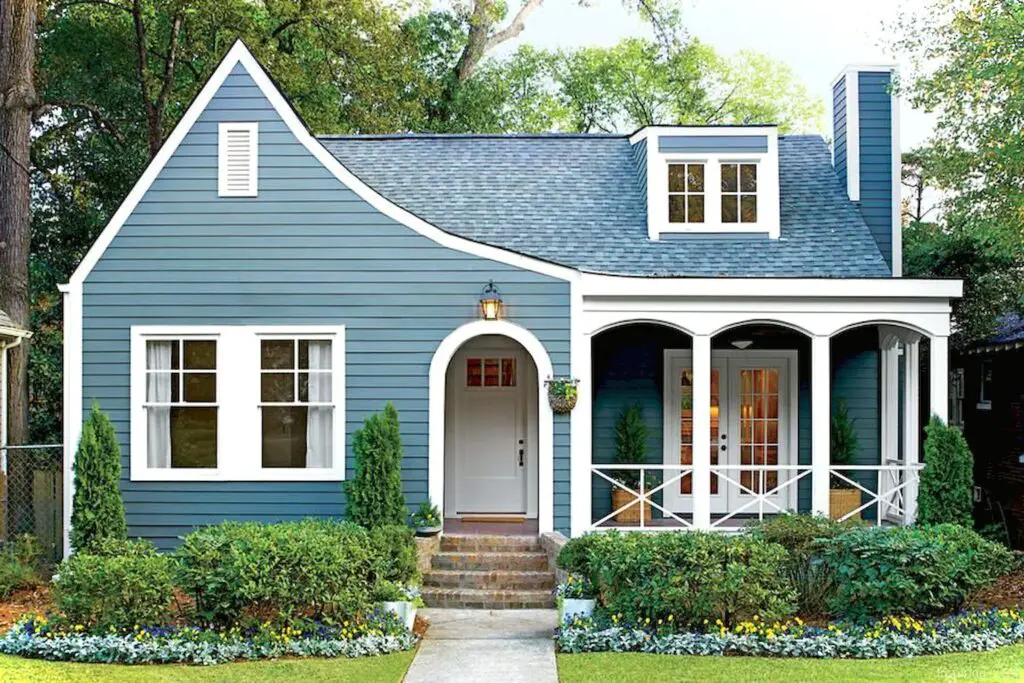
What is the best way to paint exterior wood?
Apply Exterior Paint
Using slow, steady strokes is the best way to apply paint with both a sprayer as well as a brush. Properly preparing your wood siding before painting will ensure that the resulting finish will last for several years without peeling or being damaged.
Prime and Paint
Start with Trim Paint any trim, doors, or windows first, using a smaller brush for accuracy.
Paint from Top to Bottom Work your way down to catch any drips or splatters.
Use Proper Techniques Load your brush or roller properly and apply the paint evenly in the direction of the wood grain.
Apply Multiple Coats Depending on the paint and the color you’re covering, you might need two or more coats for an even finish.
Allow Drying Time Follow the manufacturer’s instructions for drying time between coats. Avoid painting in extreme weather conditions.
Clean Up
Once you’re finished painting, properly clean and store your tools. Dispose of any paint waste responsibly according to local regulations.
Maintenance
Regular maintenance is essential to extend the life of your paint job. Inspect your painted surfaces annually for any signs of peeling or wear. Touch up areas as needed to prevent further damage.
What do you put on exterior wood before painting?
Coat with primer. Some surfaces are selective when it comes to priming. Understand your wood’s quality and texture; the right primer is sure to smoothen and allow the paint to sit right on the wood. For exterior painting, latex-based primer will withstand exposure to the elements better.
Clean the Surface
Before applying any coatings, it’s crucial to clean the wood surface thoroughly. Use a pressure washer or scrub with a mixture of water and mild detergent to remove dirt, grime, mold, and any loose or flaking paint. Clean from top to bottom, and pay special attention to crevices and corners.
Sand the Surface
Sanding helps create a smooth, even surface for paint to adhere to. Sand any rough spots, splinters, or old paint remnants using medium-grit sandpaper. Sanding also helps open the wood’s pores, allowing the primer to penetrate effectively.
Repair and Replace
Inspect the wood for any damage, cracks, or holes. Replace any rotten or severely damaged wood sections. For smaller imperfections, use wood filler to fill gaps and cracks. Once the filler dries, sand it down until it’s flush with the surrounding wood.
Apply Wood Primer
Applying a high-quality wood primer is a crucial step. Primer creates a solid base for the paint to adhere to, prevents stains from bleeding through, and enhances paint durability. Make sure to choose a primer formulated for exterior wood and follow the manufacturer’s instructions for application.
What kind of paint do you use on outdoor wood?
Acrylic latex exterior paint is the best option that will hold up well against the weather. It’s also very easy to find, and if you’re looking for something with a nice finish, this is probably your best bet. The downside is that it will require more frequent touch-ups than oil-based paints or enamels do.
Exterior Latex Paint
Exterior latex paint is one of the most popular choices for outdoor wood surfaces. It’s water-based, dries relatively quickly, and provides good adhesion to wood. Latex paint is also flexible, allowing it to expand and contract with the wood as it responds to temperature changes. Look for a high-quality, 100% acrylic latex paint for optimal durability and UV resistance.
Acrylic Paint
Acrylic paint, often used in art projects, can also be suitable for outdoor wood surfaces. Paints offer a range of colors and can provide a vibrant, durable finish when properly sealed with a weather-resistant topcoat.
Alkyd Paint (Oil-Based)
Oil-based alkyd paints are known for their durability and water resistance, making them a solid choice for outdoor wood. They provide a hard, glossy finish and are particularly suitable for high-traffic areas or surfaces that experience a lot of wear and tear.
Solid Stains
Solid stains are a blend of paint and stain. They offer a wide range of color options and provide excellent protection for outdoor wood. Solid stains soak into the wood, allowing the natural grain to show through while adding color and protection against the elements.
What primer to use on exterior wood?
Oil-based primers are ideal for interior and exterior unfinished or bare wood because they seal the porous surface of wood, enabling the coat of paint to better cover the surface. They stop tannins, released from woods, such as cedar or redwood, from bleeding through the surface of the paint.
Exterior Latex Primer
An exterior latex primer is an excellent choice for most outdoor wood projects. It’s water-based, dries quickly, and provides good adhesion to wood surfaces. Look for a primer that is labeled specifically for exterior use and is compatible with latex or acrylic paints. Latex primers are easy to clean up with water and are less likely to emit strong odors.
Oil-Based Primer
Oil-based primers, also known as alkyd primers, are known for their exceptional adhesion and sealing properties. They create a solid bond between the wood and the paint, offering excellent protection against moisture and other outdoor elements. Oil-based primers are especially suitable for weathered or porous wood surfaces.
Stain-Blocking Primer
If the wood has existing stains, knots, or tannins that could bleed through the paint, consider using a stain-blocking primer. This type of primer prevents stains from affecting the final paint finish and ensures an even color. Stain-blocking primers are often available in both oil-based and latex formulations.
Bonding Primer
For surfaces that might be challenging to paint, such as previously painted wood or glossy surfaces, a bonding primer is recommended. Bonding primers are designed to adhere to difficult surfaces and create a suitable base for the paint to stick to.
What is primer paint for wood?
Wood primer is the undercoat of preparatory coating put on wood, specifically, before you use paint on it. Using a wood primer increases the durability of your paint job, ensures better adhesion of the paint to the surface, and helps protect the wood that’s being painted.
Surface Sealing and Bonding
One of the primary functions of primer paint is to seal the porous nature of wood. Wood is absorbent and can soak up paint unevenly, leading to variations in color and sheen. Primer creates a barrier that prevents the topcoat from being absorbed too quickly, resulting in a more even and consistent finish. It also creates a strong bond between the wood and the paint, promoting adhesion and reducing the risk of peeling or flaking.
Stain Blocking
Certain types of wood, knots, and tannins can bleed through the paint and cause unsightly stains on the surface. Primer paint contains ingredients that block these stains from affecting the final paint layer. This is especially important when dealing with woods like cedar or redwood that contain natural oils or resins that can leach through the paint.
Smoother Finish
Primer paint helps to create a smoother surface by filling in small imperfections, cracks, and minor irregularities in the wood. This results in a more polished appearance for the final paint. If the wood has a rough texture or is weathered, a high-build primer can be used to create an even smoother base.
Enhanced Coverage and Color
Using primer can help achieve better coverage with the topcoat paint, which might require fewer coats to achieve the desired color and depth. Tinted primers, in particular, can be closely matched to the final paint color, enhancing the color consistency and vibrancy of the finish.
How many coats of paint on wood?
In most situations, a good rule of thumb is to use a primer plus two coats of paint. If you use this rule, you may do one more coat than needed but this won’t hurt the final product. There are few situations where this rule of thumb will result in doing too few coats though which is why it is prevalent advice.
Bare Wood Surfaces
For bare wood surfaces, applying at least two coats of paint is recommended. The first coat acts as a primer, sealing the wood and providing a base for the topcoat. The second coat enhances color depth, evens out the finish, and improves overall durability. If you’re using a high-quality paint, two coats might be sufficient.
Previously Painted Surfaces
If the wood surface has been previously painted and is in good condition, a single coat of paint might be enough to refresh the appearance. However, if you’re changing to a significantly lighter color or covering an existing dark color, you might need two coats to achieve proper coverage and color consistency.
Dark to Light Color Transitions
When transitioning from a dark color to a lighter one, additional coats might be necessary to prevent the previous color from showing through. Applying a coat of primer or using a high-quality paint with excellent coverage can help reduce the number of required topcoat coats.
High-Quality Paints
High-quality paints often have better pigmentation and coverage, allowing for better results with fewer coats. Some premium paints are designed to provide full coverage in a single coat, especially when applied over a properly prepared surface.
Do I need to coat outdoor wood after paint?
No place is harsher for painted wood than the outdoors, but additional coatings and sealants can counteract some of the exterior’s detrimental effects. Sealing painted wood is simple and quick, and it can help preserve the wood’s appearance and prolong its lifespan.
Enhanced Durability
Exterior wood surfaces are exposed to harsh environmental elements such as sunlight, rain, snow, and temperature fluctuations. These conditions can cause paint to fade, peel, or deteriorate over time. Applying a protective coat adds an additional layer of defense, helping to shield the paint and the wood beneath from these challenges.
UV Protection
UV rays from the sun can cause paint to fade and break down. A protective coat with UV inhibitors can help prolong the vibrancy of the paint color and prevent it from becoming dull and washed out.
Moisture Resistance
Moisture is a significant threat to outdoor wood, as it can lead to rot, mold, and other forms of deterioration. A protective coat creates a barrier that helps repel moisture, reducing the risk of water penetration into the wood fibers.
Prevention of Wood Decay
Sealing outdoor wood with a protective coat prevents water from getting absorbed, which in turn reduces the chances of wood decay, warping, or cracking. This is particularly important for wood that is in direct contact with the ground, such as deck boards.
Do I need to sand before painting exterior?
Sanding is a crucial step for any paint job, so be sure to pass over all the existing paint thoroughly to create a rough surface that’s ready to receive the new paint.
Surface Preparation
Sanding helps to create a clean and uniform surface by removing dirt, debris, old paint, and other contaminants that can interfere with paint adhesion. A properly prepared surface ensures that the paint adheres evenly and smoothly.
Smoothing Rough Surfaces
Outdoor wood surfaces, especially if weathered, can develop rough spots, splinters, and uneven areas. Sanding smooths out these imperfections, creating a level surface for the paint to be applied. This is important for achieving a polished and professional finish.
Removal of Loose Paint
If the exterior surface has peeling or flaking paint, sanding helps to remove these loose layers. Applying new paint over loose paint can lead to further peeling and compromise the integrity of the new paint layer.
Improved Adhesion
Sanding creates a slightly rough texture on the surface, which enhances the paint’s ability to adhere effectively. Paint adheres better to a slightly textured surface compared to a smooth, glossy surface.
Conclusion
Remember, the key to a successful painting project lies in preparation, patience, and precision. By meticulously prepping your surface, selecting the right tools and paints, and following the step-by-step process, you’ll be well on your way to achieving a professional-grade finish that will stand the test of time. Whether you’re aiming to refresh the existing look, switch up the color scheme, or add a touch of personality to your home’s exterior, the skills you’ve gained will serve you well. So, gather your supplies, set aside some time, and let your creativity flow. With each stroke of the brush, you’re not just painting wood siding – you’re breathing new life into your living space. Your home’s transformation awaits, and you’re the artist who will make it happen. Happy painting the journey of painting exterior wood siding is more than just a physical transformation of your home; it’s a creative expression of your personal style and a testament to your dedication to maintaining and beautifying your living space.
Success requires preparation, technique, and vision while commencing this endeavor. Taking effort to clean, repair, and prime wood siding may make it look great. From brush loading to smooth strokes, your new talents will materialize your vision. Consider your home’s exterior a canvas for your creativity. Your colors, strokes, and finished product express your style. Have fun beautifying your home and learning a valuable skill you can use later as you work. No matter your DIY experience, painting outside wood siding is a chance to learn, create, and feel accomplished. With brushes, paints, and new knowledge, start this exciting project. The artist in you will improve your property.


