How To Paint An Old House Exterior
Introduction
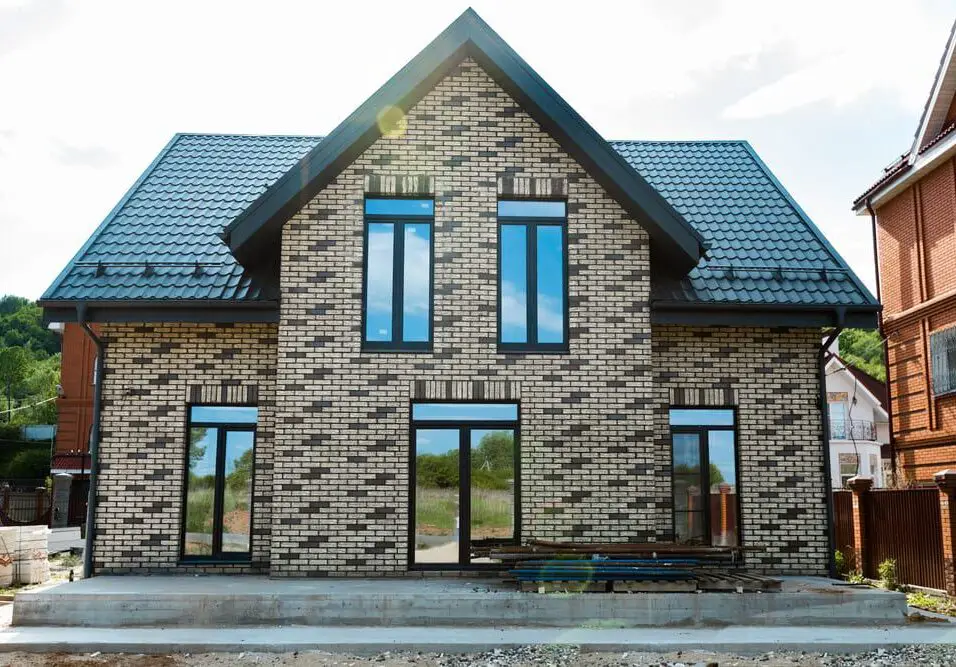
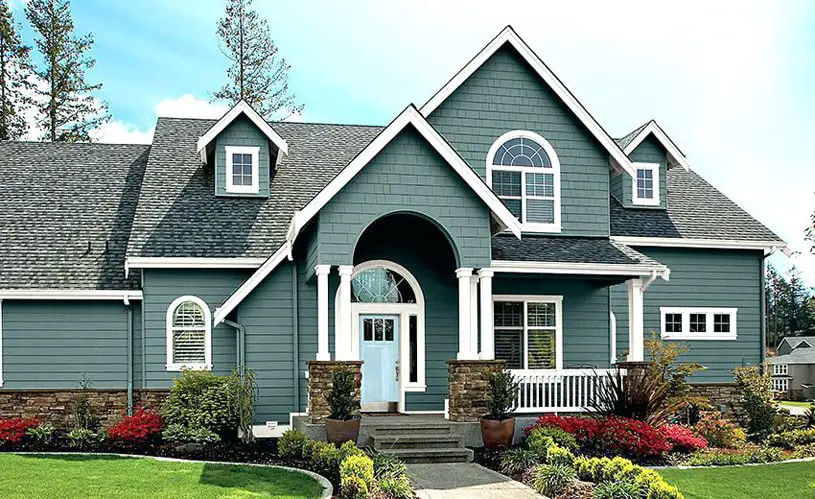
How To Paint An Old House Exterior: The ultimate guide on revitalizing the charm of your old house by painting its exterior paint. Over time, weather elements and wear can take a toll on your home’s appearance, but with the right techniques and a splash of creativity, you can transform it into a stunning masterpiece. In this comprehensive introduction, we’ll delve into the step-by-step process, from assessing the condition of your house to selecting the perfect color schemes and preparing surfaces for a flawless paint application. Discover how to breathe new life into your old house and make it the envy of the neighborhood with our expert tips and insights.
Every architectural era requires a unique approach, whether it’s Victorian, colonial, or craftsman. Our consultant will impart technical knowledge and inspire your creativity as you choose colors that match your home’s history and style. Get ready for a remarkable voyage where time and invention collide. Let’s revive your old house and tell its tale with every brushstroke. In this detailed introduction, we’ll explore rejuvenating an old exterior.
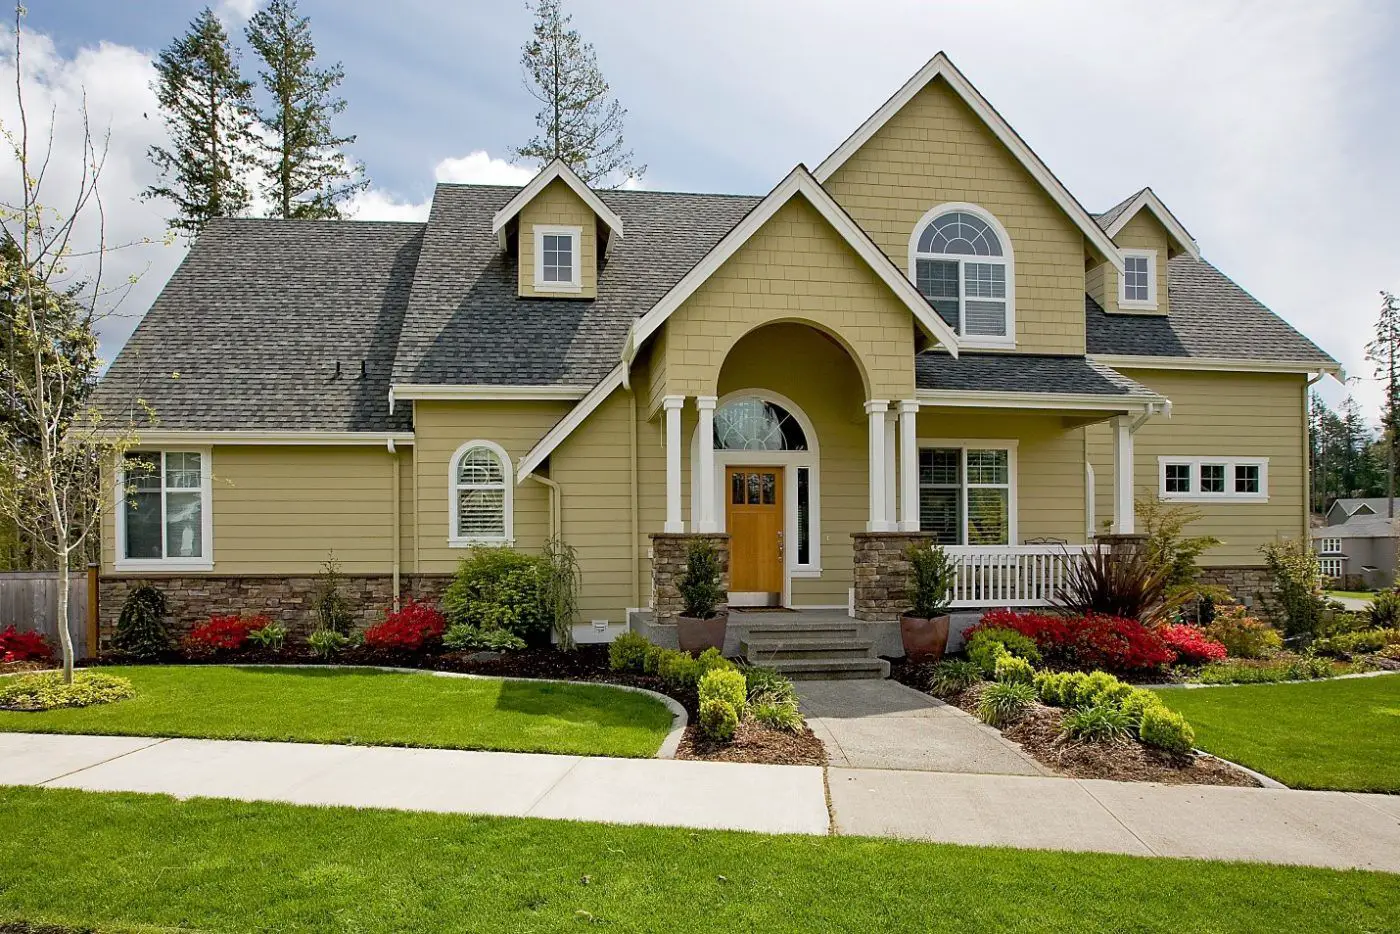
As you stand before the canvas of your home’s exterior, consider the myriad possibilities that color choices offer. Unearth the psychology of colors, how they interact with architectural styles, and how they can breathe life into worn facades. This guide isn’t just about restoring the physical beauty of your house, but also about evoking emotions and memories that resonate with you and your community. Join us on this expedition into the realm of transformation, where you’ll learn not just about paint and brushes, but about preserving the very soul of your old house.
Can I paint over old exterior paint?
The answer is yes, you can paint over old exterior paint. However, there are some advantages and disadvantages to doing so. The main advantage is that painting over old exterior paint saves time and money.
Surface Preparation: Proper preparation is key to a long-lasting and visually pleasing result. Clean the surface thoroughly to remove dirt, dust, mold, and mildew. A pressure washer or a mixture of water and mild detergent can be used. For areas with loose or peeling paint, it’s important to scrape and sand those areas to create a smooth and uniform surface.
Assessing the Old Paint: Before painting over old exterior paint, assess its condition. If the old paint is in good shape and firmly adhered to the surface, you can paint over it. However, if the old paint is cracking, peeling, or bubbling extensively, it’s advisable to remove it entirely to ensure the new paint adheres properly.
Priming: Applying a primer is recommended, especially when painting over old or weathered surfaces. A primer helps to create a stable base for the new paint, improves adhesion, and can even out color variations. For example, if you’re changing from a dark color to a light color, a primer can help prevent the old color from bleeding through.
Choosing the Right Paint: Select an exterior paint that is suitable for your climate and the surface material. Look for paints labeled as “exterior” and make sure they are designed to withstand the weather conditions in your area. Acrylic latex paints are often a popular choice due to their durability and ease of application.
Can you paint over old paint?
If the wall is in good condition and the paints are chemically the same (both latex, for instance), you have a few options when the new paint is the opposite shade of the old paint. You can use a primer to thoroughly cover the old color, then apply 1 or 2 coats of the new paint.
Surface Preparation: Properly preparing the surface is crucial. Clean the area thoroughly to remove dirt, dust, grease, and any loose or peeling paint. Use a mild detergent or a solution of water and vinegar to ensure a clean and smooth surface for the new paint to adhere to.
Assessing the Existing Paint: Before painting over old paint, assess its condition. If the existing paint is in good shape and adhered well to the surface, you can usually paint over it without issues. However, if the paint is flaking, peeling, or damaged, it’s advisable to address those areas by scraping, sanding, or even removing the old paint entirely.
Priming: Depending on the type of paint you’re using and the surface you’re painting, you may or may not need a primer. Primers provide a uniform base for the new paint, improve adhesion, and can block stains or prevent old colors from bleeding through. If you’re changing from a dark color to a light one or if you’re painting over a particularly porous surface, using a primer is recommended.
Choosing the Right Paint: Select a paint that suits the surface and your desired outcome. For example, choose interior or exterior paint based on where you’re painting. Water-based latex paints are often preferred for their durability, ease of use, and relatively low odor.
What is the fastest way to paint the exterior of a house?
The fastest, most effective way to apply exterior paint is with both a paintbrush and a roller. Brush paint onto narrow surfaces, edges, and smaller areas, and use a short, small-diameter roller to paint large and long surfaces such as siding and trim.
Plan and Prepare: Before diving into the painting process, thorough planning and preparation are essential. Inspect the exterior for any repairs or maintenance needed, such as filling cracks, repairing woodwork, and cleaning surfaces. Proper preparation ensures a smooth painting process.
Pressure Washing: Using a pressure washer to clean the exterior surfaces can save significant time compared to manual scrubbing. Pressure washing removes dirt, grime, and loose paint effectively, providing a clean canvas for the new paint.
Use Paint Sprayers: Paint sprayers are incredibly efficient for large exterior surfaces. They allow you to cover a lot of area in a short time. However, they do require some practice to achieve an even application, so consider practicing on a smaller area before tackling the entire house.
Work in Teams: If possible, work with a team of painters. Dividing the tasks among team members, such as one person focusing on trim while another handles larger areas, can speed up the process significantly.
Do you need primer over old paint?
You probably don’t need a primer. If the current wall is smooth, clean and covered with the same type of paint (both are oil-based for example), you can head straight for the paint. You need to fill holes, spackle and sand*, maybe even cut a new piece of drywall into the existing wall.
Improved Adhesion: Primer creates a strong bond between the old paint and the new layer of paint you’re applying. This helps ensure that the new paint adheres properly and doesn’t peel or flake over time.
Smooth Surface: Primer helps to create a uniform and smooth surface by filling in small cracks, imperfections, and uneven textures. This results in a better overall finish when the final coat of paint is applied.
Stain Blocking: Some old paints, especially if they are oil-based or have a strong color, might bleed through the new paint. Primer acts as a barrier, preventing these stains from showing through the topcoat.
Color Enhancement: Primers are available in various shades, including neutral gray or tinted colors. Choosing a primer shade that is close to your desired final paint color can enhance the coverage and vibrancy of the topcoat.
What is the best outdoor house paint?
Sherwin Williams Duration Exterior Acrylic Latex is our choice as the best overall exterior house paint for a few reasons. It is one of Sherwin Williams’ top paint lines, and has been designed to be extremely durable and resist cracking, peeling, and blistering.
Acrylic Latex Paint: Acrylic latex paint, also known as water-based latex paint, is a popular choice for exterior surfaces. It’s versatile, durable, and easy to clean up with water. Acrylic latex paint adheres well to various surfaces, resists fading, and is suitable for different weather conditions. It’s available in a wide range of finishes, from flat to high-gloss, allowing you to achieve the desired look for your home.
Oil-Based Paint: Oil-based paints offer exceptional durability and are known for their smooth finish. They are particularly suitable for wood surfaces and areas that experience a lot of wear and tear. However, they require more time for drying and cleanup involves using solvents. Keep in mind that some areas have restrictions on using oil-based paints due to their high VOC (volatile organic compound) content.
Exterior Enamel Paint: Exterior enamel paints are designed to provide a tough, glossy finish that is resistant to weather elements and stains. They work well for doors, trims, and other high-traffic areas. Enamel paints are available in both oil-based and water-based options, so you can choose based on your preferences and local regulations.
Masonry Paint: If you have a brick or concrete exterior, masonry paint is a suitable choice.
What to do before painting over old paint?
Scrape off all loose and flaking paint and ensure the surface is dry. If you are unsure, we recommend that you contact a qualified painter. If there is poor adhesion, you may need to strip the paint off the surface before proceeding. Stripping can be by sanding and scraping, or with chemical strippers.
Clean the Surface: Start by thoroughly cleaning the surface to remove dirt, dust, grease, and any contaminants that might hinder paint adhesion. Use a mild detergent and water solution, or a specialized cleaner if needed. Rinse well and allow the surface to dry completely.
Inspect for Damage: Carefully inspect the old paint for any signs of peeling, cracking, or bubbling. Address these areas by scraping off loose paint with a putty knife and sanding the edges to create a smooth transition between the old and bare surfaces.
Sand the Surface: Lightly sand the entire surface to promote better adhesion. Sanding also helps roughen up glossy or smooth surfaces, allowing the new paint to grip effectively. Use medium-grit sandpaper and work in the direction of the wood grain or surface texture.
Repair Imperfections: Fill any holes, dents, or cracks with an appropriate filler or putty. Once dry, sand the repaired areas until they are level with the surrounding surface.
Do I need to sand before painting?
Sanding is often a crucial step for ensuring that your surface is ready to be painted. If you don’t have a properly sanded surface, paint may not adhere to certain items properly. You can oversand, undersand and often people underestimate its importance. But, you don’t have to be a pro to sand a surface.
Promotes Adhesion: Sanding creates a slightly roughened surface, providing a better texture for the paint to adhere to. This is particularly important if you’re painting over a glossy or smooth surface, as paint might struggle to grip onto such surfaces without proper adhesion.
Smooths Imperfections: Sanding helps smooth out any imperfections on the surface, such as small dents, scratches, or uneven textures. It levels the surface, ensuring that the paint application looks more even and professional.
Removes Old Paint: If you’re painting over old paint that’s peeling, flaking, or bubbling, sanding can help remove these problematic areas. Sanding removes loose paint, creating a clean canvas for the new paint.
Ensures Consistency: Sanding ensures that the surface is consistent, meaning that any variations in texture or sheen are minimized. This consistency is crucial for achieving an even and uniform paint finish.
How many coats of primer?
You will want to use 2-3 coats of primer to ensure there is a good bond between the new paint and the wall, and also to cover up any previous colors, especially if they are red, orange, or a strange outdated color. In short, you will typically need 2 coats of primer for most painting projects.
Surface Condition: If the surface you’re priming is in good condition, with no visible imperfections or discoloration, one coat of primer is generally adequate.
Opacity of the Primer: The opacity or coverage of the primer you’re using also plays a role. Some primers are more opaque than others, which means they can provide better coverage in a single coat. Check the label of the primer for information about its coverage capabilities.
Changing Color: If you’re changing from a dark color to a light color, or vice versa, applying an extra coat of primer can help ensure that the old color doesn’t bleed through and affect the final paint color. This is especially true when working with porous or high-contrast surfaces.
Porous Surfaces: Porous surfaces like wood, drywall, and masonry tend to absorb primer unevenly. In such cases, applying multiple coats can help achieve a consistent base and enhance the adhesion of the topcoat.
Conclusion
This transformative journey through the art of painting an old house prepping exterior, you’ve gained not just practical knowledge but a newfound appreciation for the magic that a fresh coat of paint can weave. Your old house, once a canvas of history, has now become a canvas of your vision, a testament to the delicate balance of honoring the past while embracing the future. With every brushstroke, you’ve breathed life back into worn surfaces, resurrecting the splendor of architectural eras gone by.
Remember, this journey is a tribute to the generations that have called your house home, not just aesthetics. It honors old-fashioned workmanship and modern innovation. Standing back and admiring the difference, take pleasure in knowing you helped preserve your home’s legacy for future generations. May your colors continue to reflect your hopes and aspirations, and may your old house’s revitalized façade inspire passersby. As the sun shines on the freshly painted surface each day, let it remind you that beauty is everlasting and that a paintbrush can connect history and tomorrow. History, creativity, and craftsmanship are woven into every step of this work of love. Reflect on the change as you admire your work.
You’ve taken on the challenge of maintaining every detail while revitalizing worn surfaces. Your paint layers are passion and commitment, not just color. Your color choices show your style and knowledge of the home’s architecture. You’ve told a story of resilience and reinvention with every stroke. A stunning exterior and a restored sense of pride and connection to the past resulted. Your old house has been revitalized and invites you to make memories there. When you finish this revolutionary project, remember your journey continues. Your renovated exterior changes with each season. Time passes, but your knowledge and enthusiasm will guide you when needed.