How To Make Wooden Boxes For Gardening
Introduction
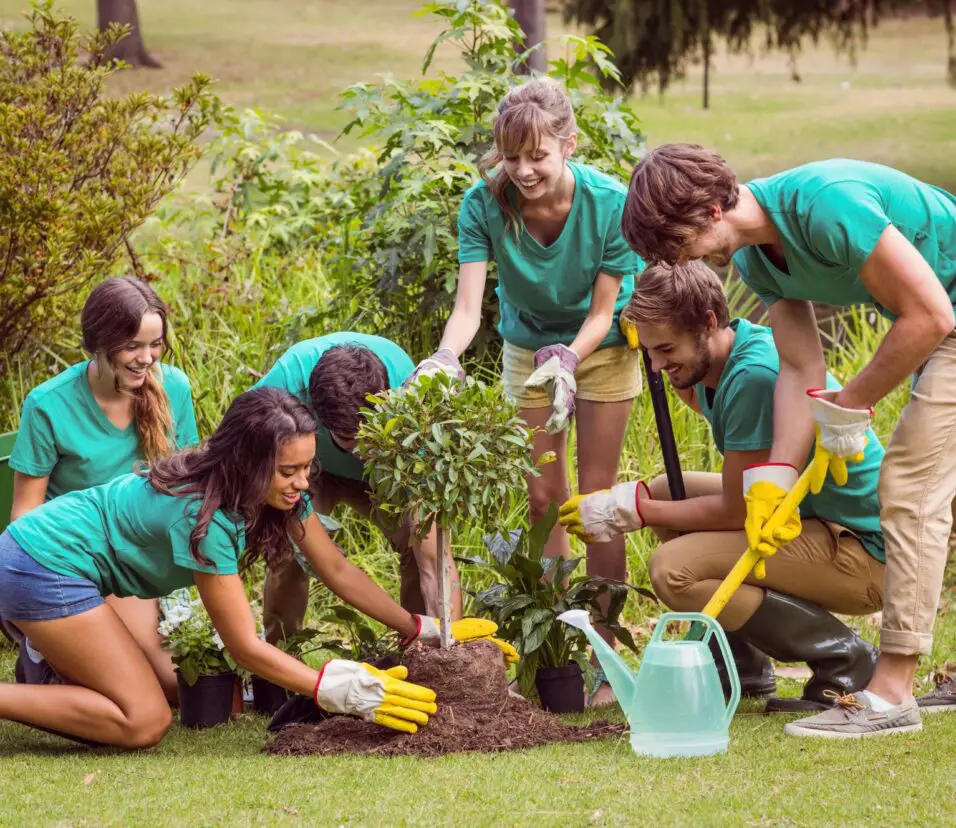
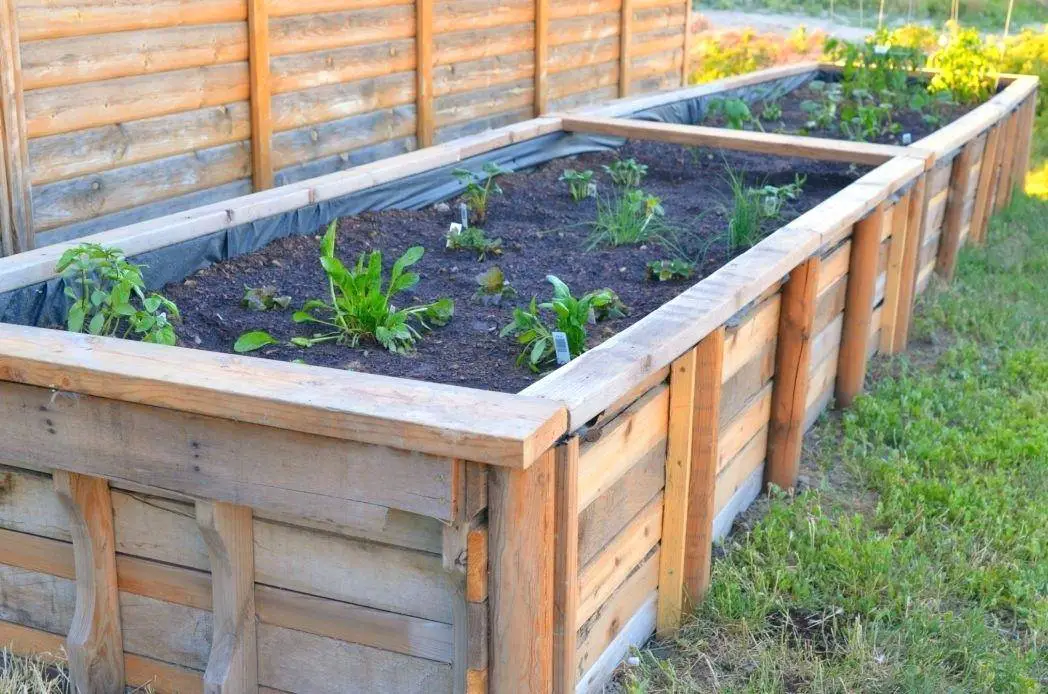
How To Make Wooden Boxes For Gardening: Gardening is a popular hobby for many people, providing a sense of relaxation and satisfaction as they watch their plants grow and flourish. One essential aspect of gardening is having the right tools and equipment, including wooden boxes for planting and organizing plants. Wooden boxes are not only functional but also add a rustic and natural touch to any master gardener. This post will teach you how to construct sturdy wooden boxes for your personal gardening needs.
Firstly, it’s important to gather the necessary materials and tools. You will need wooden boards, preferably untreated and weather-resistant, as well as screws, a saw, a drill, and sandpaper. The size and quantity of the boards will depend on the size and number of boxes you want to make. It’s also a good idea to have a measuring tape and a pencil to mark the dimensions of the boxes.
Once you have all the materials and tools ready, you can start by measuring and marking the dimensions of the wooden boxes. Consider the space available in your garden and the types of plants you want to grow. It’s important to ensure that the boxes are deep enough to accommodate the roots of the plants and provide sufficient drainage.
Next, you can use a saw to cut the wooden boards according to the marked dimensions. Take your time and make precise cuts to ensure that the pieces fit together properly. Once the boards are cut, use sandpaper to smooth any rough edges and surfaces. This will prevent splinters and make the boxes more aesthetically pleasing.
How do you make a wooden garden planter?
Using timber sticks:
- Drill a pilot hole in each length for the screws, about 2.5mm from the end.
- Lay out two long and two short lengths, butting the edges together to form a frame.
- Cut the gravel board to the appropriate lengths to cover the base of the frame, then attach it with screws.
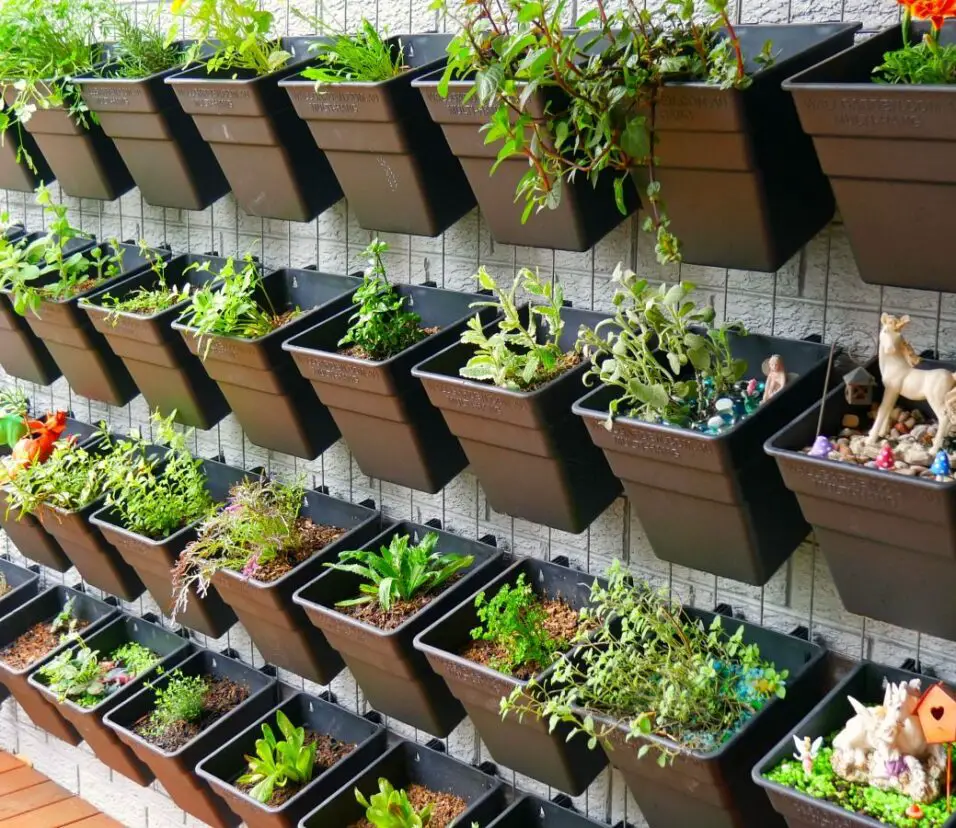
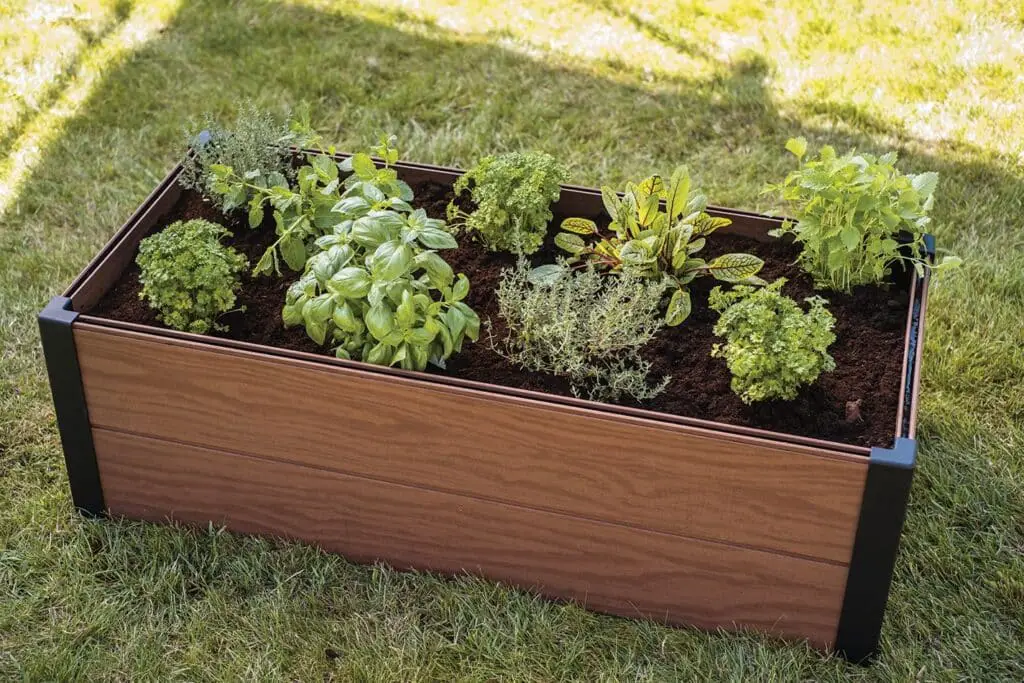
Making a wooden garden planter is a great way to add a touch of nature to your outdoor space. Whether you have a small balcony or a spacious backyard, a wooden planter can be a beautiful and functional addition to your garden. Plus, building your own planter allows you to customize the size, shape, and design to perfectly fit your needs and style.
First, you’ll need to gather the necessary materials and tools. You’ll need: wooden boards, screws or nails, a saw, a drill, a measuring tape, and sandpaper. The type of wood you choose will depend on your personal preference and budget. Cedar and redwood are popular choices for outdoor projects because they are naturally resistant to rot and insects.
Next, you’ll want to decide on the size and shape of your planter. Consider the space you have available and the types of plants you want to grow. If you’re planning on growing vegetables or herbs, you’ll need a deeper planter to accommodate the root systems. If you’re more interested in flowers or succulents, a shallow planter may be sufficient.
What is the best wood for garden planter boxes?
Spruce, Pine, Redwood, Juniper, Chestnut, and Cedar are the best and most popular woods for planter boxes. They are rot-resistant, safe for food crops, readily available, and don’t contaminate the soil either in the long run.
When it comes to choosing the best wood for garden planter boxes, there are several factors to consider. The type of wood you choose will impact the durability, appearance, and overall performance of your planter boxes. It’s important to select a wood that is resistant to rot, decay, and insect damage, as well as one that will complement the style of your garden.
Cedar is often considered the best wood for garden planter boxes. It is naturally resistant to rot and decay, making it a durable choice for outdoor use. Cedar also has a beautiful natural color and grain pattern, which can enhance the aesthetic appeal of your garden. Additionally, cedar contains natural oils that act as a deterrent to insects, further protecting your planter boxes.
How thick should planter box wood be?
Ideally, use wood boards that are at least 1.5 or 2 inches (3.80 or 5 cm) thick for raised garden beds. Anything thinner would result in a less durability. A thicker frame will also prove more resistant to wear and tear. The thicker your wood boards, the longer your raised garden bed will last.
When it comes to building a planter box, one of the most important considerations is the thickness of the wood. The thickness of the wood will determine the durability and longevity of the planter box, as well as its ability to hold soil and plants. So, how thick should planter box wood be?
The thickness of planter box wood can vary depending on several factors, including the size of the planter box, the type of wood used, and the weight of the soil and plants it will hold. In general, planter box wood should be at least 1 inch thick. This thickness provides enough strength and stability to support the weight of the soil and plants, while also preventing the wood from warping or bowing over time.
However, for larger planter boxes or those made from heavier woods, such as cedar or redwood, a thickness of 2 inches or more may be necessary. These thicker boards provide added strength and stability, ensuring that the planter box will last for many years without any issues.
Do planter boxes need drainage?
Every pot, container, trough, or planter needs drainage holes. A failure to think about correct drainage is a common container gardening mistake and it will lead to plant death.
Planter boxes are a popular choice for growing plants, flowers, and vegetables in both indoor and outdoor settings. They provide a convenient and attractive way to cultivate a garden in limited spaces. However, one question that often arises when it comes to planter boxes is whether or not they need drainage.
Drainage is an essential consideration for planter boxes because it helps prevent waterlogged soil, which can lead to root rot and other plant diseases. When water cannot drain properly from the planter box, it can accumulate at the bottom, causing the roots to become waterlogged and deprived of oxygen. This can ultimately lead to the death of the plants.
Proper drainage is particularly important for outdoor planter boxes as they are exposed to rainwater. Without adequate drainage, rainwater can pool at the bottom of the planter box, causing the roots to drown. Additionally, excess water can also lead to the leaching of nutrients from the soil, making it less fertile for plant growth.
Do wooden planters need holes?
Yes! Drainage holes prevent water from pooling in your planter boxes, they also reduce the risk of rot because of excess moisture. So, giving your planter boxes drainage holes is a good idea.
Yes, wooden planters do need holes. Holes in the bottom of a planter are essential for proper drainage. Without adequate drainage, excess water can accumulate in the planter, leading to root rot and other issues that can harm the plants.
Proper drainage is crucial for the health of plants. When water is poured into a planter without drainage holes, it has nowhere to go and can become trapped in the soil. This can lead to waterlogged roots, which are more susceptible to rot and disease. Additionally, excess water can cause the soil to become compacted, making it difficult for roots to access oxygen and nutrients.
By adding drainage holes to wooden planters, you allow excess water to escape, preventing these problems and promoting healthy plant growth. The holes allow water to drain freely, preventing water from pooling at the bottom of the planter. This helps to create a well-drained environment that mimics the natural conditions plants prefer.
Drainage holes also help to prevent overwatering. When water is poured into a planter with drainage holes, any excess water will simply flow out of the holes, preventing the soil from becoming waterlogged. This can be especially important for plants that are sensitive to overwatering, as it helps to prevent the roots from sitting in water for extended periods of time.
What are the steps involved in constructing wooden boxes for gardening?
The first step in constructing wooden boxes for gardening is to measure and cut the wooden boards to the desired dimensions. You will need to decide on the height, width, and length of the box based on your gardening needs. Once the boards are cut, you can then begin assembling the box.
Start by attaching the sides of the box to the bottom piece using screws or nails. Make sure to align the edges properly and use a level to ensure that the box is straight. Once the sides are attached, you can then attach the remaining pieces, such as the front and back panels. Finally, secure the corners of the box with additional screws or nails for added stability.
Are there any specific dimensions or measurements to consider when making wooden boxes for gardening?
When making wooden boxes for gardening, it is important to consider the specific dimensions and measurements to ensure that the box is suitable for your gardening needs. The dimensions will depend on the type of plants you plan to grow and the available space in your garden.
Generally, a depth of at least 12 inches is recommended to provide enough room for the roots of most plants. The width and length of the box can vary depending on the available space, but it is important to ensure that the box is wide enough to accommodate the plants and allow for proper spacing between them.
Additionally, it is important to consider the height of the box. If you plan to place the box on.
What are the steps involved in constructing wooden boxes for gardening?
Constructing wooden boxes for gardening involves several steps to ensure a sturdy and functional final product. The first step is to gather all the necessary materials, which typically include wooden boards, screws or nails, a saw, a drill, and a measuring tape. Once you have all the materials, you can begin by measuring and cutting the boards to the desired dimensions for your box.
Next, you will need to assemble the box by attaching the boards together using screws or nails. It is important to ensure that the corners are square and the boards are securely fastened to prevent the box from falling apart. Additionally, you may choose to reinforce the corners with metal brackets for added stability.
After the box is assembled, you can add drainage holes to the bottom to prevent water from pooling and causing root rot. These holes can be drilled using a drill bit of an appropriate size. Finally, you can finish the box by sanding down any rough edges and applying a protective sealant or paint to enhance its durability and weather resistance.
Are there any specific dimensions or measurements to consider when making wooden boxes for gardening?
When it comes to making wooden boxes for gardening, there are indeed specific dimensions and measurements that you should consider. These measurements will ensure that your wooden boxes are suitable for the plants you intend to grow and provide them with enough space to thrive.
The first measurement to consider is the length and width of the box. This will depend on the available space in your garden and the number of plants you want to grow. A general rule of thumb is to make the box no wider than 4 feet, as this will allow you to easily reach the center of the box from either side. The length can vary depending on your preference and the available space.
The second measurement to consider is the height of the box. This will depend on the type of plants you want to grow. For shallow-rooted plants like lettuce or herbs, a box with a height of 6 to 8 inches should be sufficient. However, for deep-rooted plants like tomatoes or carrots, a box with a height of 12 to 18 inches is recommended to accommodate their root systems.
Are there any recommended tools or equipment for building wooden boxes for gardening?
When it comes to building wooden boxes for gardening, there are several recommended tools and equipment that can make the process easier and more efficient. One essential tool is a power drill, which is necessary for drilling holes and attaching screws. A circular saw or a miter saw is also recommended for cutting the wooden boards to the desired dimensions. These saws provide clean and precise cuts, ensuring that the pieces fit together properly.
Clamps are another important tool to have on hand when constructing wooden boxes. They help hold the pieces together while you are attaching them, ensuring a tight and secure fit. A tape measure and a level are also essential for measuring and ensuring that the box is straight and level. Additionally, a carpenter’s square can be useful for checking the corners and angles of the box to ensure it is square.
Sandpaper is another recommended tool for building wooden boxes for gardening. It is important to sand down any rough edges or surfaces to prevent splinters and create a smooth finish. A paintbrush or roller is also useful for applying a protective finish or paint to the wooden box, which can help prolong its durability and protect it from the elements. Lastly, having a workbench or a sturdy table to work on can make the construction process more comfortable and organized.
Are there any additional tips or techniques for ensuring the durability and longevity of wooden boxes used for gardening?
Ensuring the durability and longevity of wooden boxes used for gardening is essential to maximize their usefulness and protect your plants. Here are some additional tips and techniques to help you achieve this:
1. Choose the right type of wood: Opt for hardwoods such as cedar or redwood, as they are naturally resistant to rot and decay. Avoid using softwoods like pine, as they are more prone to damage from moisture and insects.
2. Apply a protective finish: Coat the wooden boxes with a weather-resistant sealant or paint to provide an extra layer of protection against the elements. This will help prevent water damage and extend the lifespan of the boxes.
3. Use proper drainage: Ensure that your wooden boxes have adequate drainage holes to prevent water from pooling and causing rot. Elevating the boxes slightly off the ground can also help improve drainage.
4. Regularly maintain and inspect: Regularly inspect your wooden boxes for any signs of damage or wear. Replace any rotting or damaged boards promptly to prevent further deterioration. Additionally, reapply a protective finish every few years to maintain the integrity of the wood.
5. Avoid direct ground contact: Placing a layer of gravel or using feet or casters under the wooden boxes can help prevent direct contact with the ground, reducing the risk of moisture damage and insect infestation.
By following these tips and techniques, you can ensure that your wooden boxes for gardening remain durable and long-lasting, providing a sturdy and reliable home for your plants.

Conclusion
Learning how to make wooden boxes for gardening can be a rewarding and practical skill for any gardening enthusiast. By following the steps outlined in this guide, individuals can create their own customized wooden boxes that are not only functional but also aesthetically pleasing. These boxes provide a versatile solution for growing a variety of plants, herbs, and vegetables, allowing gardeners to maximize their space and create a beautiful garden.
One of the main advantages of making wooden boxes for gardening is the ability to control the quality of the materials used. By selecting high-quality wood and treating it properly, gardeners can ensure that their boxes are durable and long-lasting. This is particularly important for outdoor gardening, where the boxes will be exposed to the elements and need to withstand the test of time.
Making wooden boxes for gardening allows individuals to customize the size and shape of their boxes to suit their specific needs. Whether it’s a small box for a balcony garden or a large box for a backyard vegetable patch, gardeners can create boxes that fit perfectly into their available space. This level of customization also extends to the design and finish of the boxes, allowing individuals to create unique and personalized pieces for their garden.
In addition to the practical benefits, making wooden boxes for gardening can also be a creative and enjoyable activity. It provides an opportunity to work with your hands and engage in a hands-on project that yields tangible results. The process of measuring, cutting, and assembling the pieces can be both challenging and satisfying, and the end result is a beautiful and functional addition to any garden.