How To Make Drywall Smooth
Introduction
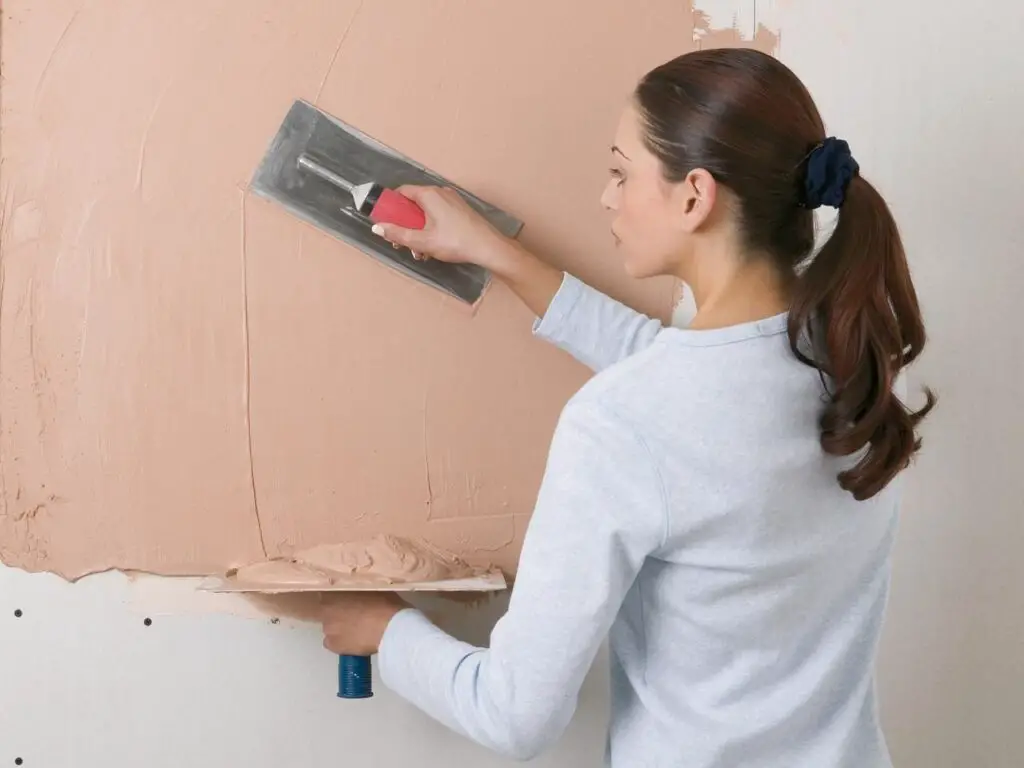
How To Make Drywall Smooth: Drywall, also known as gypsum board or plasterboard, is a panel made of gypsum plaster sandwiched between two layers of paper. It is commonly used to create interior walls and ceilings due to its affordability, ease of installation, and fire-resistant properties. However, once the drywall is installed, it requires proper preparation and finishing to achieve a smooth and seamless appearance.
Before you begin the process of making your drywall finish and smooth, it is crucial to prepare the surface properly. Start by inspecting the drywall for any visible imperfections such as dents, cracks, or bulges. Once dry, sand the patched areas using fine-grit sandpaper to create a smooth and even surface. To achieve a truly smooth finish, it may be necessary to apply multiple coats of joint compound. Once the final coat is dry, sand the entire surface using fine-grit sandpaper, paying attention to any remaining imperfections. Wipe away any dust with a damp cloth, and your drywall is now ready for painting or wallpapering.
Knowing how to make drywall smooth is a valuable skill for anyone involved in construction or renovation projects. By following the proper preparation techniques and applying joint compound with precision, you can achieve a flawless finish on your drywall. Remember to take your time, be patient, and pay attention to detail, as these factors are crucial in achieving professional-looking results.”
How do you fix rough drywall?
Fix Medium Holes
1: Cut a Drywall Patch.
2: Score the Back of the Drywall.
3: Snap Away the Gypsum.
4: Trace Around the Gypsum on the Wall.
5: Apply Joint Compound and Insert Gypsum.
6: Cover the Patch With Joint Compound.
7: Reapply Second Coat of Compound if Needed.
Drywall is a common material used in construction for creating walls and ceilings. Fortunately, there are several methods you can employ to fix rough drywall and restore its smoothness. In this article, we will explore some effective techniques to address this issue.
Identifying the Cause:
Before attempting to fix rough drywall, it is important to identify the underlying cause of the problem. Rough patches can be caused by various factors, such as poor installation, water damage, or general wear and tear. By determining the cause, you can choose the most appropriate method to fix the issue.
Repairing Small Imperfections:
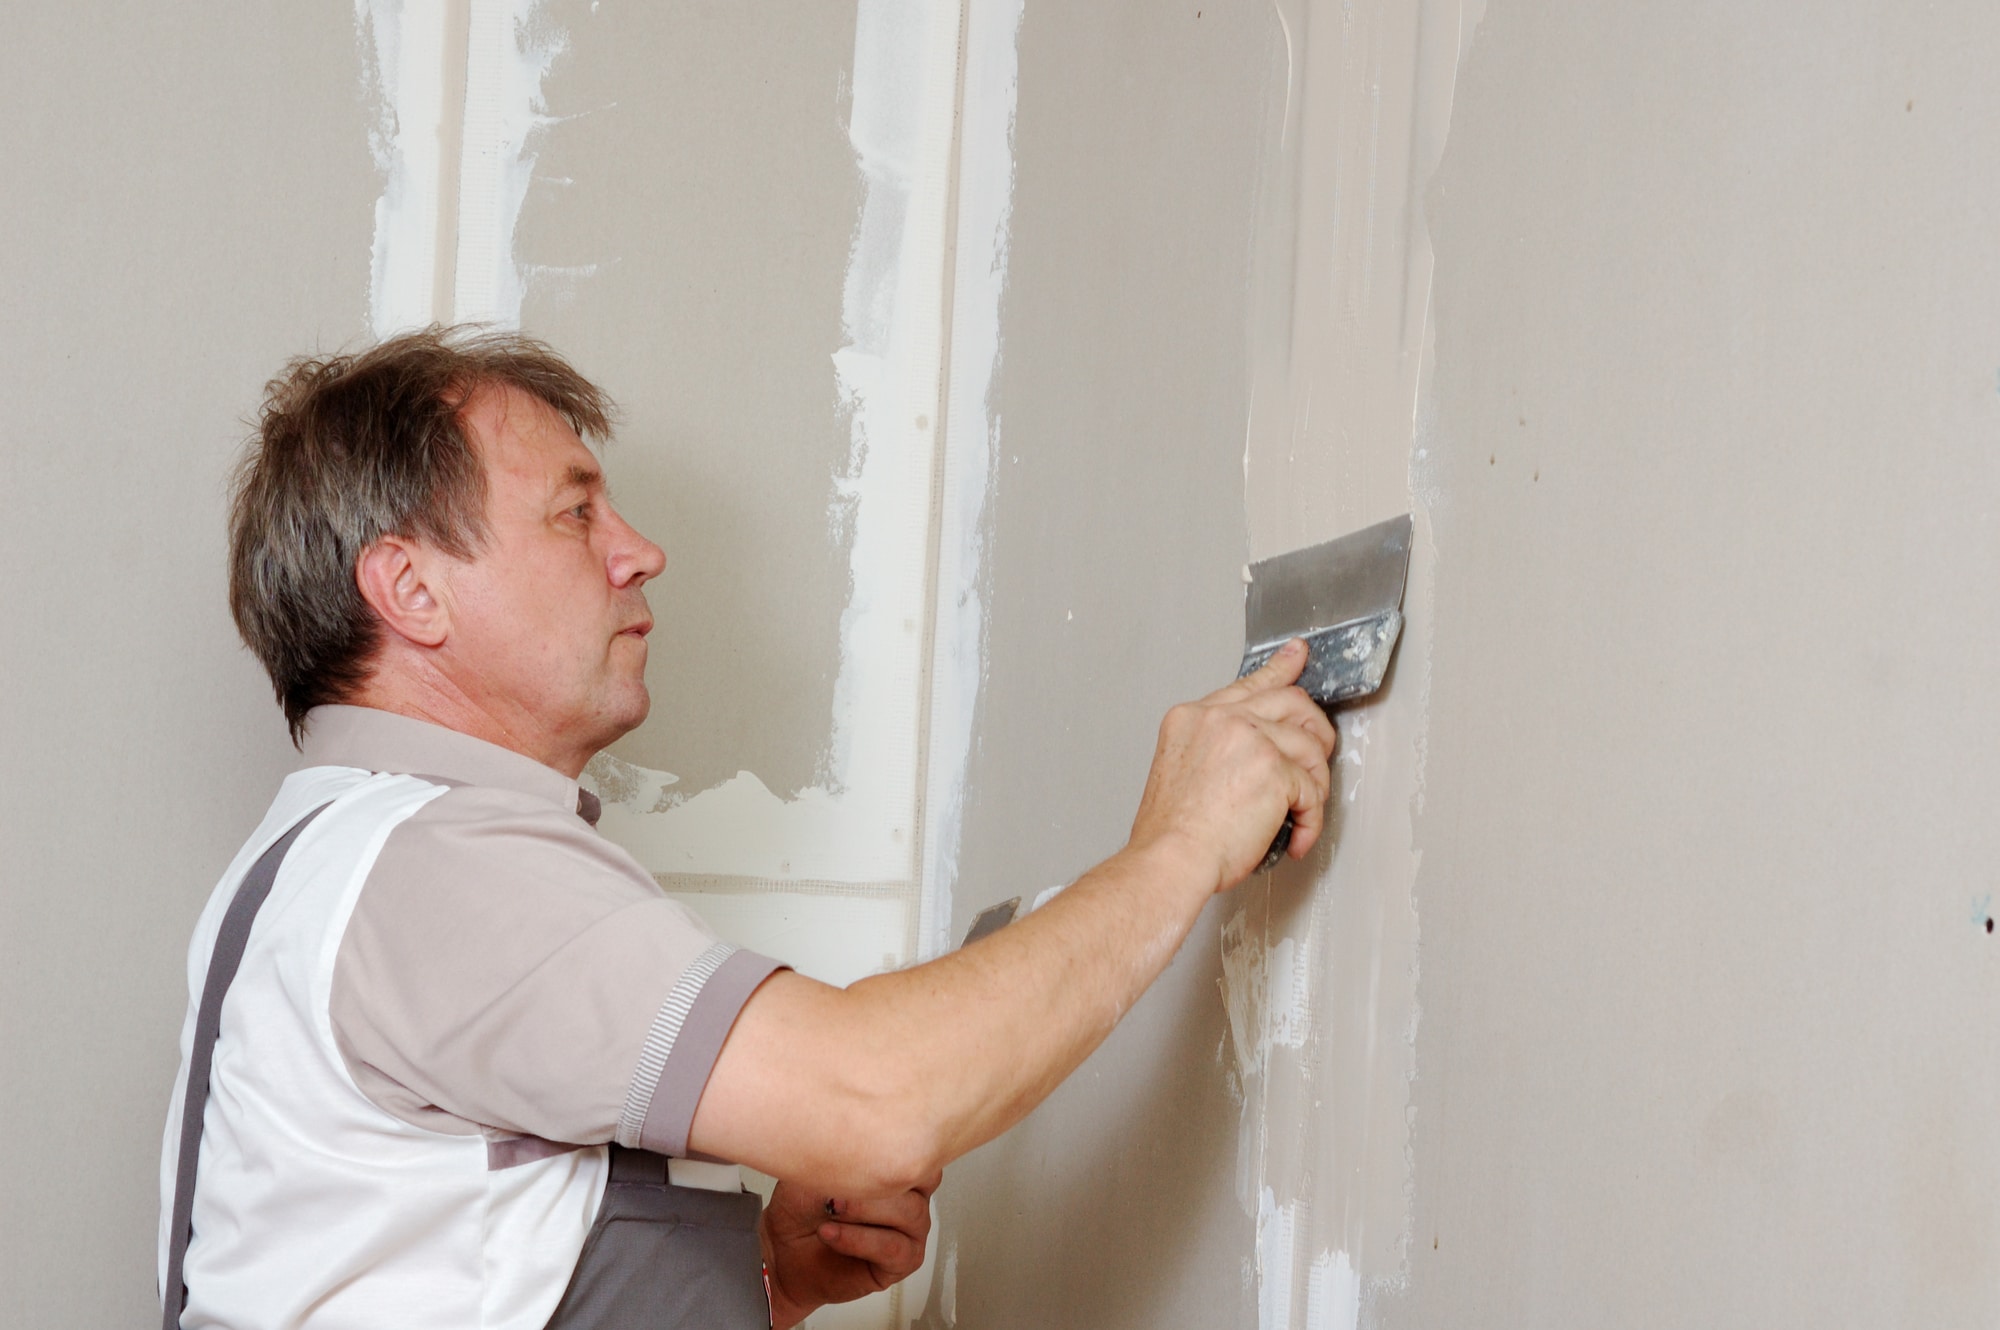
Start by sanding the rough area with fine-grit sandpaper, moving in a circular motion. This will help to smooth out the surface. Once the roughness is removed, wipe away any dust with a damp cloth. To ensure a seamless finish, apply a thin layer of joint compound over the sanded area using a putty knife. Allow it to dry completely before sanding it lightly and applying a second coat if necessary.
Addressing Larger Damages:
Begin by cleaning the damaged area and removing any loose debris. Next, cut a piece of drywall slightly larger than the damaged area and fit it into the hole. Secure it in place using drywall screws or nails. Apply joint compound over the seams and edges of the patch, feathering it out to blend with the surrounding wall. After the compound has dried, sand it down until smooth and apply additional coats if needed.
Final Touches:
Once the rough drywall has been repaired and smoothed, it is important to finish the surface properly. Apply a coat of primer to the repaired area to ensure a uniform finish when painting. After the primer has dried, you can proceed to paint the wall with your desired color. Remember to feather the paint outwards from the repaired area to blend it seamlessly with the rest of the wall. Finally, allow the paint to dry completely before considering any additional decorative touches.
By following these instructions, you can effectively fix rough drywall and restore the smoothness of your walls or ceilings. With a little patience and attention to detail, your drywall can look as good as new.
Can you make textured drywall smooth?
Skim coating is a technique used to create a smooth surface on textured walls. It involves applying multiple thin layers of joint compound or drywall mud to fill in the texture, followed by sanding and priming to achieve a flat finish.
Can you make textured drywall smooth?
Textured drywall is a popular choice for many homeowners due to its ability to add visual interest and hide imperfections on walls. However, there may come a time when you want to change the look of your walls and make them smooth. The good news is that it is possible to make textured drywall smooth, but it requires some effort and the right techniques.
One method to make textured drywall smooth is by sanding it down. It is recommended to wear a dust mask and protective eyewear during this process to avoid inhaling dust particles.
Another option to make textured drywall smooth is by skim coating it. Before applying the skim coat, it is essential to clean the walls thoroughly and repair any cracks or holes. Once the surface is prepared, the joint compound can be applied using a trowel or a drywall knife. Multiple coats may be required, with sanding in between each coat to achieve a flawless finish.
If you prefer a quicker solution, you can also cover the textured drywall with a new layer of drywall. This method involves installing new drywall sheets over the existing textured drywall. It provides a fresh canvas for a smooth finish without the need for extensive sanding or skim coating. Making textured drywall smooth is possible through sanding, skim coating, or covering it with a new layer of drywall.
What is the best way to smooth walls?
6 ways to smooth walls without plastering
- Plastering vs skimming: what is the difference?
- Ways to smooth walls without plastering.
- Use a joint compound instead of plaster.
- Sand your walls down with sandpaper.
- Use wall lining paper.
- Try the dabbing and dotting technique.
- Add wall paneling.
- Just paint your walls as they are.
When it comes to achieving a flawless finish on walls, finding the best way to smooth them is essential. Whether you are renovating your home or preparing it for a fresh coat of paint, a smooth wall surface can greatly enhance the overall appearance of any room. In this article, we will explore various techniques and methods that can help you achieve perfectly smooth walls.
Preparation:
Before you begin the process of smoothing walls, it is important to prepare the surface properly. Start by removing any loose paint or wallpaper using a scraper or sandpaper. Fill in any cracks or holes with a suitable filler and allow it to dry completely. Once the surface is clean and dry, you can proceed with the smoothing process.
Sanding:
Sanding is a crucial step in achieving smooth walls. Use a sanding block or sandpaper to gently sand the entire surface, focusing on any rough or uneven areas. This will help to level out the surface and create a smooth base for further treatment. Be sure to wear a dust mask and protective eyewear while sanding to avoid inhaling dust particles.
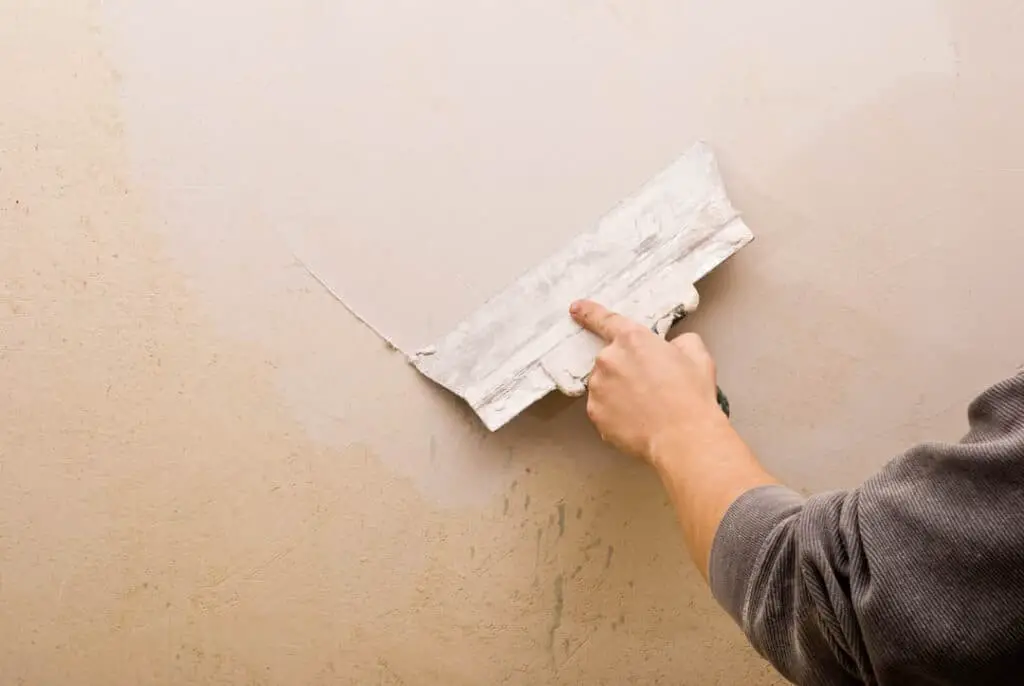
Applying a Skim Coat:
If your walls have significant imperfections, applying a skim coat is an effective way to achieve a smooth finish. A skim coat is a thin layer of joint compound that is applied over the entire surface of the wall. Use a trowel or putty knife to spread the joint compound evenly, filling in any gaps or uneven areas. Allow the skim coat to dry completely before sanding it lightly to achieve a smooth and even surface.
Using a Wall Sander:
For larger wall areas or if you prefer a more efficient method, using a wall sander can save you time and effort. A wall sander is a power tool that is specifically designed for sanding walls. It features a rotating sanding pad that helps to quickly and evenly smooth the surface. Remember to follow the manufacturer’s instructions and use the appropriate grit sandpaper for the best results.
By following these techniques and methods, you can achieve beautifully smooth walls that will enhance the overall aesthetic of your space. Remember to take your time and pay attention to detail to ensure a flawless finish. Once your walls are smooth, you can proceed with painting or applying any desired wall treatments to complete your desired look.
How do you reduce drywall texture?
The easiest way to remove texture from walls is the soak-and-scrape method. You’ll need to spray a section of the wall with water, let the water soak in and soften the texture, then scrape the texture off using a drywall taping knife.
Drywall texture refers to the finish applied to the surface of drywall to create a desired visual effect. Over time, you may find the need to reduce or remove the texture for various reasons, such as preparing the wall for a new paint job or achieving a smoother surface. Fortunately, there are several methods you can employ to reduce drywall texture effectively.
Method 1: Sanding
One of the most common ways to reduce drywall texture is through sanding. Start by ensuring the area is well-ventilated and wearing protective gear, such as a dust mask and safety goggles. Use a pole sander or sanding block with medium-grit sandpaper to gently sand the textured surface in circular motions. This process helps to smooth out the texture and create a more even finish. However, be cautious not to sand too aggressively, as it may damage the underlying drywall.
Method 2: Skim Coating
Skim coating is another effective technique for reducing drywall texture. It involves applying a thin layer of joint compound or drywall mud over the textured surface to create a smooth and uniform finish. Start by cleaning the wall and removing any loose texture. Then, using a trowel or putty knife, apply a thin layer of joint compound over the entire surface, feathering the edges to blend it with the surrounding area. Allow the compound to dry, sand it lightly, and repeat the process if necessary until the desired texture reduction is achieved.
Method 3: Chemical Solutions
In some cases, chemical solutions can be used to soften and remove drywall texture. These solutions are typically applied to the textured surface and left to penetrate the texture, making it easier to scrape off. However, it is essential to follow the manufacturer’s instructions carefully and take necessary safety precautions when working with chemicals. After applying the solution, use a scraper or putty knife to gently remove the softened texture, working in small sections at a time.
Reducing drywall texture can be achieved through various methods, including sanding, skim coating, and the use of chemical solutions. Each method has its advantages and considerations, so it is important to choose the one that best suits your specific needs and skill level. Remember to take necessary safety precautions and follow the instructions carefully to achieve the desired results. By employing these techniques, you can effectively reduce drywall texture and create a smooth and visually appealing surface for your walls.
What tools are needed to achieve a smooth finish on drywall?
To achieve a smooth finish on drywall, you will need a variety of tools. The most essential tool is a high-quality taping knife, which is used to apply joint compound to the seams between drywall panels. A 6-inch taping knife is ideal for smaller repairs, while a 10 or 12-inch knife is better suited for larger areas. Additionally, a mud pan is necessary to hold the joint compound while you work.
Sanding tools are also crucial for achieving a smooth surface. A sanding block or sanding sponge can be used to smooth out rough areas and blend the joint compound with the surrounding drywall. For larger areas, an electric sander with fine-grit sandpaper can speed up the sanding process.
Other tools that may be needed include a drywall saw for cutting out damaged sections, a utility knife for trimming excess drywall tape, and a corner trowel for creating clean, crisp corners. A drywall primer and paint roller or brush will be necessary for finishing the smooth surface with paint.
Are there any specific techniques or tips for achieving a smooth surface on drywall?
When it comes to achieving a smooth surface on drywall, there are several techniques and tips that can greatly improve the final result. One important technique is to properly prepare the drywall before applying any joint compound. This involves ensuring that the drywall is clean, free of dust and debris, and properly sanded. Additionally, it is crucial to apply a coat of primer before applying the joint compound, as this helps the compound adhere better to the surface and prevents it from being absorbed by the drywall.
Another technique for achieving a smooth surface on drywall is to apply multiple thin coats of joint compound rather than one thick coat. This allows for better control and reduces the risk of creating uneven surfaces. It is important to let each coat dry completely before applying the next one, and to sand lightly between coats to remove any imperfections. Additionally, using a wide taping knife or a drywall sander can help achieve a smoother finish by spreading the joint compound evenly and removing excess material.
Furthermore, paying attention to the temperature and humidity levels in the room can greatly impact the drying time and overall finish of the drywall. It is recommended to work in a well-ventilated area with moderate temperature and humidity levels to ensure the joint compound dries properly. Lastly, taking the time to carefully inspect the surface after each coat and making any necessary repairs or adjustments before moving on to the next coat can help achieve a truly smooth and flawless finish on drywall.
How long does it typically take to make drywall smooth?
When it comes to making drywall smooth, the time required can vary depending on several factors. The size of the area to be smoothed, the condition of the drywall, and the level of smoothness desired all play a role in determining the time it takes to achieve a smooth finish.
On average, it can take anywhere from a few hours to several days to make drywall smooth. Smaller areas or patches may be completed within a few hours, while larger rooms or entire walls may require multiple days of work. It is important to note that the drying time between each coat of joint compound or plaster is a significant factor in the overall time frame.
Proper preparation and technique are crucial in minimizing the time spent on achieving a smooth surface. Before starting the smoothing process, it is essential to ensure that the drywall is properly installed and free from any major imperfections. This includes addressing any cracks, holes, or uneven seams. Additionally, using the right tools and materials, such as sandpaper, joint compound, and a taping knife, can help expedite the process.
Are there any common mistakes to avoid when attempting to make drywall smooth?
Another mistake to avoid is applying too much joint compound at once. While it may be tempting to apply a thick layer to fill in any imperfections, this can actually make the surface more difficult to smooth out. It is best to apply thin layers of joint compound and allow each layer to dry completely before applying the next. This will make it easier to achieve a smooth and even finish.
Additionally, rushing the sanding process is a common mistake that can lead to less-than-desirable results. It is important to take the time to sand the joint compound thoroughly and evenly. Using a fine-grit sandpaper and applying light pressure in a circular motion can help to achieve a smooth surface. Be sure to remove any dust after sanding before applying another layer of joint compound.
To avoid common mistakes when attempting to make drywall smooth, it is essential to properly prepare the surface, apply thin layers of joint compound, and take the time to sand thoroughly. By following these tips, you can achieve a professional-looking smooth finish on your drywall.
Conclusion
The next step is to apply joint compound to the seams and any imperfections on the drywall surface. This should be done in thin, even layers, allowing each layer to dry completely before applying the next. It is important to feather the edges of each layer to create a seamless transition between the compound and the surrounding drywall. This process may require multiple applications and sanding in between to achieve a perfectly smooth finish.
Finally, once the joint compound is dry and the desired level of smoothness is achieved, it is time to sand the surface. This should be done using fine-grit sandpaper or a sanding sponge, working in a circular motion to avoid creating visible lines or scratches. It is important to be thorough but gentle during the sanding process to avoid damaging the drywall or creating uneven surfaces.
Achieving a smooth wall finish on drywall requires careful preparation, application of joint compound, and thorough sanding. By following these instructions and practicing patience, you can achieve professional-looking results that will enhance the overall appearance of your walls. Remember, practice makes perfect, so don’t be discouraged if your first attempts are not flawless. With time and experience, you will become proficient in the art of making drywall smooth.