How To Make A Brick Patio
Introduction
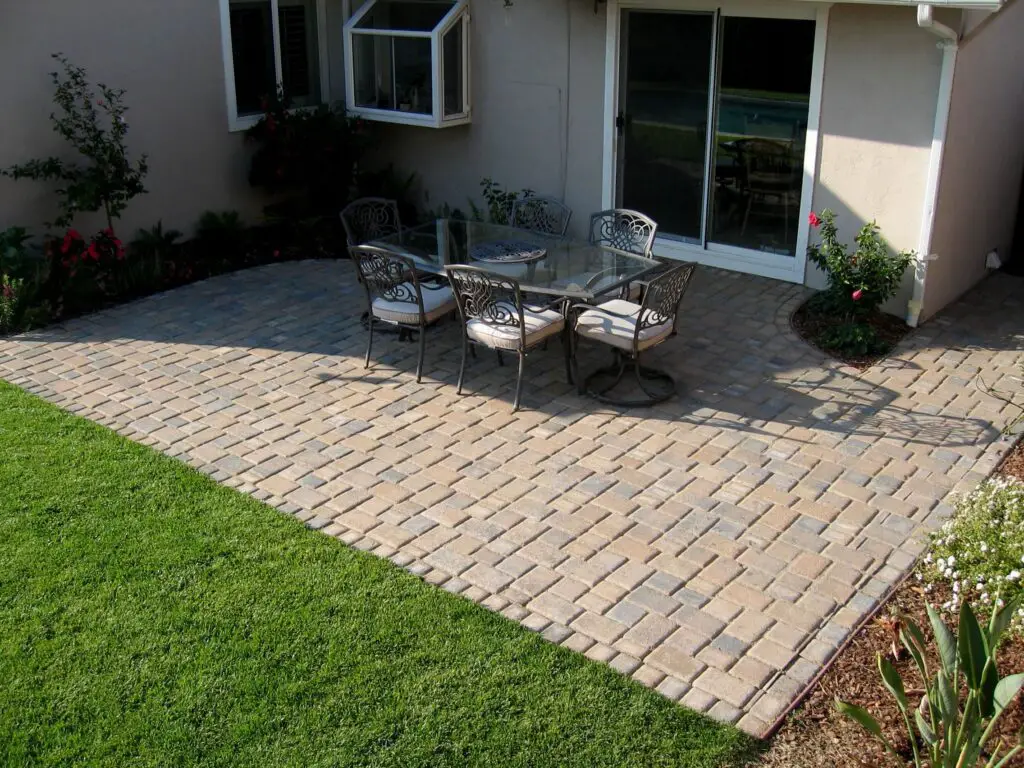
How To Make A Brick Patio: The first step in creating a brick patio is to carefully plan and design the layout. Consider the purpose of the patio, whether it’s for dining, lounging, or hosting gatherings. Measure the area where you want the concrete patio and sketch out the shape and dimensions. Take into account any existing structures, trees, or obstacles that might affect the layout. Choose a suitable pattern for the brick placement, such as herringbone, basket weave, or running bond, that complements your overall outdoor design.
Once you have your design in place, it’s time to gather the necessary materials and tools. You’ll need bricks, of course, but there are various types and colors available, so select ones that match your aesthetic preferences and budget. Other materials include gravel, sand, landscape fabric, and edging to define the patio’s borders. As for tools, you’ll need a shovel, rake, tamper, level, mason’s line, and a rubber mallet, among others. Start at one corner of the patio and lay the bricks according to your chosen pattern.
Clear the designated area of any vegetation, rocks, or debris. Excavate the soil to a depth of about 6 to 8 inches to make space for the foundation layers. Compact the soil using a tamper to create a stable base. To ensure proper drainage and prevent weeds from growing, lay down a layer of landscape fabric over the excavated area. Next, add a 4-inch layer of gravel and compact it thoroughly. On top of the gravel, add a 1-inch layer of coarse sand, leveling it with a screed board and checking for evenness using a level.
Can you just lay bricks down to make a patio?
The easiest way to install a brick paver patio is the sandset method. The bricks are laid on the ground, over a layer of compacted gravel topped by landscape fabric and a smooth layer of sand. After the bricks are laid, you sweep sand into the cracks between the pavers to lock them in place.
Site Preparation
Before laying the bricks, proper site preparation is crucial. Clear the area of any vegetation, rocks, or debris. Ensure the ground is level and firm, as an uneven surface can cause the bricks to shift over time. If your soil is soft or prone to erosion, it’s advisable to dig down and create a stable base for your patio.
Base and Foundation
To prevent settling and shifting of the bricks, it’s essential to create a solid foundation. Excavate the area to a depth of 6 to 8 inches and fill it with gravel or crushed stone. Compact the base thoroughly using a tamper to provide a stable surface for the bricks to rest on.
Sand Layer
Once the base is prepared, add a layer of coarse sand on top. This sand layer serves as a bedding material, allowing you to adjust and level the bricks during the installation process. Use a screed board and a level to ensure an even surface.
Brick Placement
Now it’s time to lay the bricks on the prepared sand surface. Choose your desired pattern, such as herringbone, basket weave, or running bond, and start laying the bricks from one corner, working your way out. Use a rubber mallet to gently tap the bricks into place, ensuring they are level and aligned correctly.
Can you lay brick directly on concrete?
Brick paving can be installed over existing concrete or asphalt as long as it is in reasonably good shape. To ensure an adequate foundation for the brick, the existing concrete slab or asphalt should be inspected and repaired as necessary.
Before laying the bricks, it’s essential to clean the concrete surface thoroughly. Remove any dirt, debris, or loose particles from the concrete. Additionally, check the surface for cracks or uneven areas. If there are significant cracks or unevenness, it’s best to address them before proceeding with the brick installation.
Choose the Right Bricks
Select bricks that are suitable for use on a concrete surface. Clay bricks or concrete pavers are commonly used for this purpose. Ensure that the bricks have a uniform thickness, as this will make the installation process smoother and result in a more even surface.
Test the Layout
Before committing to the installation, dry-lay the bricks on the concrete surface to test the layout and make any necessary adjustments. This step will help you visualize the final pattern and ensure that the bricks fit well together without large gaps or awkward cuts.
Prepare Mortar
While you are laying bricks on concrete, using mortar is crucial for securing the bricks in place and providing additional stability. Mix the mortar according to the manufacturer’s instructions. A thin-set mortar or a mortar designed for brick or paver installations is typically suitable for this application.
Is brick better than cement?
Concrete has a shorter life than brick, though it still gives efficient results for up to 100 years. It is also incredible durable and can be painted more easily than brick, which secretes metallic salts that can cause paint to peel off.
Durability: Bricks are highly durable and can withstand various weather conditions, including extreme heat, cold, and moisture, making them suitable for long-lasting structures.
Low Maintenance: Brick structures require minimal maintenance, and they are resistant to rot, decay, and insect damage.
Fire Resistance: Bricks have excellent fire resistance properties, adding an extra layer of safety to buildings constructed with them.
Thermal Insulation: Bricks provide natural thermal insulation, helping to regulate indoor temperatures and reduce energy consumption.
Aesthetics: Brick structures exude a classic, timeless beauty that enhances the architectural appeal of a building.
Cost: Bricks can be more expensive than some alternative materials, particularly if specialized or decorative bricks are desired.
Labor-Intensive Installation: Building with bricks requires skilled labor and can take more time compared to other construction methods.
How deep to dig for a brick patio?
The depth you dig depends on the type of patio: 8 to 9 inches for bricks or pavers set on a sand-and-gravel base, 8 to 9 inches for a concrete slab patio, and 11 to 12 inches for bricks or stones set in mortar on a concrete slab.
Before starting any excavation, it’s essential to check your local building codes and regulations. Some areas may have specific requirements for patio depth, especially if the patio is attached to a structure or close to property lines. Compliance with building codes ensures your patio is safe and legal.
Assess the Soil
The first step is to assess the quality of the soil where you plan to build the patio. If the soil is loose, sandy, or prone to erosion, you may need to dig deeper to create a stable foundation. On the other hand, if the soil is firm and compact, you might not need to dig as deep.
A standard brick patio typically requires several layers beneath the bricks to provide stability and drainage. These layers include a base of gravel and a layer of coarse sand. The combined depth of these layers will impact how deep you need to dig.
Allow for Proper Drainage
Proper drainage is essential for preventing water from pooling on the patio’s surface, which can lead to issues like erosion and cracking. To ensure adequate drainage, the patio should have a slight slope away from any nearby structures. This slope will affect the depth of excavation at various points on the patio.
Can I lay bricks myself?
Experts say that you shouldn’t even try to build a brick wall over 4 feet high (1.2 meters) on your own unless you are an experienced bricklayer [source: Hessayon]. A short wall, on the other hand, might be a manageable task. However, it would be hard to teach yourself bricklaying simply by reading a book.
Educate Yourself: Before starting the project, it’s essential to educate yourself about bricklaying techniques and best practices. There are numerous online tutorials, videos, and books available that provide step-by-step instructions and tips for successful bricklaying.
Gather Materials and Tools: Make a list of all the materials and tools you’ll need for the project. This typically includes bricks, mortar mix, trowel, level, mason’s line, jointing tool, wheelbarrow, and safety gear like gloves and goggles.
Plan and Design: Decide on the location and layout of your brick project. Measure and mark the area, and create a detailed plan or sketch to guide your work.
Prepare the Site: Clear the area of any debris, vegetation, or obstacles. Level the ground and ensure a stable base for your brickwork.
Mix Mortar: Prepare the mortar according to the manufacturer’s instructions. Consistency is key, so ensure the mortar is neither too wet nor too dry.
Lay the Bricks: Start laying the bricks from one corner, following your design. Apply mortar on the base and edges of the bricks as you position them. Use a mason’s line and level to keep the rows straight and the bricks level.
How to build a brick patio on top of concrete?
- Inspect your existing concrete for large cracks, dips, or rises.
- Cover your patio face with a wall block (optional)
- Install a patio paving stone border with adhesive.
- Lay geo filter fabric over your concrete.
- Spread a thin layer of sand over your filter fabric.
- Lay patio paving stones or slabs over the bedding layer
Clean and Prepare the Concrete Surface
Begin by thoroughly cleaning the concrete surface to remove any dirt, debris, or existing coatings. Use a pressure washer or a stiff brush with water and detergent to ensure a clean and smooth base for your brick patio.
Inspect the concrete for any cracks, pits, or uneven areas. If there are significant cracks or damaged sections, consider repairing or resurfacing the concrete before proceeding with the brick installation. A level surface is crucial for a stable brick patio.
Plan and Design
Decide on the layout and design of your brick patio. Measure the dimensions of the concrete surface and create a detailed plan or sketch. Consider the orientation of the bricks, the pattern you want to use, and any additional features like borders or decorative elements.
Collect all the materials you’ll need for the project, including bricks, mortar mix, sand, landscape fabric, and edging. You’ll also require tools like a masonry trowel, mason’s line, level, rubber mallet, jointing tool, and a wheelbarrow.
What is the best base for a patio?
Concrete Base
For many years, concrete has been the best material for patio bases because it is strong, lasts a long time, and is safe. It gives the pavers a solid base to sit on. Putting down a concrete floor can take a long time and often needs a lot of preparation work.
One of the most popular and inexpensive ways to build a patio’s base is with compacted gravel. It’s very stable, drains water well, and can hold a lot of weight. A hard and level surface is made by compacting crushed stone or gravel with pieces of different sizes. The dirt base lets water drain away from the patio, which lowers the chance of damage from water.
Crushed Stone and Paver Sand
A combination of crushed stone and paver sand can create a solid and well-draining base for brick, stone, or concrete paver patios. The crushed stone offers stability and load-bearing capacity, while the paver sand allows for leveling and accommodating any irregularities in the base.
Concrete Base
A concrete base is an ideal choice for a patio if you prefer a solid and permanent surface. This type of base involves pouring a concrete slab directly onto a well-prepared subgrade. Concrete provides excellent load-bearing capacity, stability, and durability. However, it may require more extensive preparation and professional installation compared to other base options.
Permeable Pavers and Aggregate Base
For eco-friendly and environmentally conscious patio bases, consider using permeable pavers with an aggregate base. Permeable pavers allow rainwater to pass through, reducing runoff and promoting better groundwater recharge. An aggregate base, such as crushed stone, supports the pavers and provides drainage.
What is a patio brick?
What Do Pavers Do? Pavers, also called paving stones, are made of natural stone, concrete, or brick. They are used to cover the ground on driveways, patios, gardens, paths, and roads. Brick pavers are made from clay that is shaped into molds and then hardened with heat. They are usually made in the shape of a square.
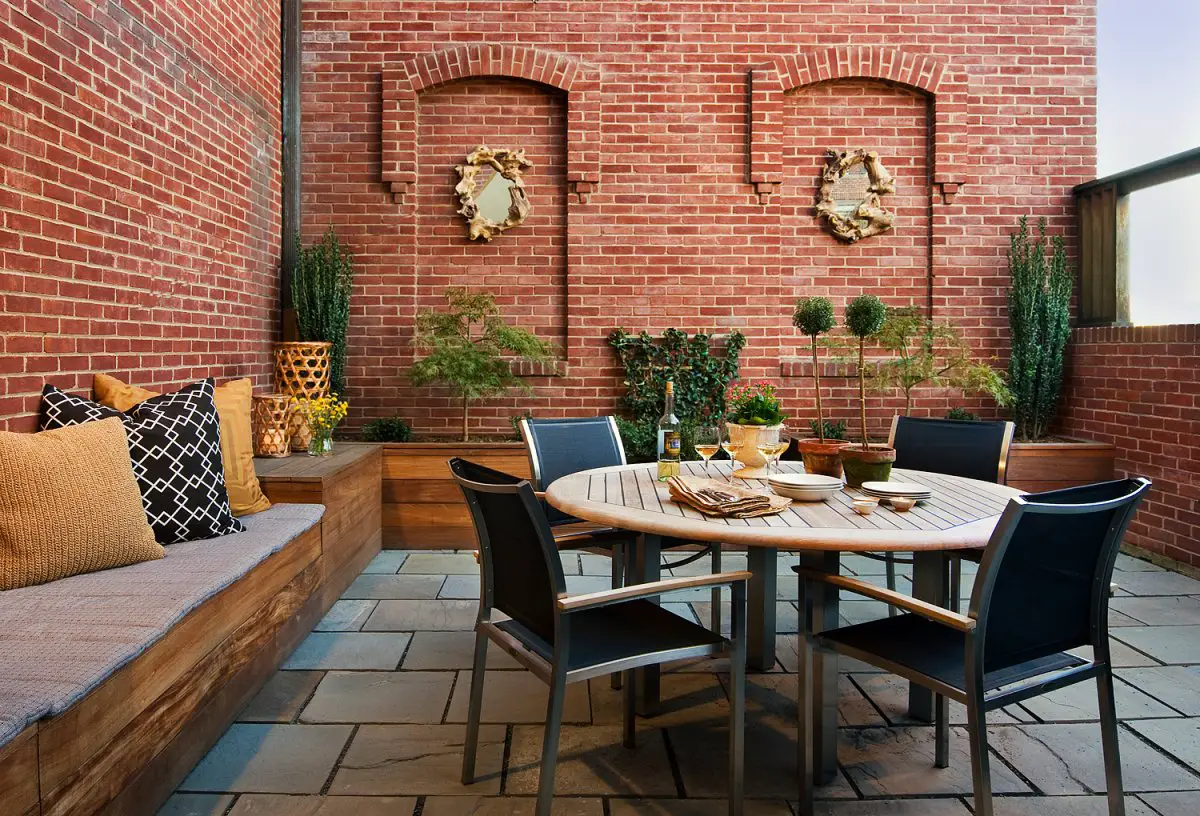
Clay: Patio bricks made of clay are a standard choice that have been used for hundreds of years because they are beautiful and last a long time. Making them involves heating clay in kilns, which makes bricks that are very strong, keep their color, and don’t fade. Bricks made of clay often come in a range of warm earth tones that give outdoor areas a classic look.
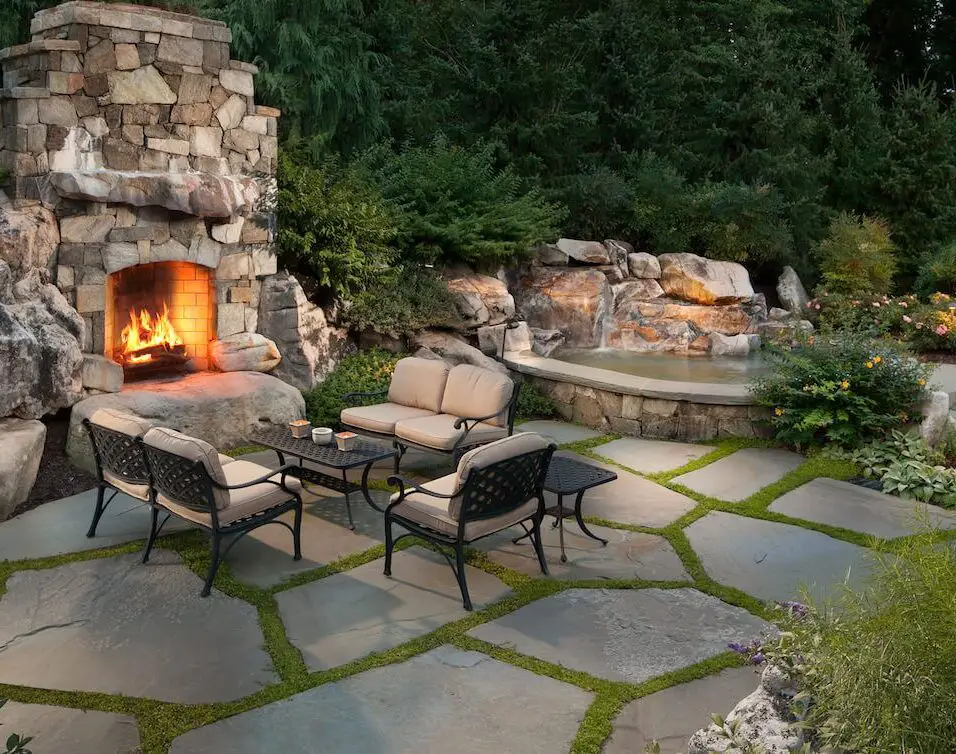
Natural Stone: Natural stone pavers are often used to build patios, even though they are not exactly bricks. These pavers are made from natural stones like sandstone, granite, or limestone. They give any outdoor area a luxurious and one-of-a-kind look. Natural stone pavers are very long-lasting and come in a range of colors and textures.
Different design tastes and project needs can be met by patio bricks that come in different shapes and sizes. Shapes that are often used are rectangle, square, and interlocking. Because patio bricks are so flexible, they can be laid in many different ways, including circles, herringbone, basket weave, and running bond. The designs can make the patio look better overall by adding visual interest.
Conclusion
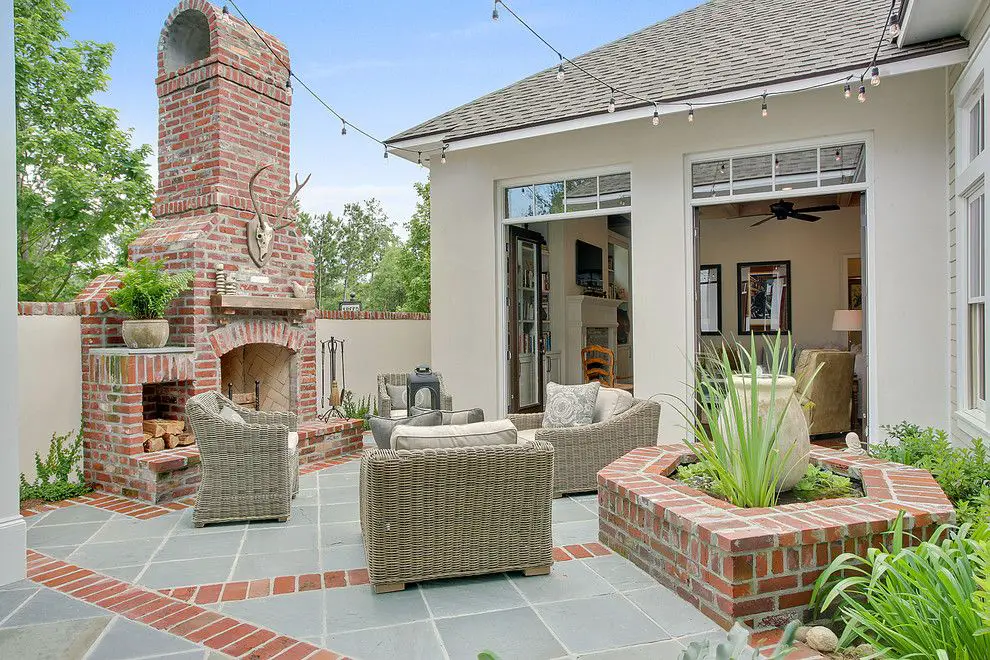
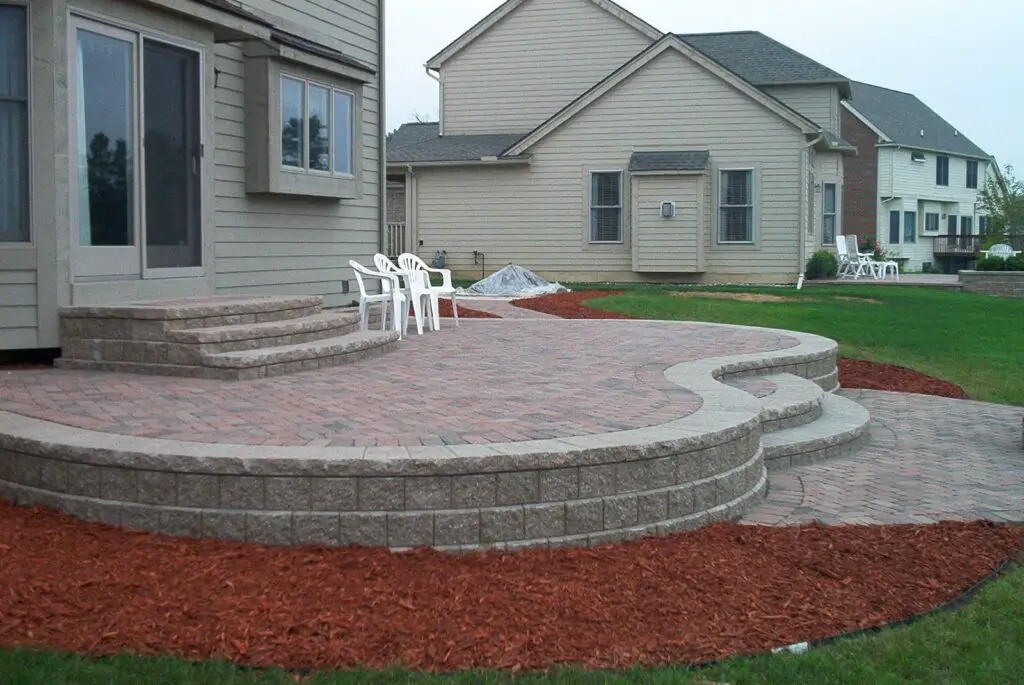
Building a brick patio offers numerous benefits, from adding value to your property to providing a versatile and durable surface for various outdoor activities. Moreover, the timeless elegance of brick lends an inviting charm to your backyard, making it a perfect spot to relax, entertain, and create lasting memories with loved ones. Throughout the process, you’ve learned the importance of proper planning and design to ensure your brick patio fits seamlessly into your landscape and meets your specific needs.
Creating a stable foundation and meticulously laying the bricks in your chosen pattern showcased your dedication to craftsmanship, resulting in a well-structured and visually appealing patio. The jointing and finishing touches further enhanced the patio’s overall appearance and stability, while optional sealing provided additional protection and longevity. Remember, the joy of having a brick patio extends beyond its completion. As you bask in the delight of your new outdoor space, take the time to maintain it properly.
Now, with your newfound knowledge and hands-on experience, you might feel inspired to embark on more DIY projects and further enhance your living space. Whether you continue to explore the world of landscaping, gardening, or home improvement, your brick patio journey has equipped you with valuable skills and a sense of accomplishment. Regular cleaning, reapplying jointing sand as needed, and occasional sealing (if chosen) will help preserve the beauty and integrity of your patio for many years to come. Understanding the different types of bricks and materials allowed you to make informed decisions, balancing aesthetics with practicality.