How To Install Stone Veneer Over Brick Exterior
Introduction
How To Install Stone Veneer Over Brick Exterior: Transforming the appearance of your home’s exterior is an exciting endeavor and one remarkable way. To achieve this is by installing stone veneer over an existing brick surface. This unique design approach combines the timeless appeal of natural stone with the durability of brick. Resulting in a stunning and cost-effective makeover. In our comprehensive guide on “How To Install Stone Veneer Over Brick Exterior,”. We will take you through the step-by-step process, offering invaluable insights, tips, and expert advice to ensure a successful project.
As we embark on this journey, you’ll discover the myriad benefits of stone brick veneer. Such as enhanced aesthetics, improved insulation and increased home value. Whether you’re seeking to refresh the look of your home, boost its curb appeal or simply explore the creative possibilities. This guide equips you with the knowledge and techniques to bring your vision to life.
From selecting the right materials and tools to mastering the installation process, we’ll cover it all. Join us in uncovering the secrets of seamlessly marrying stone veneer with your existing brick exterior, creating a striking facade that will leave a lasting impression.
Can you apply stone veneer directly over brick?
Yes, you can add stone veneers directly over your brick walls. It’s that easy! There are plenty of benefits of adding stone veneers to your interiors – increase the value of your property, add charm to your interiors, and add a contemporary touch to your home.
Yes, you can apply stone veneer directly over brick, and it’s a common practice in both interior and exterior applications. This method, known as “stone veneer over brick,” offers several advantages, including cost savings and the ability to update the look of your home without removing the existing brick. Here’s an overview of the process:
Surface Preparation: Ensure the existing brick surface is clean, free from loose mortar, and in good condition. Repair any damaged bricks or mortar joints.
Lathe Installation: To provide a secure base for the stone veneer, attach metal lathe to the brick using masonry screws or anchors. This lathe serves as a foundation for the mortar or adhesive that will hold the stone veneer in place.
Apply a Scratch Coat: Apply a layer of mortar or a polymer-modified thin-set adhesive, known as a scratch coat, onto the lathe. This coat creates a textured surface for the stone veneer to adhere to.
Install Stone Veneer: Press the stone veneer pieces into the scratch coat, ensuring proper alignment and spacing. Depending on the type of stone veneer, you may need to apply mortar between the stones and grout the joints.
Finishing: After the mortar has cured, you can seal the stone veneer to protect it and enhance its appearance.
How do you attach stone veneer to brick?
Use a Scratch Coat
A scratch coat consists of cement and sand (mortar), and it is what glues the stone veneer to the brick. While it is an effective adhesive, a scratch coat will not work on painted, smooth or crumbly bricks.
Attaching stone veneer to brick involves a straightforward process:
Surface Preparation: Clean the brick surface thoroughly to remove dirt, dust, and loose mortar. Repair any damaged bricks or mortar joints.
Lathe Installation: Attach metal lathe to the brick surface using masonry screws or anchors. Ensure the lathe is Keeping things securely in place, a stable foundation for the stone veneer.
Apply Mortar or Adhesive: Use either mortar or a polymer-modified thin-set glue of great quality to attach the stone veneer pieces to the lathe. Apply a thin layer of mortar or adhesive to the back of each stone piece and press it onto the lathe.
Set Stones: Place the stone veneer pieces onto the mortar or adhesive, maintaining proper alignment and spacing. Use a level to ensure the stones are even and plumb.
Joint Grouting: Depending on the type of stone veneer, you may need to grout the joints between the stones using mortar. Allow the grout to set before proceeding.
Finishing: Once the mortar or adhesive has cured, seal the stone veneer to protect it and enhance its appearance.
Can you put stone over top of brick?
Instead of spending more time and money removing it, you can use stacked stone right over your brick, and the process is relatively easy for any DIY-er. While exposed brick creates a charming focal point that is full of history, texture, and warmth, it also comes with its flaws.
Yes, you can apply stone veneer over an existing brick surface, and this method is commonly referred to as “stone veneer over brick.” It’s a popular option for homeowners and builders who want to update the appearance of a brick wall without the cost and effort of removing the existing brick.
Here’s how you can do it:
Surface Preparation: Start by cleaning the brick surface thoroughly to remove any dirt, dust, or loose mortar. Repair any damaged bricks or mortar joints. A clean and sound brick surface is essential for proper adhesion.
Lathe Installation: Attach metal lathe or a similar mesh material to the brick using masonry screws or anchors. The lathe provides a stable foundation for the mortar or adhesive that will hold the stone veneer in place.
Apply a Scratch Coat: Apply a layer of mortar, known as a scratch coat, onto the lathe. This creates a textured surface for the stone veneer to adhere to. If you prefer, you can also use a polymer-modified thin-set glue of high quality.
Install the Stone Veneer: Press the stone veneer pieces into the scratch coat or adhesive, making sure to maintain proper alignment and spacing between the stones. Depending on the type of stone veneer, you may need to apply mortar between the stones and grout the joints.
Finishing: After the mortar has cured, typically for 24-48 hours, you can apply a sealer to protect the stone veneer and enhance its appearance.
Installing stone veneer over brick can provide a fresh and updated look to your home’s It can be used on the outside or the inside, and it’s less expensive than removing and rebuilding the brick.
Can you glue stone veneer?
It will work with SRW’s Vertical Instant Lock glue, which is strong and long-lasting. It’s the best stone veneer glue on the market and can lock your real or fake stone veneer in place vertically in less than five seconds.
Yes, you can use a high-quality adhesive made just for stone veneer uses to stick stone veneer to different surfaces. People often call this glue a “thin-set adhesive” or a “construction adhesive.”
To glue stone veneer, do these things:
Surface Preparation: Ensure that the surface where you plan to install the stone veneer is clean, dry, and free of dust, dirt, and contaminants. If the surface is painted or has a finish, it may need to be roughened to ensure better adhesion.
Adhesive Selection: Choose a A thin-set adhesive or building adhesive that works with both the substrate and the stone veneer. Pay attention to what the maker of the glue product says to do.
Application: Apply the adhesive to the back of each stone veneer piece using a trowel or a putty knife. Make sure to cover the entire back surface evenly.
Press and Hold: Press the stone veneer piece firmly onto the prepared surface, ensuring it adheres securely. Hold it in place for a few seconds to allow the adhesive to grip.
Spacing and Alignment: Maintain proper spacing and alignment between the stone veneer pieces as you proceed with the installation.
Grouting (if needed): Depending on the type of stone veneer and the desired look, you may need to apply mortar between the stones and grout the joints once the adhesive has cured.
Sealing (if needed): After the adhesive and grout (if used) have dried, you can apply a sealer to protect the stone veneer and enhance its appearance.
An easy and effective way to connect stone veneer is with adhesive, especially for interior uses and surfaces that might not be good for drilling and fastening. For the best results, always follow the directions that came with the glue.
How do you cover exterior brick?
The first and most popular option for covering a brick wall is vinyl siding. This type of material comes in a wide variety of colors, so it’s easy to find something that will match your home perfectly.
Covering the outside brick of your dwelling or structure can be a smart and visually pleasing way to make it look new.
To do this, there are a few different approaches, each one having its own pros and cons:
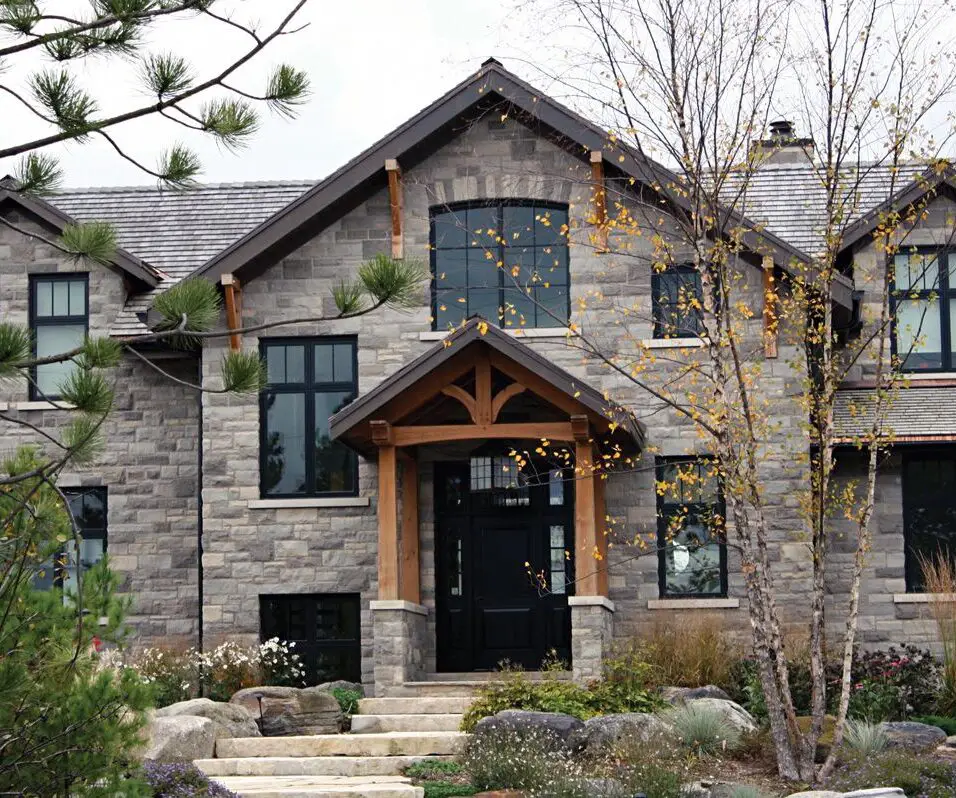
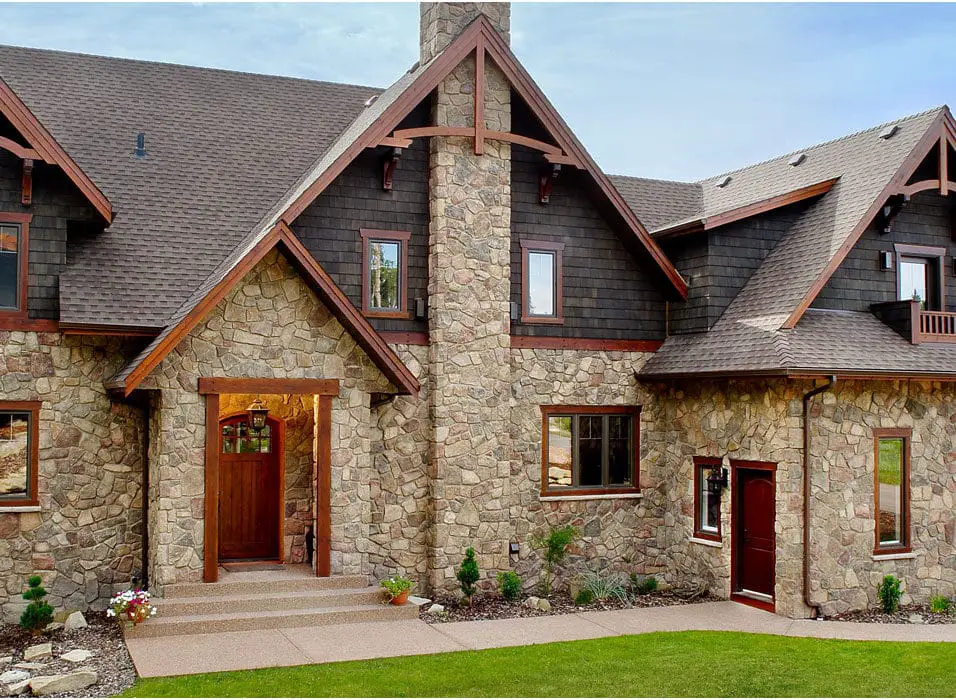
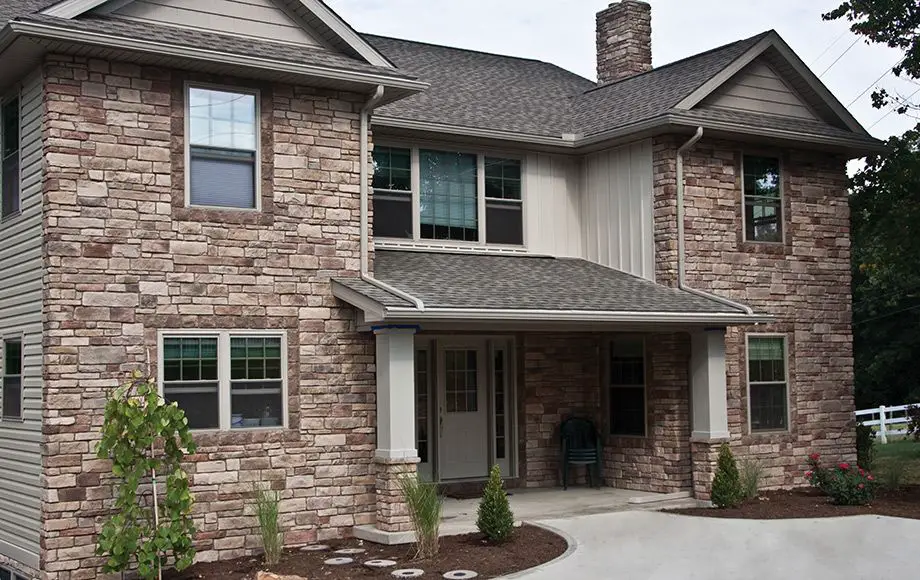
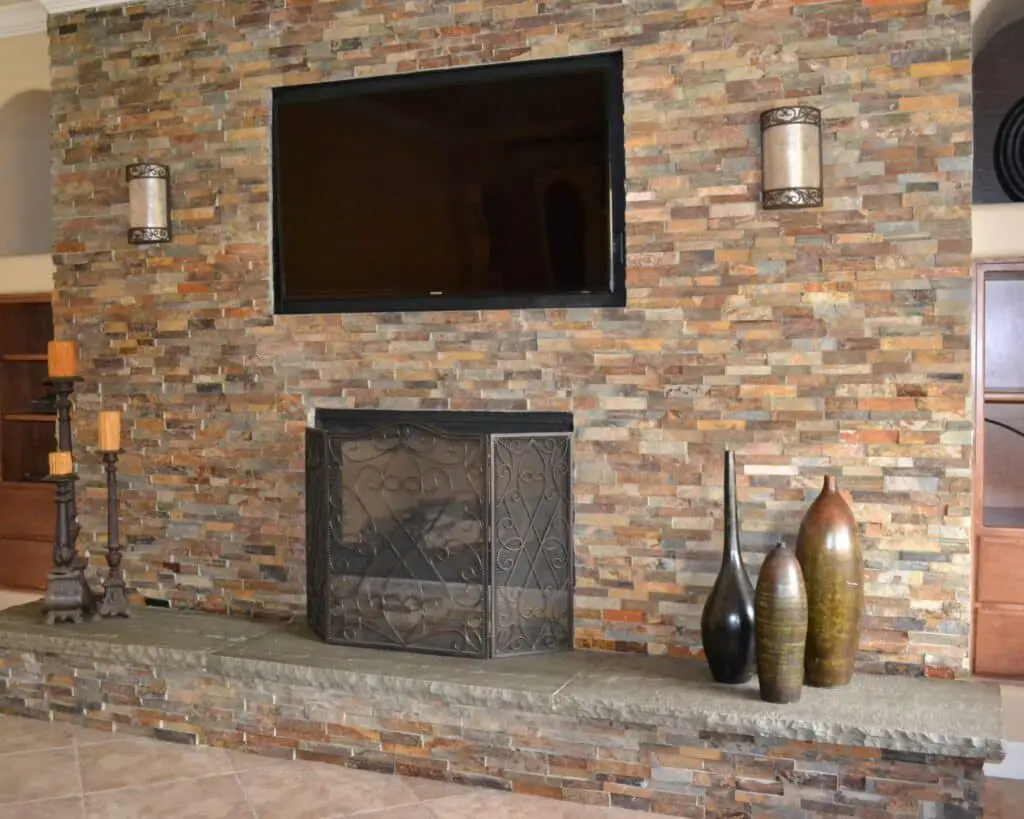
Stone Veneer: One common method is putting stone veneer right on top of the brick that’s already there. To do this, the brick surface must be prepared, a metal lathe must be attached, and the stone veneer must be stuck on with putty or glue. Stone veneer lets you get the natural look of stone without having to take down all the brick.
Stucco: Stucco is a durable and This is a flexible material that might be put straight on brick exteriors. You can get a smooth or rough finish, and there are many colors and styles to choose from. For plaster to stick, the surface must be properly prepared by cleaning it and using a bonding agent.
Exterior Paint: Painting the exterior brick is a straightforward way to change its appearance. Proper surface preparation is crucial for a long-lasting finish. Use a high-quality exterior paint suitable for masonry surfaces, and consider color options carefully, as paint can significantly impact the look of your home.
Siding: Installing siding materials, such as vinyl, fiber cement, or wood, over exterior brick is another option. This method requires the installation of furring strips or a framing system to create an air gap between the brick and siding. It’s a more involved process but can provide a dramatic transformation.
Wood or Composite Cladding: You can attach wood or Putting composite cladding right on top of brick walls can give a house a rustic or modern look, based on the type from cladding used. Anchoring correctly and keeping out the weather are very important things to think about.
Cultured Stone: Cultured stone products are designed to mimic the appearance of natural stone and can be adhered to brick surfaces. They are typically lightweight and easy to work with.
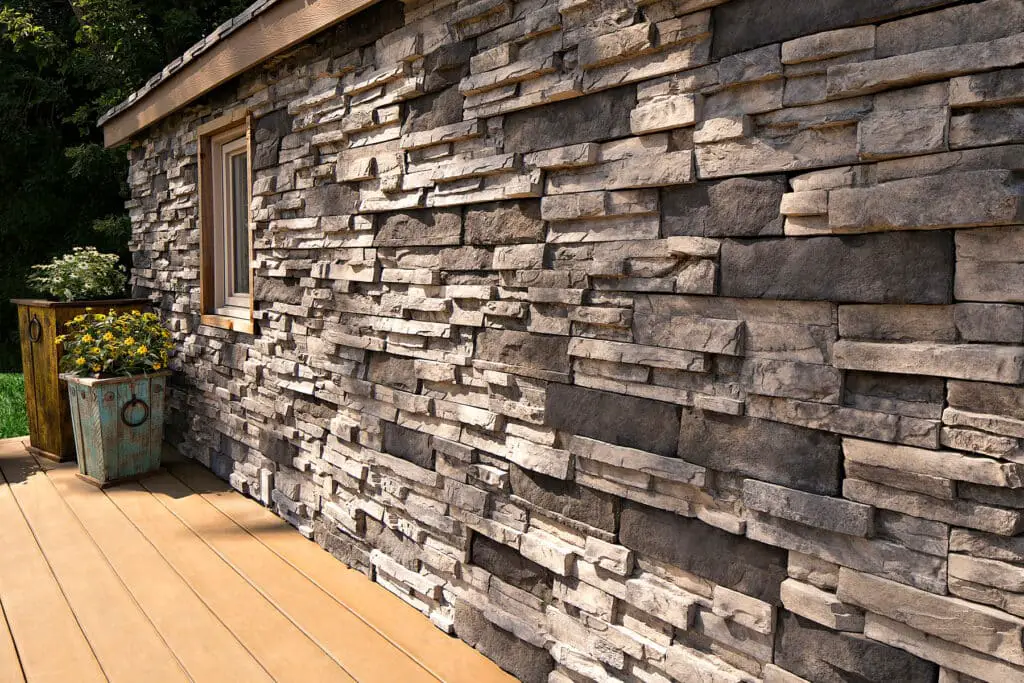
How thick is stone veneer?
The thickness of stone veneer: Thin stone veneer is available in a range of thicknesses, from 1/4 inch to 1 1/2 inches. The thicker the veneer, the more durable it will be. However, thicker veneers are also more expensive.
Stone veneer comes in varying thicknesses, depending on the specific product and style chosen. The thickness of stone veneer typically ranges from approximately 1 to 2 inches (25 to 50 millimeters) for standard stone veneer. However, thin stone veneer is also available and is even thinner, often around 0.5 to 1 inch (12 to 25 millimeters).
The choice between standard and thin stone veneer depends on several factors, including the desired look, weight considerations, and the application. Here’s a breakdown of the two common thickness options:
Standard Stone Veneer (1 to 2 inches): Standard stone veneer is thicker and offers a more traditional appearance. It replicates the look and feel of full-sized natural stones and is often used for both exterior and interior applications. It provides better insulation and can be a good choice for projects where a substantial, textured stone appearance is desired.
Thin Stone Veneer (0.5 to 1 inch): Thin stone veneer is thinner and lighter than standard veneer. It is suitable for applications where weight and space constraints are considerations, such as when applying stone veneer over existing surfaces, like brick or drywall. Thin veneer provides versatility in design and is available in various styles and colors, offering a cost-effective way to achieve a stone finish.
The choice of stone veneer thickness depends on your project’s specific requirements, design preferences, and practical considerations. Always check the specifications provided by the stone veneer manufacturer to ensure you select the appropriate thickness and style for your application.
What are the advantages of stone over brick?
Stone masonry is stronger and more durable brick masonry. It is not essential to plaster the stone masonry walls whereas brick walls have to be plastered or painted, when exposed to the open atmosphere.
Both stone and brick are excellent building materials, each with its unique advantages. Some advantages of stone over brick include:
Aesthetic Variety: Stone offers a broader range of colors, textures, and shapes, allowing for more diverse and unique design options. It can create a distinctive and customized appearance.
Durability: Stone is highly durable and resistant to weathering, making it suitable for long-term exterior use. It can withstand harsh environmental conditions and maintain its appearance over time.
Low Maintenance: Stone requires minimal maintenance and is easy to clean. It does not require repainting or sealing and can last for generations with proper care.
Natural Appearance: Stone provides an authentic, natural appearance that many homeowners find appealing. It can enhance the curb appeal and value of a property.
Energy Efficiency: Depending on the type and thickness of stone used, it can provide better insulation compared to traditional brick, contributing to energy efficiency and reduced heating and cooling costs.
Versatility: Stone can be used in various architectural styles, from traditional to modern, and complements a wide range of exterior and interior designs.
Does stone or brick last longer?
Brick lasts more than a century and requires very little maintenance. Believe it or not, stone lasts even longer. Take a look at ancient stone monuments that still stand today: stone can last for thousands of years while offering the same weatherproofing capabilities as brick.
Both stone and brick are renowned for their remarkable durability, and when properly cared for, they can last for centuries. The longevity of a structure primarily depends on various factors, including the quality of materials, construction techniques, climate conditions, and maintenance practices.
Stone:
- Natural stone, such as granite, limestone, and sandstone, is known for its exceptional durability.
- Stone structures built by ancient civilizations, like the pyramids and Roman aqueducts, have endured for thousands of years.
- Stone is highly resistant to weathering, moisture, and temperature fluctuations, making it a preferred choice in harsh climates.
- Stone’s natural beauty and timeless appeal contribute to its longevity and continued popularity in architecture.
Brick:
- Bricks, especially fired clay bricks, are also highly durable and can last for centuries when well-maintained.
- Historic buildings made of brick, such as castles, cathedrals, and colonial-era structures, stand as enduring examples of brick’s longevity.
- Brick structures offer excellent resistance to fire, pests, and moisture, making them suitable for various environments.
- Modern advancements in brick manufacturing and construction techniques continue to enhance their durability and longevity.
In practice, the lifespan of a stone or brick structure depends on factors like proper installation, maintenance, and exposure to environmental stresses. Both materials have their strengths and can provide exceptional durability, often surpassing the lifespan of other construction materials. The choice between stone and brick often comes down to aesthetic preferences, design requirements, and regional availability. To ensure the longest possible lifespan for a stone or brick structure, it’s essential to follow best practices in construction and conduct regular maintenance, including repointing mortar joints and addressing any damage or wear over time.
Conclusion
Installing stone veneer over an existing brick exterior is a transformative and rewarding project that can elevate the aesthetics and value of your home. Throughout our guide on “How To Install Stone Veneer Over Brick Exterior,” we’ve explored the essential steps and considerations for a successful installation.
By choosing the right materials, meticulously preparing the surface, and adhering to best practices in stone veneer application, you can achieve a stunning and durable result. Stone veneer offers the timeless beauty of natural stone while capitalizing on the structural integrity of your existing brick substrate.
Beyond the aesthetic enhancements, stone veneer can improve insulation and provide additional protection to your home’s exterior. This investment can significantly boost curb appeal and contribute to increased property value.
As you embark on your stone veneer installation journey, remember to consult with professionals, adhere to local building codes, and prioritize safety throughout the process. With careful planning and attention to detail, you can transform your brick exterior into a captivating masterpiece that stands the test of time.