How To Install A Shower Base On A Wooden Floor
Introduction
How To Install A Shower Base On A Wooden Floor: Installing a shower base on a wooden floor is an essential step in creating a sturdy and watertight foundation for your shower. Whether you’re replacing an old shower base or installing a new one, proper installation is crucial to ensure a durable and leak-free shower enclosure. While the process may seem daunting, with the right tools and techniques, you can successfully install a shower base on a wooden floor.
Before beginning the installation process, it’s important to assess the condition of the wooden floor. Ensure that the floor is level, stable, and free from any damage or rot. If necessary, make any repairs or reinforcement to the floor before proceeding. Additionally, check the dimensions and layout of the shower base to ensure it fits properly within the designated space. Measure and mark the location of the drain pipe on the floor, as this will be critical during the installation.
The first step in installing a shower base on a wooden floor is to prepare the subfloor. Apply a layer of waterproofing membrane or a cement backer board to create a moisture barrier. This step is crucial to protect the wooden floor from water damage. Follow the manufacturer’s instructions for applying the waterproofing material, ensuring complete coverage in the shower area and around the drain pipe.
The installation of the shower base follows the completion of the underfloor preparation. Apply a generous amount of plumber’s putty or silicone caulk around the drain flange and insert it into the drain pipe opening. Place the shower base on the prepared subfloor, ensuring that it aligns properly with the drain flange. Secure the shower base to the wooden floor by screwing it into place using stainless steel screws or the recommended fasteners provided by the manufacturer. Check for levelness and make any necessary adjustments before proceeding with the rest of the shower installation, such as the walls and plumbing connections.
Can you have a wooden floor as a shower?
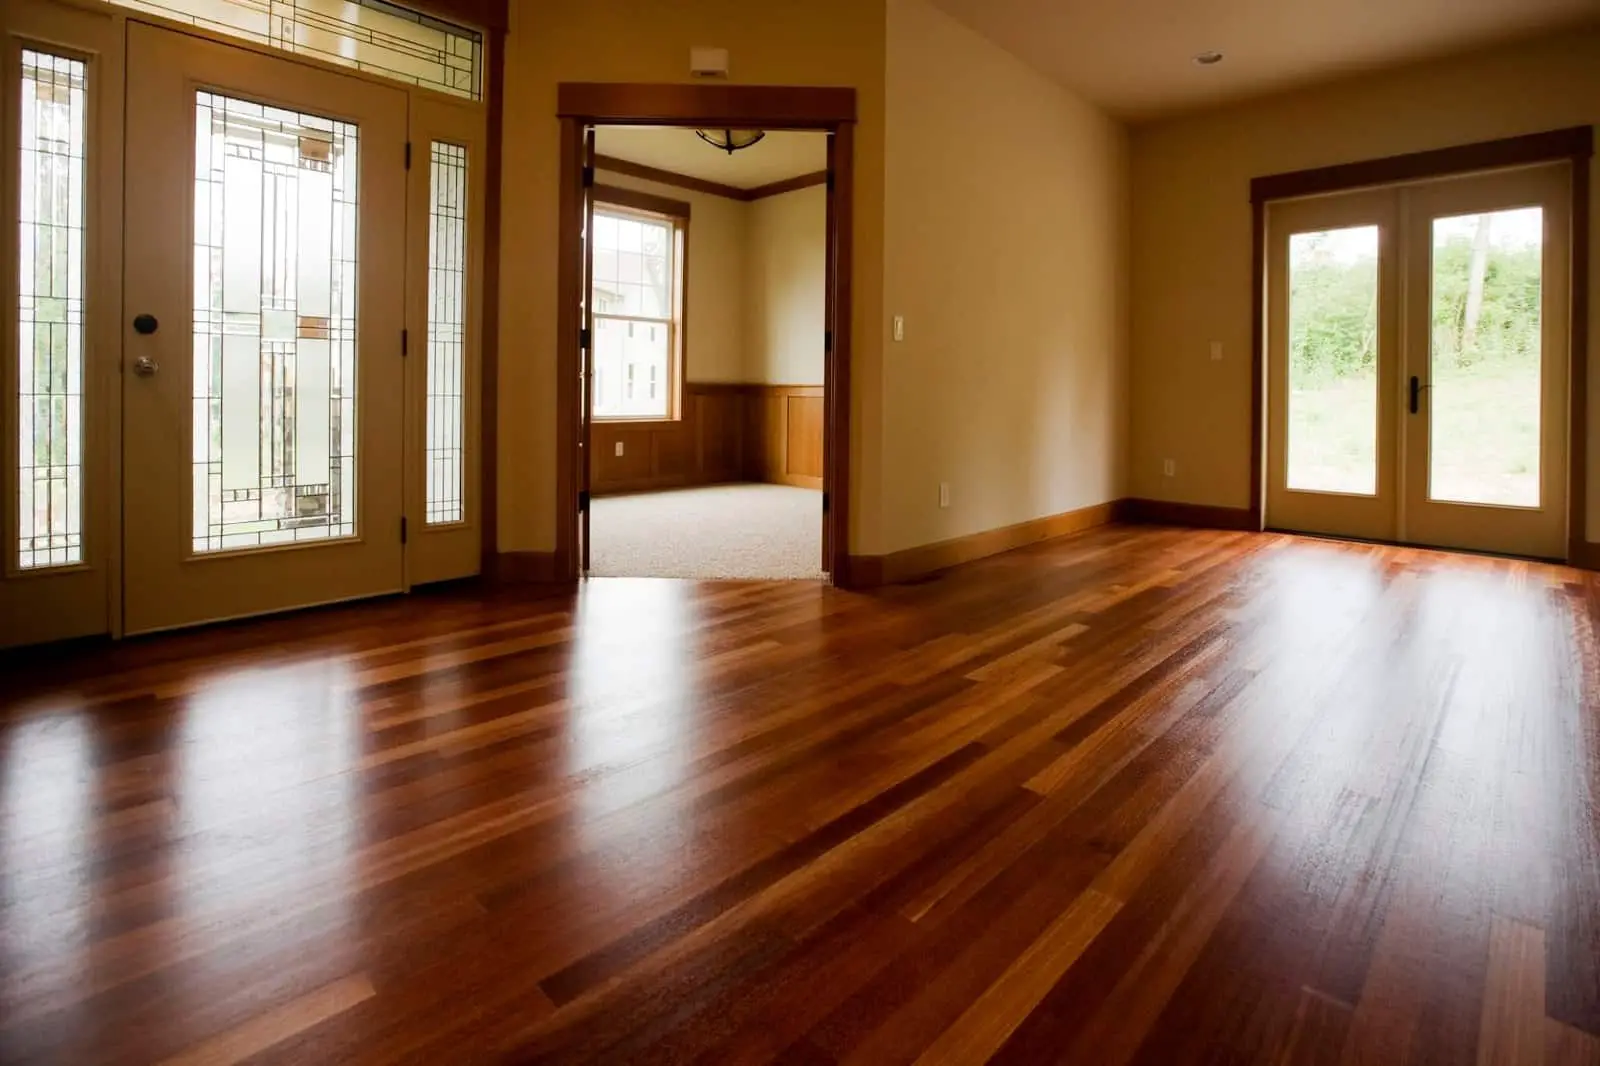
Wood flooring is a great choice for showers that lead out to a deck. With just a few houseplants, a wood-filled shower can be turned into a Zen-like retreat. Everything doesn’t have to be too much. Even a small room can look great with the right wood.
It is perfectly possible to have a wooden floor in a shower area, but there are a few important things to think about and challenges to face. Wood can look warm and inviting, but because it is porous and soaks up moisture, it can be damaged by water and rot if it isn’t taken care of properly.
For wood in a bathroom shower to stay straight and not warp or rot, it needs a waterproof finish. Even if it is done right, it may need to be resealed more than once to keep its structure for a long time.
Also, the type of wood is very important. Some trees, like teak or cedar, are naturally more resistant to water and can be used in wet places. But compared to other flooring options, these woods can be expensive.
How do you waterproof a wooden shower floor?
Can you waterproof wood for shower? Yes, waterproofing wood for the shower can be achieved by using sealers. They’re usually a clear/transparent finish that goes on the outside of the wood. Sealants such as polyurethane, varnish, and lacquer give excellent waterproofing and can be used for showers.
Waterproofing a wooden shower floor is crucial to protect it from water damage and ensure its longevity. Follow these steps to effectively waterproof your wooden shower floor:
Choose the right wood
Opt for water-resistant wood species like cedar, teak, or redwood. These woods naturally contain oils that help repel water and resist rot.
Proper installation
Ensure that the wooden floor is correctly installed with tight joints and gaps sealed to prevent water from seeping through.
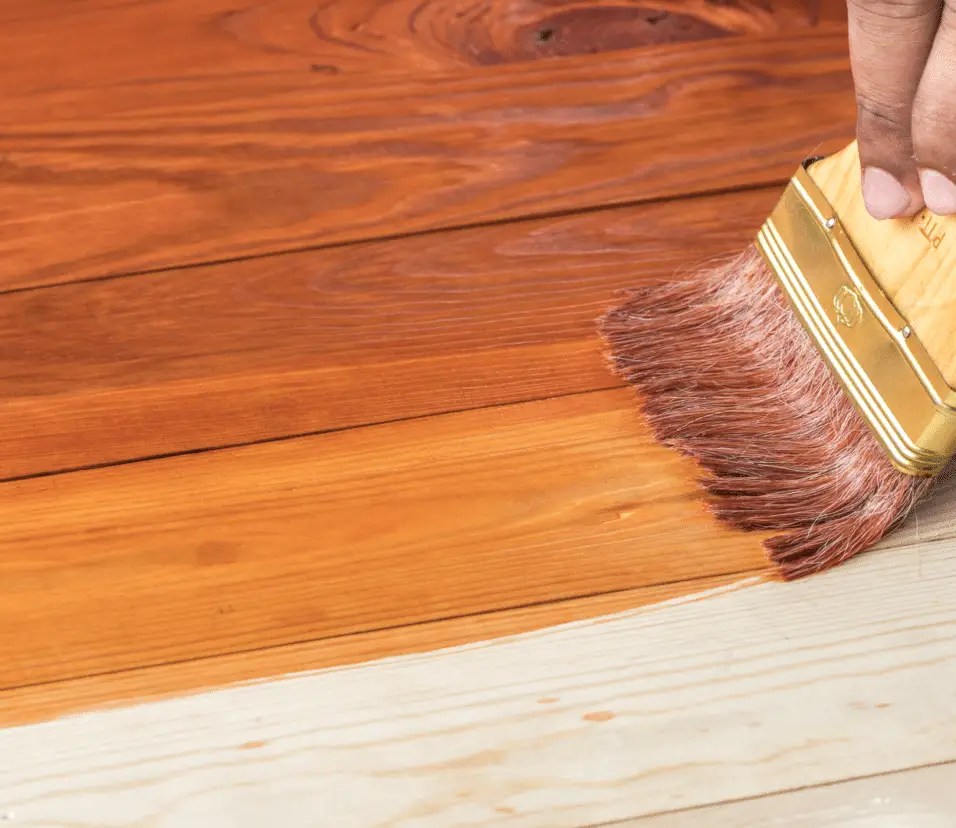
Seal the wood
Apply a high-quality wood sealer or waterproofing agent designed for outdoor use. Coat the entire surface of the wooden floor, including all sides and edges, to create a protective barrier.
Use waterproof caulk
Seal all seams and joints with a waterproof caulk or silicone sealant. This will prevent water from seeping into the cracks and causing damage.
Apply a waterproof membrane
Consider adding a waterproofing membrane over the wooden surface. There are various products available, such as liquid-applied or sheet membranes, which provide an extra layer of protection against water intrusion.
Regular maintenance
Even with proper waterproofing, it’s essential to perform regular maintenance. Periodically check for any signs of wear, reapply sealant as needed, and address any issues promptly to prevent water damage.
By following these steps and using appropriate products, you can effectively waterproof your wooden shower floor, making it durable, safe, and resistant to water-related issues.
How do you stop wood from absorbing water?
There are two basic product categories for waterproofing: stains and sealants. Stains are used on wood to enhance color and make them weather resistant. Sealants protect concrete and wood from moisture but do not stop water movement through the concrete from the outside. For masonry, the sealants are the go-to product.
There are a variety of methods and treatments that may be used to make wood more water-resistant and protect it from water damage. Here are some tried and true techniques:
Sealants and coatings
Applying water-resistant sealants, varnishes, or paint to the surface of the wood creates a protective barrier that hinders water penetration. These sealants help repel moisture and prevent it from seeping into the wood fibers.
Pressure treatment
Pressure-treated wood involves subjecting the wood to chemicals under high pressure. This process impregnates the wood with preservatives, making it resistant to rot, decay, and water absorption.
Oil-based finishes
Using oil-based finishes like linseed oil or tung oil can provide a waterproof layer that prevents water from soaking into the wood.
Waxing
Applying wax to the wood’s surface can create a water-repellent coating, reducing water absorption.
Proper storage
Storing wood in a dry, well-ventilated area, away from direct contact with the ground and moisture sources, helps maintain its dry condition.
Maintenance
Regularly inspecting and maintaining wood structures, such as decks and fences, ensures any damaged or worn-out water-resistant treatments are repaired or replaced promptly.
By employing these methods, wood can be safeguarded against water absorption, extending its lifespan and maintaining its structural integrity in various applications, from outdoor furniture to construction materials.
Can you lay shower tray on floor boards?
If you’re putting your shower tray on wood flooring, make sure the floorboards are well-fixed and in good shape. Resin trays made of stone can be heavy. If they aren’t attached well, get thick grade wood and cut it to the size of the shower tray.
Most of the time, you shouldn’t put a shower tray right on the floors. Shower trays are made to be set up on a flat, stable surface so that water can drain properly and there aren’t any leaks or other problems. Floorboards are not a good base for shower trays because they may not provide enough support and may move over time, which could cause structural problems.
For a good installation, it is best to give the shower tray a strong base. This can be done with a mix of things, like cement boards or a wet room tray maker. Cement boards provide a stable, waterproof surface that can be put on top of the floorboards. This gives the shower tray a good place to sit.
Another popular choice is to use a shower tray raise kit. The raise kit has legs that can be adjusted to the right height and hold the tray securely, no matter what condition the floorboards are in. This method also makes plumbing and waste pipes easy to get to.
How do you clean wood floors naturally?
With Dish Soap
Mix a few drops of dishwashing liquid with 2 cups of hot water in a bowl. Wet a cloth with the solution and wring it until it is not dripping. Work in the direction of the wood grain and scrub the paint splatter.
Cleaning wood floors naturally is a gentle and effective way to maintain their beauty while avoiding harsh chemicals that may damage the wood or harm the environment. Here are some natural methods to clean wood floors:
Sweeping and Dusting
Regularly sweep or dust your wood floors to remove loose dirt and debris. Use a soft-bristle broom or a microfiber dust mop for this purpose.
Vinegar and Water Solution
Mix equal parts of white vinegar and water in a spray bottle. Lightly mist the solution on the floor and wipe it off using a soft cloth or mop. Avoid soaking the floor, as excess water can damage wood.
Lemon and Olive Oil
Combine 1/4 cup of lemon juice and 1/2 cup of olive oil to create a natural wood floor cleaner. Apply a small amount to a soft cloth and rub it onto the wood in the direction of the grain. This mixture adds shine and nourishes the wood.
Baking Soda Paste
For stubborn stains, make a paste by mixing baking soda with water. Gently rub the paste onto the stain with a soft cloth and wipe it clean with a damp cloth.
Tea Bags
Steep a couple of black tea bags in a cup of hot water. Let the water cool down and dip a soft cloth in it. Wring out excess water and use the cloth to clean the floor. The tannins in tea can help add shine and disguise minor scratches.
Remember always to spot-test any new cleaning solution in an inconspicuous area before applying it to the entire floor. Additionally, avoid excessive water on the wood to prevent damage, and dry the floor thoroughly after cleaning. Regular, gentle cleaning will help keep your wood floors looking beautiful for years to come.
Can I install a shower base directly on a wooden floor?
Yes, you can install a shower base on a wooden floor, but it requires proper preparation to ensure stability and prevent water damage. Make sure the wooden floor is structurally sound, without any rot or damage.
It is possible to install a shower base directly on a wooden floor, but you need to think about it carefully and do the right things to make sure the installation will last and not leak. Before moving forward, there are a few important things to think about.
First, the wooden floor needs to be strong enough to hold the weight of the shower base, plus the weight of water and people. If the floor is weak or shows signs of rot or damage, it should be fixed or strengthened before it is put in.
Second, it’s important to put a waterproofing layer between the wood floor and the shower base to keep water from getting in and damaging the wood. This membrane works as a barrier to keep moisture from getting into the wood.
Also, it’s important to choose a high-quality shower base made for setups on wooden floors. Most of the time, these bases have extra support and closing features to reduce the chance of water getting in.
How do I secure the shower base to the wooden floor?
Follow the manufacturer’s instructions to secure the shower base properly. Generally, use screws or adhesive to fasten the base to the wooden floor. Be careful not to overtighten the screws, as it could damage the base or the wood.
Securing a shower base to a wooden floor is crucial to ensure stability, prevent leaks, and maintain the overall integrity of the installation. Here’s a step-by-step guide to help you achieve a secure and reliable attachment:
Prepare the floor
Ensure the wooden floor is clean, dry, and level before beginning the installation process. Remove any debris or dirt that could interfere with the adhesion.
Choose the right base
Select a shower base that is compatible with your wooden floor and suits the dimensions of your shower area.
Position the base
Carefully place the shower base in the desired location, ensuring it aligns properly with the drain opening and walls.
Mark the base outline
Use a pencil to trace the outline of the shower base on the wooden floor. This will serve as a guide during the installation process.
Apply adhesive
Lift the shower base and apply a suitable adhesive, such as a waterproof construction adhesive, evenly on the marked floor area.
Set the base in place
Lower the shower base onto the adhesive, aligning it with the marked outline. Press down firmly to ensure proper adhesion.
Secure with screws
When fastening the shower base to the wooden floor, choose screws that won’t rust for maximum security. Install the screws around the base’s perimeter, making sure they go all the way through the wood and don’t protrude out onto the shower base surface.
Check for level
Use a level to verify that the shower base is sitting evenly on the floor. Make any necessary adjustments to achieve a level surface.
Allow for curing time
Follow the adhesive manufacturer’s instructions regarding curing time before using the shower. This typically ranges from 24 to 48 hours.
By following these steps, you can securely attach the shower base to the wooden floor, providing a strong foundation for your shower enclosure and ensuring a long-lasting and watertight installation. Remember to always refer to the specific manufacturer’s guidelines for your chosen shower base to achieve the best results.
How do I prepare the wooden floor before installation?
Start by cleaning the floor thoroughly and removing any debris. Ensure the floor is level and use shims if needed. Apply a layer of waterproofing membrane over the wooden floor to protect it from water penetration.
Preparing a wooden floor before installation is essential to ensure a successful and long-lasting result. Here are some steps to guide you through the process:
Clear the area
Remove all furniture, rugs, and other objects from the room to create a clear working space.
Inspect the subfloor
Check the subfloor for any damage, unevenness, or moisture issues. Repair or replace damaged sections and ensure that the surface is level. Address any moisture problems before proceeding.
Clean the subfloor
Sweep and vacuum the subfloor to remove dirt, dust, and debris. A clean surface will help the new wooden floor adhere better.
Acclimate the wood
If your wooden floor is not pre-finished, acclimate the flooring planks in the room for at least 48 hours. This allows the wood to adjust to the room’s humidity and temperature, reducing the risk of expansion or contraction after installation.
Lay a vapor barrier
If installing over a concrete subfloor, consider laying a vapor barrier to prevent moisture from seeping into the wood.
Plan the layout
Plan the layout of the floorboards to ensure a visually appealing pattern and a balanced look across the room.
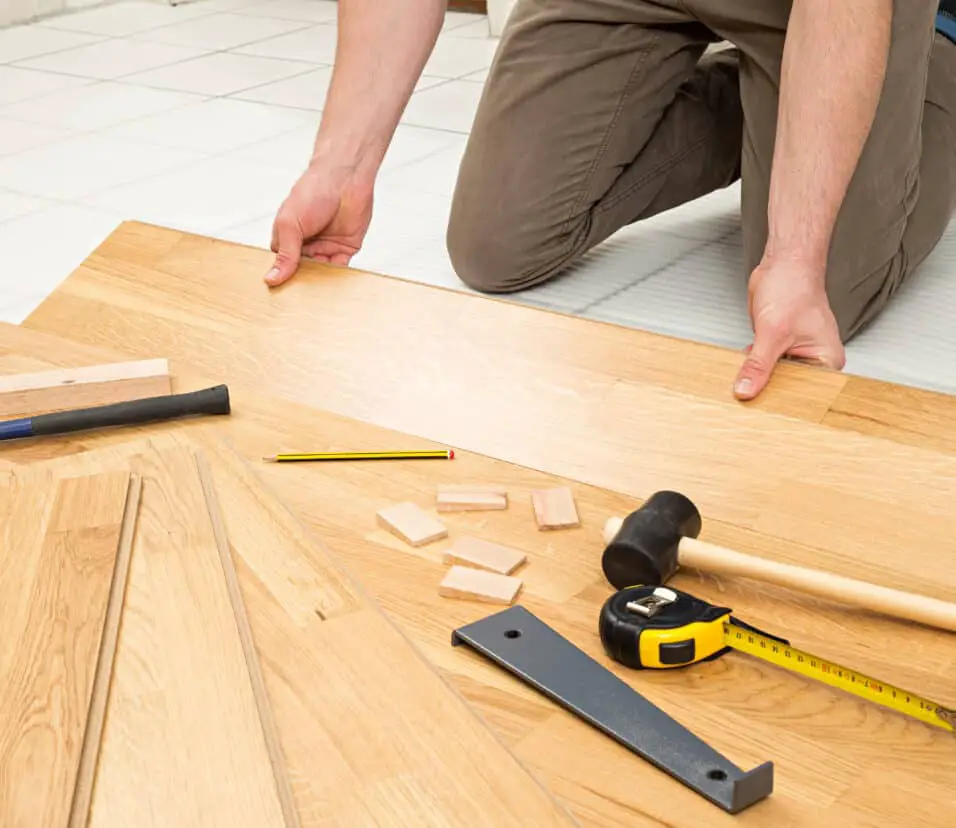
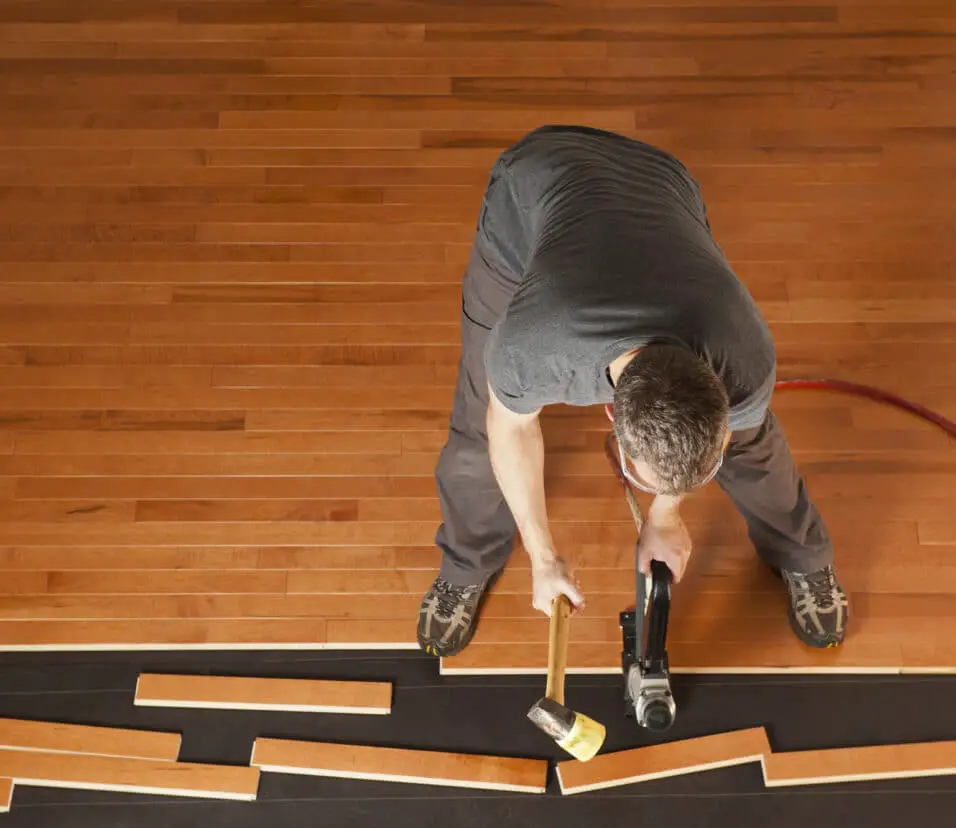
Begin installation
Start laying the wooden floor according to the manufacturer’s instructions. Use appropriate tools like a nail gun or adhesive, depending on the type of flooring you have chosen.
By following these steps, you will create a suitable foundation for your new wooden floor, promoting its durability and enhancing the overall aesthetics of your living space.
Conclusion
Installing a shower base on a wooden floor requires careful planning, preparation, and attention to detail. By following the necessary steps and ensuring proper alignment and stability, you can successfully install a shower base that provides a sturdy and watertight foundation for your shower enclosure.
When installing the shower base, proper alignment with the drain flange is crucial for effective drainage. Using the recommended fasteners and securing the base to the wooden floor firmly will provide stability and prevent any shifting or movement over time. It’s important to check for levelness and make any necessary adjustments during the installation process.
It’s always a good idea to get help from a professional or talk to an experienced worker, especially if you’re not sure about any part of the installation process. When a professional helps place the shower base, the chances of leaks and other problems are less likely to happen. By taking the right steps and being careful, you can safely install a shower base on a wooden floor, giving your shower a solid base that will last for a long time.