How To Hang Gardening Tools
Introduction
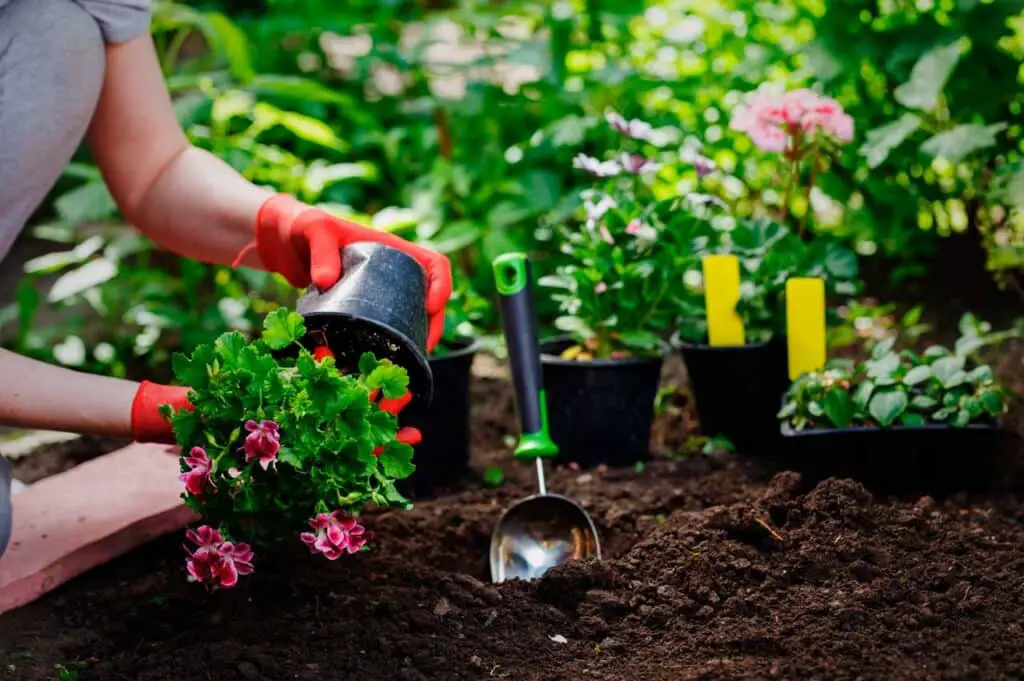
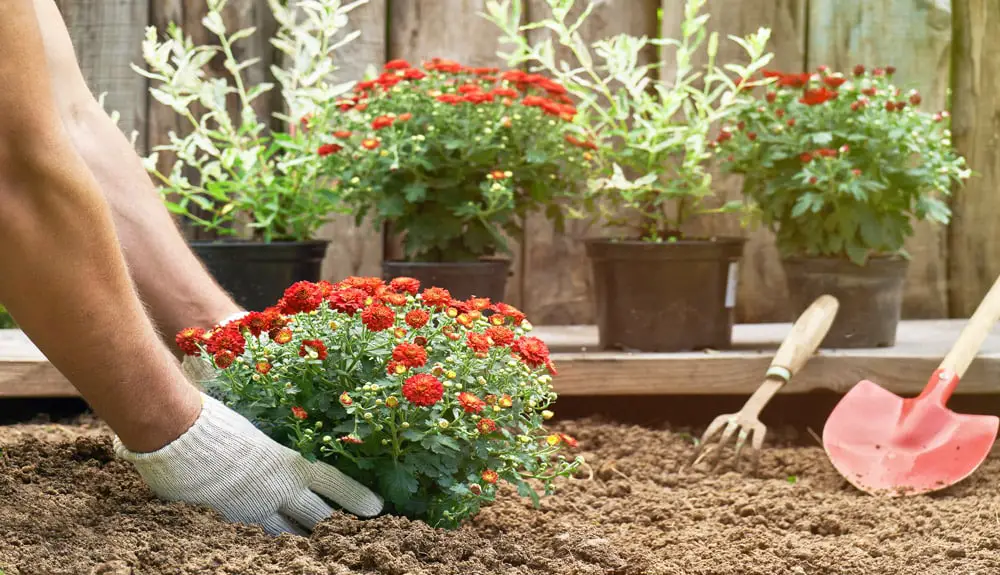
Efficiency and organization are key to maintaining a successful garden, and one often overlooked aspect of this is the proper storage of gardening tools. A well-organized tool storage system not only keeps your garden shed or workspace neat, but it also ensures that your tools remain in good condition, readily accessible whenever you need them. Hanging gardening tools is a practical and space-saving solution that not only enhances the visual appeal of your gardening area but also extends the lifespan of your tools.
We will explore the art of hanging market gardening tools and offer insights into the various methods and considerations to keep in mind. From shovels and rakes to pruners and shears, each tool has a rightful place that maximizes convenience and minimizes clutter. We will delve into different types of hangers and mounting options, considering factors such as weight, tool size, and available space. Moreover, we’ll discuss the benefits of hanging tools, such as improved tool maintenance, reduced risk of accidents, and increased efficiency in garden tasks.
Whether you’re an avid gardener seeking an efficient storage solution or a beginner looking to establish good organizational habits from the start, learning how to hang gardening tools is a valuable skill. By the end of this guide, you’ll have a solid grasp of the principles involved and the inspiration to create a tidy and functional gardening workspace that fosters your green thumb endeavors.
How do you hang garden tools on a fence?
A hook can be affixed to any surface with the appropriate amount of space, including fences, outside walls of the home, and garage ceilings and walls. You can get hooks at any hardware shop, and they’ll come in handy for hanging anything from hoses and cables to garden implements and brooms.
Hanging garden tools on a fence can transform an ordinary barrier into a functional storage space. Begin by selecting sturdy hooks or hangers that can bear the weight of your tools. Attach these hangers to the fence at a suitable height, considering the tool lengths and accessibility.
For hand tools like trowels and pruners, utilize small hooks spaced evenly along the fence. Hang these tools with their handles facing upward to prevent dirt buildup. Hooks designed for heavier loads are ideal for securing larger items like shovels and rakes to the wall. Position them in a way that prevents them from swinging and causing hazards.
Group similar tools together to create an organized arrangement. This not only aids in quick identification but also adds an aesthetic touch to your garden space. Take advantage of the fence’s vertical space to save ground area and reduce clutter. Regularly inspect the hooks and hangers for stability and make adjustments as needed to maintain the integrity of the storage system.
By following these steps, you can effectively utilize your fence as a practical and space-efficient solution for hanging garden tools, ensuring easy access and a tidy gardening area.
How do you hang a garden hoe?
Hang Garden Tools on Pegs on the Wall
Install strips of wood along the wall with pegs, knobs, or movable hooks for hanging your tools. You can space them out so all your gardening tools fit nicely on your wall. This works for hanging other items as well, like hats, beach bags, or even coats.
Hanging a garden hoe efficiently not only saves space but also extends the tool’s lifespan by preventing rust and damage. To hang a garden hoe, you’ll need a sturdy hook or hanger that can support the weight of the tool. Choose a location on a wall or fence that is easily accessible and offers protection from the elements.
Position the hook so that the garden hoe’s head faces downward. This prevents the blade from accidentally touching the ground or other objects, which can lead to dulling or chipping. Insert the hoe’s handle into the hook, ensuring a secure fit that prevents the tool from slipping off. If the hoe has a loop or hole near the handle, you can hang it directly from the hook. Otherwise, you can rest the handle on the hook’s curve.
When hanging multiple garden tools, keep some distance between them to avoid tangling and make retrieval effortless. Regularly inspect the hook’s stability and the hoe’s condition to ensure everything remains secure and well-maintained. By properly hanging your garden hoe, you’ll keep your gardening area organized, preserve the tool’s quality, and simplify your gardening tasks.
How do you hang garden tools on the wall?
Simply put in screws or nails where you want to hang your tools. Leave them sticking out from the wall far enough for handles to hang on them. For the tools that don’t have handles, drill a hole in the end of them and attach a loop of string. Then use the string to hang them on the nails.
Hanging garden tools on the wall is a smart and space-saving approach to keeping your gardening area organized. To begin, select a suitable wall space, preferably near your gardening workspace or shed entrance. Use heavy-duty wall mounts or brackets designed to hold tools securely. These mounts should be spaced adequately to accommodate the various tool sizes you intend to hang.
For smaller hand tools like pruners, trowels, and hand rakes, utilize hooks with protective coating to prevent scratching. Hang these tools with their handles facing upwards to avoid dirt buildup. For larger tools such as shovels, hoes, and rakes, opt for larger hooks or specialized brackets that can accommodate their weight and shape.
Arrange the tools in a logical order, grouping similar items together. This enhances accessibility and adds an organized aesthetic to your workspace. Consider creating a designated spot for each tool to streamline your gardening routine. Regularly inspect the hooks and brackets for stability and make adjustments if necessary.
By utilizing wall space for tool storage, you not only create a visually appealing setup but also extend the life of your tools by keeping them off the ground and away from moisture. This approach maximizes efficiency and makes your gardening tasks more enjoyable.
Where do we store garden tools?
Whenever possible, gardening tools should be stored indoors in a shed or garage. If some of your tools have to stand outside, pick a spot with some cover so they are out of the rain.
Garden tools find their storage in a variety of spaces, all tailored to ensure their longevity and functionality. Garden sheds, a hallmark of organized outdoor spaces, serve as dedicated sanctuaries for these implements. These small structures, typically nestled at the edge of the garden, provide a safe haven against the elements, preventing rust and deterioration. Additionally, wall-mounted racks or pegboards within these sheds offer an efficient means of storage, keeping tools easily accessible and well-organized.
For those with limited space, garage walls can double as tool storage areas. Hooks, shelves, and cabinets can be utilized to neatly stow away tools, providing a dual-purpose area for both car maintenance and gardening endeavors. A more innovative approach involves vertical gardening tool storage systems, designed to efficiently hold shovels, rakes, and hoes along fences or walls, saving valuable floor space.
In urban settings, balconies and patios can accommodate smaller tools in compact storage boxes, while larger equipment might be stored off-site in rented storage units. Regardless of the space available, preserving garden tools’ condition and functionality is key, and a well-planned storage solution is an essential element in maintaining a thriving garden.
Could you outline the materials and tools needed to create an effective tool hanging system in a garden shed?
Creating an efficient tool hanging system in a garden shed requires a strategic selection of materials and tools. Start by acquiring sturdy wall-mounted brackets, hooks, and racks designed for heavy-duty use. Opt for durable materials like galvanized steel or coated metal to prevent corrosion. You’ll also need a measuring tape, level, stud finder, pencil, and appropriate screws or anchors, depending on your shed’s construction.
Begin by determining the optimal height for your hanging system, ensuring easy access to your tools. Use a stud finder to locate wall studs, which offer the best support for heavy loads. Once located, mark the stud positions with a pencil. Next, affix the brackets, hooks, or racks to the wall, making sure they are level and securely fastened to the studs.
Group similar tools together and arrange them according to your workflow for convenience. Long-handled tools such as shovels and rakes can be hung vertically, while smaller hand tools might be best stored on hooks or racks. Regularly assess and adjust the arrangement to accommodate new additions or changes in your tool collection.
In summary, gathering robust hanging materials, accurate measuring tools, and appropriate fasteners will empower you to craft a functional and organized tool hanging system in your garden shed, making gardening tasks more accessible and enjoyable.
How can vertical storage solutions be utilized to efficiently hang various types of gardening tools?
Vertical storage solutions offer an effective approach to maximize space and organize a variety of gardening tools in a compact and accessible manner. These systems optimize vertical surfaces, such as walls and fences, to create efficient tool storage. To utilize vertical storage effectively, start by installing sturdy brackets, hooks, or specialized hangers designed for different tool types.
Long-handled tools like shovels, rakes, and hoes can be hung vertically using wall-mounted brackets or hooks. These should be spaced adequately apart to prevent crowding. Utilize adjustable hooks to accommodate tools of various sizes and shapes. Small hand tools, such as trowels and pruners, can be stored on pegboards equipped with pegs or hooks. Magnetic strips on walls are also excellent for keeping metal tools within easy reach.
For smaller items like gloves, seed packets, and handheld sprayers, consider attaching mesh pockets or baskets to the vertical storage system. This adds versatility to the arrangement and prevents clutter. Prioritize organization by grouping similar tools together, ensuring that frequently used items are readily accessible.
In summary, vertical storage solutions offer a space-saving and organized method for hanging a range of gardening tools. By choosing appropriate hanging mechanisms and strategically arranging tools, you can make the most of your vertical space while simplifying your gardening routine.
What are some creative ways to repurpose common household items for hanging garden tools in a limited space?
Repurposing common household items can provide innovative solutions for hanging garden tools in limited spaces. Consider using old wooden pallets as a vertical garden tool holder. Attach hooks, brackets, or even repurposed jars to the pallet’s slats to create a multi-tiered storage system. Repurposed coat racks or towel bars can be mounted on walls to hold smaller hand tools and accessories.
Unused PVC pipes can serve as excellent tool holders. Cut the pipes into shorter sections, mount them horizontally or vertically on a wall, and place your tools inside. An old ladder can be repurposed as a unique tool rack by attaching it horizontally to a wall, with the ladder’s rungs serving as tool hangers.
Additionally, repurposed shoe organizers with clear pockets can be hung on doors or walls to store smaller gardening tools and supplies. Old wooden crates can be transformed into shelves or wall-mounted cubbies to hold tools of various sizes.
Repurposing items like wooden crates, pallets, ladders, and PVC pipes not only offers creative solutions for tool storage but also adds a rustic and personalized touch to your garden space. By thinking outside the box and repurposing items, you can make the most of limited space while showcasing your resourcefulness.
Are there specific techniques or tips for ensuring the longevity of tools when using hanging systems, especially in outdoor environments?
Certainly, maintaining the longevity of tools stored in outdoor hanging systems involves careful consideration and proactive measures. First and foremost, opt for durable and rust-resistant hooks, brackets, or racks made from materials like stainless steel, galvanized metal, or coated materials to withstand outdoor elements.
Regularly inspect your hanging system for signs of wear, such as rust or weakening of the mounting hardware. Replace any damaged components promptly to prevent tools from falling or becoming damaged. Applying a weather-resistant sealant or paint to wooden parts of the system can enhance their durability against moisture and UV exposure.
To prevent rust and corrosion on tools, ensure they are clean and dry before hanging them up. Regularly oiling metal parts can provide an added layer of protection. When arranging tools, leave enough space between them to avoid overcrowding, as this can lead to scratching and increased wear.
Consider using protective coverings or cases for certain tools, such as shears or pruners, when hanging them in an outdoor environment. During harsh weather conditions, like heavy rain or winter snow, you might temporarily cover the hanging system to shield the tools from excessive moisture.
By selecting sturdy materials, performing routine maintenance, and taking steps to shield your tools from the elements, you can extend the lifespan of your gardening tools when using outdoor hanging systems.
What are the essential factors to consider when choosing a suitable location for hanging gardening tools?
Selecting the optimal location for hanging gardening tools requires careful consideration of several crucial factors. Firstly, choose a space that is easily accessible, ensuring that your tools are within arm’s reach whenever needed. Proximity to your gardening area is also important, minimizing the distance you need to cover during tasks.
Secondly, evaluate the environment’s exposure to weather elements. If possible, opt for a covered or sheltered area to protect your tools from rain, direct sunlight, and extreme temperatures. This shields them from potential rust, fading, and deterioration.
Thirdly, ensure that the chosen surface is strong and secure enough to support the weight of the tools. Wooden studs, solid masonry, or sturdy fencing are preferable options. Using a stud finder to locate wall studs can help determine the best anchoring points.
Lastly, consider the layout and flow of your garden shed or outdoor space. Arrange tools in a manner that facilitates easy organization, allowing you to group similar tools together for efficient access. Moreover, keeping tools off the floor prevents clutter and promotes a clean and organized workspace.
In summary, the ideal location for hanging gardening tools is one that offers accessibility, protection from the elements, structural stability, and efficient organization. By meticulously evaluating these factors, you can establish a functional and well-organized tool hanging system that enhances your gardening experience.
What types of materials and tools are required to create a functional tool hanging system in a garden shed?
To establish an effective tool hanging system in a garden shed, you’ll need a range of materials and tools to ensure durability, functionality, and proper installation. Essential materials include sturdy wall-mounted brackets, hooks, racks, or pegboards designed to support the weight of various gardening tools. Opt for durable materials like stainless steel, galvanized metal, or coated materials to resist rust and deterioration.
Accurate measuring tools, such as a tape measure and level, are vital for precise placement. A stud finder helps locate wall studs, offering secure mounting points. You’ll also require a pencil to mark positions and appropriate screws or anchors based on your shed’s construction.
For installation, a drill with the right drill bits is necessary to create pilot holes and secure the brackets or hooks. Additionally, screwdrivers or wrenches may be needed for tightening hardware.
When arranging the system, consider additional items like adjustable hooks, pegs, or holders to accommodate tools of varying shapes and sizes. Organizational elements like labels or marker pens can aid in identifying tools quickly.
In summary, creating a functional tool hanging system entails materials like brackets, hooks, pegboards, and screws, as well as tools such as a stud finder, measuring tools, a drill, and appropriate fasteners. Selecting high-quality materials and using the right tools will result in a reliable and organized tool storage solution in your garden shed.
Could you provide step-by-step instructions for safely installing wall-mounted brackets to hang gardening tools?
Certainly, here’s a step-by-step guide for safely installing wall-mounted brackets to hang gardening tools:
Gather Materials and Tools: Collect the necessary materials, including wall-mounted brackets, screws, a drill with appropriate bits, a stud finder, a measuring tape, a level, a pencil, and a screwdriver.
Choose the Location: Decide where you want to install the brackets. Look for a wall with available space and proximity to your gardening area. Ensure the area is easily accessible and doesn’t obstruct movement.
Locate Wall Studs: Use a stud finder to locate wall studs. Studs provide the best support for heavy loads. Mark the stud positions with a pencil.
Measure and Mark: Measure the distance between the studs and determine the height at which you want to install the brackets. Use a level to ensure the marks are straight.
Prep for Installation: If using a drill, select a drill bit slightly smaller than the diameter of the screws. Drill pilot holes at the marked positions. If using anchors, follow the manufacturer’s instructions for drilling holes.
Install Brackets: Align the brackets with the pilot holes or anchor positions. Insert the screws through the bracket holes and into the pilot holes or anchors. Use a screwdriver or drill to securely fasten the brackets to the wall.
Test and Adjust: After installing the brackets, test their stability by gently applying pressure. If the brackets feel secure, you can start hanging your gardening tools.
Hang Tools: Hang your tools on the brackets, arranging them in a way that makes them easily accessible and organized.
By following these steps, you can safely and effectively install wall-mounted brackets to create a functional tool hanging system for your gardening tools.
How can one ensure the proper arrangement and spacing of tools when using a hanging system?
Achieving an organized and efficient arrangement of tools within a hanging system requires thoughtful planning and attention to detail. Begin by categorizing your gardening tools based on size, function, and frequency of use. This helps determine which tools should be readily accessible and which can be placed higher or lower on the system.
To ensure proper spacing, allow enough room between tools to prevent overcrowding, tangling, or potential damage. Larger tools like shovels and rakes might require more space, while smaller hand tools can be hung closer together. Utilize adjustable hooks, brackets, or racks that accommodate various tool sizes.
Consider your workflow and ergonomic convenience. Arrange tools in a way that allows for easy retrieval without straining or reaching excessively. Frequently used tools should be within arm’s reach, while less commonly used items can be positioned higher.
Visual aesthetics also play a role. Aim for symmetry and balance in tool placement, creating a visually pleasing display. Group similar tools together, like all pruners or watering wands, for an organized appearance.
Lastly, regularly assess your arrangement’s effectiveness. As you use the tools, note any adjustments that would enhance your workflow. Over time, you may need to rearrange tools to accommodate changes in your tool collection or gardening needs.
By categorizing, spacing, considering workflow, and adjusting as needed, you can create a well-organized and functional arrangement of tools within your hanging system, making gardening tasks more efficient and enjoyable.
Conclusion
In the realm of gardening, an organized and efficient workspace can be the key to a successful and enjoyable experience. The art of hanging gardening tools is not merely about tidiness but a thoughtful approach to accessibility, longevity, and functionality. As you embark on the journey of arranging your garden shed or outdoor space, remember that the choices you make in materials, arrangements, and repurposed solutions can significantly impact your gardening routine.
By carefully selecting sturdy hooks, brackets, or racks and positioning them appropriately, you can ensure easy access to your tools while safeguarding them against wear and tear. Integrating vertical storage systems into your garden’s canvas not only conserves valuable space but also simplifies your tasks. The creative repurposing of common household items adds a touch of uniqueness to your tool storage, while protective measures against outdoor elements guarantee the endurance of both your tools and your well-structured hanging system.
Ultimately, the manner in which you hang your gardening tools is a reflection of your commitment to an organized and efficient outdoor haven. The satisfaction of a clutter-free shed, the ease of grabbing the right tool for the right job, and the prolongation of tool life will all contribute to a gardening experience that is not only productive but also a source of personal pride. So, let the symphony of hanging tools create a harmonious melody in your gardening endeavors, enhancing your connection with the earth and the wonders it helps you nurture.