How To Flash A Chimney On Metal Roof
Introduction
How To Flash A Chimney On Metal Roof: Metal roofs require specific flashing materials that are compatible with the roof’s material and can withstand the elements. Common options for chimney flashing on metal roofs include aluminum, copper, and galvanized steel. This includes checking for loose or missing shingles, cracks in the chimney mortar, or rust on the metal roof. Addressing these issues beforehand will ensure a solid foundation for the flashing and prevent further damage down the line.
Once you’ve assessed the condition of your exterior chimney and roof, it’s time to gather the necessary tools and materials for the flashing process. These typically include a tape measure, roofing nails, a hammer, a utility knife, a caulking gun, and the chosen flashing material. It’s important to have all the tools readily available to streamline the process and avoid any delays.
The actual flashing process involves carefully measuring and cutting the flashing material to fit around the chimney. This includes creating a base flashing that sits under the roofing material and step flashing that goes up the sides of the chimney. Properly overlapping the flashing layers and securing them with roofing nails is crucial to ensure a watertight seal. With proper installation and maintenance, your chimney flashing will provide long-lasting protection and peace of mind.

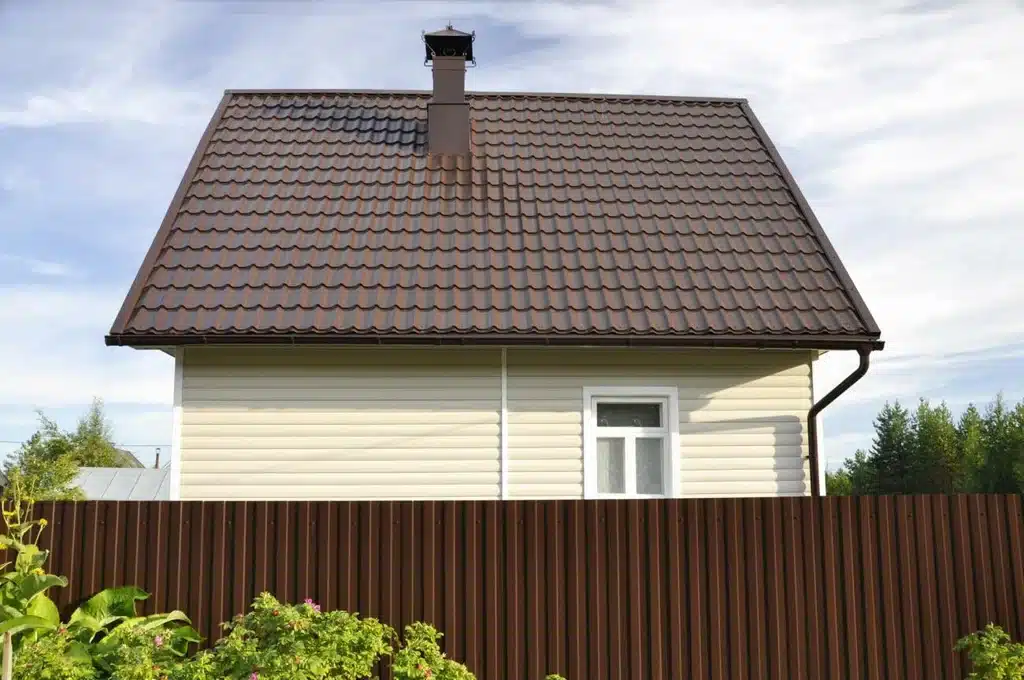
How do you flash a brick chimney on a steel roof?
- Cut the reglet in the chimney, using a grinder with diamond masonry blade.
- Blow out any dirt and dust form the reglet and work area.
- Install head wall flashing.
- Install sidewall flashing on both sides.
- Run the shingles all the way to the top and above the chimney, on both sides.
Step 1: Assess the chimney and roof:
Before starting the flashing process, it is crucial to thoroughly inspect the chimney and the steel roof. Look for any signs of damage, such as cracks in the chimney mortar or loose roof panels. Address any necessary repairs before proceeding with the flashing. Additionally, ensure that the chimney is structurally sound and securely attached to the roof.
Step 2: Choose the appropriate flashing materials:
When flashing a brick chimney on a steel roof, it is important to select the right materials. The flashing material should be durable, weather-resistant, and compatible with both the brick and steel surfaces. Commonly used flashing materials include galvanized steel, aluminum, or copper. Consider consulting with a roofing professional to determine the most suitable flashing material for your specific chimney and roof.
Step 3: Prepare the chimney and roof:
Prior to installing the flashing, it is necessary to clean and prepare the chimney and roof surfaces. Ensure that the chimney surface is dry and free from any moisture before proceeding with the flashing installation.
Step 4: Install the base flashing:
The base flashing is the first layer of flashing that is installed at the base of the chimney. Carefully position the base flashing around the chimney, ensuring that it extends onto the steel roof surface. Secure the base flashing in place using roofing nails or adhesive, following the manufacturer’s instructions.
Step 5: Install the counter flashing:
Use appropriate fasteners, such as screws or clips, to secure the counter flashing in place, ensuring a tight fit against the chimney and roof surface.
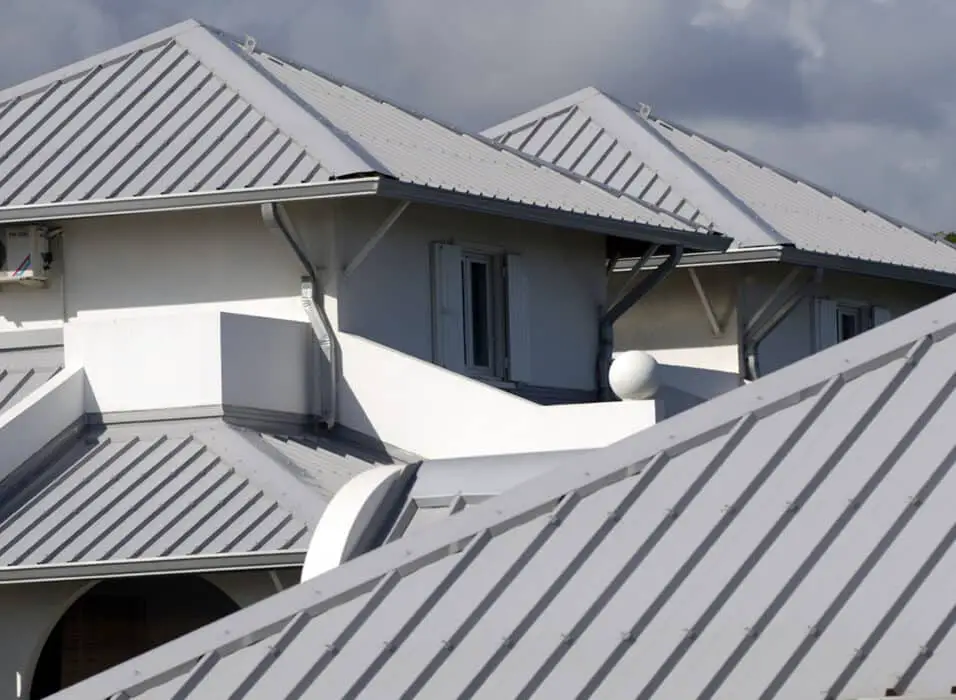
What kind of flashing do you use on a metal roof?
Oatey® Master Flash® Roof Flashings Oatey® Master Flash® Roof Flashings are designed for use with metal profiled roofs and can be installed on every type of roofing surface. Collars can be used on multiple size pipes and conform to most common roof slopes. When it comes to installing a metal roof, one crucial aspect to consider is the type of flashing used. Flashing plays a vital role in preventing water leakage and ensuring the roof’s durability and longevity.
Types of Flashing for Metal Roofs:
Metal roofs employ various flashing kinds, each with its own benefits and applications. Aluminum or galvanized steel flashing is popular. Metal flashing is corrosion-resistant and durable, making it a good choice for long-term protection.
This asphalt-synthetic rubber flashing is flexible and adheres well. Rubberized asphalt flashing may contour to complex shapes and irregular surfaces. Its UV resistance and harsh weather resistance provide long-term performance and reliability.
Copper flashing adds elegance to a metal roof and protects it from water. Copper flashing is corrosion-resistant and can endure extreme temperatures. It gains a natural patina, improving its appearance. Copper flashing is more expensive and requires professional installation for good sealing and endurance.
What is the best material for flashing?
The most commonly used material for counter flashing is aluminum. Aluminum holds a great deal of value for multiple reasons. First, aluminum, when taken care of, has a long life expectancy—upwards of 20 or more years. Next, the metal can be custom fitted and pieces easily slide together.
Choosing the optimum flashing material involves various criteria. Buildings need flashing to prevent water penetration and safeguard susceptible parts. Flashing material varies on climate, building type, and budget. This article discusses the pros and cons of several of the most prevalent flashing materials.
Different Flashing Materials:
Flashing is often made of aluminum. Lightweight, corrosion-resistant aluminum flashing is ideal for many applications. Its price and convenience of installation make it popular in residential and commercial structures. Aluminum flashing can also be sculpted to fit different regions, sealing water intrusion.
Copper flashing is also frequent. Copper flashing is quite durable. It is corrosion-resistant and weatherproof, making it excellent for residential and commercial buildings. Copper flashing acquires a natural patina over time, giving it a unique and attractive look.
Pros and Cons:
Aluminum flashing is cost-effective. It is cheap, making it a popular material for budget-conscious applications. Aluminum flashing is easy to cut and mold to fit certain places. Aluminum flashing can dent during installation or from hailstorms.
Copper flashing is durable and low-maintenance. This corrosion-resistant material can endure decades without losing functionality. Copper flashing is expensive, making it unsuitable for low-budget projects. Copper flashing also needs professional installation to fit and seal.
Flashing material depends on cost, durability, and aesthetics. Aluminum flashing is inexpensive and protects against water penetration, whereas copper flashing is durable and attractive. The appropriate flashing material depends on the project and the builder or homeowner’s choices.
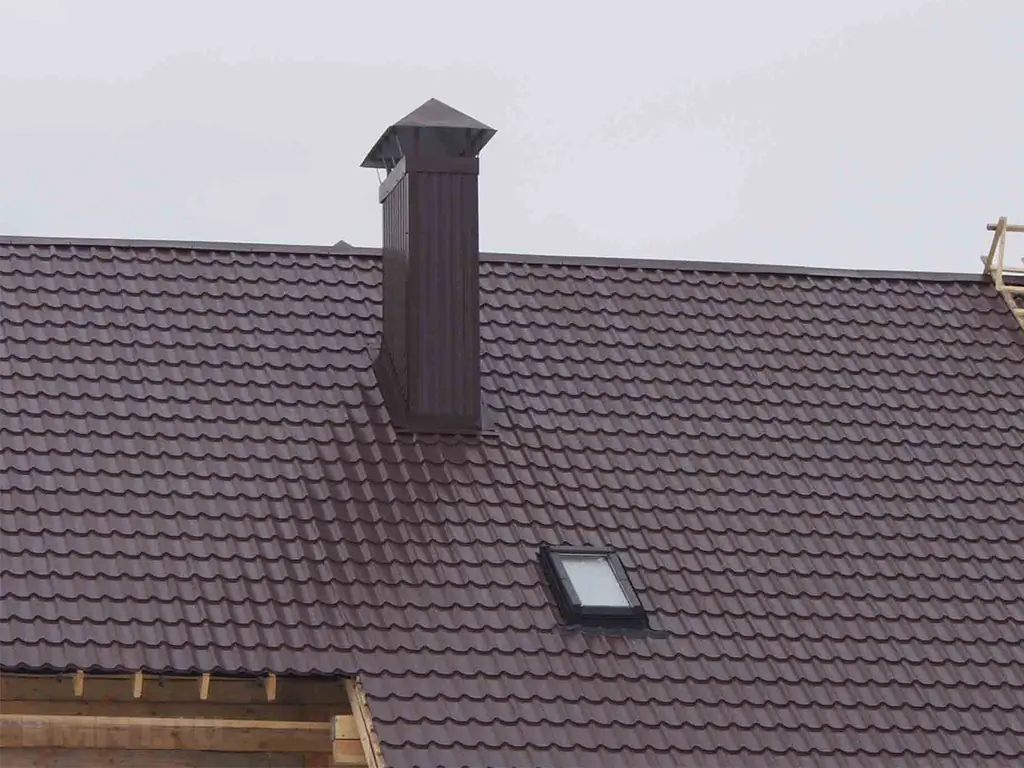
What are the three flashing methods used on chimneys?
Method 1: Step Flashing
Step flashing is a popular chimney flashing procedure. It includes layering aluminum or galvanized steel metal pieces with roof shingles.
Method 2: Continuous Flashing
Another typical chimney flashing method is continuous apron flashing. Continuous flashing uses a single copper or stainless steel piece bent to suit the chimney, unlike step flashing. Installing this flashing along the chimney base and roof creates a continuous water barrier. Flat or low-sloped chimneys benefit from continuous flashing.
Method 3: Counter flash
Counterflashing, also known as cap flashing, adds a second layer of flashing to prevent water entry. Folding it over the step or continuous flashing prevents water from entering behind the primary flashing.
Step, continuous, and counterflashing are chimney flashing procedures. Each method has advantages and works for different roofs and chimneys. Sloped roofs benefit from step flashing’s watertight seal. Continuous flashing provides a seamless water barrier for flat or low-sloped roofs. Counterflashing, combined with step or continuous flashing, adds protection. These flashing solutions protect chimneys from water damage and leaks and extend their lifespan.
What two types of flashing are used around a chimney?
The most common types are step flashing, counter flashing, and apron flashing.
- Step flashing. Step flashing is primarily used against the sides of walls and chimneys.
- Counter flashing. Counter flashing is used on walls and chimneys like step flashing.
- Apron flashing.
When it comes to protecting a chimney from water damage, flashing plays a crucial role. Flashing is a material used to create a watertight seal between the chimney and the roof, preventing water from seeping into the structure. There are two main types of flashing commonly used around chimneys: step flashing and counter flashing. Each type serves a specific purpose and is essential for maintaining the integrity of the chimney and the surrounding roof.
Step Flashing:
Step flashing is a type of flashing that is installed along the sides of the chimney where it intersects with the roof. It consists of individual metal pieces, typically made of aluminum or galvanized steel, that are layered in a step-like pattern. Each piece of step flashing is placed underneath the shingles or other roofing material and extends up the side of the chimney. The step flashing pieces overlap one another, creating a series of steps that direct water away from the chimney and onto the roof.
Step flashing is designed to provide a watertight barrier by diverting water away from the vulnerable areas where the chimney and roof meet. It ensures that water does not penetrate the roof and cause damage to the underlying structure. The step flashing is typically installed in conjunction with a layer of roofing felt or ice and water shield to provide an additional layer of protection against water infiltration.
Counter Flashing:
The purpose of counter flashing is to provide an extra layer of protection against water intrusion. This creates a secure and watertight seal that prevents water from seeping behind the step flashing and into the chimney. Counter flashing is an essential component of chimney flashing as it helps to ensure the long-term integrity and functionality of the chimney system.
Step flashing and counter flashing are the two main types of flashing used around chimneys. Counter flashing, on the other hand, covers and protects the step flashing, providing an additional layer of protection against water intrusion. Together, these two types of flashing create a watertight seal that helps to safeguard the chimney and the surrounding roof from water damage.
What materials are required for flashing a chimney on a metal roof?
When it comes to flashing a chimney on a metal roof, there are several materials that are essential for ensuring a proper and effective installation. These materials not only provide a watertight seal around the chimney but also help to prevent any potential leaks or damage to the roof. Here are some of the key materials required for flashing a chimney on a metal roof:
Sealant: A high-quality sealant is crucial for ensuring a tight seal between the flashing and the chimney as well as the flashing and the roof. Silicone-based sealants are commonly used for their durability and flexibility, which allows them to withstand the expansion and contraction of the metal roof due to temperature changes.
When flashing a chimney on a metal roof, it is essential to have the right materials to ensure a proper and effective installation. By using high-quality materials and following proper installation techniques, you can ensure that your chimney and metal roof remain protected from potential leaks and damage.
Are there any specific tools or equipment needed for flashing a chimney on a metal roof?
When it comes to flashing a chimney on a metal roof, there are several specific tools and equipment that are essential for a successful installation. These tools ensure that the flashing is properly secured and sealed, providing a watertight barrier around the chimney. One of the most important tools is a quality pair of tin snips, which are used to cut the flashing material to the required size and shape. Additionally, a metal brake or bending tool is necessary to create precise bends in the flashing, allowing it to fit snugly against the chimney and roof.
Another crucial tool is a high-quality sealant or caulk that is specifically designed for metal roofs. This sealant is used to create a waterproof seal between the flashing and the chimney, as well as any joints or seams in the flashing itself. It is important to choose a sealant that is compatible with both the metal roof and the flashing material to ensure long-lasting protection against leaks.
What are some common challenges or issues that may arise when flashing a chimney on a metal roof?
When flashing a chimney on a metal roof, there are several common challenges or issues that may arise. One of the main challenges is ensuring a proper seal between the flashing and the chimney. Metal roofs can expand and contract with temperature changes, so it is crucial to use flexible flashing materials that can accommodate these movements. Failure to do so can result in leaks and water damage.
Another challenge is properly integrating the flashing with the metal roof panels. This may require careful cutting and fitting of the flashing to match the contours of the roof and chimney.
Additionally, chimney flashing on a metal roof may be complicated by the presence of other roof features such as skylights or vents. These areas require special attention to ensure proper flashing integration and prevent potential leaks. It is essential to carefully plan and execute the flashing installation to address these challenges and ensure a watertight seal.
What are some common challenges or issues that may arise when flashing a chimney on a metal roof?
When it comes to flashing a chimney on a metal roof, there are several common challenges or issues that may arise. One of the main challenges is ensuring a proper seal between the chimney and the metal roof. Metal roofs can expand and contract with temperature changes, so it is crucial to use the right materials and techniques to prevent leaks and water damage.
Another challenge is dealing with the different angles and slopes of the metal roof. It is important to properly secure the flashing to the roof and ensure it can withstand these external forces.
Additionally, working with metal roofs can be more challenging than traditional shingle roofs. It is important to use appropriate safety equipment, such as harnesses and non-slip footwear, to prevent accidents and injuries.
Conclusion
Knowing how to flash a chimney on a metal roof is essential for ensuring the longevity and functionality of your roofing system. Flashing is a crucial component that helps to prevent water leaks and damage around the chimney area. By following the instructions provided, you can effectively install flashing on your metal roof and protect your home from potential water infiltration.
Firstly, it is important to understand the materials and tools required for flashing a chimney pipe on a metal roof. Typically, you will need metal flashing, roofing cement, roofing nails, a hammer, and a caulking gun.
Next, the process of flashing a chimney on a metal roof involves several steps. Firstly, you will need to measure and cut the metal flashing to the appropriate size. It is crucial to ensure that the flashing extends at least 8 inches up the chimney and overlaps the metal roof by a few inches. This will provide adequate protection against water penetration