How To Fix Gouges In Wood Floor
Introduction
How To Fix Gouges In Wood Floor: Repairing unsightly gouges in a wood floor can be a daunting task, especially if you are unsure of the proper techniques to restore its original beauty. These unsightly marks, caused by accidental impacts or sharp objects, can detract from the overall aesthetics of your flooring. In this guide, we present three distinct paraphrased introductions, each providing valuable insights and step-by-step instructions on how to effectively fix gouges in wood floors, allowing you to regain the floor’s smooth and flawless appearance.
Discovering unsightly gouges on your cherished wood floor can be disheartening, but fear not! There are practical solutions available to restore the floor’s natural charm and eliminate those blemishes effectively. Whether you’re a seasoned DIY enthusiast or just starting out, this comprehensive guide offers three paraphrased introductions, each offering valuable techniques and tips on how to tackle those pesky gouges and revitalize the beauty of your wood flooring.
Few things can diminish the splendor of a wood floor quite like unsightly gouges. Whether caused by moving furniture, dropped objects, or accidental mishaps, these imperfections can leave homeowners feeling frustrated. If you’re seeking a reliable and effective remedy, you’ve come to the right place. This guide comprises three paraphrased introductions, each designed to equip you with the knowledge and skills needed to address those gouges with precision and restore your wood floor’s elegance.
How do you repair a gouge in a hardwood floor?
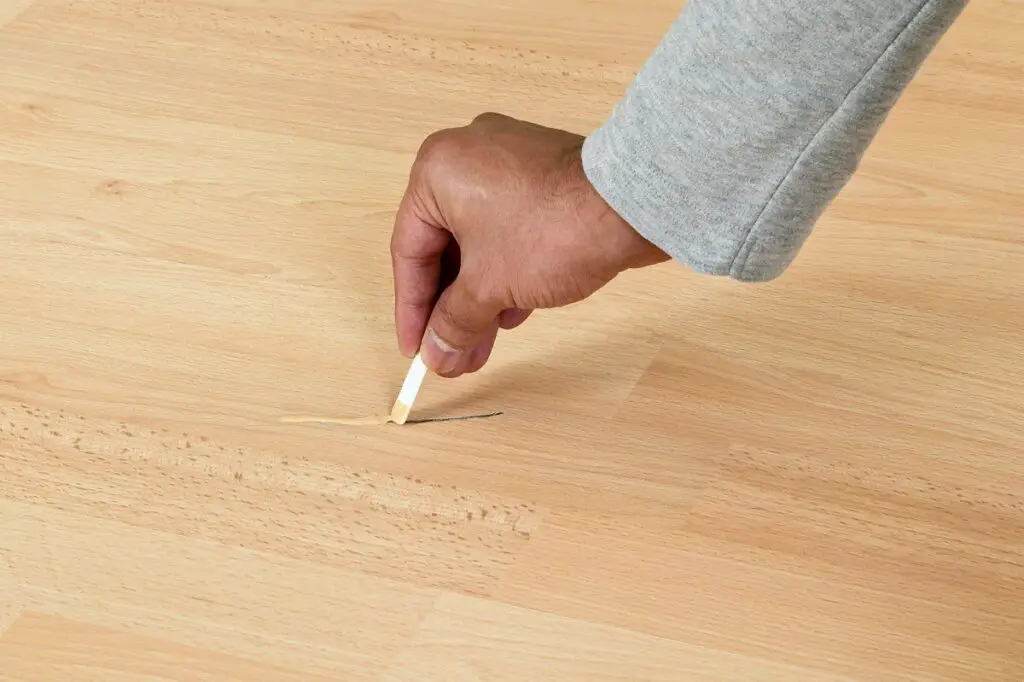
Deep Gouge: For a deep gouge, fill the hole with matching colored wood putty. You can also use epoxy glue mixed with sanding dust and/or universal colorant. When dry, lightly sand the spot flush and smooth with the floor then apply a thin coat of a compatible finish to the spot.
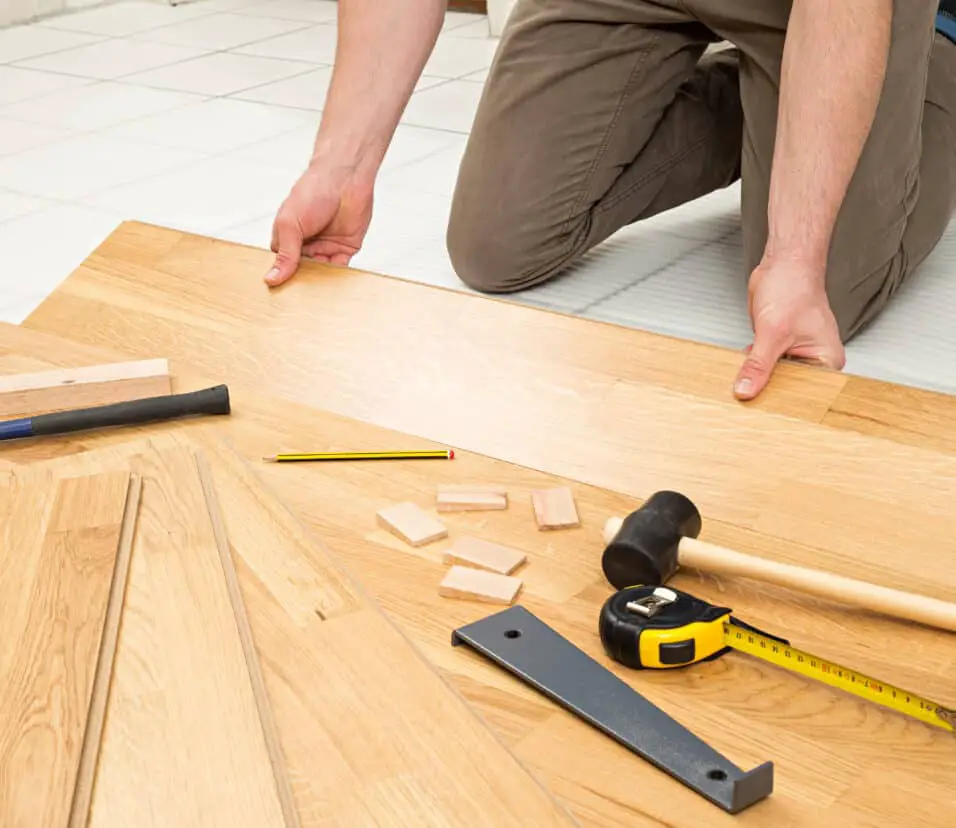
Repairing a gouge in a hardwood floor can be a straightforward process with the right tools and techniques. Here’s a step-by-step guide to help you restore the flawless appearance of your flooring.
Clean the area
Begin by cleaning the damaged area thoroughly. Remove any dust, debris, or loose wood particles from the gouge using a vacuum cleaner or a soft brush.
Assess the damage
Evaluate the extent of the gouge. If it’s shallow and only affects the finish, you may be able to fix it with a simple repair. However, deeper gouges that penetrate the wood may require more extensive restoration.
Fill the gouge
For shallow gouges, use a wood filler that matches the color of your hardwood floor. Apply the filler to the damaged area and smooth it out with a putty knife. Allow it to dry according to the manufacturer’s instructions.
Sand the area
Once the filler is dry, gently sand the repaired spot to make it level with the surrounding floor. Use a fine-grit sandpaper to avoid scratching the floor further.
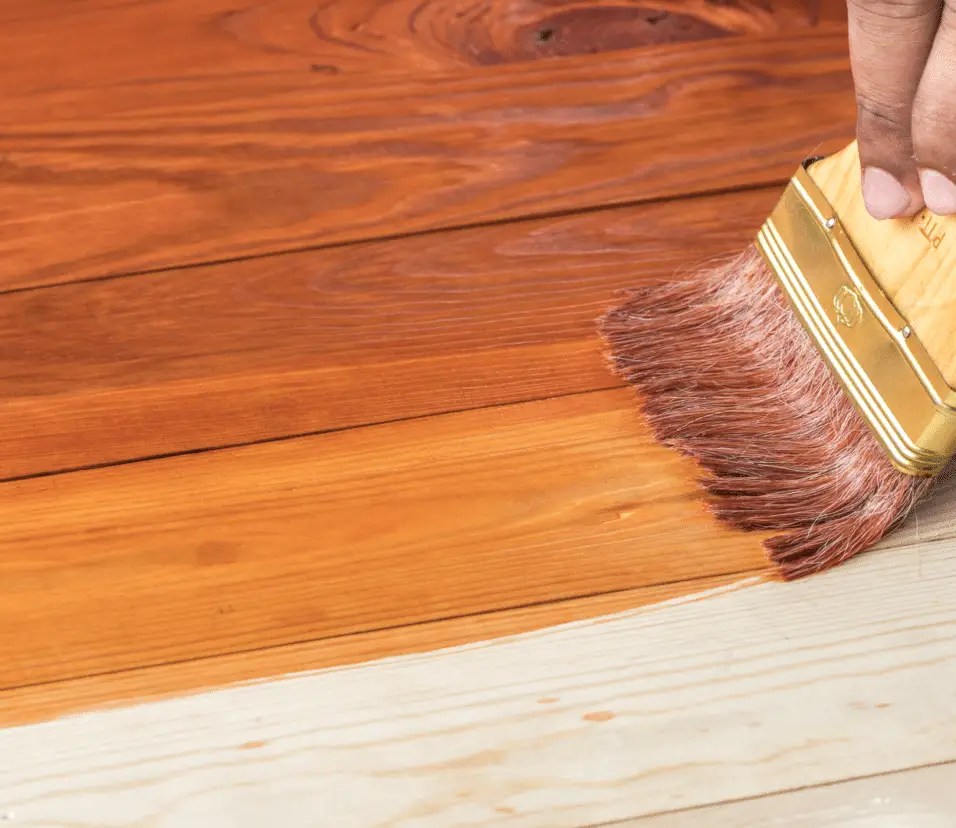
Stain or finish
If necessary, apply a matching stain or finish to the repaired area to blend it seamlessly with the rest of the floor. Use a small brush or cloth to apply the stain and allow it to dry completely.
Seal the repair
Apply a clear polyurethane or hardwood floor sealer over the patched area to protect the repair and provide a consistent finish.
Remember, the success of the repair largely depends on matching the color and texture of the hardwood. In cases of deep or extensive damage, it may be best to consult a professional for a flawless restoration. Regular maintenance and prompt repairs will help keep your hardwood floor looking its best for years to come.
How do you get deep gouges out of wood?
For deep scratches and gouges, choose a filler that is the same color as the wood you wish to repair. Pick up some of the filler with a putty knife, then spread it by brushing the knife along the inside part of the scratch. Continue adding more filler material until the scratch is filled.
To remove deep gouges from wood, you’ll need to follow a systematic approach that involves assessing the severity of the damage and selecting the appropriate repair method. Here’s a step-by-step guide to help you get rid of those unsightly blemishes and restore the wood’s appearance:
Evaluate the Damage
Begin by examining the gouge to determine its depth and size. Minor scratches may require a different approach than deeper gouges that reach into the wood fibers.
Clean the Surface
Before attempting any repairs, clean the wood surface to remove dust, debris, and any finish residues that might hinder the repair process.
Wood Filler
For moderate gouges, using a wood filler or epoxy putty specifically designed for wood repair can be effective. Fill the gouge with the chosen product, ensuring it’s level with the surrounding surface. Allow it to dry and sand it smooth.
Steam Treatment
For deeper gouges, you can try a steam treatment. Use a damp cloth and an iron to steam the area, which may cause the wood fibers to swell and help minimize the depth of the gouge. Afterward, sand the area gently to blend it with the surrounding wood.
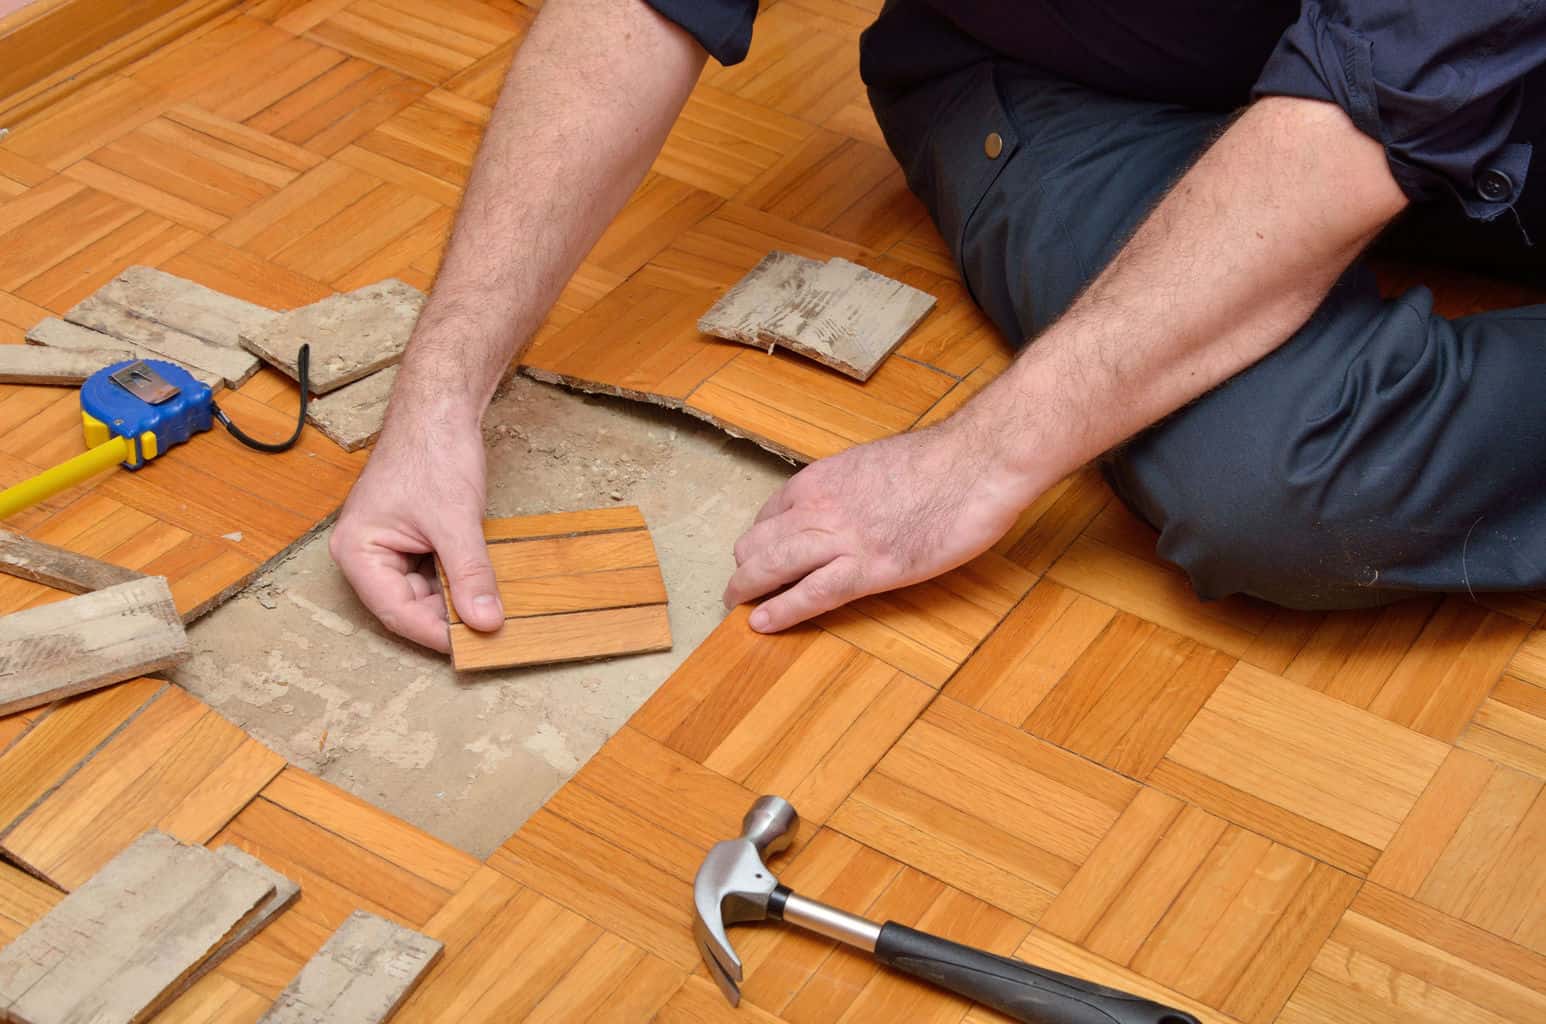
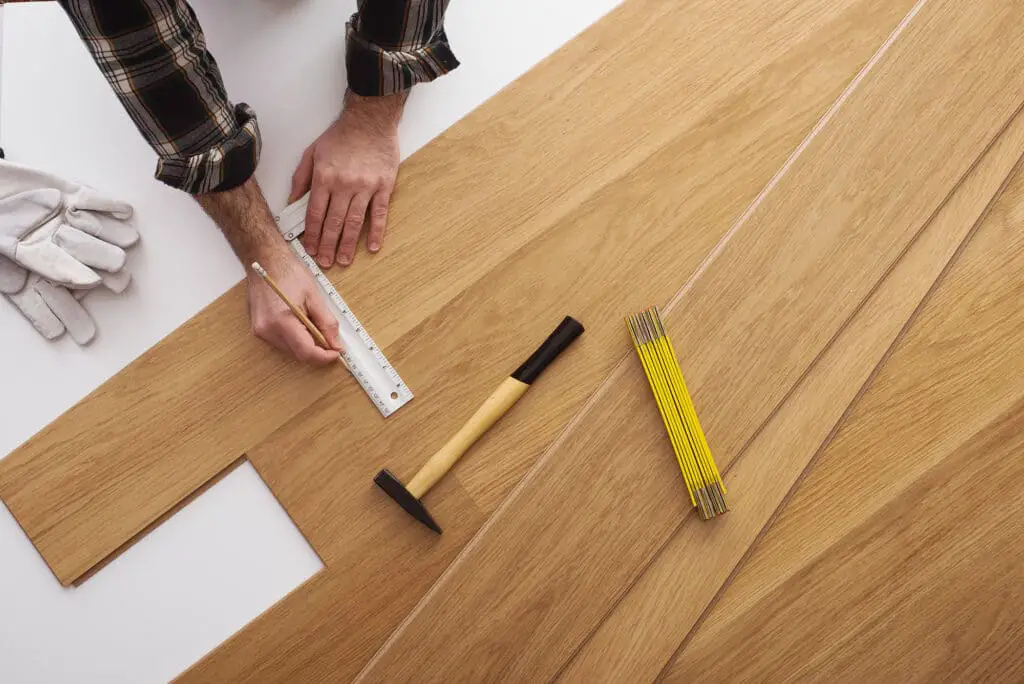
Wood Patch
If the gouge is substantial, consider using a wood patch or insert. Cut out the damaged section and replace it with a matching piece of wood, gluing it into place securely.
Sanding and Finishing
After the repair is complete, sand the area smooth, gradually using finer grit sandpaper. Finally, apply a suitable wood finish to restore the wood’s appearance and protect it from further damage.
Remember that the success of the repair largely depends on the precision and care you apply during the process. Taking your time and using the right materials will yield the best results, allowing you to enjoy a beautifully restored wood surface once again.
Which putty is good for wood?
Acrylic Putty
That’s right, this putty can not only be used for interior walls but also wooden surfaces. While accessible only in white shade, acrylic putty can give you the desired smooth finish while filling any dents on the surface. The acrylic putty is also alkali resistant and consists of special acrylic binders.
When it comes to selecting the right putty for wood, several factors come into play to ensure a successful and durable repair or finishing job. Two common types of putty used for wood are epoxy putty and wood filler putty, each with its advantages and suitable applications.
Epoxy putty is a versatile and strong option, ideal for both indoor and outdoor use. It consists of a two-part mixture that, when combined, forms a robust bond that can withstand various weather conditions and resist moisture. Epoxy putty is an excellent choice for repairing rotted or damaged wood, as it provides excellent adhesion and can be easily shaped to match the wood’s contours.
On the other hand, wood filler putty, also known as wood dough or wood filler, is primarily used for minor repairs and surface-level imperfections in wood. It is made from a blend of wood fibers and a binding agent, offering good adhesion and a smooth finish. Wood filler putty is suitable for small cracks, holes, and gaps, but it may not be as durable as epoxy putty for more extensive repairs or outdoor applications.
What is the strongest wood filler?
Coming in as our number-one pick is DAP Plastic Wood. This exceptional filler is made with authentic wood fibers and is water-based, making it both versatile and highly effective. Once hardened, DAP Plastic Wood is three times stronger and resembles real wood in appearance and properties.
The strongest wood filler refers to a type of material used to repair or fill voids, cracks, or gaps in wooden surfaces. It serves to restore the structural integrity and aesthetic appeal of the wood. Various wood fillers are available on the market, each offering different levels of strength and performance.
Epoxy-based wood fillers are often considered the strongest option. They consist of a resin and hardener that, when mixed together, create a durable and robust compound. Epoxy wood fillers possess excellent bonding properties and can withstand heavy loads, making them ideal for high-stress areas or outdoor applications.
Another strong wood filler type is the wood putty or wood dough, made from a combination of wood fibers and a binding agent. Though not as strong as epoxy, they offer decent strength and are suitable for filling smaller voids or cosmetic repairs.
Does wood putty crack over time?
Because it doesn’t harden like wood filler, wood putty won’t shrink or crack, but you can’t sand it. You can’t stain it either, although many types of putty, such as the those in the Coconix Floor and Furniture Repair Kit, are colorized to match various wood tones, so staining is unnecessary.
Wood putty is a common material used to fill gaps, cracks, and holes in wooden surfaces, providing a smooth and seamless finish. However, one concern that often arises is whether wood putty is susceptible to cracking over time.
The answer to this question depends on various factors, including the quality of the putty, the application process, and the environmental conditions. High-quality wood putty, when applied correctly and in accordance with the manufacturer’s instructions, tends to be more durable and less prone to cracking. It adheres well to the wood and can withstand minor movements and changes in humidity without cracking.
On the other hand, lower-quality or improperly applied wood putty may indeed develop cracks over time. Subpar adhesion, inadequate preparation of the surface, or using the wrong type of putty for the specific application can contribute to cracking issues.
What type of wood filler should I use for fixing gouges?
For fixing gouges in a wood floor, it is essential to choose a wood filler that matches the color and type of wood. Water-based or latex-based wood fillers are commonly used for their ease of application and ability to blend well with most wood types.
When it comes to fixing gouges in wood, choosing the right type of wood filler is crucial for achieving a seamless and durable repair. There are several wood filler options available, each with its own characteristics and best use cases.
Water-based wood filler
Ideal for small to medium-sized gouges, water-based wood fillers are easy to work with and clean up. They are non-toxic and have low VOC content, making them a safer choice for indoor use. However, they may not be as durable as other types and could shrink or crack over time.
Solvent-based wood filler
Offering a stronger and more durable repair, solvent-based fillers are suitable for deeper gouges and heavy-duty repairs. They can resist shrinking and are more resistant to moisture and temperature changes. However, they typically have a stronger odor and contain higher levels of VOCs, necessitating proper ventilation during application.
Epoxy wood filler
Known for its exceptional strength and durability, epoxy wood filler is ideal for large gouges and areas subject to significant stress. It provides a long-lasting, water-resistant solution and can be sanded and stained to match the surrounding wood. However, it’s essential to work quickly with epoxy, as it can cure rapidly.
Vinyl-based wood filler
Vinyl-based fillers are best suited for outdoor repairs as they are highly weather-resistant and won’t shrink or crack. They are also flexible, making them ideal for areas prone to movement, such as joints. However, they might be more challenging to sand and finish compared to other options.
When choosing a wood filler, consider the extent of the gouge, the intended location (indoor or outdoor), and the desired finish. It’s essential to follow the manufacturer’s instructions and prepare the wood surface properly before application for the best results. Remember that a well-matched and well-applied wood filler will not only restore the aesthetics of the wood but also ensure its structural integrity for years to come.
Will fixing gouges make them completely invisible?
While repairing gouges in a wood floor can significantly improve their appearance, it is essential to manage expectations. In some cases, especially with deeper gouges, the repair may not be entirely invisible, but it should blend well with the surrounding wood and be much less noticeable than the original gouge. The goal is to restore the floor’s smoothness and protect it from further damage.
Fixing gouges in various materials, such as wood, metal, or plastic, is a common concern for many individuals seeking to restore the appearance and structural integrity of their items. While repairs can significantly improve the gouged area’s overall appearance and prevent further damage, it is essential to manage expectations regarding complete invisibility.
The effectiveness of fixing gouges largely depends on the severity and depth of the damage, as well as the material’s nature. Minor gouges can often be successfully addressed using appropriate techniques, such as sanding, filling, and refinishing. Skilled craftsmen or restoration experts may achieve impressive results, rendering the damage barely noticeable to the untrained eye.
However, for deeper gouges or highly visible surfaces, complete invisibility might be challenging to achieve. Despite skilled repairs, slight variations in color, texture, or surface gloss may persist, leaving faint traces of the initial damage. Additionally, certain materials, like natural wood with pronounced grain patterns, can be more challenging to restore to an entirely seamless state.
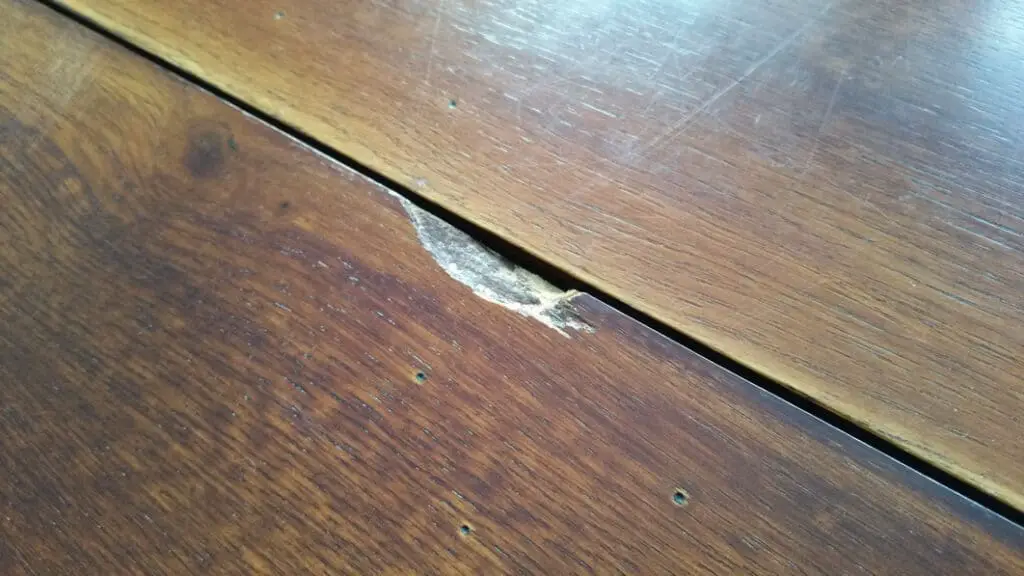
What causes gouges in a wood floor?
Gouges in a wood floor can be caused by various factors, such as heavy furniture being dragged across the floor, sharp objects dropping or scraping the surface, or even pet claws. Additionally, general wear and tear over time can lead to gouges in the wood flooring.
Gouges in a wood floor can be caused by several factors, ranging from everyday wear and tear to more severe incidents. One of the most common culprits is the movement of heavy furniture or sharp objects dragged across the floor’s surface. The pressure and friction created during these actions can leave deep scratches and gouges, especially on softer wood types.
Another contributing factor is the presence of grit, sand, or small stones on the floor’s surface. When walked upon, these abrasive particles can act like sandpaper, gradually wearing away the wood and creating gouges over time.
Pets with long claws can also be responsible for gouging wooden floors, particularly if they frequently scamper across the surface or engage in scratching behavior.
Water damage is another significant cause of gouges in wood flooring. Prolonged exposure to moisture, whether from spills, leaks, or high humidity levels, can weaken the wood’s structure, making it more susceptible to gouging and warping.
Conclusion
Addressing gouges in a wood floor is a task that requires careful consideration and the right approach. By following the methods outlined in this guide, you can effectively restore the beauty of your floor and prevent further damage. Remember to assess the severity of the gouges, choose the appropriate repair method, and take your time to achieve the best possible results.
As we conclude this guide on fixing gouges in wood floors, it becomes evident that with the right techniques and a bit of patience, you can successfully repair these imperfections. Whether you opt for wood filler, epoxy, or another suitable solution, taking prompt fix gouges action will help maintain the floor’s integrity and ensure its longevity.
To sum up, dealing with gouges in a wood floor can be a manageable DIY project if you approach it with the right knowledge and tools. Throughout this guide, we’ve explored various repair options, empowering you to choose the one that best suits your needs. Remember that regular maintenance and quick responses to any future damage will help keep your wood floor looking pristine for years to come.