How To Finish Plywood Walls
Introduction
How To Finish Plywood Walls: From preparing the surface and choosing the right materials to applying finishes like paint, stain, or sealant, we’ve got you covered. Whether you’re a seasoned DIY enthusiast or a first-time DIY-er, our tips and tricks will help you create a polished and professional-looking result. Applying a clear sealant or varnish is perfect for protecting the plywood from moisture and adding a glossy or matte finish. Properly finished plywood walls are relatively easy to maintain. Regularly dust and clean the surface to preserve its beauty and longevity.
If you prefer a colorful and opaque finish, paint is an excellent choice. Acrylic or latex paints work well on plywood walls. Consider using a primer to improve paint adhesion and enhance the final result.If you want to preserve the natural beauty of the plywood grain, staining is a great option. Stains come in various shades, allowing you to achieve the desired color while letting the wood grain show through. If desired, you can enhance the aesthetics further by adding trims or moldings around the edges of the plywood walls. This gives a clean and finished appearance to the overall project.
Use a high-quality paintbrush or a roller to apply paint in even strokes. Start from the block walls top and work your way down, allowing each coat to dry before applying the next. Use a clean cloth or brush to apply the stain in the direction of the wood grain. Wipe off excess stain after a few minutes for a consistent finish. Apply the sealant evenly, following the manufacturer’s instructions. Ensure proper ventilation during the application and drying process.
What is the best finish for plywood walls?
In the form of large sheets on a wall, plywood is an excellent choice. Because we brush up against them often, walls are best sealed with a smooth finish — a satin polyurethane or tung oil is a good choice.
Paint is a popular choice for plywood walls due to its versatility and ability to transform any space. It comes in an array of colors, allowing you to match your décor or create bold statements. Clean the plywood walls thoroughly, removing any dirt or debris. Sand rough spots and fill any imperfections with wood filler.
Apply a primer specifically designed for plywood to improve paint adhesion and create an even surface. Use a high-quality paintbrush or a roller to apply the paint in even strokes. Multiple coats may be necessary for optimal coverage, so ensure sufficient drying time between coats.
Ensure the plywood walls are clean and smooth. Sanding is essential to achieve an even stain application. Use a clean cloth or brush to apply the stain along the wood grain. Wipe off excess stain after a few minutes to control the depth of the color. Applying a clear sealant over the stain will protect the wood and give it a more polished appearance.
Consider the location of the plywood walls. High-traffic areas or spaces prone to moisture may require a more durable and protective finish. Your personal style and the overall ambiance you want to create in the room will influence the finish you choose. Some finishes may require more maintenance than others. Clear sealants or oil finishes may need occasional reapplication, while painted walls may need touch-ups.
Is plywood good for interior walls?
Plywood is a highly versatile material that can be used in a range of interior applications, including: Wall and ceiling panelling. Finished flooring. Kitchens.
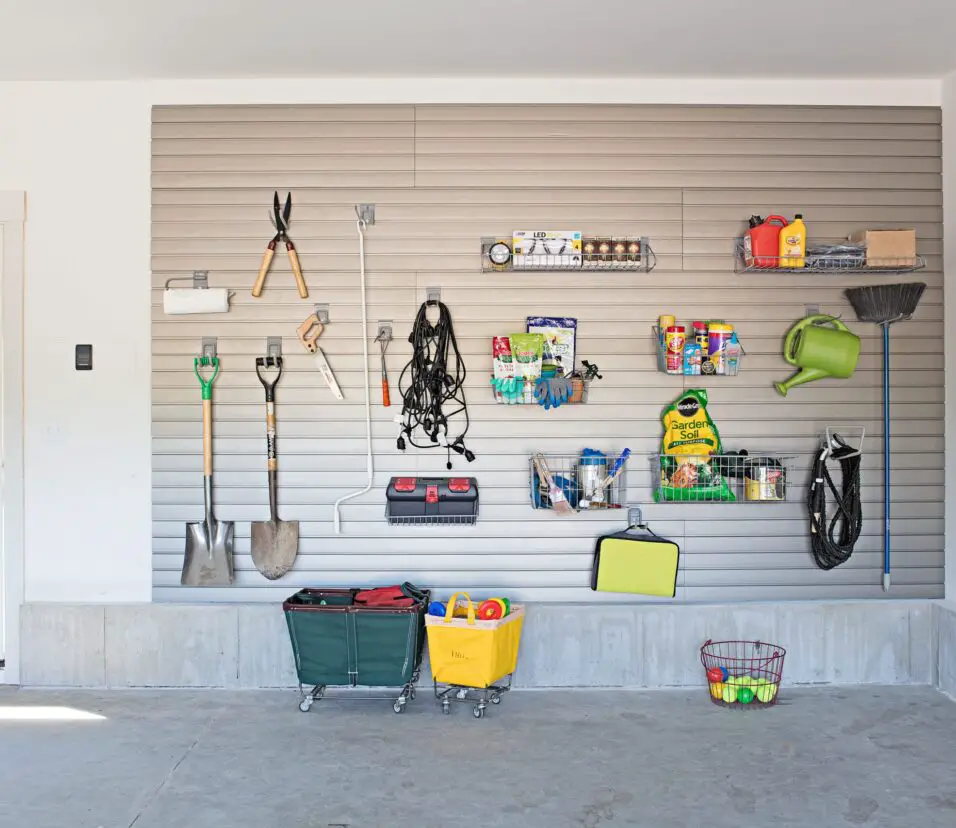
Family Room
One of the primary advantages of using plywood for interior walls is its strength and stability. Plywood is constructed by layering thin sheets of wood veneers with their grain orientations perpendicular to each other. This cross-grain construction gives plywood exceptional strength and resistance to warping or shrinking, ensuring that your interior walls remain sturdy and long-lasting.
Plywood is relatively easy to work with and install, making it an attractive option for DIY projects and professional contractors alike. The uniform thickness and consistent quality of plywood sheets facilitate straightforward cutting, shaping, and fastening, resulting in a smoother and more efficient installation process.
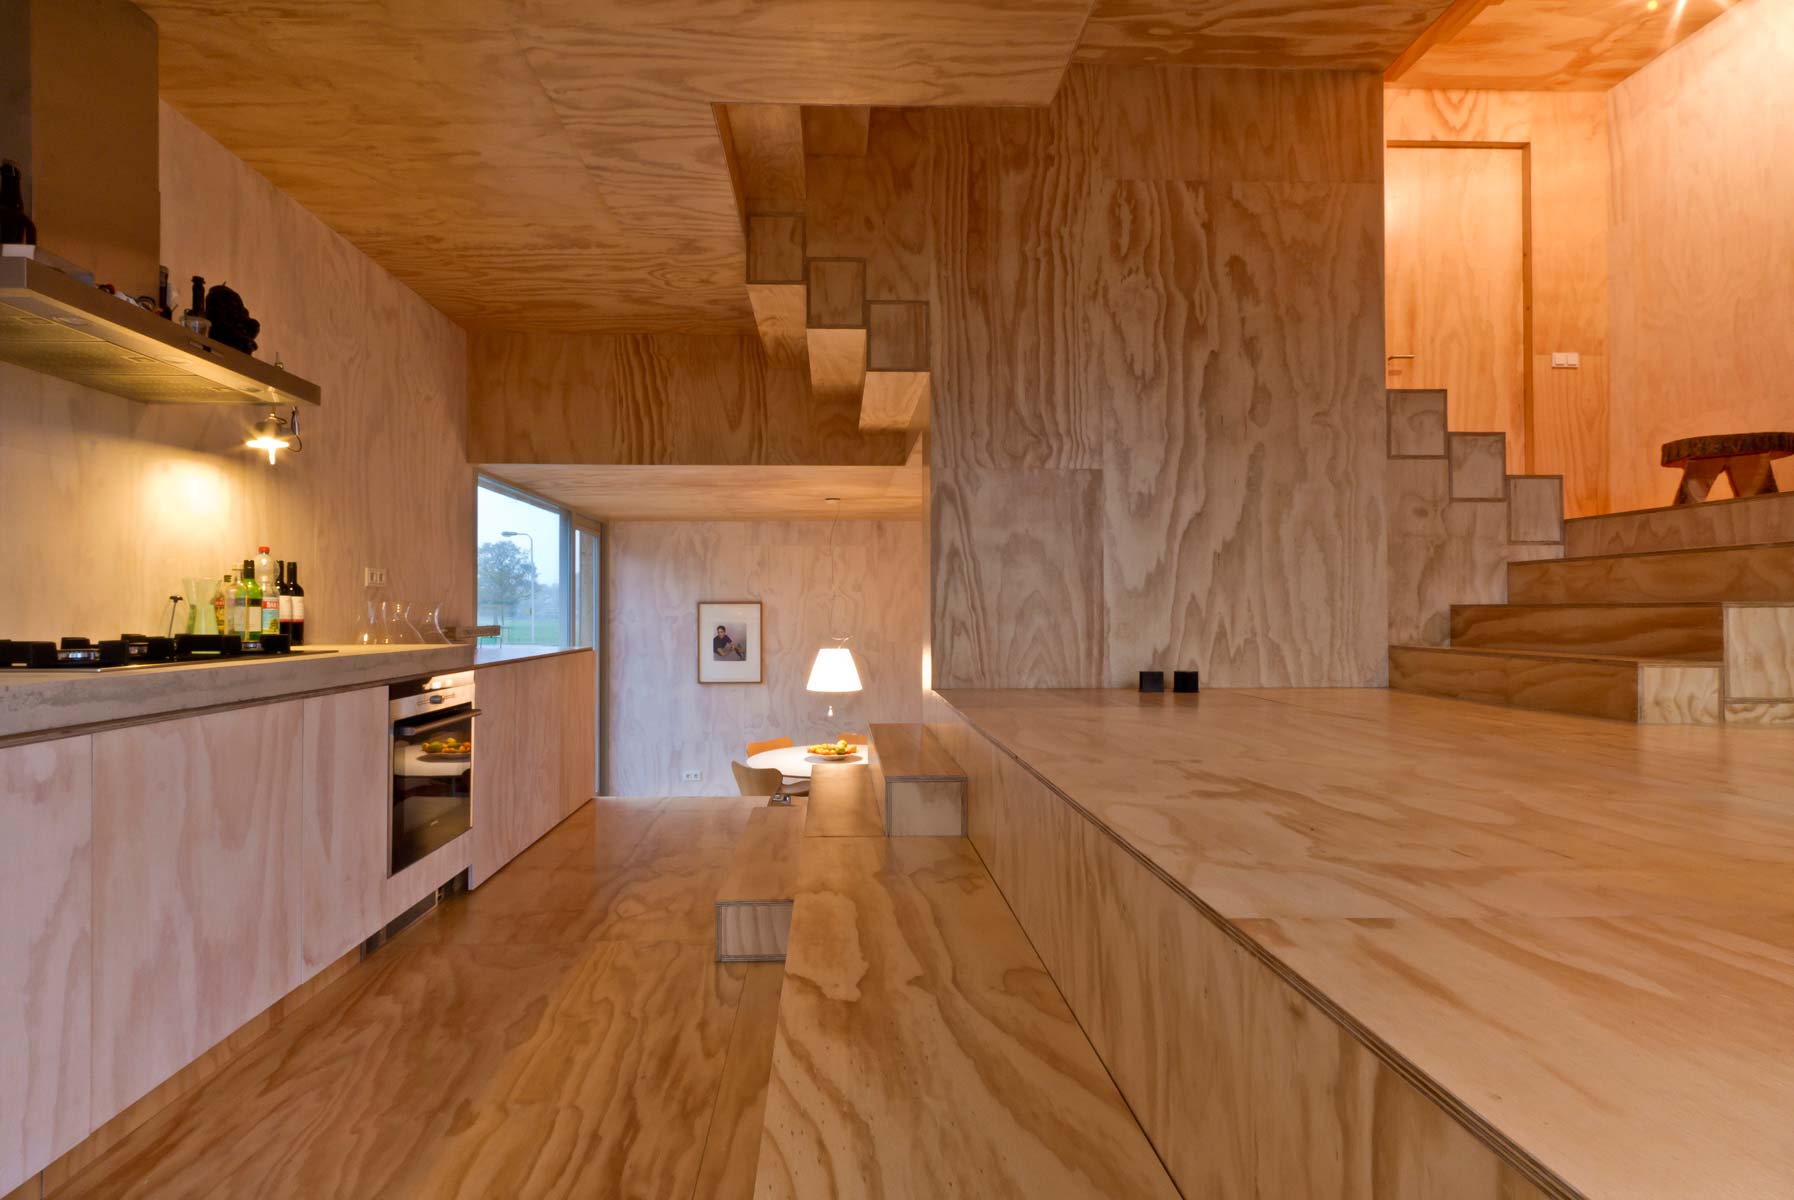
Living Room
Compared to other wall materials like solid wood or drywall, plywood is more budget-friendly. Its cost-effectiveness, combined with its durability, makes it an economical choice for covering large interior wall areas without compromising on quality.
Plywood’s neutral appearance and smooth surface provide an ideal canvas for various design options. You can leave the plywood walls natural for a minimalist and modern look, or easily apply finishes like paint, stain, or clear sealants to complement your interior decor style. Additionally, you can cut plywood into different shapes or use it as a backdrop for accent walls, creating a unique and personalized space.
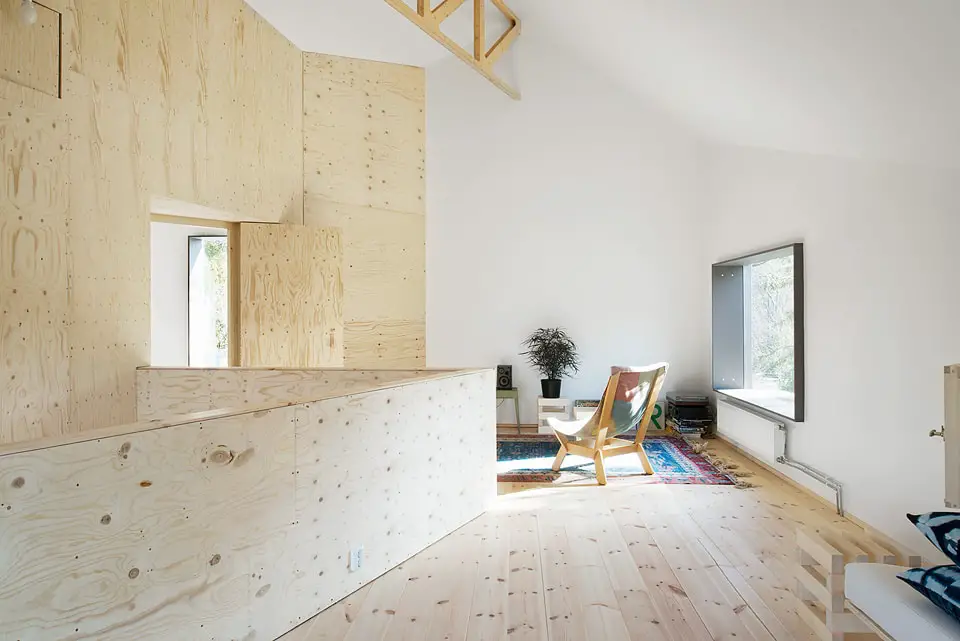
Personal Touches
Plywood offers some degree of insulation, providing a barrier against temperature fluctuations and enhancing energy efficiency in your home. Moreover, its thickness and density contribute to sound dampening, reducing noise transmission between rooms and creating a quieter living environment.
Can I glue plywood to wall?
Before you can attach plywood panels to a wall, you should figure out how many panels you need and then cut them to the right size. You also have to account for any doors and windows on the walls you’ll be paneling. Once the panels and walls are ready, you can easily put the panels in place using adhesive and nails.
Choosing the appropriate adhesive is crucial for a strong and long-lasting bond. For gluing plywood to walls, construction adhesives designed for wood-to-wall applications are the best option. Look for adhesives labeled as “wood glue,” “construction adhesive,” or “panel adhesive” that are suitable for interior use and compatible with both wood and wall materials.
When applying the adhesive, follow the manufacturer’s instructions for the specific adhesive you have chosen. Typically, you’ll apply the adhesive to the back of the plywood in a zigzag pattern or a series of dots. Ensure even coverage, especially at the edges and corners, where the plywood is most vulnerable to lifting.
Once the adhesive is applied to the plywood, carefully position the plywood against the wall, aligning it as needed. Start from one corner and press the plywood firmly against the wall, ensuring good contact between the two surfaces. Use a level to make sure the plywood is straight and even.
While the adhesive will provide a strong bond, additional support during the curing process can be beneficial. Use temporary braces or clamps to hold the plywood in place until the adhesive fully cures. Follow the manufacturer’s recommendations for the curing time, which may take several hours or more.
How long do plywood walls last?
You can expect plywood siding to last 20 to 50 years, with an average of 35 years. It’s difficult to assign a lifespan estimate to any wood product with an exterior exposure to rainy weather and humidity, because a protective paint coating that seals out moisture must be vigilantly maintained.
The durability of plywood walls starts with the quality of the plywood itself. Higher-grade plywood with fewer imperfections and better bonding between layers tends to last longer. Marine-grade plywood, for example, is specially designed to withstand moisture and is more resistant to decay, making it a suitable choice for areas prone to dampness.
Proper installation is crucial for the longevity of plywood walls. When installed correctly, plywood walls will have a secure attachment to the framing and will not develop gaps or loosen over time. Hiring a professional or following detailed installation guidelines for your specific project is essential to ensure a lasting and reliable result.
The environment in which the plywood walls are installed plays a significant role in their lifespan. Plywood walls in dry, well-ventilated, and temperature-controlled indoor spaces typically have a longer lifespan compared to those exposed to outdoor elements or high humidity areas. In areas with extreme weather conditions, such as frequent temperature changes or high moisture, plywood walls may require additional protection or maintenance to ensure their longevity.
Regular maintenance is crucial for extending the lifespan of plywood walls. Periodically inspect the walls for any signs of damage, such as water leaks or cracks. Address any issues promptly to prevent further deterioration. If your plywood walls have a finish, such as paint, stain, or sealant, regular maintenance and reapplication of the finish as needed can provide additional protection against wear and tear.
How do you waterproof plywood walls?
Use a Drying Oil
Tung oil is one of the most popular oils for waterproofing wood that has been used for decades. Just wipe a thin coat of oil across the plywood and let it dry. You can apply as many coats as you want until the wood is saturated but be sure to let each coat dry completely before applying the next.
Follow the manufacturer’s instructions for the chosen waterproofing product. Typically, apply the product evenly using a brush, roller, or spray, ensuring complete coverage of the plywood surface. Pay special attention to seams, edges, and joints, as these are vulnerable areas that water can penetrate.
Depending on the product and its specific instructions, you may need to apply multiple coats to achieve the desired level of waterproofing. Allow each coat to dry fully before applying the next layer.
After applying the waterproofing product, use a high-quality caulking or sealant to fill any gaps or seams between plywood panels or where the plywood meets other materials (e.g., corners, edges). Properly sealed joints further enhance the plywood wall’s waterproofing capabilities.
While waterproofing significantly enhances plywood walls’ resistance to water damage, it’s essential to perform regular maintenance to ensure its continued effectiveness. Inspect the walls periodically for any signs of wear or damage and reapply the waterproofing product as needed.
What thickness of plywood for walls?
½” thick
Using ½” thick plywood for walls is standard, although the International Residential Code specifies only 3/8” wall sheathing when studs are spaced 16” apart and the siding is attached to the studs and not just the plywood. For buildings with siding attached only to the sheathing, the IRC requires ½” plywood.
The spacing between the wall studs also influences the plywood thickness. Typical stud spacing is 16 inches on center or 24 inches on center. If the studs are spaced closer together (16 inches on center), a thinner plywood (e.g., 1/4 inch or 3/8 inch) can be used without compromising structural integrity. For wider stud spacing (24 inches on center), thicker plywood (e.g., 1/2 inch or 5/8 inch) is recommended for added support.
Consider any additional weight or loads that the wall may need to bear. For example, in applications where heavy fixtures or cabinets will be attached to the wall, thicker plywood may be necessary to handle the added weight.
Always consult local building codes and regulations to determine the minimum requirements for plywood thickness in your region. Building codes often specify minimum standards for wall sheathing thickness based on factors like wind load and seismic activity.
Thicker plywood can provide better soundproofing and insulation properties. If soundproofing or thermal insulation is a priority, consider using thicker plywood or adding additional insulation between the studs.
Thicker plywood typically costs more than thinner options. Consider your budget and balance it with the required structural integrity and performance when selecting the plywood thickness.
Are plywood walls expensive?
Drywall is cheaper than plywood – Most wood materials are expensive. Plywood is no exception. While it is not as expensive as regular wood, it is slightly more expensive than drywall. Fixing drywall is also a lot cheaper and less time consuming than plywood.
As with any plywood application, the thickness of the plywood affects the cost. Thicker plywood generally costs more per sheet than thinner options. However, using thicker plywood may reduce the need for additional structural support or wall reinforcement, which could offset some expenses.
The size of the project will significantly impact the total cost of plywood walls. Larger projects that require a higher quantity of plywood sheets will naturally cost more. On the other hand, smaller projects or accent walls may be more budget-friendly.
The complexity of the installation process can affect the overall expense. If the project requires intricate cuts, custom shapes, or specialized techniques, the labor costs may increase. Simple and straightforward installations are generally more affordable.
Consider the cost of finishing materials, such as paint, stain, or sealant, when budgeting for plywood walls. Additionally, caulking, fasteners, and other hardware may be required, adding to the overall expense.
Labor costs can vary depending on the location and the availability of skilled labor. In some regions, labor costs may be higher, which can impact the total cost of the project.
How much gap between plywood and wall?
APA recommends a 1/8-inch space between panel edge and end joints. Plywood and oriented strand board (OSB), like all wood products, will expand or shrink slightly with changes in moisture content. If the wood structural panels are tightly butted, there is no room for expansion and buckling can occur.
To achieve the recommended 1/8 to 1/4 inch gap, you can use spacers or shims during the installation process. When attaching the plywood to the wall framing, place the spacers or shims along the edges and between each sheet to create the desired gap. As you secure the plywood with nails or screws, the spacers will ensure consistent spacing.
The expansion gap becomes especially important if you plan to apply a finish over the plywood, such as paint, stain, or sealant. Finishes can add a slight layer of thickness to the plywood surface, potentially reducing the available space for expansion. Leaving the gap ensures that the plywood can still expand and contract without affecting the finished appearance.
The expansion gap also provides an opportunity for any trapped moisture between the plywood and the wall framing to escape. This helps prevent the development of mold, mildew, or rot, which can occur in moisture-prone environments.
The size of the expansion gap may vary slightly based on the climate and the specific environmental conditions of the installation area. In areas with extreme temperature and humidity fluctuations, a slightly larger gap may be recommended to accommodate greater wood movement.
Conclusion
Remember to begin with proper surface preparation, ensuring a clean and smooth canvas for your chosen finish. For paint finishes, using a primer is essential to achieve a consistent and vibrant color. Meanwhile, stains allow the natural beauty of the wood grain to shine through, creating a warm and inviting ambiance. Clear sealants offer protection against moisture and wear while providing a lustrous or matte finish.
Throughout the process, attention to detail is key. Applying multiple coats, allowing ample drying time between applications, and addressing any imperfections will result in a polished and professional outcome. Additionally, consider adding trims or moldings for that extra plywood walls touch of refinement. You can successfully finish plywood walls with confidence, regardless of your DIY experience.
The finished product will not only enhance the aesthetics of your living space but also showcase your creativity and craftsmanship. So, whether you’re renovating a room, updating a feature wall, or embarking on a new project, embrace the art of finishing plywood walls. With each stroke of paint, brush of stain, or application of sealant, you’ll witness the transformation of simple plywood into an impressive focal point that complements your personal style and adds character to your home.