How To Clean Gardening Tools
Introduction
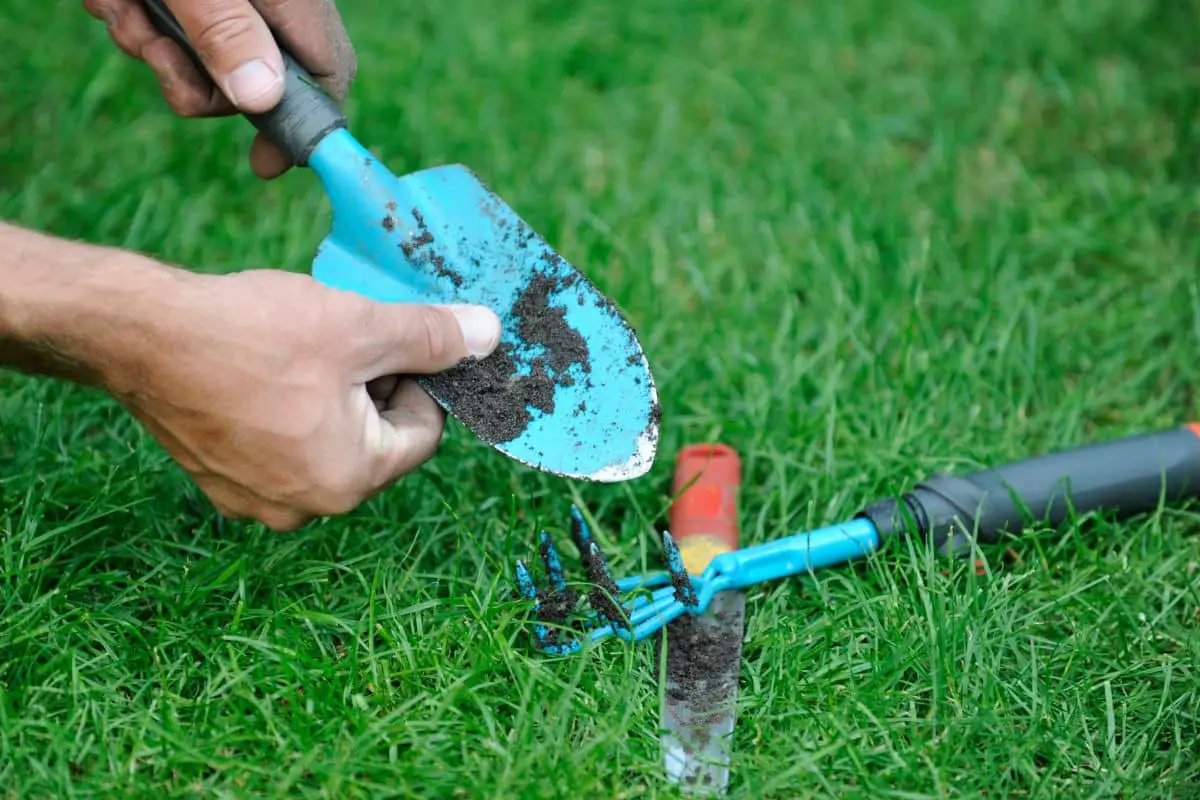
how to clean gardening tools: Maintaining the health and vibrancy of your garden goes beyond just tending to the plants themselves – it also involves caring for the very tools that enable your gardening endeavors. Clean gardening tools not only enhance their longevity but also contribute to the overall success of your gardening efforts. Regular cleaning prevents the buildup of dirt, debris, and potentially harmful pathogens that could compromise the health of your plants.
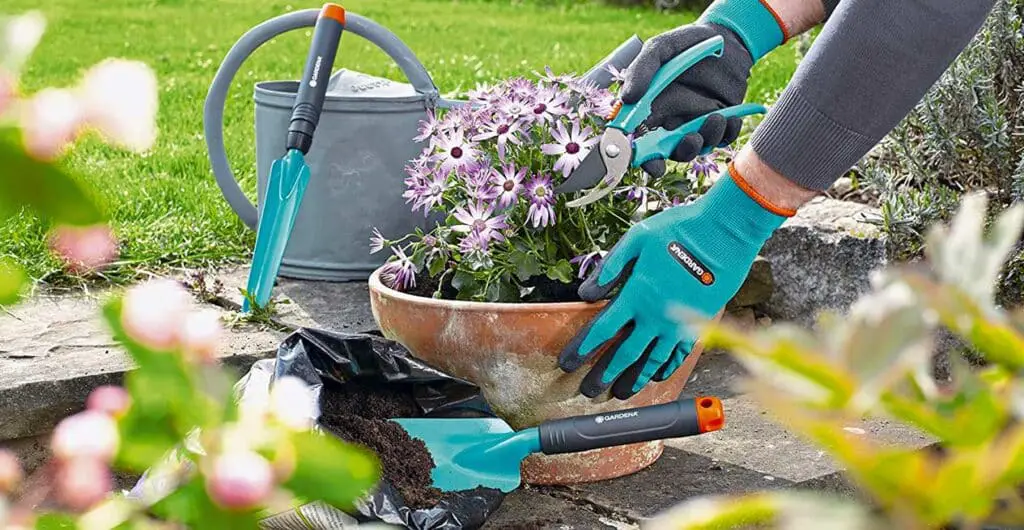
This guide will provide you with essential insights into the art of cleaning your market gardening tools effectively. From spades and shovels to pruners and shears, each tool plays a pivotal role in shaping your outdoor oasis. Proper cleaning not only prevents corrosion and rust, but it also ensures that your tools remain sharp and efficient, making your gardening tasks smoother and more enjoyable.
Whether you’re an experienced gardener or just embarking on your green journey, learning the best practices for cleaning your gardening tools will undoubtedly elevate your horticultural experience. We’ll explore various cleaning techniques, suitable cleaning agents, and step-by-step instructions to help you maintain your tools in pristine condition. By dedicating a little time to this often-overlooked aspect of gardening, you’ll be well-equipped to nurture your plants and create a thriving garden space for years to come.
What will you use to clean your garden tools quickly?
Soak in a water and vinegar solution, scrub with steel wool to remove grime and rust, then soak in a bleach and water solution to sanitize. Wipe dry with a clean microfiber cloth, leave to air dry for at least 30 minutes, then treat with plant-based oils. Reassemble the garden tools, and they are ready for storage.
For a quick and efficient cleaning of your garden tools, a few readily available items can prove to be incredibly effective. Firstly, a bucket of warm, soapy water serves as a versatile cleaning solution. Mild dish soap or a biodegradable detergent can be mixed into the water to break down dirt and grime. A wire brush or a putty knife can help remove stubborn residues like dried soil or plant matter.
For removing rust, a mixture of equal parts white vinegar and water can work wonders. Soak the rusted parts of the tools for a short period, scrubbing gently with a brush or steel wool, and then rinse and dry thoroughly to prevent further rusting.
After cleaning, a quick wipe with a cloth soaked in vegetable oil helps prevent moisture and rust. Another excellent option is to dip the cleaned tools in a bucket of sand mixed with a little oil – this not only cleans residual dirt but also helps in maintaining sharp edges.
Remember that swift cleaning right after use prevents dirt from hardening, making the cleaning process even more efficient. These simple yet effective methods ensure that your garden tools stay in optimal condition, ready to serve you well for seasons to come.
How do you clean and maintain garden tools?
Instructions
- Wash Away Soil. Use the blast from the garden hose to remove soil.
- Soak in Soapy Water.
- Rinse and Dry the Tools.
- Inspect for and Remove Rust.
- Remove Gooey Sap.
- Disinfect Tools.
Cleaning and maintaining garden tools is essential to ensure their longevity and optimal performance. Here’s a concise guide on how to effectively clean and maintain your gardening tools:
Immediate Cleaning: After each use, take a moment to remove dirt, debris, and plant residue from your tools using a brush or hose. This prevents them from hardening and becoming difficult to clean later.
Soapy Water: Fill a bucket with warm soapy water using mild dish soap or a biodegradable detergent. Scrub the tools using a brush, wire brush, or steel wool to remove stubborn grime. Rinse them thoroughly with water afterward.
Rust Removal: For tools with rust, soak them in a mixture of equal parts white vinegar and water for a short period. Scrub gently to remove rust using a brush or steel wool. Rinse and dry the tools completely to prevent further rusting.
Sharpening: Regularly inspect cutting edges and sharpen them as needed using a file or sharpening stone. Properly sharpened tools make gardening tasks more efficient.
Oil Application: After cleaning, wipe the tools with a cloth soaked in vegetable oil to prevent moisture and rust formation. Alternatively, dip the cleaned tools in a mixture of sand and oil for extra protection.
Storage: Store tools in a dry, well-ventilated area to prevent moisture buildup. Hanging them or using a tool rack helps prevent contact with surfaces that could lead to rust.
Maintenance Schedule: Create a routine for cleaning and maintenance, such as performing a thorough cleaning and sharpening session at the end of each gardening season.
By incorporating these steps into your gardening routine, you’ll ensure that your tools remain in top-notch condition, ready to assist you in nurturing your garden for years to come.
How do you clean garden tools to prevent disease?
Ethanol or Isopropyl Alcohol
The advantages of alcohol (ethanol or isopropyl) to sanitize your gardening tools is that it can be used as a wipe (no soaking necessary), you don’t have to rinse the product off, and it’s immediately effective.
Cleaning garden tools to prevent disease is crucial for maintaining the health of your plants. Here’s a concise guide on how to effectively clean your garden tools to minimize the risk of disease transmission:
Before Moving to Another Area: Whenever you’re transitioning from one area of the garden to another, clean your tools. This prevents the spread of potential pathogens from one plant to another.
Remove Debris: Use a brush or hose to remove soil, plant debris, and any visible contaminants from your tools. Pay attention to crevices and corners where pathogens might hide.
Soapy Water: Prepare a bucket of warm, soapy water using mild detergent. Scrub the tools thoroughly to remove any remaining dirt and contaminants. This step helps in breaking down any potential disease-causing organisms.
Disinfecting: After cleaning, disinfecting tools becomes essential. You can use a solution of 70% isopropyl alcohol or a mixture of one part bleach to nine parts water. Dip the tools in the solution for a few minutes and then rinse thoroughly.
Drying: Ensure your tools are completely dry before storing them. Moisture promotes the growth of pathogens, so proper drying is crucial.
Regular Maintenance: Inspect your tools regularly for signs of wear, damage, or rust. A well-maintained tool is less likely to harbor pathogens.
By following these steps, you’ll create a barrier against disease transmission and contribute to the overall well-being of your garden. Preventative measures like proper tool hygiene can significantly reduce the risk of introducing harmful pathogens to your plants.
Is vinegar good for cleaning garden tools?
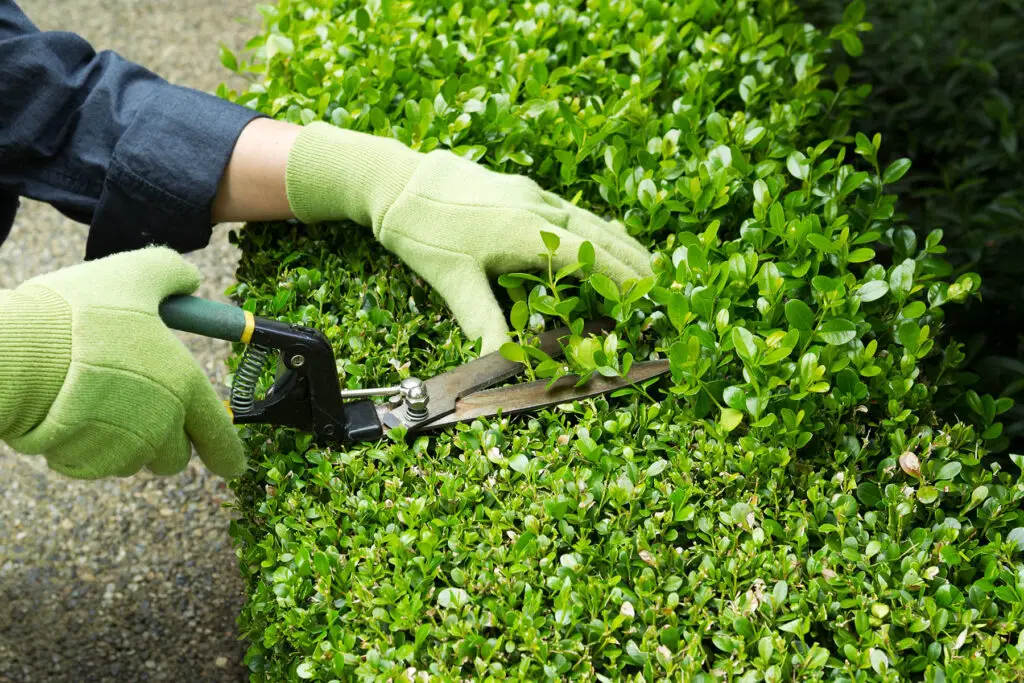
Another option for cleaning rusty garden tools is to use vinegar. If possible, you should remove the metal blades of tools like secateurs, pruning shears, and hedging shears, so you can clean their full length.
Yes, vinegar can be an effective and natural solution for cleaning garden tools, especially when it comes to removing rust and mineral deposits. The acetic acid in vinegar helps break down these stubborn substances, restoring your tools to a cleaner and more functional state.
For cleaning garden tools with rust or hard water stains, create a mixture of equal parts white vinegar and water. Soak the rusted or stained parts of the tools in this solution for a period of time, usually around 15-30 minutes. After soaking, use a brush, steel wool, or an abrasive pad to gently scrub away the rust or deposits. This method is particularly useful for tools like pruners, shears, or shovels that may develop rust over time due to exposure to moisture.
However, it’s important to note that while vinegar is effective for certain cleaning tasks, it may not be suitable for all types of garden tools. For example, vinegar is acidic and can potentially damage the protective coatings on some tools or cause corrosion on certain metals. Always test a small, inconspicuous area of the tool before fully applying vinegar.
Vinegar can be a useful natural remedy for tackling rust and mineral deposits on garden tools. When used correctly, it can help prolong the life of your tools by keeping them clean and functional.
What is the recommended immediate step to take after using your gardening tools to facilitate easier cleaning?
After using your gardening tools, taking immediate steps to facilitate easier cleaning is a crucial practice that can significantly streamline maintenance efforts and extend the life of your tools. The recommended immediate step is to remove dirt, debris, and any plant residues from the tools.
By removing the visible dirt and plant matter as soon as you’re done using the tools, you prevent these materials from drying and hardening onto the tool surfaces. This initial cleaning not only prevents the accumulation of stubborn grime but also minimizes the risk of potential pathogens or diseases from spreading. It’s a proactive measure that can save you time and effort in the long run.
Using a brush, hose, or even a putty knife, gently remove the soil, leaves, and any other organic matter from the tool’s blades, handles, and crevices. This simple action helps maintain the integrity of the tool’s surfaces and reduces the likelihood of rust formation, which can occur when soil or moisture is trapped against the metal.
By incorporating this immediate cleaning step into your gardening routine, you create a foundation for effective tool maintenance. It sets the stage for more thorough cleaning sessions and ensures that your tools remain in optimal condition, ready to serve you efficiently during your next gardening adventure.
Could you provide a step-by-step guide on how to create an effective soapy water solution for cleaning tools?
Creating an effective soapy water solution for cleaning garden tools is a simple yet essential process that can aid in removing dirt, grime, and plant residues. Here’s a step-by-step guide to help you prepare this solution:
Gather Your Materials: Start by collecting a bucket, mild dish soap or biodegradable detergent, and warm water. Having a scrub brush or a stiff-bristle brush on hand will also be helpful for the cleaning process.
Fill the Bucket: Fill the bucket with warm water, leaving enough space to accommodate the tools you plan to clean. The water should be comfortably warm, as hot water might damage certain tool materials.
Add the Soap: Add a small amount of mild dish soap or biodegradable detergent to the warm water. A teaspoon to a tablespoon of soap is usually sufficient, depending on the bucket’s size. Avoid using harsh chemicals that can damage the tools or harm your plants.
Mix Thoroughly: Use your hand or a stirring implement to mix the soap into the water until it forms a soapy solution. Make sure the soap is evenly distributed.
Submerge the Tools: Dip the garden tools into the soapy water solution. Allow them to soak for a few minutes. The warm soapy water will help break down dirt, grime, and plant residues, making them easier to remove.
Scrub and Clean: Using a scrub brush or a stiff-bristle brush, gently scrub the tool surfaces to loosen and remove any remaining debris. Pay close attention to corners, edges, and any hard-to-reach areas.
Rinse and Dry: Once you’ve thoroughly cleaned the tools, rinse them with clean water to remove soap residue. Dry the tools completely using a clean cloth or by air-drying in a well-ventilated area. Ensuring tools are dry prevents rust formation.
By following these steps, you’ll create an effective soapy water solution that aids in the thorough cleaning of your garden tools. Regular use of this solution helps maintain the tools’ cleanliness, which in turn contributes to their longevity and optimal performance in your gardening activities.
What are some effective methods for removing rust from gardening tools, and how should they be applied?
Removing rust from gardening tools can restore their functionality and appearance. Two effective methods are using white vinegar and using sandpaper or steel wool:
White Vinegar: Soak the rusted parts of the tools in a mixture of equal parts white vinegar and water for about 15-30 minutes. After soaking, gently scrub the rust using a brush or steel wool. Rinse the tools thoroughly with water, dry them completely, and apply a light coat of oil to prevent future rusting.
Sandpaper or Steel Wool: Use fine-grit sandpaper or steel wool to manually scrub away rust from the tool’s surface. Start with a rougher grit if the rust is stubborn and then switch to a finer grit to smooth the surface. Afterward, clean off the debris, rinse the tool, and apply oil to protect against rust.
Whichever method you choose, make sure to wear gloves and eye protection, especially when working with chemicals or abrasive materials. Regular maintenance and addressing rust promptly can prolong the life of your garden tools and prevent the spread of rust to your plants.
Could you outline a proper drying process for garden tools post-cleaning to prevent potential issues?
Properly drying garden tools after cleaning is vital to prevent rust, corrosion, and other potential issues that can arise from moisture exposure. Follow these steps to ensure an effective drying process:
Thorough Rinse: After cleaning with soapy water or other solutions, thoroughly rinse the tools with clean water to remove any soap residue or remaining debris.
Wipe Down: Use a clean, dry cloth to wipe down the tool’s surfaces. Pay attention to crevices, joints, and any hard-to-reach areas to ensure all moisture is removed.
Air-Drying: Place the tools in a well-ventilated area where they can air-dry completely. Avoid stacking or crowding them to allow for proper airflow.
Open Position: For tools with moving parts (like pruners or shears), keep them in an open position during drying to ensure no trapped moisture.
Sunlight: If possible, place tools in direct sunlight. Sunlight helps to further evaporate any remaining moisture and has natural sanitizing properties.
Apply Oil: Once completely dry, apply a thin layer of vegetable oil to the metal parts of the tools to create a protective barrier against moisture and rust.
By following these steps, you’ll help prevent the accumulation of moisture that could lead to rust and other issues, ensuring your garden tools remain in excellent condition for future use.
Conclusion
The care and maintenance of your gardening tools are essential components of successful and rewarding gardening. After gardening, taking a few extra minutes to clean and store your tools can improve their sustainability. These steps prevent dirt and rust from accumulating and keep your tools sharp, efficient, and ready to use.
Cleaning your instruments also instills respect for them and gardening, improving your gardening experience.
Tool cleaning helps your garden thrive and builds pride in your tools. As you see your efforts produce healthy plants and abundant harvests, you’ll appreciate the importance of well-maintained tools.
As you complete gardening, don’t forget to take care of your tools. With frequent cleaning and care, you’re establishing a connection to the land and creating a beautiful garden for yourself and future generations. Happy gardening!