How To Add Shelves To A Wardrobe
Introduction
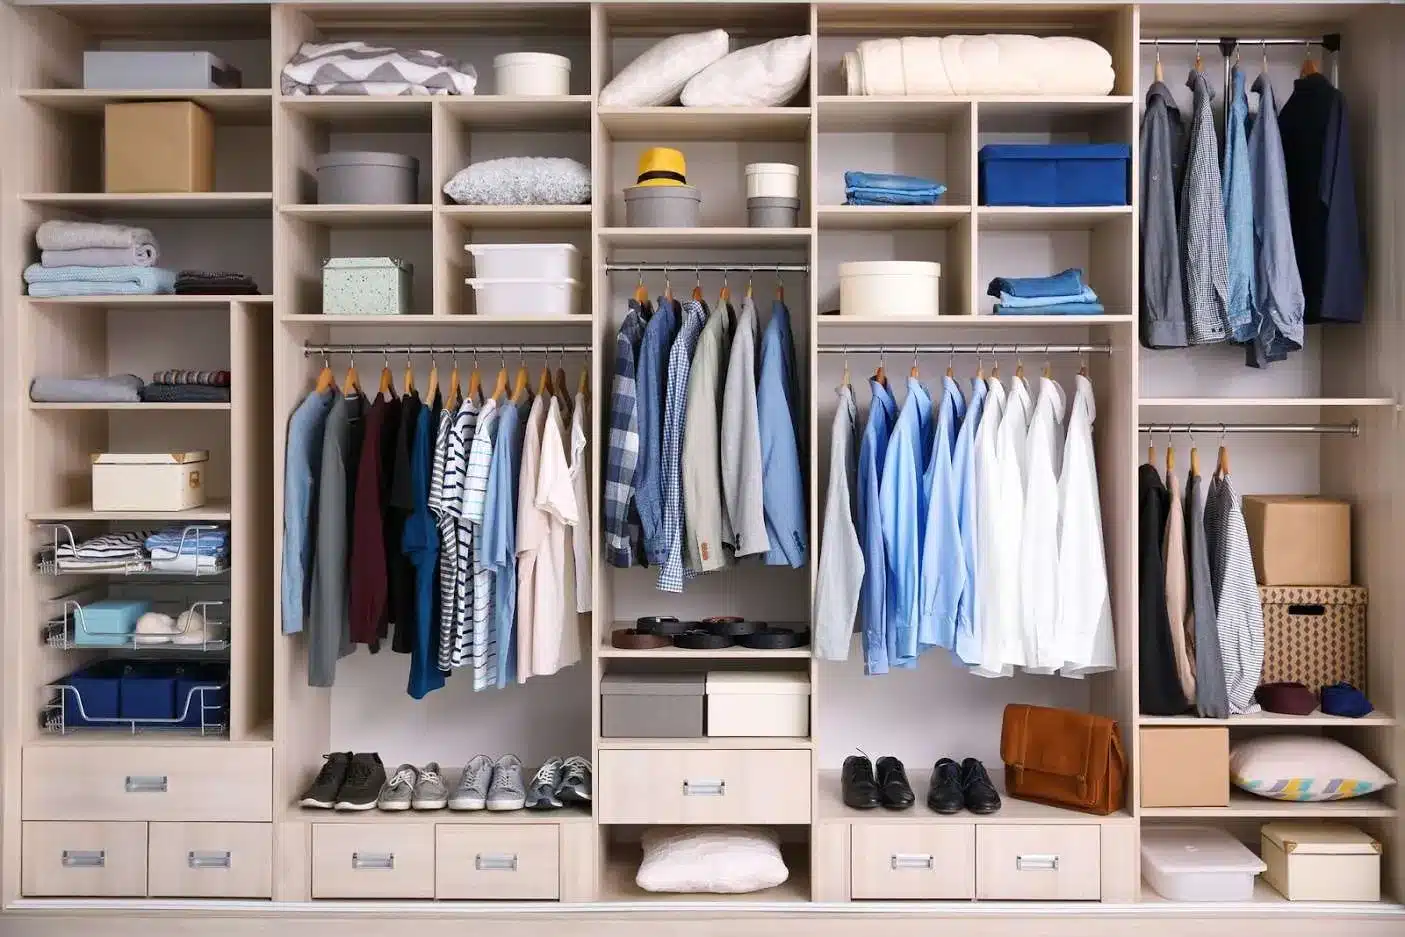
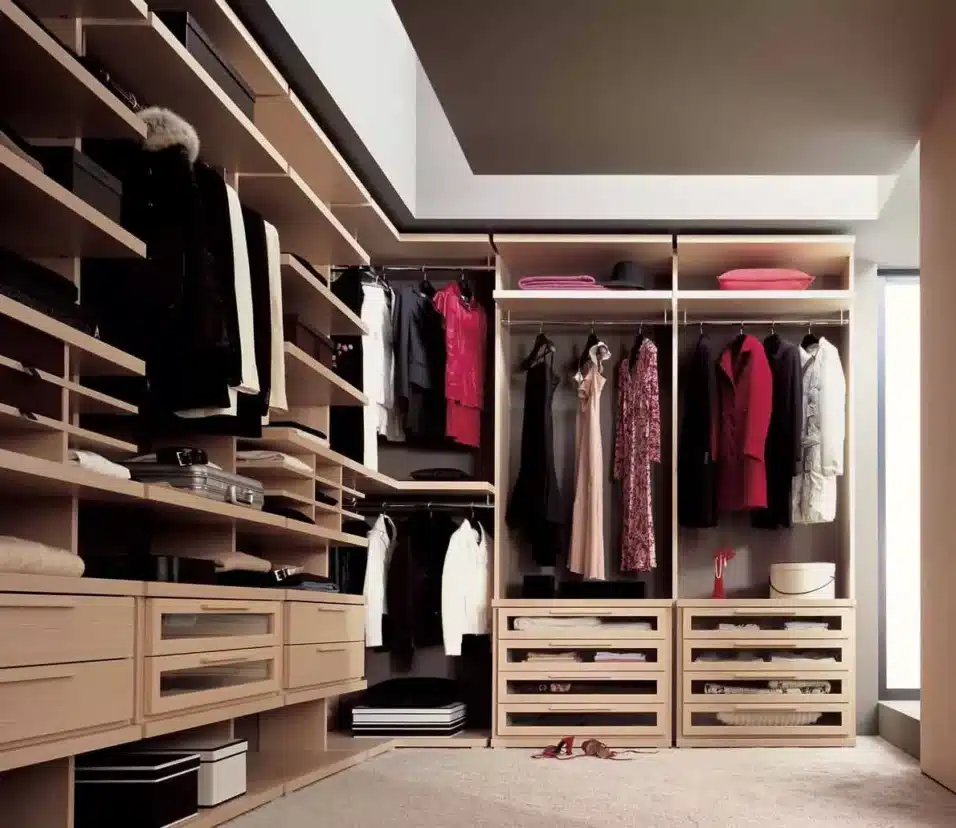
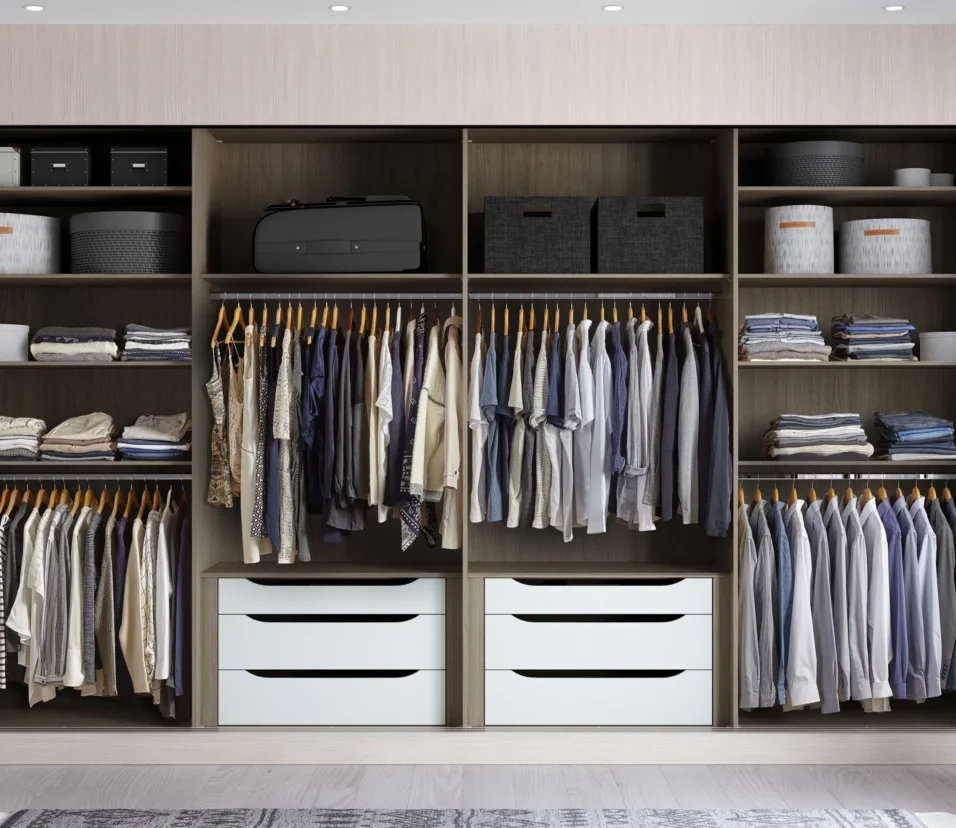
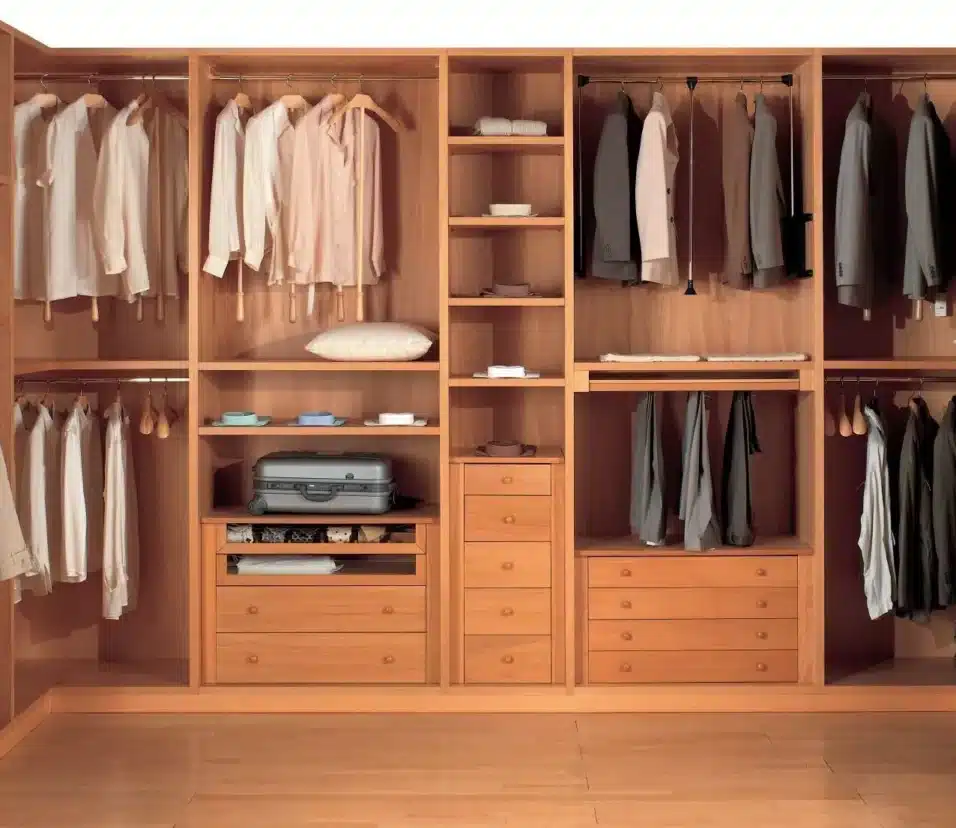
How To Add Shelves To A Wardrobe: Adding shelves to a wardrobe can be a great way to maximize storage space and keep your belongings organized. Whether you have a small wardrobe with limited shelf space or simply want to customize your storage solution, adding shelves is a relatively simple and cost-effective DIY project. In this article, we will guide you through the process of adding shelves to a wardrobe, providing step-by-step instructions and helpful tips along the way.
Firstly, it is important to assess the current state of your old wardrobe and determine the best placement for the shelves. Consider the height and width of your wardrobe, as well as the items you plan to store on the shelves. This will help you determine the number and size of shelves needed. Additionally, take into account any existing features in your wardrobe, such as hanging rods or drawers, that may affect the placement of the shelves.
Next, gather the necessary materials and tools for the project. You will need a measuring tape, a level, a pencil, a saw, shelf brackets, screws, and a screwdriver. Depending on the type of shelves you choose, you may also need a drill and drill bits. It is important to choose sturdy materials that can support the weight of your belongings. Consider using plywood or melamine boards for the shelves, as they are durable and easy to work with.
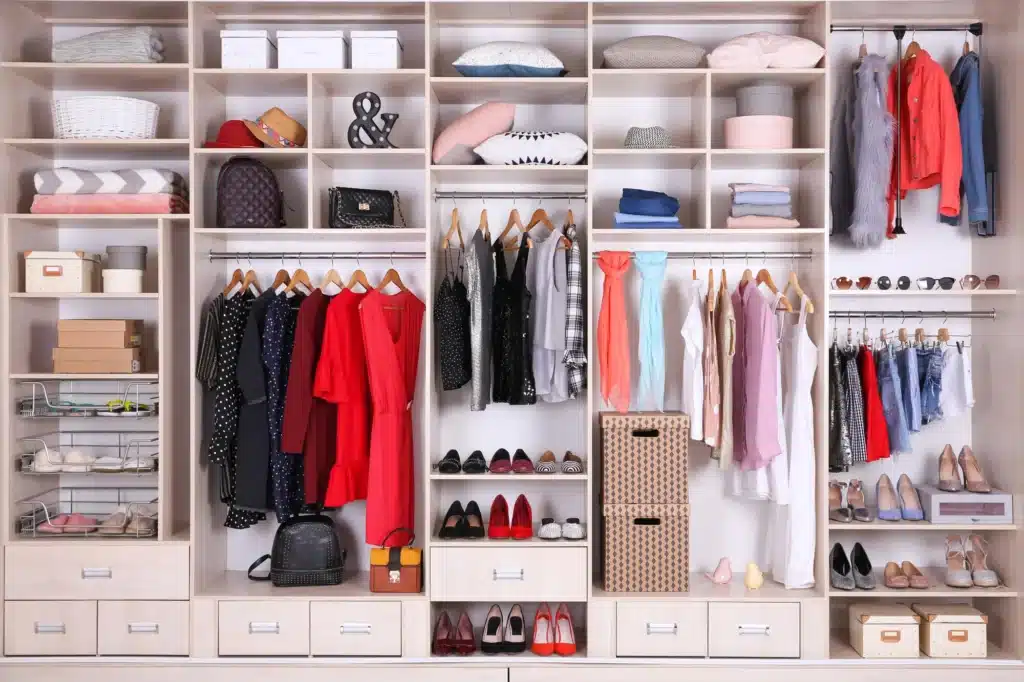
How do you build a shelf in a wardrobe?
Building a shelf in a wardrobe can be a great way to maximize storage space and keep your belongings organized. Whether you have a small wardrobe or a large one, adding a shelf can provide additional storage for folded clothes, shoes, accessories, or even storage boxes. In this guide, we will walk you through the steps to build a shelf in your wardrobe.
Step 1: Measure the space
Before you start building a shelf, it’s important to measure the space inside your wardrobe. This will help you determine the size and dimensions of the shelf you need. Use a tape measure to measure the width, depth, and height of the area where you want to install the shelf.
Step 2: Gather the materials
Once you have the measurements, gather all the materials you will need to build the shelf. This may include a piece of plywood or MDF board for the shelf, brackets or shelf supports, screws, a drill, a level, and a pencil.
Step 3: Cut the shelf
Using the measurements you took earlier, cut the plywood or MDF board to the desired size for your shelf. Make sure to use a saw that is appropriate for the material you are cutting. If you don’t have the tools or skills to cut the shelf yourself, you can have it cut at a local hardware store.
How do you build storage shelves in a closet?
Building storage shelves in a closet can be a great way to maximize space and keep your belongings organized. Whether you have a small closet or a large one, adding shelves can provide additional storage options and make it easier to find and access your items. Here are some steps to help you build storage shelves in a closet.
1. Measure the space: Before you start building, measure the dimensions of your closet to determine how much space you have available for shelves. This will help you determine the size and number of shelves you can install.
2. Plan the layout: Consider how you want to arrange your shelves. Think about the types of items you will be storing and how much space they will require. You may want to have different sized shelves to accommodate different items.
3. Gather materials: Once you have a plan in place, gather the necessary materials. This may include wood or melamine boards for the shelves, brackets or supports to hold the shelves in place, screws, a drill, a level, and a tape measure.
4. Install the brackets: Start by installing the brackets or supports for the shelves. Use a level to ensure they are straight and evenly spaced. Mark the locations for the brackets on the walls of the closet and use a drill to attach them securely.
5. Cut and install the shelves: Measure and cut the shelves to fit the dimensions of your closet. Place the shelves on top of the brackets and secure them in place with screws. Make sure the shelves are level and sturdy.
How do you secure a wardrobe shelf?
Securing a wardrobe shelf is an important step in ensuring the safety and stability of your wardrobe. Whether you have a freestanding wardrobe or a built-in one, securing the shelf properly can prevent accidents and damage to your belongings. There are several methods you can use to secure a wardrobe shelf, depending on the type of wardrobe and the materials you have available.
One common method of securing a wardrobe shelf is to use brackets or supports. These can be purchased at most hardware stores and are typically made of metal or plastic. To install brackets or supports, you will need to measure the width and depth of your wardrobe shelf and purchase brackets or supports that are the appropriate size. Once you have the brackets or supports, you can attach them to the sides or back of the wardrobe using screws or nails. Make sure to position the brackets or supports evenly along the length of the shelf to ensure stability.
Another method of securing a wardrobe shelf is to use adhesive or double-sided tape.
This method is particularly useful for shelves made of glass or other smooth surfaces. To secure the shelf using adhesive or double-sided tape, you will need to clean the surface of the shelf thoroughly and then apply the adhesive or tape to the underside of the shelf. Press the shelf firmly against the wardrobe wall or back panel to ensure a strong bond. This method is quick and easy, but may not be as secure as using brackets or supports.
If you have a built-in wardrobe, you may be able to secure the shelf using screws or nails. This method requires drilling holes into the wardrobe wall or back panel and then attaching the shelf using screws or nails. Make sure to use the appropriate size and type of screws or nails for your wardrobe and shelf materials. This method provides a secure and permanent solution, but may require more time and effort to install.
How are floating shelves secured?
Floating shelves are a popular choice for homeowners who want to add storage and display space to their walls without the need for bulky brackets or supports. These shelves appear to be magically suspended on the wall, giving them a sleek and modern look. But how exactly are floating shelves secured.
One common method of securing floating shelves is through the use of hidden brackets. These brackets are typically made of metal and are attached to the wall studs. The shelves then slide onto the brackets, creating the illusion of a floating appearance. The brackets are strategically placed so that they are not visible when the shelves are installed, giving them a seamless and clean look.
Another method of securing floating shelves is through the use of cleats. A cleat is a piece of wood that is attached to the wall and acts as a support for the shelf. The shelf itself has a corresponding groove or slot that fits onto the cleat, creating a secure and stable connection. This method is often used for heavier shelves or when extra support is needed.
In addition to hidden brackets and cleats, some floating shelves are secured using a combination of adhesive and screws. The adhesive is applied to the back of the shelf, and then the shelf is pressed firmly against the wall. Screws are then inserted through the shelf and into the wall studs for added stability. This method is often used for lightweight shelves or in situations where drilling into the wall is not possible or desired.
Overall, there are several methods for securing floating shelves, including hidden brackets, cleats, and adhesive with screws. The method used will depend on the weight and size of the shelves, as well as personal preference and the specific requirements of the installation.
What are the rules for closet shelves?
Closet shelves are an essential component of any organized and functional closet. They provide a designated space for storing and organizing clothing, shoes, accessories, and other items. However, in order to maximize the efficiency and effectiveness of closet shelves, it is important to follow certain rules and guidelines.
Firstly, it is important to consider the weight capacity of the closet shelves. Different types of shelves have different weight limits, and exceeding these limits can lead to sagging or even collapse. It is important to carefully read the manufacturer’s instructions and guidelines to determine the weight capacity of the shelves and ensure that they are not overloaded.
Secondly, it is important to consider the spacing between the shelves.
Thirdly, it is important to consider the depth of the shelves. The depth should be determined based on the size of the items that will be stored on the shelves. For example, if the shelves will be used for storing folded clothing or small accessories, a shallower depth may be sufficient.
Additionally, it is important to consider the organization and arrangement of items on the shelves. It is helpful to group similar items together and arrange them in a logical and organized manner. This can make it easier to find and access items when needed. It is also important to regularly declutter and reorganize the shelves to ensure that they remain functional and efficient.
Materials for Wardrobe Shelf Installation: Ensuring Stability and Functionality
When adding shelves to a wardrobe, there are several materials that you will need to ensure a successful installation. Firstly, you will need the actual shelves themselves. It is important to choose shelves that are sturdy and can support the weight of the items you plan to store on them.
In addition to the shelves, you will also need brackets or supports to hold the shelves in place. These can be metal brackets or shelf supports that attach to the sides or back of the wardrobe. Make sure to choose brackets that are compatible with the type of shelves you have selected.
Other materials that may be required include screws or nails to secure the brackets to the wardrobe, a measuring tape to ensure accurate placement of the shelves, and a level to ensure they are installed straight. Additionally, you may need a drill or screwdriver to attach the brackets and shelves, depending on the type of fasteners used.
What tools are required to install shelves in a wardrobe?
When it comes to installing shelves in a wardrobe, there are a few essential tools that you will need to have on hand. These tools include a measuring tape, a level, a pencil, a power drill, screws, a screwdriver, and a stud finder. The measuring tape is necessary to ensure accurate measurements for the placement of the shelves.
The power drill is needed to create holes for the screws that will hold the shelves in place. It is important to use the correct size drill bit for the screws you are using. The screwdriver is used to tighten the screws and secure the shelves. Lastly, a stud finder is useful for locating the studs in the wall, which provide extra support for the shelves. By using these tools, you can ensure a successful installation of shelves in your wardrobe.
Are there any specific measurements or dimensions to consider when adding shelves to a wardrobe?
When adding shelves to a wardrobe, it is important to consider specific measurements and dimensions to ensure a proper fit and functionality. The first measurement to consider is the height of the wardrobe. Measure the interior height of the wardrobe from the floor to the top, as this will determine the maximum height of the shelves.
The next measurement to consider is the width of the wardrobe. Measure the interior width of the wardrobe to determine the maximum width of the shelves. It is important to leave some space on the sides for easy installation and to ensure the shelves fit properly without being too tight or too loose.
Lastly, consider the depth of the wardrobe. Measure the interior depth of the wardrobe to determine the maximum depth of the shelves.
Are there any specific instructions or steps to follow when installing shelves in a wardrobe?
When it comes to installing shelves in a wardrobe, there are a few specific instructions and steps that you should follow to ensure a successful installation. First, you’ll want to start by measuring the space where you plan to install the shelves. This will help you determine the dimensions and ensure that the shelves fit properly.
Next, gather all the necessary materials and tools. You’ll typically need shelves, brackets or supports, screws, a drill, a level, and a measuring tape. Once you have everything ready, begin by marking the desired height for your shelves on the wardrobe walls. Use a level to ensure that the marks are straight and even.
After marking the height, it’s time to install the brackets or supports. Place them on the marked spots and use a drill to secure them to the walls. Make sure they are level and sturdy. Once the brackets are in place, you can then place the shelves on top of them. Use screws to secure the shelves to the brackets, ensuring they are firmly attached.
Are there any alternative methods or techniques for adding shelves to a wardrobe?
Yes, there are alternative methods and techniques for adding shelves to a wardrobe. One alternative method is using tension rods. Tension rods are adjustable rods that can be placed horizontally between the walls of the wardrobe. By positioning the tension rods at the desired height, you can create a makeshift shelf.
Another alternative technique is using adhesive hooks or brackets. This method is suitable for lightweight items and can be a quick and easy way to add shelves without the need for drilling or permanent fixtures.
Conclusion
Adding shelves to a wardrobe can be a great way to maximize storage space and keep your belongings organized. Whether you have a small wardrobe or a large one, adding shelves can help you make the most of the available space. In this article, we have discussed various methods and tips on how to add shelves to a wardrobe.
Firstly, we explored the option of purchasing pre-made closet shelves that can be easily installed in your wardrobe. These shelves come in various sizes and materials, allowing you to choose the ones that best suit your needs and style. We also discussed the importance of measuring your wardrobe accurately before purchasing shelves to ensure a proper fit.
Secondly, we discussed the option of building custom shelves for your wardrobe. This option allows you to create shelves that perfectly fit the dimensions of your wardrobe and meet your specific storage needs. We provided step-by-step instructions on how to build and install these shelves, including tips on choosing the right materials and tools.
Lastly, we highlighted the importance of organizing your wardrobe effectively once the shelves are installed. We discussed different strategies for arranging your belongings on the shelves, such as grouping items by category or color. We also emphasized the importance of regularly decluttering your wardrobe to maintain an organized and functional space.
Adding shelves to a wardrobe can greatly enhance its storage capacity and help you keep your belongings neat and tidy. Whether you choose to purchase pre-made shelves or build custom ones, it is important to carefully measure your wardrobe and choose the right materials and tools. Additionally, organizing your wardrobe effectively and regularly decluttering it are essential for maintaining an organized and functional space.


