How Much Sanding Before Painting Exterior Wood
Introduction
How Much Sanding Before Painting Exterior Wood: The art of transforming weathered and worn exterior wood surfaces into revitalized and visually appealing elements of your home hinges on an essential preparatory step: sanding. Sanding is the silent hero that readies the canvas of wood for the brushstrokes of paint, ensuring a smooth, enduring finish that stands up to the elements. But the question that arises is: how much sanding before painting exterior wood is truly necessary?
Sanding is not a one-size-fits-all endeavor; rather, it’s a delicate balance between preserving the existing wood structure and achieving optimal adhesion for the paint to come. In this comprehensive guide, we dive into the nuances of sanding exterior wood surfaces, exploring factors such as the wood’s condition, its age, the type of exterior painting to be applied, and the desired end result. We unravel the science behind sandpaper grits and techniques, offering insights into how aggressive or subtle sanding should be, based on the unique characteristics of the project at hand.
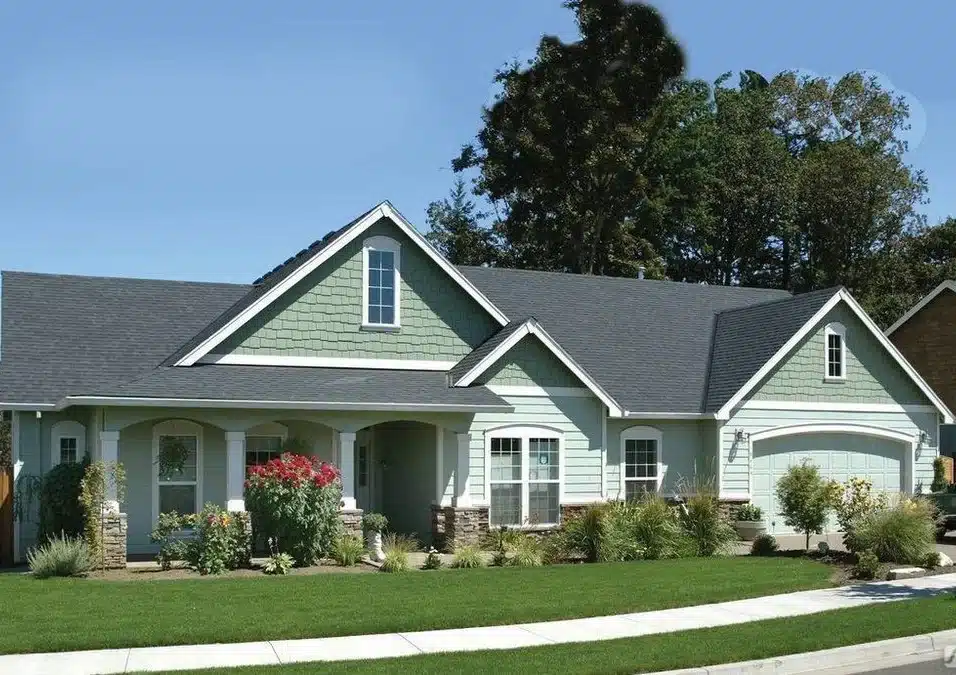
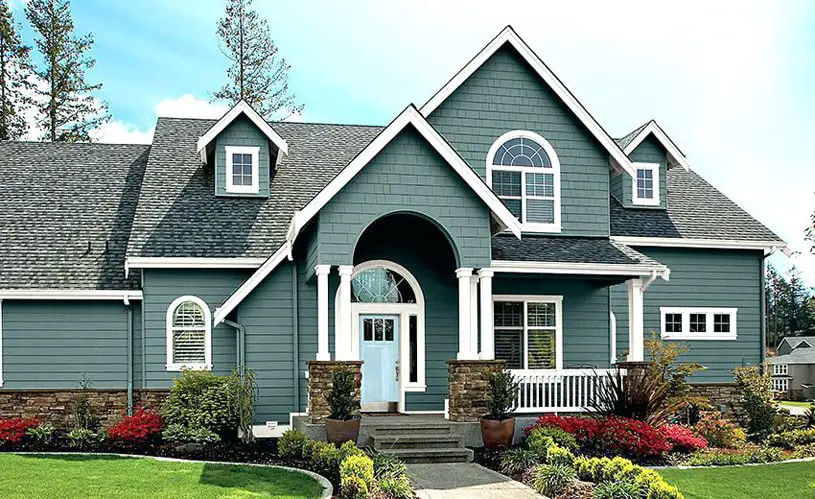
From weather-beaten fences to charming wooden doors and siding, the exterior wood elements of your home deserve the care and attention that only a well-prepared surface can provide. Join us as we embark on a journey through the realm of sanding, uncovering the delicate balance between smoothing imperfections and maintaining the wood’s integrity. By the end of this guide, you’ll be equipped with the knowledge needed to wield your sandpaper with confidence, turning drab surfaces into works of art that withstand the test of time and nature’s whims.

Do you need to sand outdoor wood before painting?
If you’ve done a good job of scraping away loose chips, most people will not be able to detect the edges of pre-existing paint on the surfaces. Certainly, various wood has unique qualities, but overall, you should not need to sand your exterior prior to painting.
Yes, sanding outdoor wood before painting is generally recommended as an essential step in the preparation process. Sanding serves several important purposes when painting outdoor wood surfaces:
- Smoothing the Surface: Sanding helps to smooth out rough or uneven areas on the wood. This creates a more even and attractive finish for the paint.
- Removal of Old Paint or Finish: Sanding removes any existing paint, stains, or finishes on the wood. This is crucial because it ensures proper adhesion of the new paint. If you paint over old, peeling paint without sanding, the new paint may also start to peel.
- Enhancing Adhesion: Sanding opens up the wood’s pores and creates a slightly roughened surface. This texture allows the paint to adhere better to the wood, reducing the chances of paint failure.
- Removing Dirt and Grime: Outdoor wood surfaces can accumulate dirt, grime, and even mildew over time. Sanding helps to remove these contaminants, providing a clean surface for painting.
However, the extent of sanding required can vary based on the condition of the wood and the type of paint you plan to use. In some cases, light sanding may be sufficient, while in others, you might need more aggressive sanding to address issues like peeling paint or rough wood. Properly preparing the surface through sanding ensures that your paint job will be more durable and visually appealing in the long run.
How much should you sand wood before painting?
The Importance of Sanding Before Painting Furniture
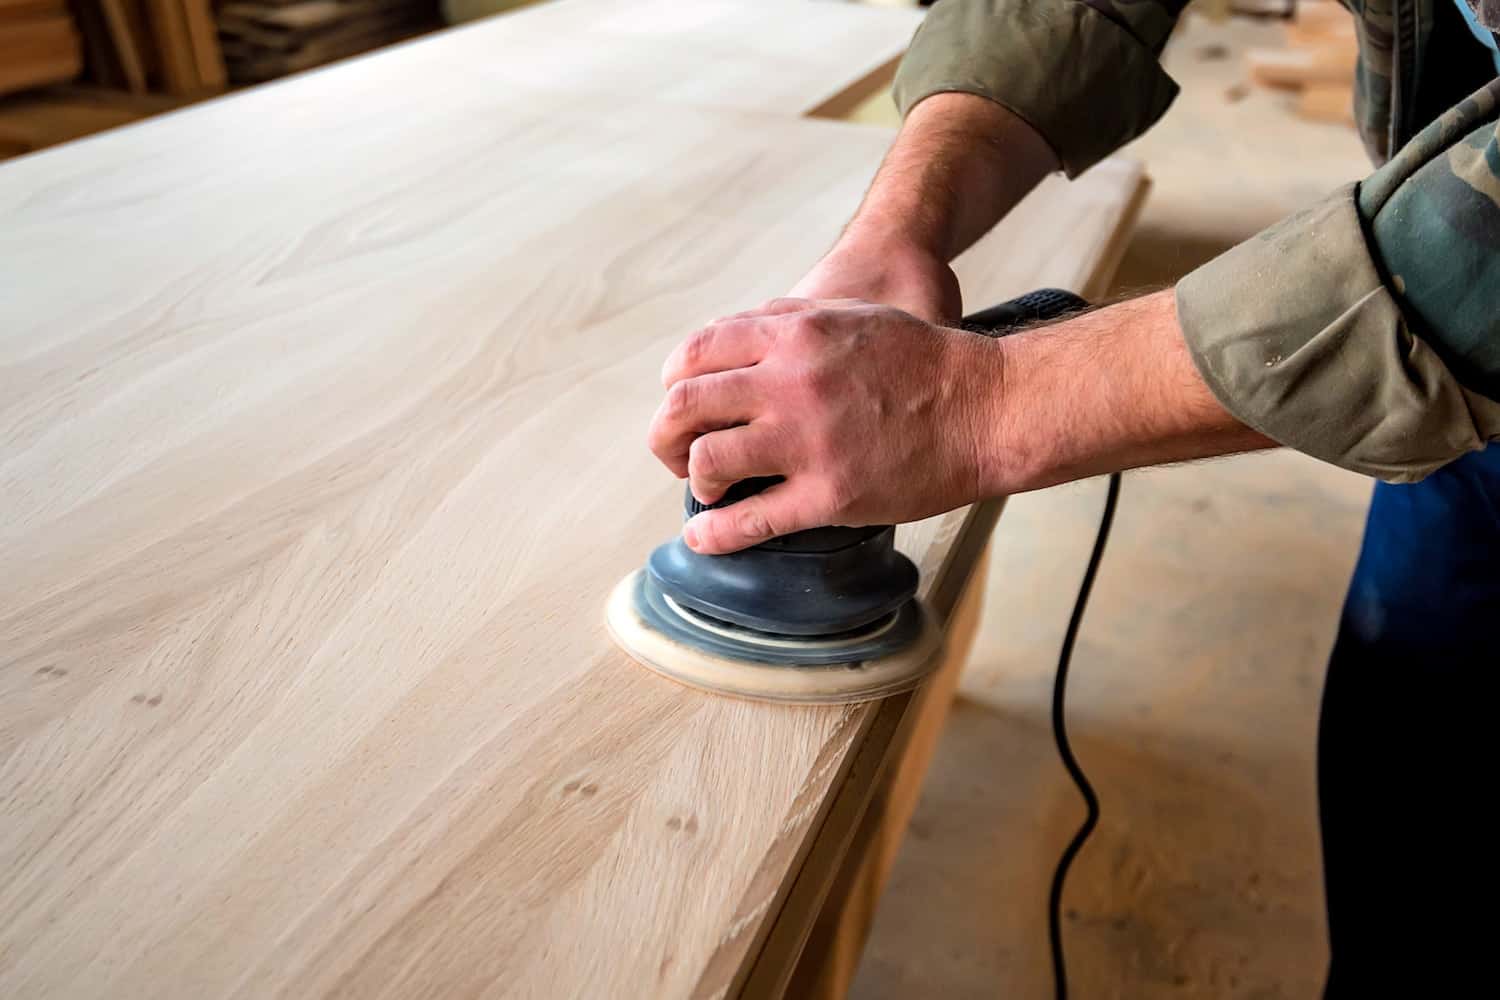
How much should you sand before painting? You don’t need to sand too hard, just enough to scuff up the surface so the paint will adhere better. If you’re sanding by hand, it shouldn’t take more than probably 15 minutes to lightly scuff sand a large dresser. If you’re using an electric sander, it’ll go faster.
The amount of sanding required before painting depends on the condition of the wood and the type of paint you plan to use. In general, you should start with a medium-grit sandpaper (around 80-120 grit) to remove any existing paint or finishes and smooth out rough areas. Afterward, switch to a finer grit sandpaper (around 150-220 grit) to create a smoother surface for the paint to adhere to. The goal is to create a surface that feels smooth to the touch and is free from any visible imperfections.
If the wood is in poor condition, you may need to use a coarser grit initially, but always finish with a finer grit for a smooth finish. Additionally, if you’re painting over a glossy or varnished surface, it’s essential to sand it enough to remove the sheen and create a rougher texture for the new paint to grip.
How many coats of paint on exterior wood?
Two coats
So, How Many Coats of Exterior Paint Should You Apply? Two coats is typically all that’s needed, if you’re painting over a well-prepped, primed surface. This is particularly true if you are painting a dark color over a lighter, existing one, as you’re guaranteed to have good coverage.
The number of coats of paint needed for exterior wood surfaces can vary depending on several factors, including the type of paint, the condition of the wood, and your desired finish.
Here’s why two coats are typically recommended:
- Primer Coat: The first coat often serves as a primer. Primer helps seal the wood, provides a consistent surface for the topcoat, and enhances paint adhesion. Applying a primer coat is especially important for raw or porous wood surfaces.
- Topcoat: The second coat is the topcoat, which provides the desired color and finish. It adds an extra layer of protection against the elements, such as sunlight, moisture, and temperature fluctuations. The topcoat is what gives your wood surface its final appearance.
While two coats are a common recommendation, some situations may require additional coats:
- Poorly Prepared Surfaces: If the wood surface was in poor condition or required extensive sanding, filling, or repairs, you might need an extra coat to ensure complete coverage and a uniform finish.
- Porous Wood: Highly porous woods may absorb more paint, requiring an additional coat to achieve full coverage.
- Type of Paint: The quality and type of paint you use can affect coverage. High-quality paints often offer better coverage, allowing you to achieve the desired result with fewer coats.
- Desired Finish: If you’re aiming for a particularly deep or bold color, you might need an additional coat to achieve the desired hue.
It’s important to follow the manufacturer’s instructions on the paint can for the recommended number of coats and drying times. Applying too many coats in quick succession without allowing proper drying time can lead to issues like cracking or poor adhesion. Properly applied coats of paint not only enhance the appearance of your exterior wood but also provide long-lasting protection against the elements.
How do you know if wood is sanded enough?
Sand too little, and there are scratches all over your wood. So what’s the right amount? The best way to know when you’re done sanding is to scribble a light pencil line across your wood before you start. Once the line is gone, move up to the next grit.
Knowing when wood is sanded enough is crucial for achieving a successful paint job. Several indicators can help you determine if the wood is adequately sanded:
- Smooth Texture: Run your hand over the wood surface. If it feels smooth to the touch without any noticeable rough spots or imperfections, it’s a good sign that the sanding is sufficient.
- Uniform Appearance: The wood should have a uniform appearance with no visible variations in texture. Any remaining old paint or finish should be removed.
- Absence of Shine: If the wood had a glossy or varnished finish, the shine should be eliminated through sanding. The surface should look dull and rough.
- Clean and Dust-Free: After sanding, the wood should be clean and free from dust or debris. Wipe it down with a damp cloth or use a tack cloth to remove any sanding dust.
- Paint Adhesion Test: Apply a small amount of paint to a sanded area and observe how it adheres.
Remember that the specific grit of sandpaper you use and the wood’s initial condition will impact how much sanding is required. If in doubt, it’s better to err on the side of caution and spend a bit more time sanding to ensure a proper surface for painting. Properly sanded wood will not only look better but also ensure better adhesion and longevity for your paint job.
What is the ratio of sand to paint?
Aim for a ratio of four parts paint for every one part sand. Stir well until sand is evenly distributed into the paint. If using a roller, pour a small amount of sand-and-paint combo into the paint tray and apply, or paint with a brush straight from the container.
The ratio of sand to paint, often referred to as a “paint additive,” is used to create a textured or non-slip surface in certain applications, such as on decks, steps, or garage floors. The specific ratio can vary depending on the brand and type of paint and the desired texture. Typically, you’ll find manufacturer recommendations on the paint additive’s packaging, and it’s essential to follow these guidelines for the best results.
Generally, for a light texture, you might start with 1 pound of sand per gallon of paint. For a medium texture, you could use 2 pounds per gallon, and for a heavy texture, you might use 3 or more pounds per gallon. However, it’s crucial not to exceed the recommended ratio, as too much sand can affect the paint’s consistency and application.
What is proper sanding before painting?
- Start with a coarse silicon carbide sandpaper and conclude with a finer (80, 120, 180, 220) sandpaper.
- Rub surface in a circular motion, smoothing edges of the old paint job.
- Remove dust occasionally by vacuuming or striking the sandpaper on a hard surface.
- Fold sandpaper occasionally for a new sanding edge.
Proper sanding before painting is a critical step in achieving a smooth, durable, and professional finish. Here are the key elements of proper sanding:
- Surface Inspection: Examine the surface for imperfections, such as rough spots, old paint, or stains.
- Gather Supplies: Use the appropriate sandpaper grit for your project. Start with a coarser grit (around 80-120) to remove imperfections and old paint. Then, switch to a finer grit (around 150-220) for a smooth finish. You may need different grits depending on the wood’s condition.
- Safety Gear: Wear safety goggles, a dust mask, and, if needed, hearing protection to protect yourself from dust and debris generated during sanding.
- Sand Evenly: Sand the entire surface evenly using long, even strokes, following the wood’s grain. Avoid applying excessive pressure, as this can cause unevenness or gouging.
- Remove Dust: After sanding, use a tack cloth or a damp cloth to remove all sanding dust. Ensure the surface is clean and dry before applying paint.
- Priming: Depending on the wood’s condition and your paint type, you may need to apply a primer after sanding to improve paint adhesion and durability.
What is the best way to paint exterior wood?
Apply Exterior Paint
Using slow, steady strokes is the best way to apply paint with both a sprayer as well as a brush.
The best way to paint exterior wood involves several key steps to ensure a long-lasting and aesthetically pleasing finish:
- Preparation: Start by cleaning the wood surface thoroughly to remove dirt, mildew, and any loose or peeling paint. Repair any damaged areas and let them dry completely.
- Sanding: As discussed earlier, sand the wood surface to create a smooth and paint-ready texture. Properly sanded wood ensures better paint adhesion.
- Priming: Apply a high-quality primer to the wood. Primer enhances paint adhesion, seals the wood, and provides a consistent base for the topcoat. Allow the primer to dry according to the manufacturer’s instructions.
- Paint Selection: Choose a high-quality exterior paint that is specifically designed for wood surfaces. Consider the type of wood, climate conditions, and desired finish when selecting the paint.
- Application: Apply paint using a brush, roller, or sprayer, following the manufacturer’s recommendations for the paint type. Be sure to apply even coats, working with the wood grain, and allow each coat to dry thoroughly before applying the next.
- Multiple Coats: As mentioned earlier, two coats of paint are usually recommended for exterior wood surfaces. Ensure proper drying times between coats.
- Maintenance: Regular maintenance, such as cleaning and repainting when signs of wear or fading appear, can significantly extend the life of the paint on exterior wood surfaces.
How long does exterior paint last on wood?
3-7 years
The exterior surface you’re painting can affect how long the paint will last. Below is the average lifespan of exterior paint by surface: Wood: Hardwood is more durable than softwood, which allows the paint to last longer on hardwood surfaces. Paint on wood tends to last anywhere from 3-7 years.
The longevity of exterior paint on wood can vary depending on several factors, including the quality of the paint, the wood’s condition, climate, and maintenance. Generally, high-quality exterior paints can last anywhere from 5 to 15 years or more on wood surfaces.
In moderate climates with minimal exposure to harsh elements, well-maintained paint can last longer. However, in regions with extreme heat, cold, or moisture, paint may deteriorate more quickly.
Regular maintenance, such as cleaning the surface and performing touch-up painting when needed, can extend the paint’s lifespan. Signs that it’s time to repaint include peeling, cracking, fading, or a chalky appearance.
Ultimately, the key to maximizing the lifespan of exterior paint on wood is proper preparation, using quality materials, and ongoing maintenance to protect the wood and the paint from the elements.

Conclusion
In the realm of exterior wood painting, the role of sanding is nothing short of transformative. It’s the delicate dance between refining imperfections and preserving the wood’s character, the fulcrum upon which the longevity and visual appeal of your paint job rest.
As we’ve delved into the intricacies of sandpaper grits, techniques, and considerations, one guiding principle resonates – balance. Striking the perfect equilibrium between sanding enough to ensure paint adhesion and not over-sanding to the detriment of the wood’s structure is the key. The age, condition, and type of wood, coupled with your intended paint finish, all play a harmonious symphony in determining the extent of sanding required.
From revitalizing weathered decks to breathing life into faded doorframes, our journey through sanding’s realm underscores the profound impact of a well-prepared surface. A surface that serves as the canvas for your creative vision, a canvas that, when primed meticulously, blossoms into an exterior wood masterpiece that stands resilient against time’s embrace and nature’s whims.
So, the next time you contemplate the amount of sanding necessary before painting exterior wood, remember the wisdom gathered here. Embrace the artistry of sanding, the nuanced strokes of your sandpaper guiding you toward that sublime sweet spot. Armed with this knowledge, you’re ready to breathe new life into your exterior wood elements, transforming them into enduring testaments of your craftsmanship and dedication to preserving the beauty of your home.